What’s up with me?
First world problems. There’s no skirting that fact. I’m down in the dumps because we haven’t yet found a lot to build our house on. That means that we’re stuck in this apartment until God-knows-when. My creativity is taking the biggest hit as I just don’t want to be in the apartment to begin with. I’m okay, though. I’ll be okay.
Russets are made for french fries
Be honest. When have you ever turned down a plate of piping-hot french fries? I mean, unless you’re allergic to potatoes, you’d be hard-pressed to convince me you have. French fries are perfect on their own, or as a backdrop to anything you can think of. And russet potatoes, AKA Idaho potatoes, are “The” French Fry Potatoes.
Russets are the preferred potato of all french fry connoisseurs because they’re dry and mealy- unlike, say, a Yukon Gold. They are the go-to spud for the Golden Arches’ iconic fries, so you know they’ve got to be good. Since they are starchy, we’ll need to address that to prevent an excess of starch in our frying stage, but that we’ll do after we prep them.
Cutting the perfect french fry
Fries are so easy to make at home that you’ll only need a cutting board, a chef’s knife, a bowl of cold water, and vegetable oil to make them.
Start by scrubbing four pounds (about 3 large) of russet potatoes clean.
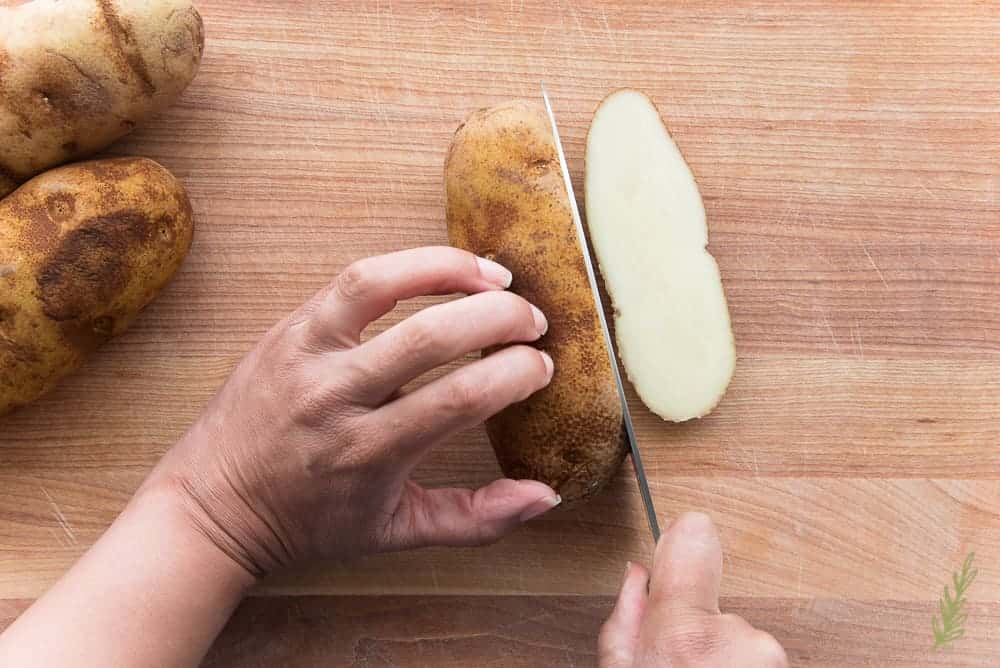
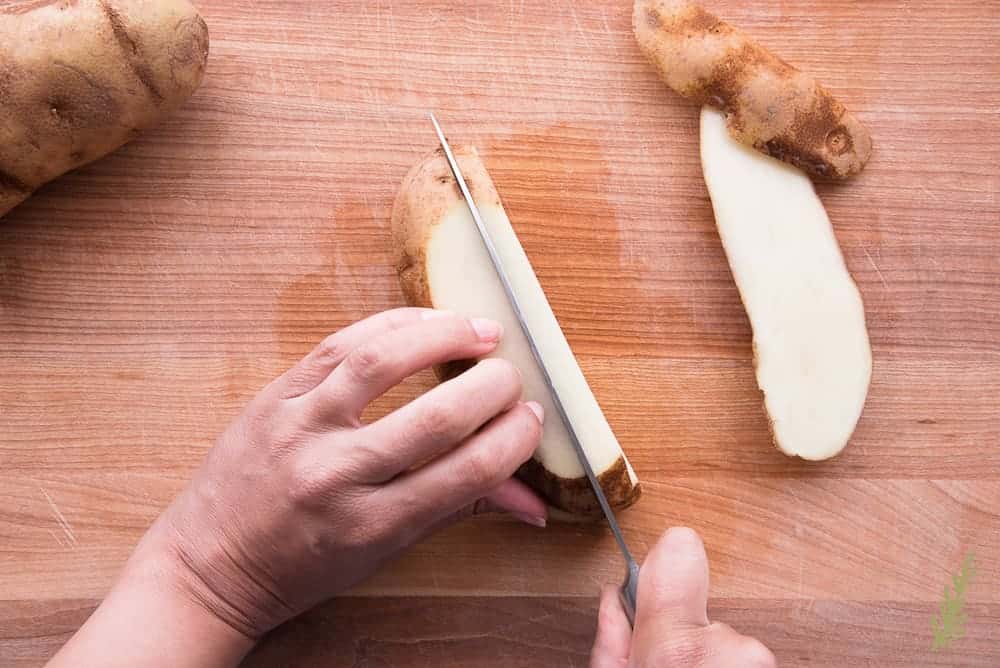
Once you’ve eliminated as much dirt as possible, use your knife to slice off a 1/4″ thick slab from the length of the potato. This is what will keep your spud from rolling away from you, which lowers the risk of cutting yourself.
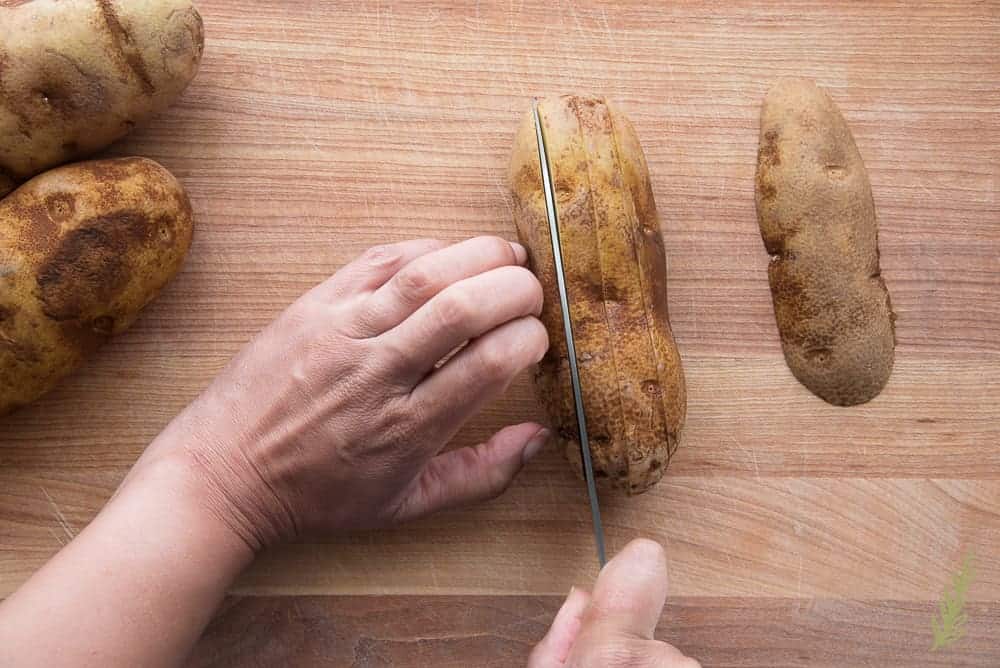
Now that you have a solid foundation on which to cut, slice the potato (lengthwise again) into 1/4″-1/2″ thick slabs. I like a thicker french fry, but Hector prefers shoestring fries. The impasse is overcome by slicing mine somewhere in the middle.
Flip the slabs on to their broad sides and cut the potatoes into 1/4″ or 1/2″ thick sticks. So, if you cut the slabs a 1/4″ thick, make sure you cut the sticks (or fries) into the same width of a 1/4″.
Now you just need to fill a large bowl with cold water and soak these babies for at least 3 hours. Just place the bowl in the fridge and leave them. I usually soak my fries overnight. There’s been plenty of days, in fact, where a plastic container of cut spuds has been soaking just “in case” I feel like making french fries. For now, just let that starch get washed away as the potatoes soak in the cold water.
Prep for a workout (no seriously)
Aïoli is compound word meaning garlic and oil. It’s weird, though, because my chef told me it was French in origin, but huile is the French word for oil, but oglio is the Italian word for it. “So, what does all that mean,” I asked him. His answer was that since he was the one grading me, I need to trust that it’s French and stop asking irrelevant questions. “Oui, Chef!”
Come to find out, many countries have their own version of aioli, my favorite being the lemon aioli I had in Sicily. So! I jacked it!
A Spanish aioli is simple- garlic cloves with a high-quality olive oil whisked in drop by drop. I’m not a fan of the making or the flavor of it. French aioli is basically a mayonnaise with garlic and a hint of mustard. Sicilian aioli- at least the ones I’ve tried- is made sans mustard. My version is a combination of the French and Sicilian. It also includes a little lemon zest to increase the brightness of the aioli.
Start with the backbone: garlic
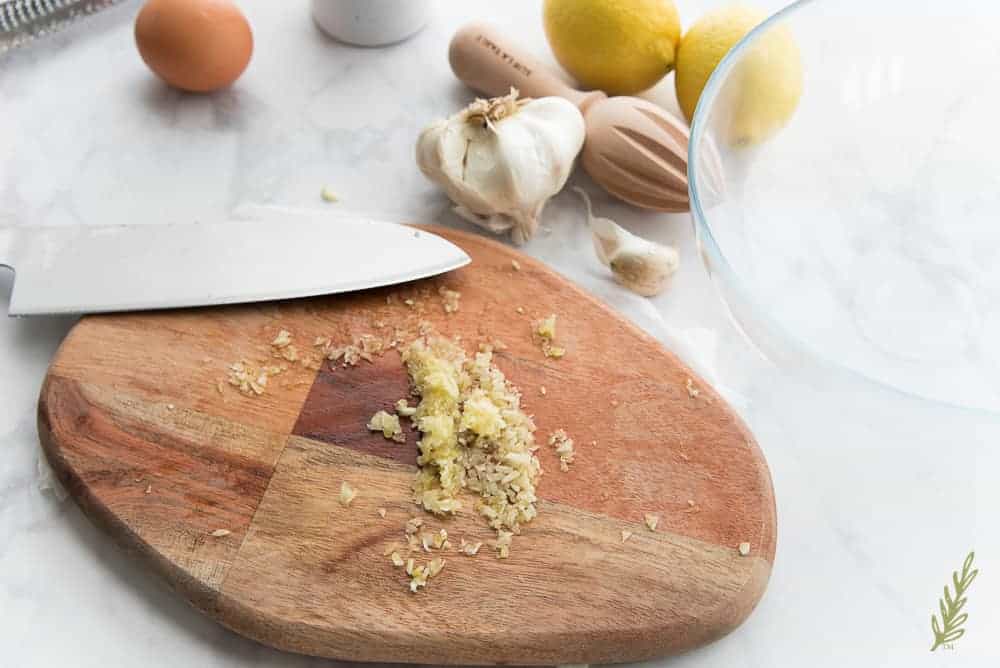
Lots of garlic. Like 4 cloves of garlic. You must remember that- at its essence- this is a dip made of garlic and oil. Once you’ve peeled your garlic cloves, mash them really fine. You can even use a garlic press, if you want. I opted to cut down on dishes by first mincing my garlic, then using the broad side of my chef’s knife to mash it into a paste. Adding a pinch of kosher salt to the minced garlic helps act as an abrasive which mashed the garlic faster.
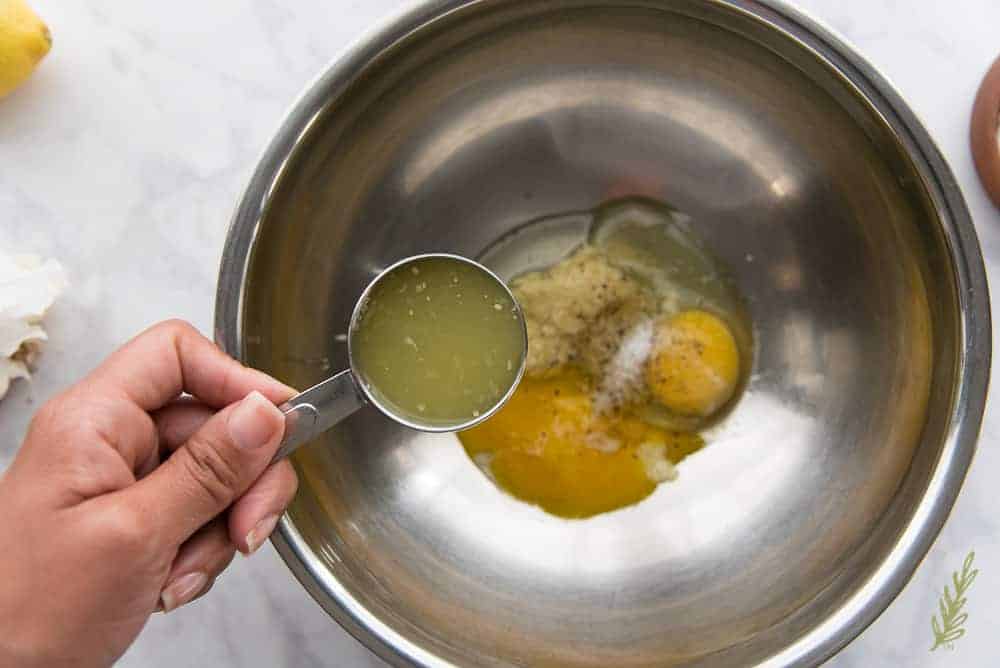
Add the garlic to a large stainless steel bowl, along with egg yolks, salt, black pepper, dijon mustard, and freshly squeezed lemon juice. Be sure to use the freshest eggs possible, because we’re not cooking this sauce. No, my dear friend, we’re not. Real mayonnaise and aioli- like real caesar dressing- all have raw eggs as their base. You’ll be okay, but babies, the elderly, and people with compromised immune systems should avoid eating it. Just in case.
Another great tip is to use ingredients that are the same temperature. The eggs don’t have to be room temperature, but you don’t want them to be straight out of the fridge, either.
Whisk everything in the bowl together vigorously. Use a balloon whisk to incorporate as much air into the mixture as possible. This will help create that emulsion we need. A great way to keep your bowl from going all over the place while you whisk is to place a wet kitchen towel under it.
Slowly and steadily add the oil
My aioli is akin to a thick ketchup in consistency- a result of the amount of oil I add to the dip. Because, well, I want to dip my french fries in it, not spread it on bread. If you want a mayonnaise-like consistency, you’ll need to toy around with adding more egg yolks to create a stronger emulsion.
I use a blend of oils because pure olive oil is bitter when paired with the garlic and the lemon. Start the aioli with the vegetable oil. I’ve found that adding the olive oil too early makes it taste funny, but that may just be my weirdness.
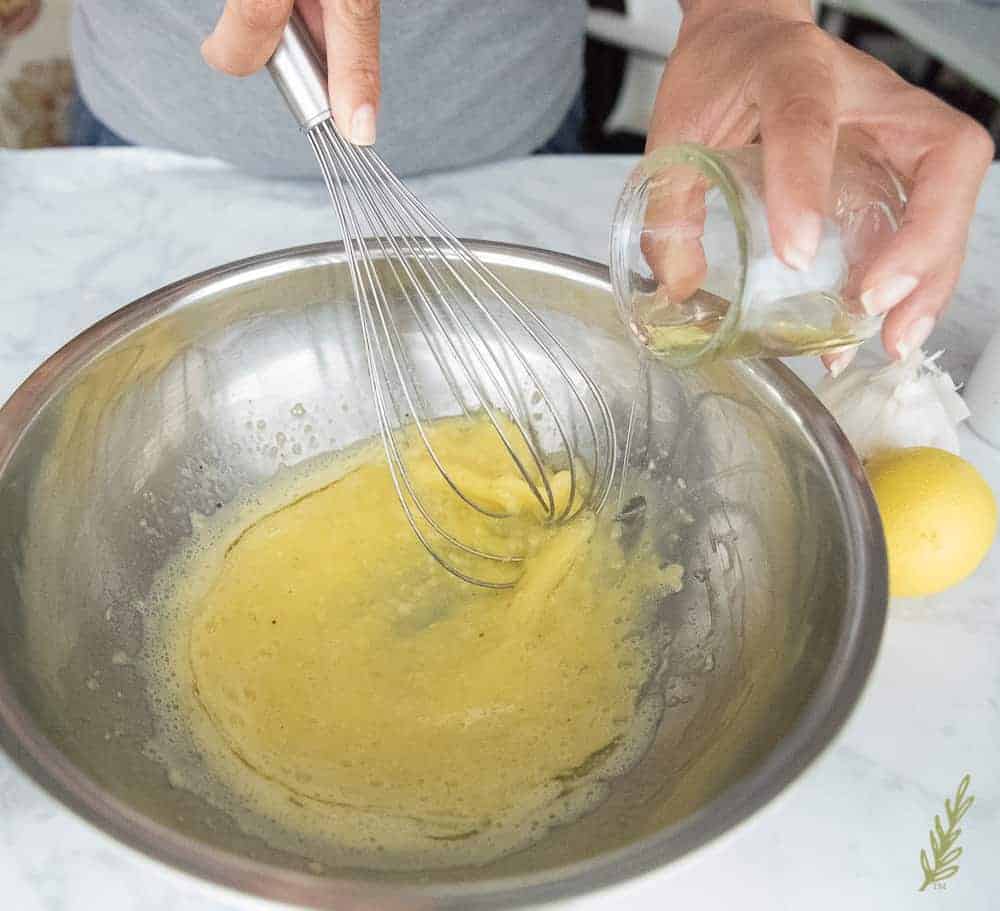
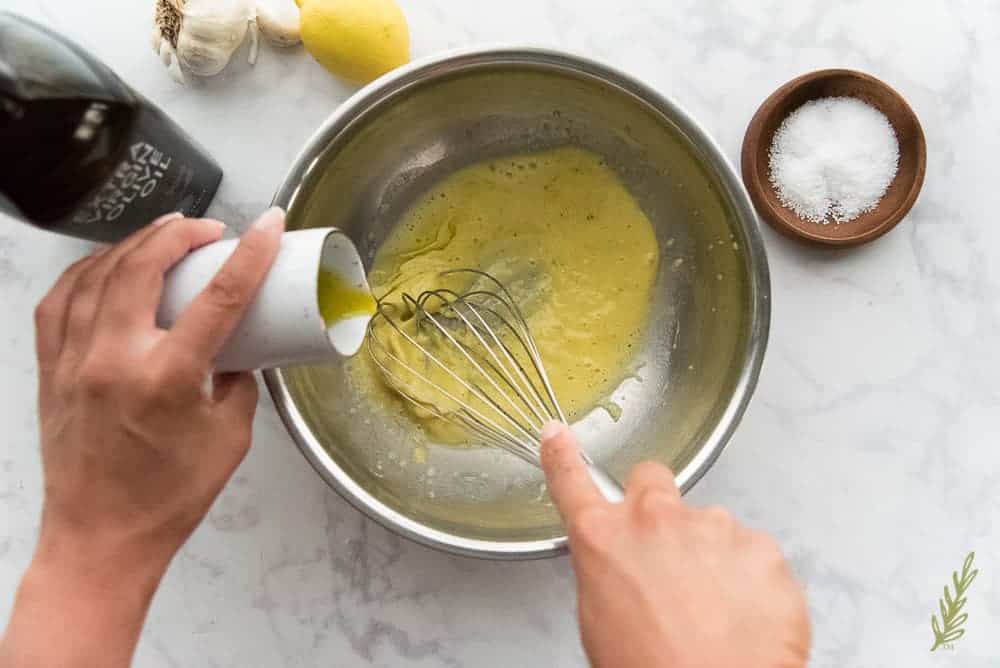
To make drizzling the oil into the bowl easier, fill a cruet with your vegetable oil. While whisking, s-l-o-w-l-y drizzle the oil into the bowl. I usually aim for the middle of the bowl. Slow. Drizzle. Drip drop. Drop top. What just happened here?!?
Once all of the vegetable oil has been added, do the same with a high-quality extra virgin olive oil. I use Cobram Estate Extra Virgin Olive Oil in these cases. Whisk like the dickens as you slowly drizzle the oil into the bowl.
Guess what? You’ve gotta whisk for about ten minutes total. Yes, skip arm day at the gym because this is a workout in and of itself. Can you use an immersion blender? I suppose so, but you’ll need to transfer the mixture into a container tall and wide enough to fit it. You might also use a food processor or a blender, but the same thing applies, drizzle the oil in slowly.
Flavor and whisk some more
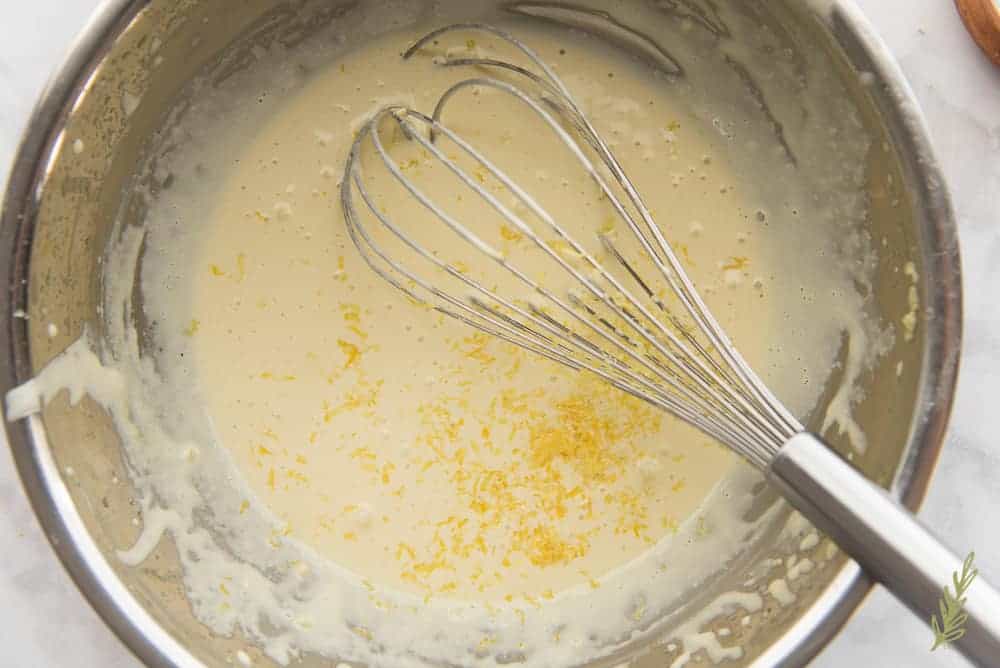
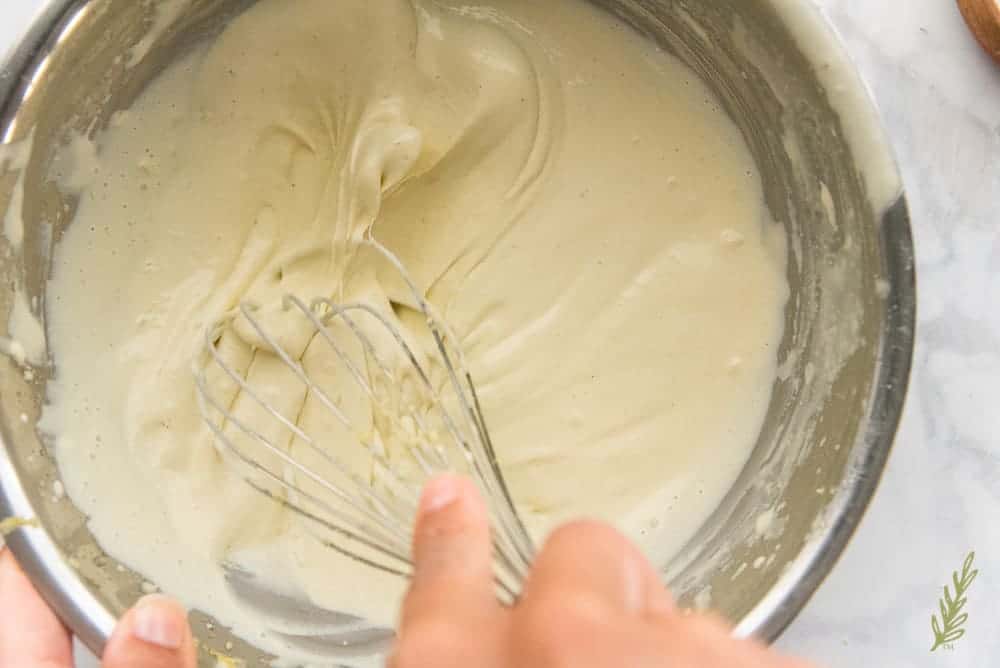
When the whisk leaves trails (or ribbons) in the aioli, grab a microplane and zest half a rind of lemon into the bowl.
Then keep whisking until the aioli is nice and thick- slightly looser than mayonnaise would be. Place the aioli into the fridge while you prepare the french fries.
Prep the fries!
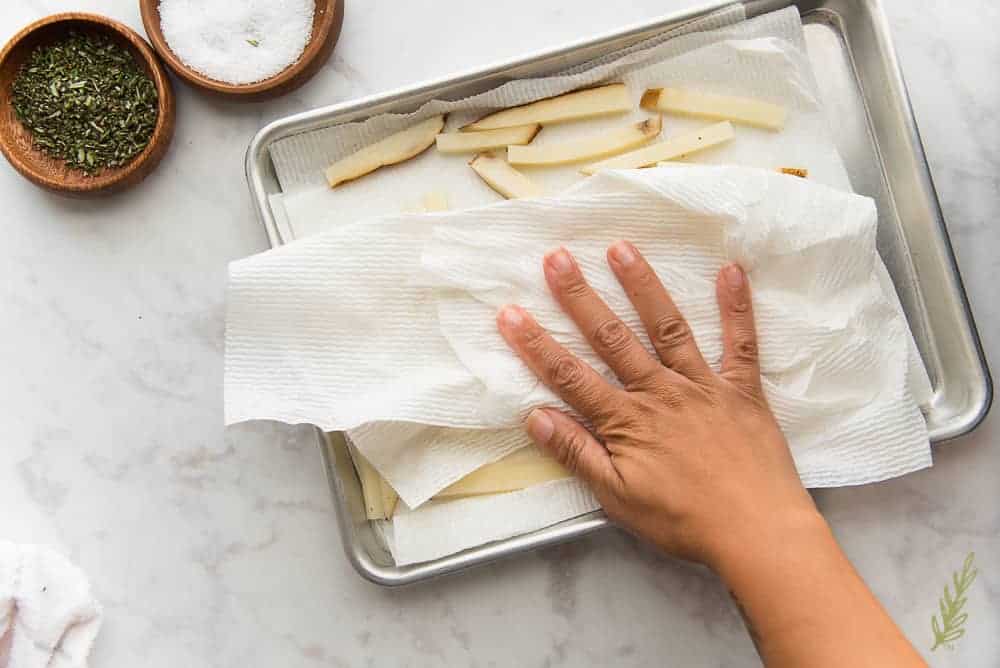
Before you get started, drain the water that you had the potatoes soaking in. You’ll see all of that starch that was washed from the fries. Once the potatoes are drained, arrange them in a single layer on a sheet pan lined with paper towels. Water and hot oil do not mix, so we need to get the potatoes as dry as possible.
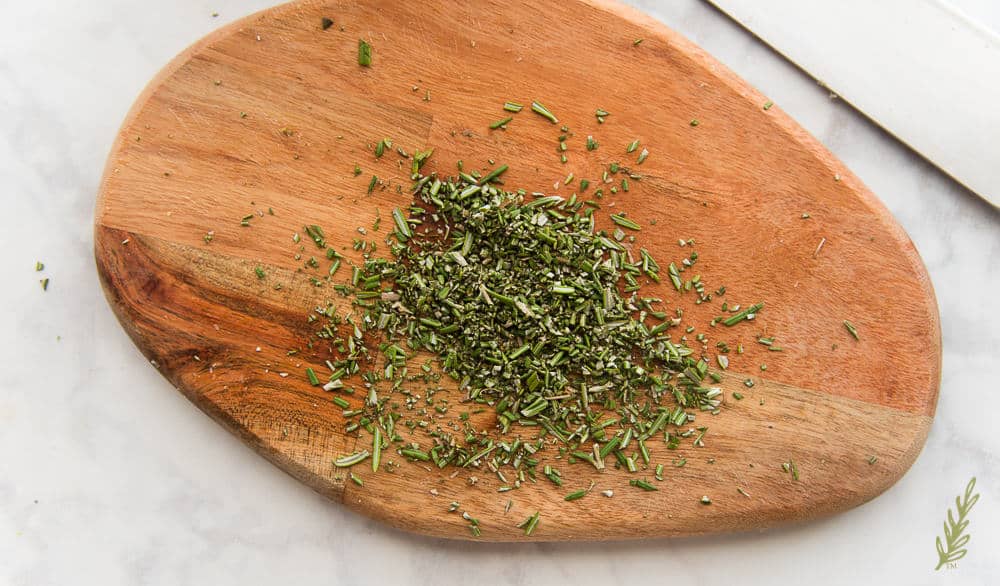
While the paper towels are soaking up the rest of that water, roughly chop some fresh rosemary leaves. Don’t be too persnickety about this, the taste of rosemary on hot fries is never too much, so precision isn’t a must.
At this point you should start heating the vegetable (or peanut) oil you’re going to fry in.
Set the rosemary into a prep bowl and fill another bowl with your kosher salt. Set that to the side along with your pepper mill. Seasoning the fries immediately after draining the oil is essential as that thin layer of moisture will give the seasonings something to attach to.
Blot the potatoes once more with dry paper towels.
Par-cook your french fries
No one can be too safe when it comes to deep frying. If you’ve seen how fast a grease fire can grow out of control, you’ll understand that safety is paramount.
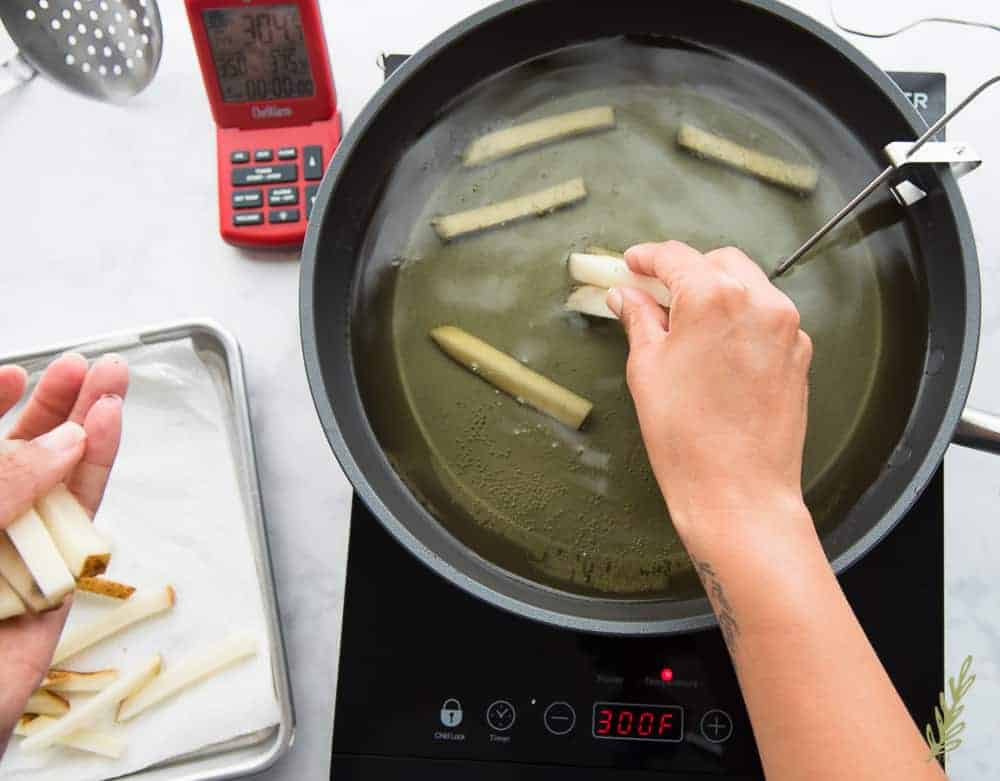
While you’re heating the oil in your frying pan, monitor the temperature with an accurate thermometer. If you have a deep fryer it should have an internal thermometer that shuts off when you reach your set frying temperature- 300°F.
This first fry- or par-cook- is when we do the bulk of the cooking. We’re not looking for color or crispness yet. What we want is to gently cook the french fries so they are tender and no longer crunchy. This step will help us achieve that fluffy interior without burning the exterior like we would if we just fried them outright. Have you ever wondered why those frozen french fries from the grocery store leave your hands greasy after you’ve put them onto the pan to bake? It’s because they were par-cooked in vats of oil prior to being frozen and bagged!
Once the oil reaches 300°F add a handful of the potatoes and fry them for 3-5 minutes. Remember, you don’t want to fry them too long, just until they’re soft. They should have no color on them (save for the skin) when you remove them from the oil.
Be sure not to crowd the pan, either. This will drop the oil’s temperature too much, which will leave you with really soggy fries.
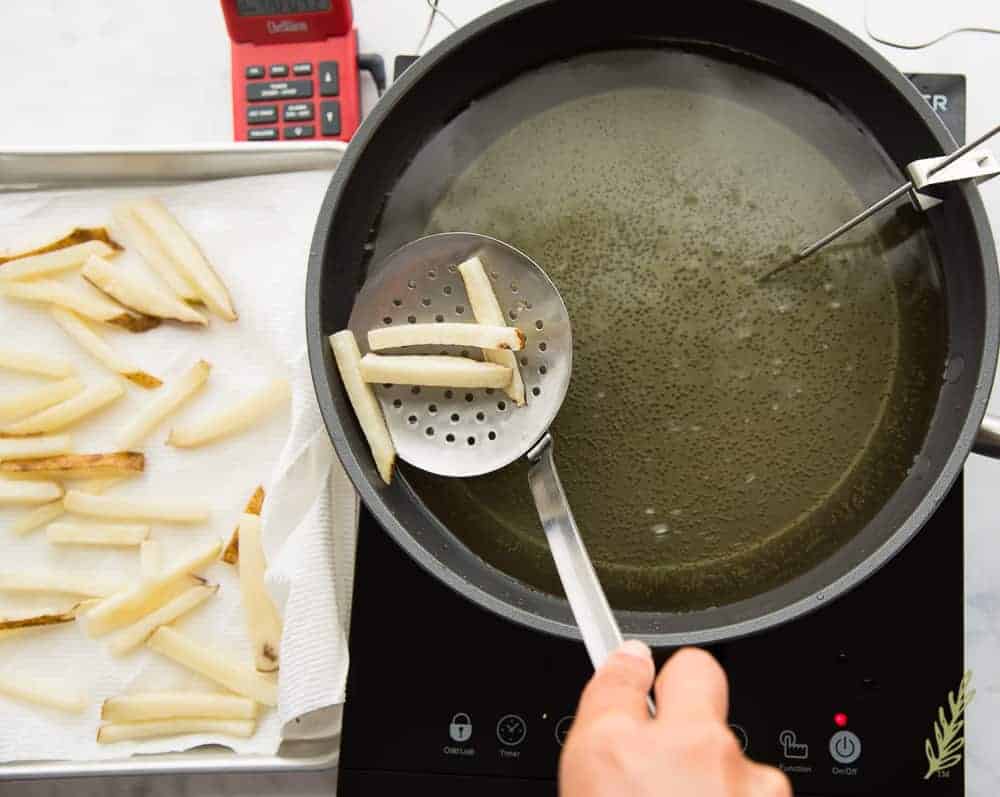
After the par-cooking time has elapsed, carefully remove the fries from the pan using a spider, or a slotted spoon. Transfer them to a paper towel-lined sheet pan (or a sheet pan with a cooling rack set on top) to drain. Allow the fries to cool completely while you par-cook any remaining potatoes.
Finish frying your fries (say that 5 times fast!)
Once the final batch of par-cooked fries comes out of the oil, increase the temperature until the oil reaches 375°F.
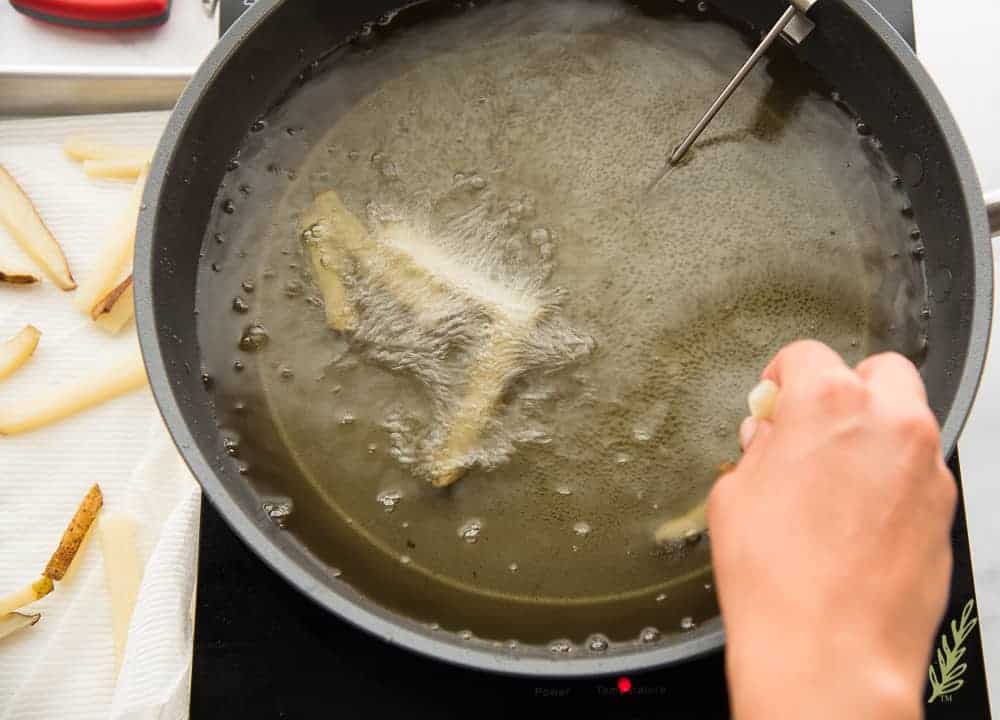
When the oil reaches your frying temp, drop the first handful of fries into the oil. Use your spider to shift the fries around so they don’t stick together. This frying should take anywhere from 4 to 5 minutes. Look for fries that are golden brown and rise to the top of the oil. Again, be sure not to crowd the pan or you’ll end up with limp, soggy, and sad fries.
Use your spider to remove the finished fries from the oil and place them on a paper towel lined pan to drain away any excess oil.
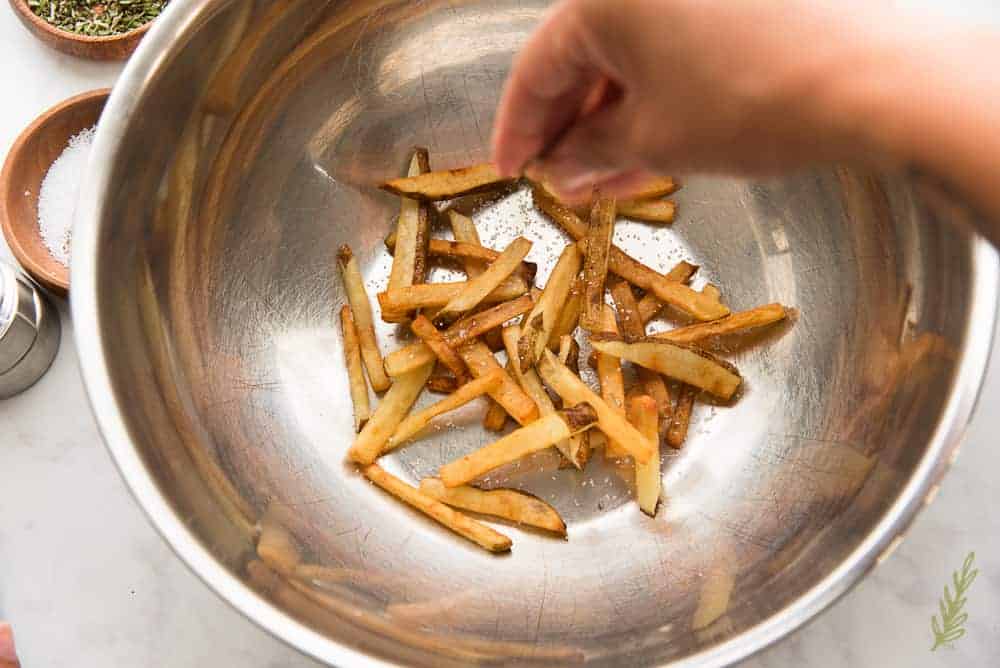
Throw the drained french fries into a large mixing bowl and add a pinch of salt, a pinch of chopped rosemary, and a few twists of freshly ground black pepper to the bowl. Toss the fries in the seasonings until well coated.
Transfer your seasoned fries to a cooling rack set atop a sheet pan and keep them warm in a low-temperature oven. The use of a cooling rack allows the hot air from the oven to circulate around the fries to keep them crispy.
Plate and Enjoy!
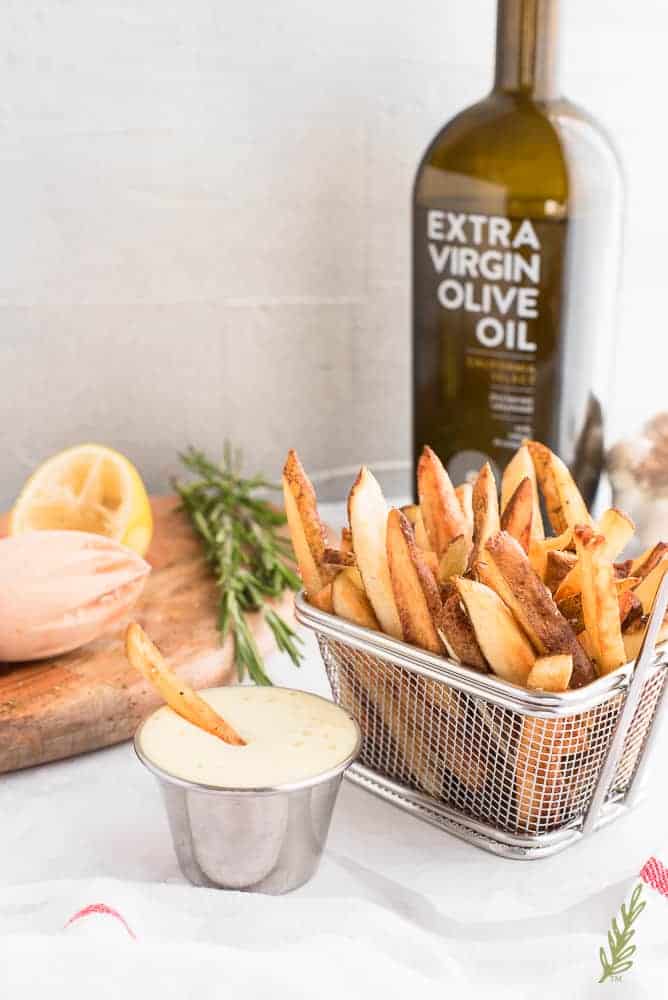
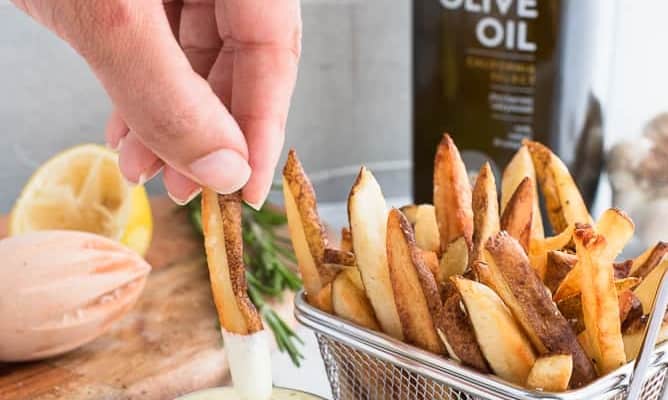
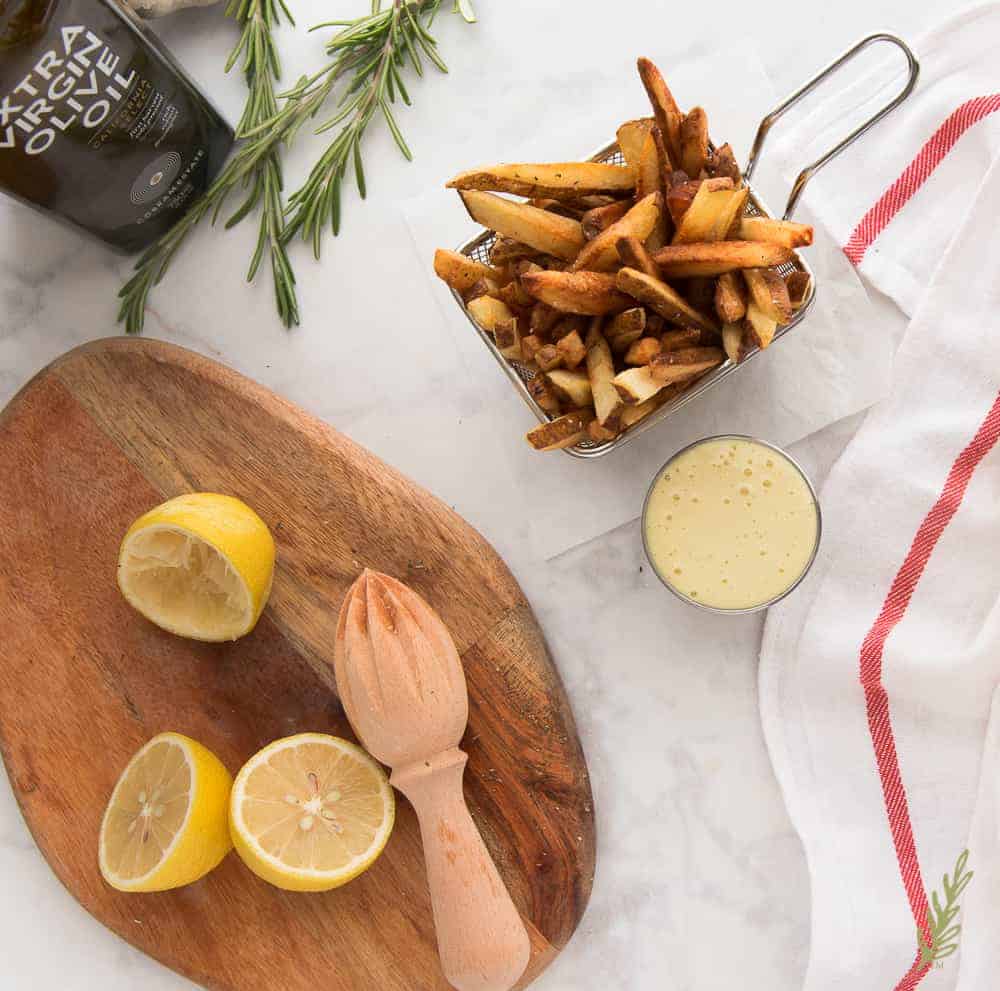
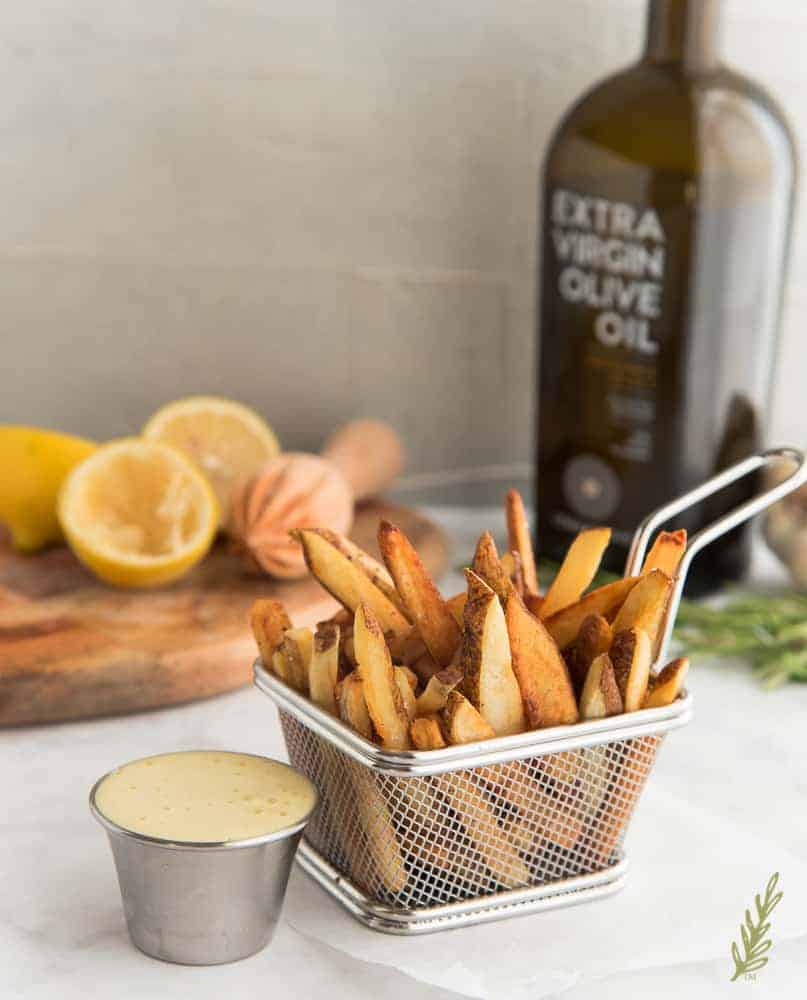
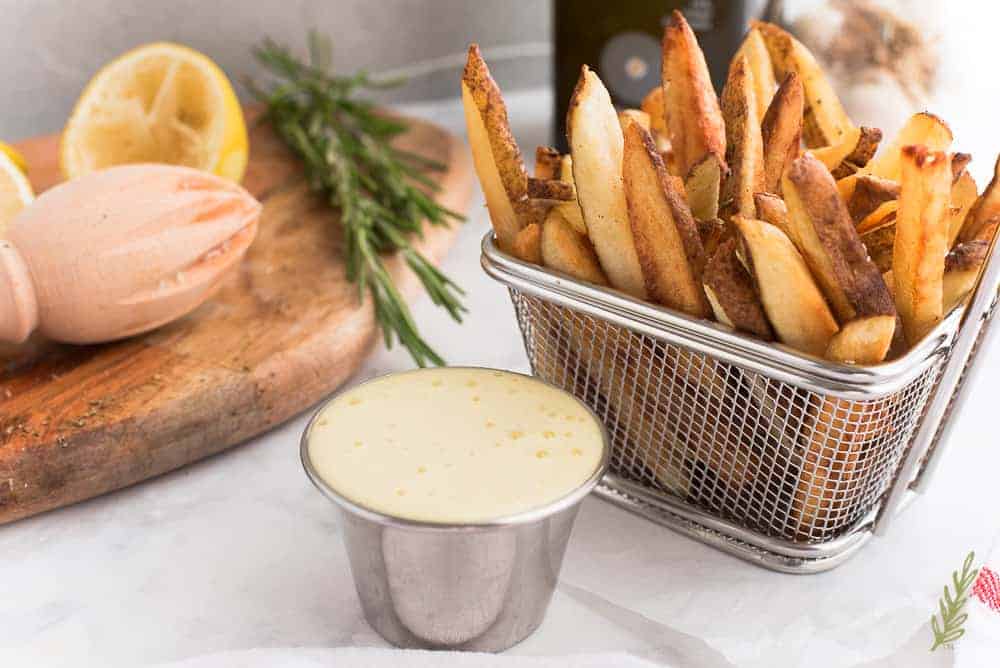
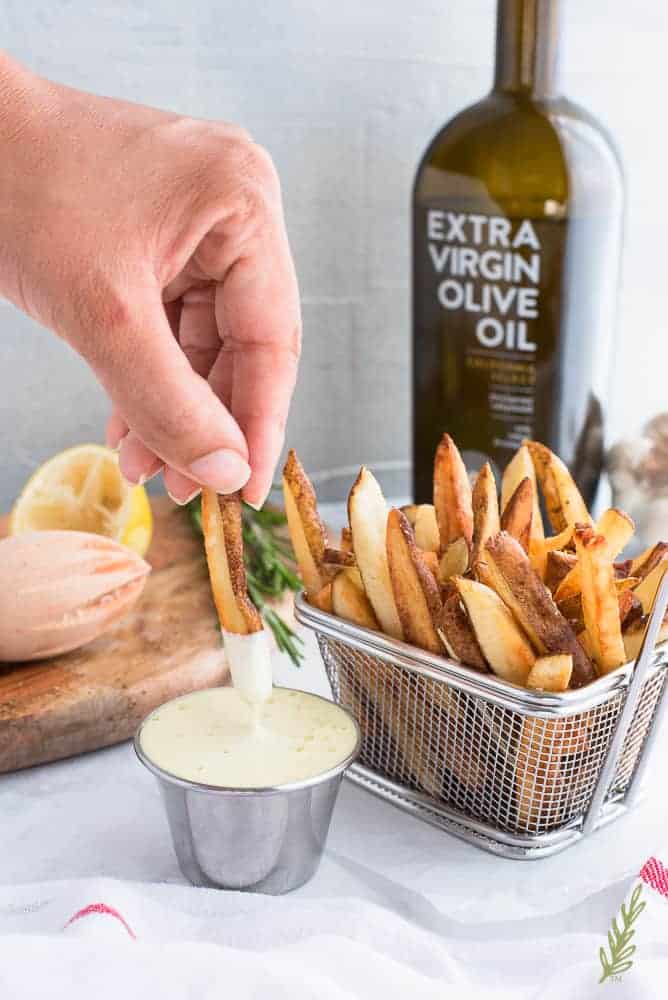
Portion out your french fries and aioli.
I love this little basket I found at Sur la Table. Shout out to Josh at the La Cantera store who helped me pick it out- and made me a great espresso, too!
Pour some of your aioli dip into a prep bowl for dipping the fries in.
Fries are fries. They’re good right after you’ve cooked them. If you don’t think you’ll finish the whole batch, just freeze the cooled, par-cooked fries in freezer storage bag and fry them up later.
The aioli will make about a cup, which is great if you like salads. This is also a great substitute for a regular hollandaise sauce. Aioli is only good for 3 days, tops. Be sure to keep refrigerated until you’re ready to serve it.
Dippable aioli is where it’s at, I don’t care what you say. Be sure to share this recipe with your world and pin it for later!
**This post contains affiliate links. To find out what that means to you, please read my disclosure page**
French Fries with Rosemary and Lemon Aioli
at Sense & EdibilityEquipment
- deep fat fry thermometer
- balloon whisk
Ingredients
French Fries (begin 4-24 hours ahead)
- 4 pounds (about 3 large potatoes) russet potatoes, scrubbed clean
- cold water to cover
- 2 quarts vegetable oil or peanut oil, for frying
- 2 sprigs fresh rosemary leaves, chopped (about 1/4 cup)
- kosher salt, to taste
- freshly ground black pepper, to taste
Lemon Aioli
- 4 cloves garlic, peeled and crushed
- 1/2 teaspoon kosher salt
- pinch ground black pepper
- 1/4 cup lemon juice
- 1/2 teaspoon dijon mustard
- 3 large egg yolks
- 1/4 cup vegetable, grapeseed, OR light olive oil
- 1/2 cup extra virgin olive oil
- 1 teaspoon lemon zest
Instructions
Prep the Potatoes
- Cut the clean potatoes into 1/4" or 1/2" thick sticks. Add the potatoes to a large bowl and cover them with cold water. Place the bowl into the refrigerator and soak the potatoes from 3 hours to overnight.
Make the Lemon Aioli
- In a large stainless steel bowl set atop a wet kitchen towel, vigorously whisk together the garlic, salt, black pepper, dijon mustard, lemon juice, and the egg yolks.
- In a slow and steady stream, whisk in the vegetable oil.Once all of the vegetable oil has been added, whisk in the extra virgin olive oil the same way. Whisk the mixture until it resembles a thick yogurt- this should take about 10 minutes.
- When the whisk leaves trails (or ribbons) in the aioli, add the lemon zest to the bowl. Continue whisking until the aioli is nice and thick, or slightly looser than mayonnaise would be. Place the aioli into the fridge while you prepare the french fries.
Make the French Fries
- Drain the potato water in a colander and rinse them under cold, running water. Once drained, arrange the potatoes in a single layer on a sheet pan lined with paper towels and pat dry with more paper towels. Make sure to dry the potatoes as much as possible.
- Preheat the frying oil to 300°F. Line a second sheet pan with paper towels for draining the fries. Have a large stainless steel bowl nearby for tossing the fries in seasoning as they finish draining.
- Par-cook the french fries in batches- to avoid crowding the pan- for 3-5, or until they are tender. They should have no color on them (save for the skin) when you remove them from the oil.
- When the fries are finished par-cooking, carefully transfer the fries from the pan to the sheet pan to drain. Allow the fries to cool completely while you par-cook the remaining potatoes.
- Once all of the fries have been par-cooked, increase the oil's temperature to 375°F.
- Fry the french fries in small batches and use your spider to shift the fries around so they don't stick together. Fry for 4-5, or until the fries are golden brown and rise to the top of the oil.
- Remove the finished fries from the oil and place them on a paper towel lined pan to drain away any excess oil.Toss the drained french fries in a bowl with a pinch of salt, a pinch of chopped rosemary, and a few twists of freshly ground black pepper to coat them evenly.
- Transfer the seasoned fries to a cooling rack set atop a sheet pan and keep them warm in a low-temperature oven- this will ensure your fries stay as crispy as possible while you fry the remaining batches of french fries.
- Serve your french fries while hot, with a sidecar of the Lemon Aioli. Pour some of your aioli dip into a prep bowl for dipping the fries in.
Notes
Need more dippable recipes?
I’ve got you covered:
Fried Brussels Sprouts
with Gochujang Mayo
Tostones (Twice-Fried Plantains)



Yum, can’t beat homemade french fries. Loving the aioli sauce as well. Good luck finding the perfect lot. Stay positive and it will come 🙂 Cheers.
Thanks Rosemary. We found the lot and are finally settling in. So happy you enjoyed them.
“French fries are an edible blankie and lemon aioli is a pacifier” LMAO!! I feel ya girl, for me ice cream is the blanket and chocolate is the pacifier!
I’m not judging, Heather! To each her own, right?