
My version is a bit different from the original in that I’m using three extracts to flavor them. I’m switching up a few steps in the process, as well; and instead of a vanilla buttercream frosting, I’m going with a cream cheese version.
Perfect for Valentine’s or Any Other Occasion
If you have a birthday coming up, make these. St. Paddy’s Day is around the corner- this is your cookie. For any occasion, I’d recommend keeping this recipe handy. It takes a couple of hours to pull together, but it’s like eating a teeny-tiny cake. The pillowy soft cookie can be flavored any number of ways. The frosting can be altered as well; as can the decorations. This is a lifesaver if you need a simple, go-to sweet treat.
Gather Your Ingredients
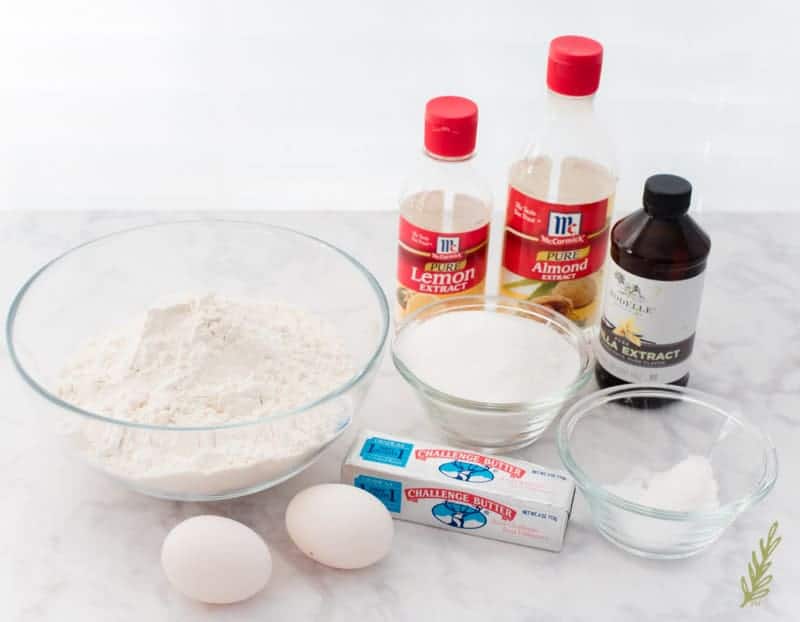
I’m using three extracts that are commonly found in most kitchens: vanilla, lemon, and almond (all pure). This trifecta is also known as “créme bouquet” to cake decorators. Its flavor will remind you of wedding cake. You can use it to flavor anything that calls for extract, by the way; just combine the extracts in equal parts. You’ll also be using all-purpose flour, unsalted butter and eggs (both at room temperature), sour cream, sugar (of course), baking powder and soda, and salt. For the cream cheese frosting, you’ll need room temperature cream cheese, lemon juice (freshly squeezed tastes best), vanilla extract, powdered sugar, and a small amount of milk to thin the frosting, if necessary. Let’s go!
Mix the Cookie Dough
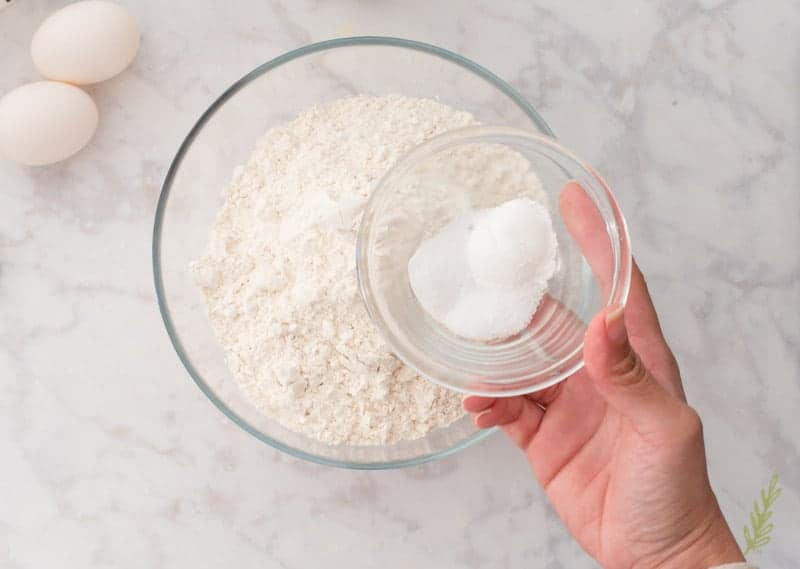
As with most doughs or batters, you’ll first need to combine the dry ingredients together in a mixing bowl before adding them to the dough. This will ensure that the ingredients are distributed throughout the dough evenly. Set this bowl to the side.
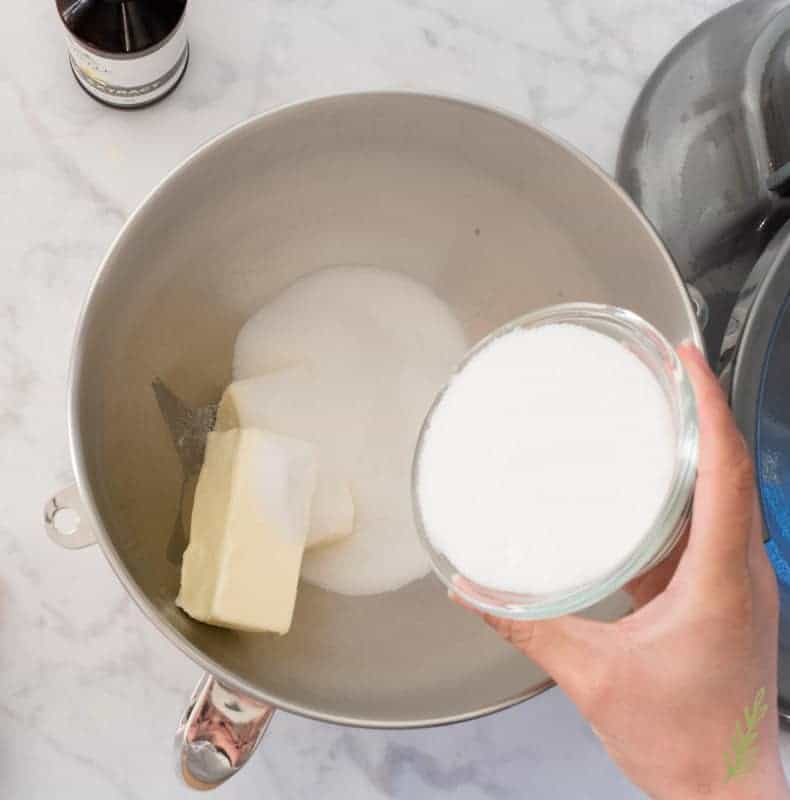
In a stand mixer, mix together the room temperature butter and the sugar on med-high speed for five minutes. This process is called “creaming” in the bakeshop. It softens the edges of the sugar crystals while surrounding them in fat. It helps to keep the cookie tender. Scrape down the bowl twice during this time. By the end of the mixing time, the butter should be almost white in color and it should look spongy and fluffy.
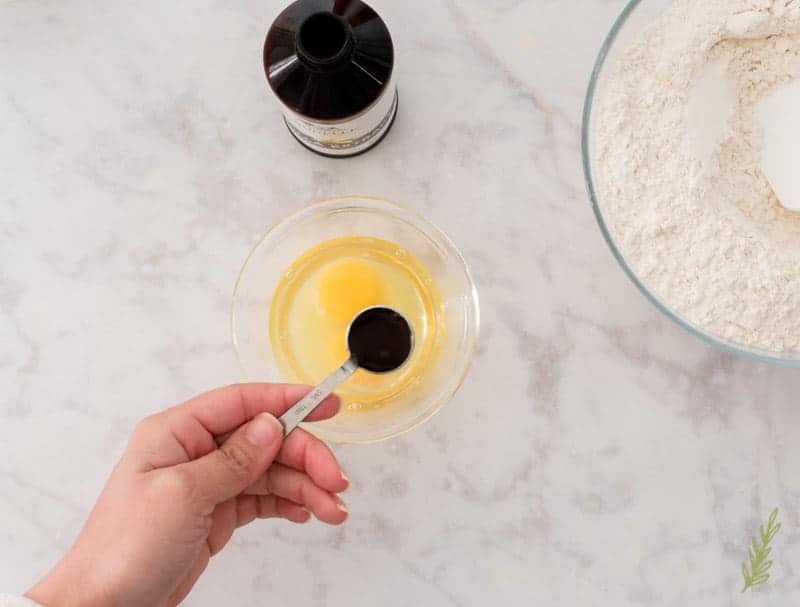
While your butter and sugar are mixing, add a teaspoon of each of the three extracts to the eggs you have cracked into a small prep bowl. After the five minutes of mixing time on the butter has elapsed, add the eggs (one at a time) to the butter mixture. After each addition, mix on medium speed for a minute before scraping down the bowl. Once both eggs have been added, mix on medium speed for three minutes. The goal is to get this part of the dough to a fluffy, light-as-air consistency. Add the sour cream to the butter mixture and mix for another minute.
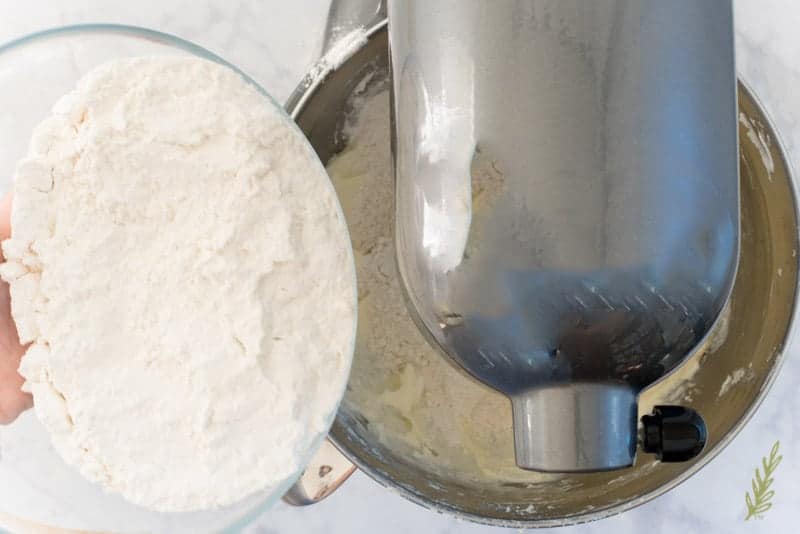
Add the flour to the mixing bowl in two parts. Mix in the flour on low speed and scrape down after a few seconds. Once all the flour has been added, mix for a minute to bring the dough together.
Chill Out…Not You, the Dough
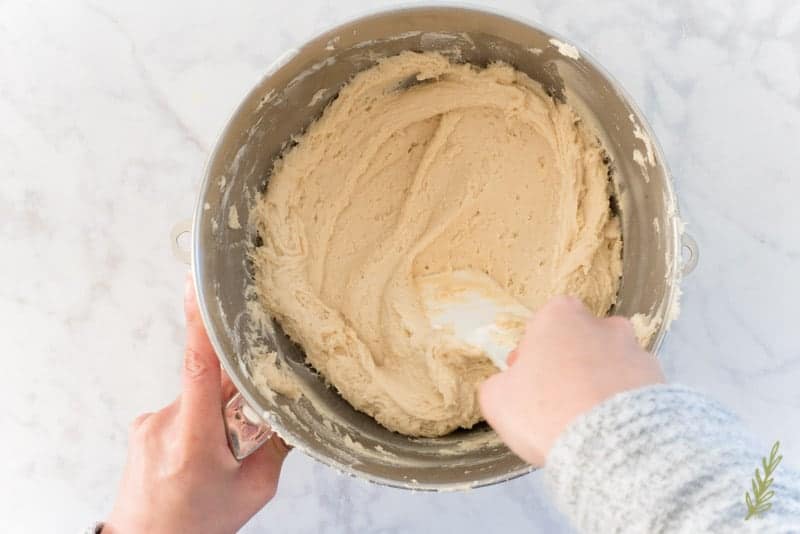
This dough is crazy soft…it is making pillowy soft sugar cookies, afterall. The fact that they end up soft means that the dough that creates them is soft itself. This can be cringe-worthy if you’re like me. I have an aversion to sticky substances, but because these soft sugar cookies are so good, I suck it up. Use a rubber spatula to knead the dough in the bowl. You are trying to push as many air bubbles out of the dough as possible. You could turn the dough out onto your countertop and knead it, as Cindy suggests, but you need to use a good amount of flour when doing so. I have found that kneading it with my spatula accomplishes the mission without skeeving me out.
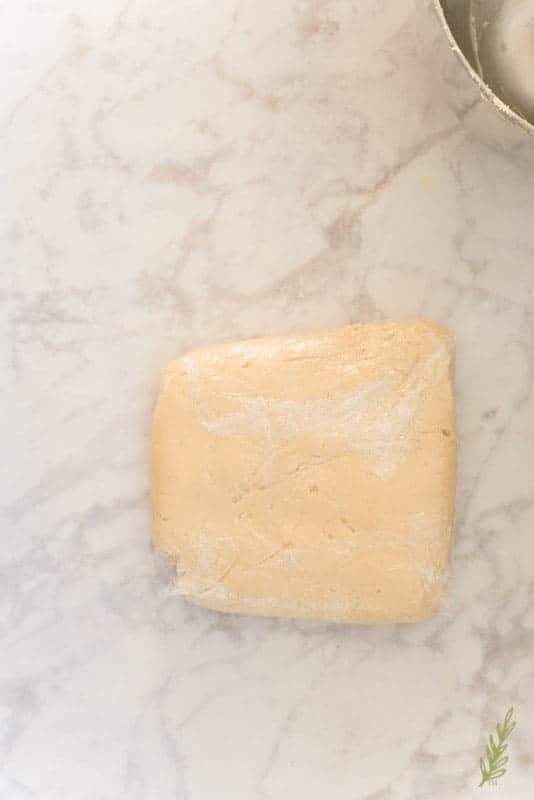
Once you’re satisfied that you’ve gotten as many of the air bubbles out as you can, wrap the dough in a piece of plastic wrap. You can divide the dough into two equal portions and wrap them separately, too. Refrigerate the dough for a couple of hours (Cindy suggests overnight).
If you want to make these in advance, I’d recommend freezing the disc of dough prior to rolling it out. Freeze for up to six months and allow the dough to thaw in the fridge before rolling out. It makes it easier to roll and cut when the dough is still partially frozen.
Cut and Bake the Cookies
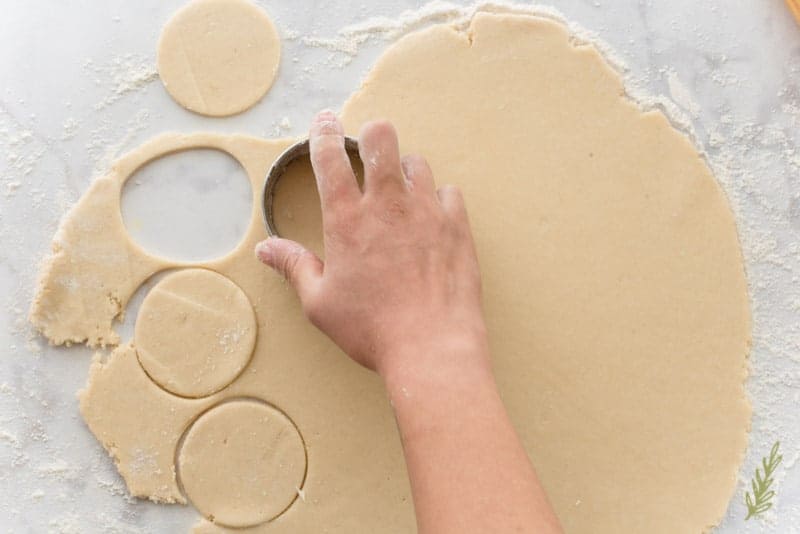
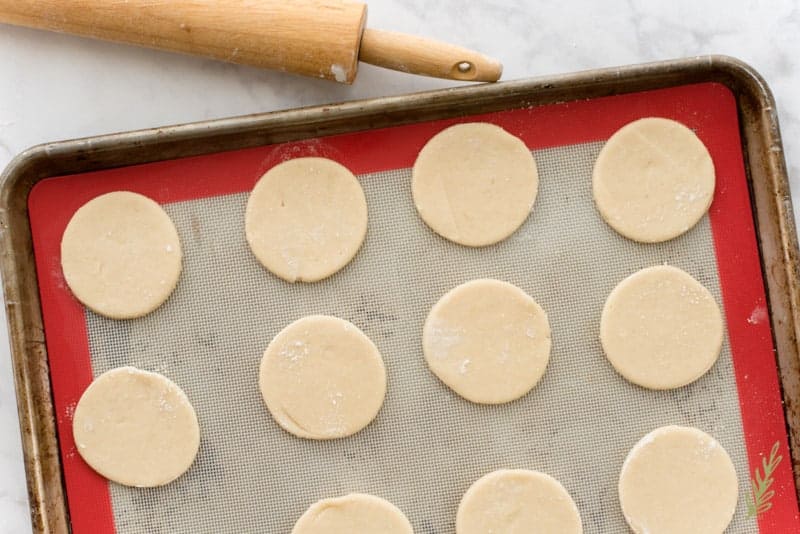
After your dough has chilled, generously flour your work surface with all-purpose flour. Roll the dough out to a quarter-inch thickness using your rolling pin. Cut circles out of the dough using a lightly floured three inch circle cutter. Gather together the leftover scraps of dough and form them into a disc. Wrap the disc in plastic wrap and chill for thirty minutes. The dough rolls, and cuts, better when it’s cold.
Transfer the cut cookie dough to a sheet pan lined with a silicone baking mat or parchment paper. Bake the first pan in a three hundred fifty degree oven for eleven minutes. Keep the other pans of cookies in the fridge until the first pan comes out of the oven. It’s best to keep the cookies cold so they don’t spread too much during baking. If you have a double oven, go ahead and bake two pans at a time. If you have three ovens- will you adopt me?
Make the Cream Cheese Frosting
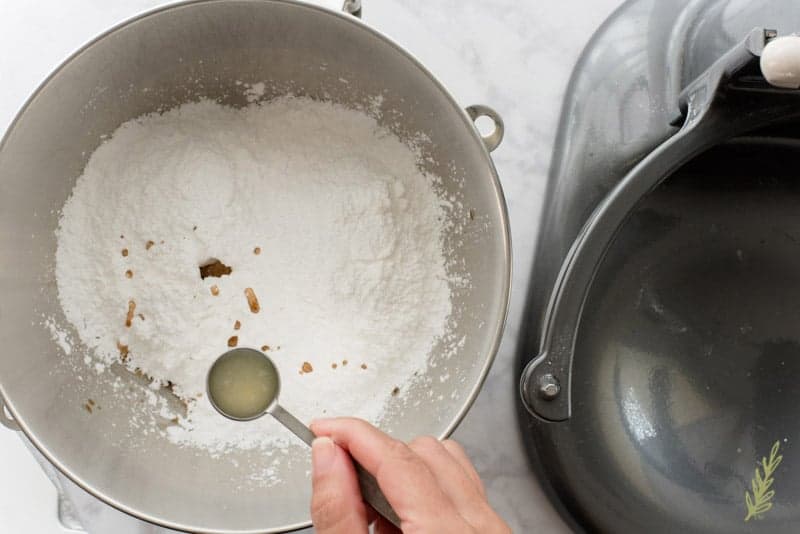
While the cookies are baking, make the cream cheese frosting. In the bowl of your stand mixer, combine the room temperature cream cheese and the sifted powdered sugar. Add a pinch of salt, the lemon juice, and the vanilla extract to the bowl, too.
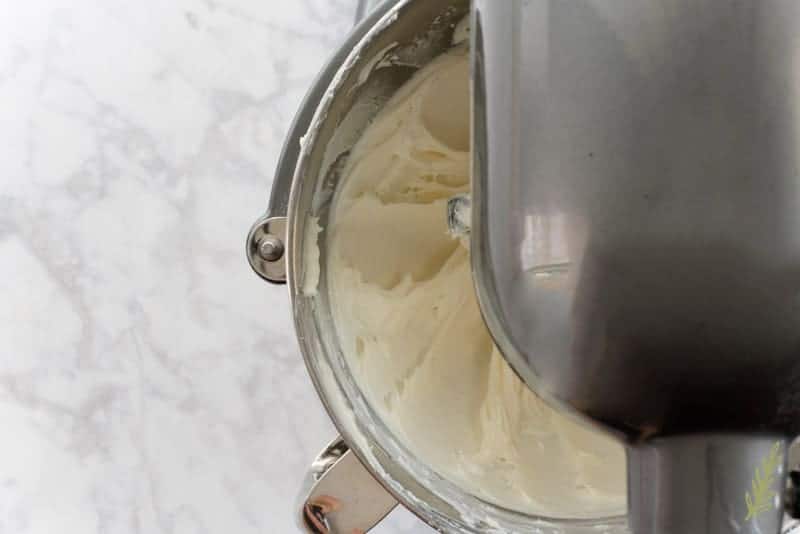
Start the mixer out on the lowest speed to prevent a cloud of sugar from blowing up in your face (don’t ask). Gradually increase the speed after the sugar has been mixed into the cream cheese. Whip the cream cheese mixture until it is light and fluffy- scraping down the bowl once or twice during mixing- about four minutes. If you find that frosting is too thick, thin it out with a teaspoon, or two, of whole milk. At this point you can tint the frosting your choice of colors using gel food coloring.
Here’s a more in-depth post on how to make Cream Cheese Frosting should you need it.
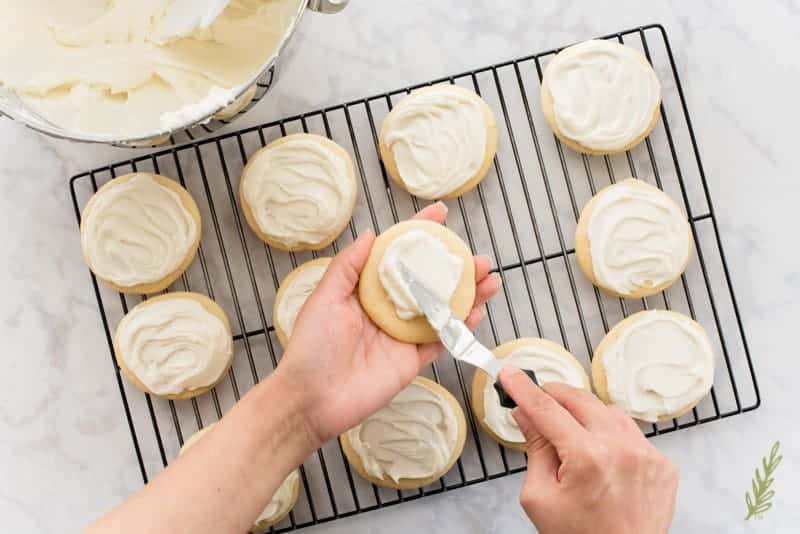
After all the cookies have been rolled and baked, transfer them to a cooling rack and allow them to cool completely. Use a small offset spatula to spread about a tablespoon of frosting onto each cookie.
Decorate each cookie with a generous sprinkle of sprinkles. Can I write that? I guess I just did, huh?
Treat Yo’self…and Your Family
Cindy said that these cookies are even better the next day (after frosting) and, let me tell you something, Cindy don’t lie. These super soft sugar cookies are divine once that frosting seeps into them a little bit. Store them at room temperature in an air-tight container for up to three days. I put a sheet of parchment in between my layers to keep them from sticking to one another.
Now you can experience the taste of Soft Sugar Cookies without worrying about overdoing it on the preservatives and artificial flavors.
You can thank Cindy and Simply Recipes for the inspiration, and let me know what you think of my version below in the comments. Pin this recipe and the original for later and share with your world! Happy Valentine’s Day to you and yours!

Soft Sugar Cookies with Cream Cheese Frosting
at Sense & EdibilityIngredients
Sugar Cookie Dough
- 3 1/2 cups all-purpose flour, plus more for rolling
- 1 1/2 teaspoons baking powder
- 1/2 teaspoon baking soda
- 1/2 teaspoon kosher salt
- 2 large eggs
- 1 teaspoon vanilla extract
- 1 teaspoon almond extract
- 1 teaspoon lemon extract
- 1 cup unsalted butter, room temperature
- 1 1/2 cups granulated sugar
- 1 cup sour cream
Cream Cheese Frosting
- 8 ounce package cream cheese, room temperature
- 4 cups powdered sugar, sifted
- 2 teaspoons lemon juice, freshly squeezed from 1/2 a lemon
- 1 teaspoon vanilla extract
- 1/2 teaspoon kosher salt
- 1 tablespoon whole milk, to thin frosting as needed
Optional Ingredients
- gel food coloring to tint frosting
- sprinkles to decorate
Instructions
- In a mixing bowl, combine the flour, baking powder and soda, and salt together with a whisk. Set this aside.
- Add the three extracts to the bowl containing the eggs (don't whisk the eggs), and set aside.
- In the bowl of a stand mixer, mix the butter and the sugar together on med-high speed until light and fluffy- about 5 minutes. Scrape down the bowl twice during this time.
- Add the eggs (one at a time) to the butter mixture. After each addition, mix on medium speed for 1 minute before scraping down the bowl. Once both eggs have been added, mix on medium speed for 3 minutes, or until the mixture is airy.
- Add the sour cream to the mixture and blend, on low speed, for another minute. Scrape down the bowl once again.
- Mix the flour into the butter-egg mixture in two parts on low speed. Scrape the bowl down after a few seconds. Once all the flour has been added, mix for 1 minute to bring the dough together.
- Remove the mixing bowl from the stand and use a rubber spatula to knead the dough- while it's still in the bowl- to eliminate excess air bubbles. Alternatively, you can turn the dough out onto a floured surface and knead the dough by hand.
- Wrap the dough in plastic wrap. You can also divide the dough into two equal portions and wrap them separately. Refrigerate the dough for at least 2 hours, or overnight.*
Bake the Cookies
- Preheat your oven to 350°F and line sheet pans with a silicone baking mat or parchment paper.
- Generously flour your work surface with all-purpose flour, then use a rolling pin to roll the dough out a 1/4" thick.
- Use a 3" circle cutter, dipped in a little bit of flour, to cut circles out of the dough. Gather together the leftover scraps of dough and form them into a disc. Wrap the disc in plastic wrap and chill for 30 minutes before re-rolling.
- Transfer the cookies to the sheet pan and bake for 11 minutes. Keep the other pans of cookies in the fridge until the first pan comes out of the oven.
- Once the cookies are baked, transfer them to a cooling rack and allow them to cool completely.
Make the Cream Cheese Frosting
- In the bowl of your stand mixer, combine the cream cheese, powdered sugar, salt, lemon juice, and the vanilla extract.
- Begin creaming the ingredients on the lowest speed, gradually increasing the speed to medium-high after the sugar has been mixed into the cream cheese.
- Whip the cream cheese mixture until it is light and fluffy- scraping down the bowl once or twice during mixing- this should take about 4 minutes.
- If you find that frosting is too thick, thin it out starting with 1 teaspoon- up to a tablespoonful- of the milk. At this point you can tint the frosting your choice of color(s) using the food coloring.
Decorate the Cookies
- Use a small offset spatula to spread a tablespoon of frosting onto each cookie.
- Decorate each cookie with sprinkles.
- Store the decorated cookies at room temperature, in an air-tight container, for up to 3 days. Separate the layers of cookies with a sheet of parchment.
Notes





I totally love sugar cookies, these not only sound delicious but they look adorable!
Thank you so much, Mimi!
YUM! These look so good, there’s nothing like an iced sugar cookie. You’ve gone and done it again, Marta!
Thanks so much, Leigh!
I could eat sugar cookies and nothing else 12 months a year. These pretty cookies for Valentine’s Day though look extra sweet.
I like the way you operate, Sharon! They are perfect for loving on your Valentine, that’s for sure.
I’ve always wanted to try to make these but never found a recipe that was easy enough to follow! Totally printing this one. Thanks!
Have fun with it, Heather!
Might have to make these tonight! These look YUMMY!
I hope you love them as much as we do!
I always burn sugar cookies. THanks for these tips… maybe I can follow them and get good cookies.
Oh, you’ll totally nail these, Tiffany! They couldn’t be easier.