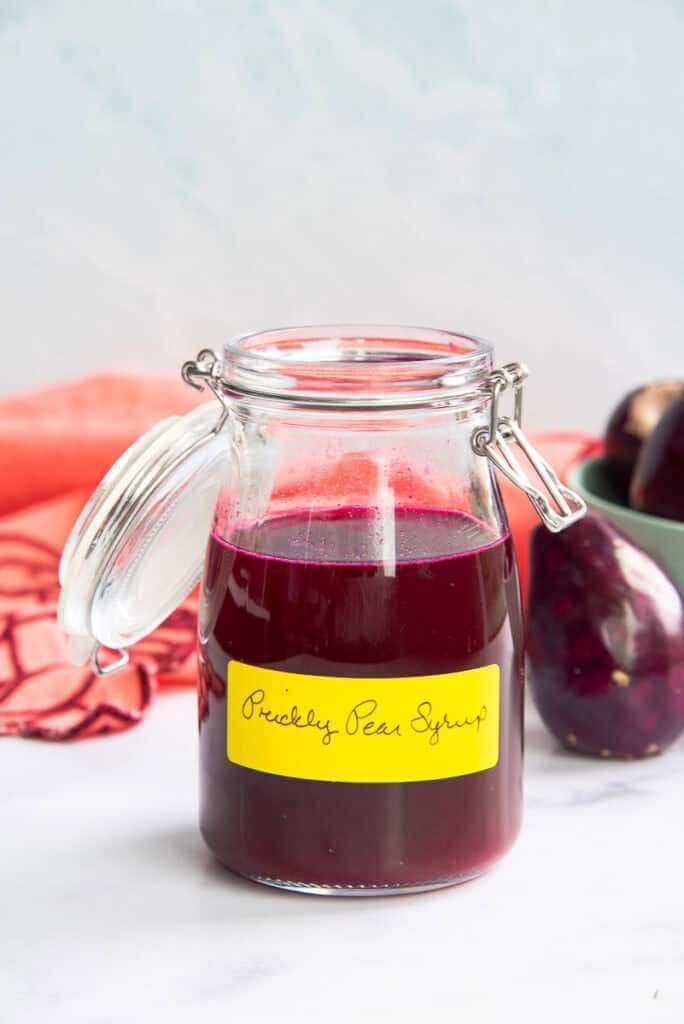
Prickly Pear Syrup is one of the easiest ways to preserve the sweet, subtly floral flavor of prickly pear fruit. Whether you harvest your own fruit or buy it at the market, this simple syrup requires just a few ingredients and can be used in cocktails, desserts, lemonades, marinades, and more. After harvesting (and being poked), I’ve developed a tried-and-true method for safely harvesting, preparing, and cooking prickly pears so you get a vibrant syrup without the frustration of being hurt by the fruit’s tiny spines.
What Is Prickly Pear Syrup?
Prickly pears are the fruit of the Opuntia ficus-indica or prickly pear cactus. The fruit has a bunch of names: prickly pear, barbary figs, cactus fruit, or tuna. The latter, tuna or tunas (plural), comes from the Taino language– my peoples– taken by the Spanish in the early 16th century and still what it’s called by Spanish-speakers.
The cactus grows in arid and semi-arid places around the globe, including my yard. The fruit and paddles (or stems) of the cactus are edible. You may have seen the paddles used in recipes like nopales con huevo or ensalada de nopales.
This post will focus on turning the fruit into syrup, though.
Prickly pear tastes like a watermelon and pear had a baby. It’s like an earthy, slightly floral berry flavor. Depending on the fruit’s ripeness, the color can range from magenta-red to a deep purple. Making this syrup, I find, is the best way to use ripe prickly pear. It simply lasts longer and has a multitude of uses.
But to make the syrup, we need the fruit.
How To Safely Harvest Prickly Pears
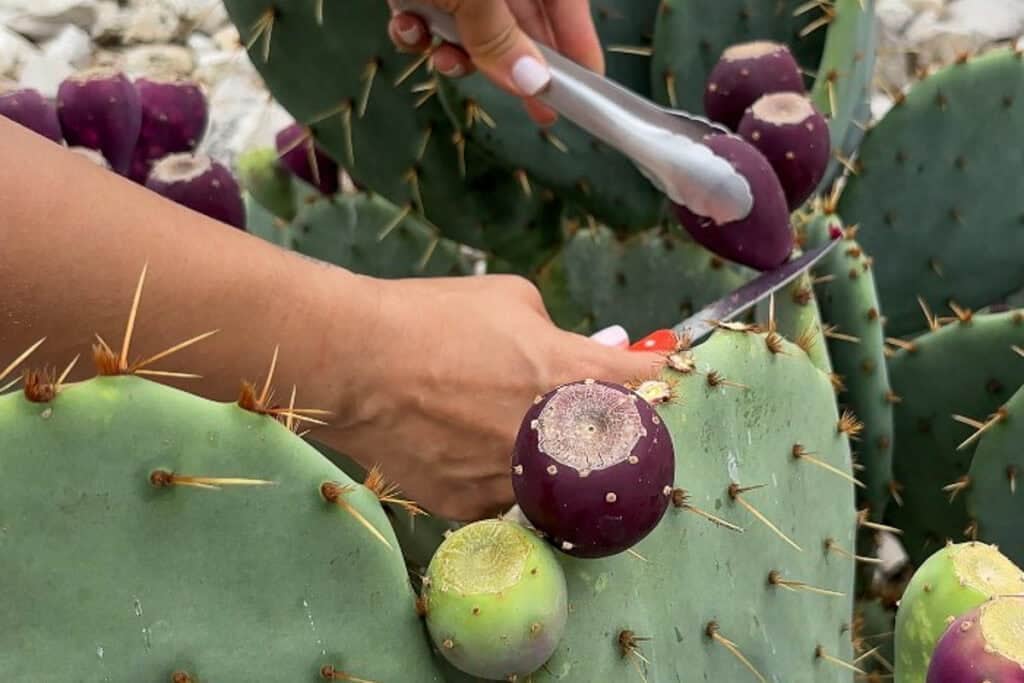
…because that is an important thing to know. The first time I called myself “harvesting” prickly pears, my city-girl hands were in for a rude awakening. You cannot just “grab it between the spines” as I thought. Prickly pear skins are dotted with small sharp pins (which I saw) and microscopic hairs called glochids (which I didn’t). I would later feel these glochids stabbing me while I washed my hands, dried my hands, and cried over my hands.
You can see in the image above that they range in color from bright green to a blush pink to deep magenta as they ripen. The prickly pears are ready to harvest when they turn a deep purple color.
To safely harvest prickly pears, you should wear heavy gardening gloves. Put on work boots or closed-toed shoes, and eye protection for added safety. The glochids can get picked up by the wind, and the next thing you know, you’re picking them out of your big toe– ask me how I know. Never mind that I’m not wearing gloves in the picture. Clearly, I’m a glutton for punishment.
Use a pair of long tongs to grip the bulbous top of the fruit. Using a very sharp, serrated paring knife, cut the fruit from the cactus paddle right above the tuft of spines at its base. I like to carefully place the fruit in a metal bowl, since metal doesn’t have ridges or crevices that can hide the glochids as plastic or wooden bowls do. You can also put them into a paper bag. Harvest all the ripe prickly pears your cactus has.
Oh, there’s also some leaf-footed bugs you may encounter while harvesting the fruit. Just flick them off with your tongs.
How to Prepare Prickly Pears For Use
There are three ways to prep prickly pears for safe handling later. The first is the way Indigenous peoples did it: find a patch of earth with small pebbles or sand and roll the fruit around to dislodge the glochids. I have neither in my yard, so I use one of the following methods.
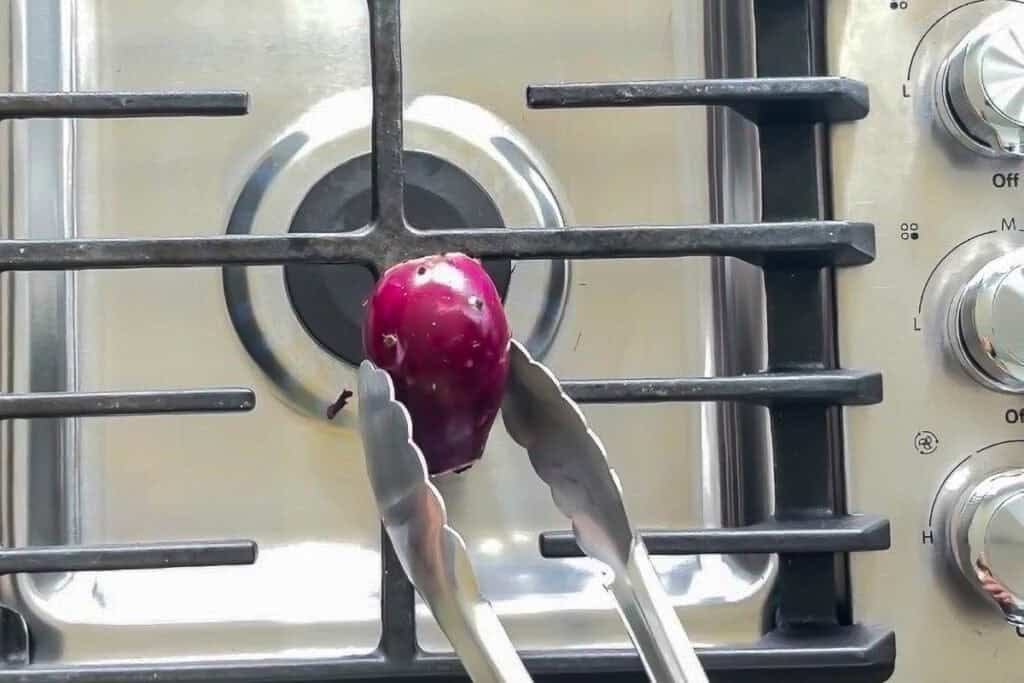
Both methods use fire to burn the glochids off of the prickly pear skin. The first, and most accessible to home cooks, is to use the flame from your gas stove. Hold the fruit with the tongs and rotate it over the flame to singe off the glochids. You’ll see the hairs flare up and turn black.
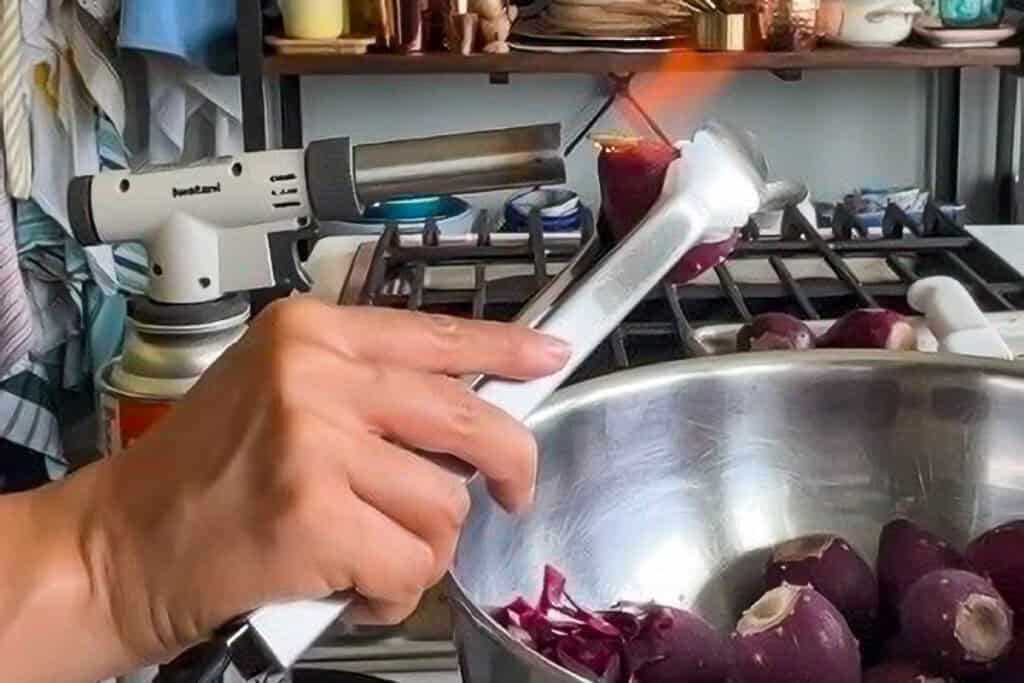
The second method uses a butane torch to burn off the glochids. Hold the prickly pear in front of the flame using the tongs and use the same rotation technique. Be careful around the open flame, and if you have a lot of fruit to prep, take breaks every 3 minutes to give the can time to rest.
Warning!
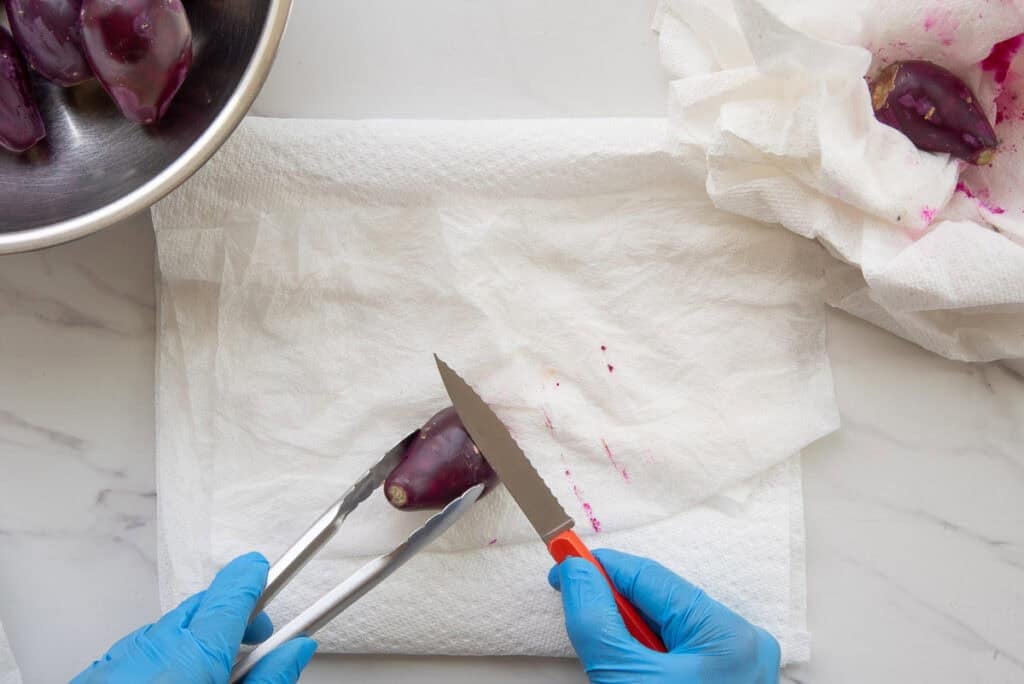
It’s important to note that burning off the spines doesn’t completely remove them from the prickly pear skin, but it does make removing them easier. After you burn the spines, use the back of your paring knife or a stiff brush to scrape the nubs that are left after burning.
I like to do this on a damp paper towel that the glochids stick to. Don’t go all crazy scraping. Stay close to the fruit and paper towel so rogue hairs don’t float off onto your counters. Wipe down the back of the knife after each fruit. Once you’ve scraped each fruit, rinse them under cold water to remove any trace of the hairs. Dry them well, and they’re ready to use.
You can also buy prickly pear at the grocery store and skip all of this.
Peeling And Cutting The Prickly Pears For Use
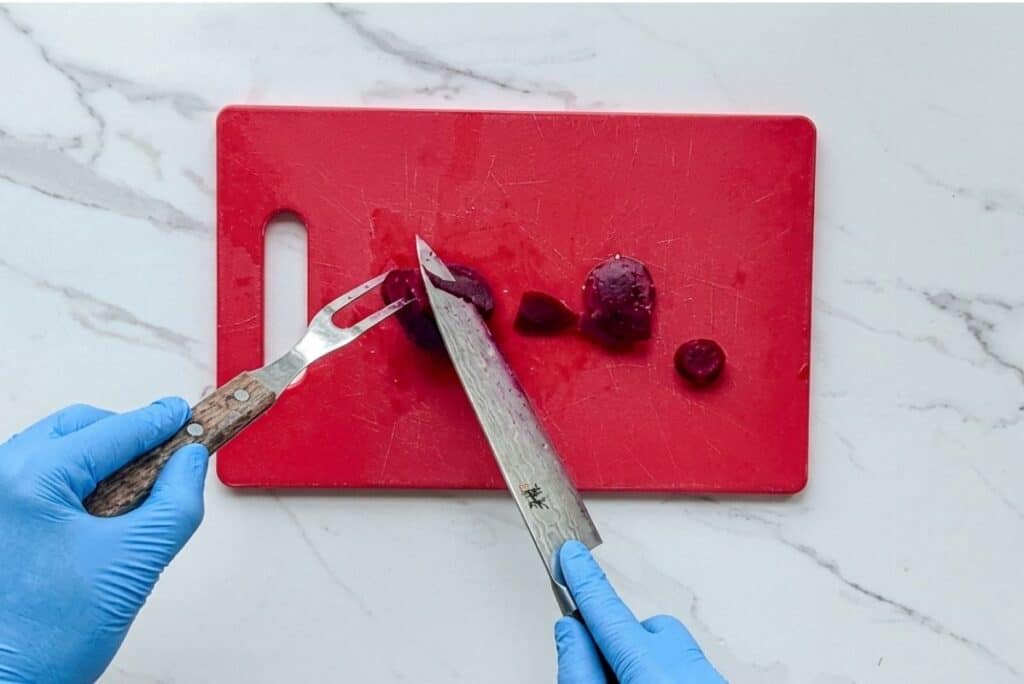
Instead of burning off the glochids, you could kill two birds with one stone by carefully peeling the fruit. I’m not a fan of this method because the fruit hardly ever grows symmetrical enough to do this easily. It’s cumbersome to wrangle and move. Plus, the glochids get everywhere.
Hold the fruit with a fork on a cutting board and use a sing a chefs knife to peel the prickly pear.
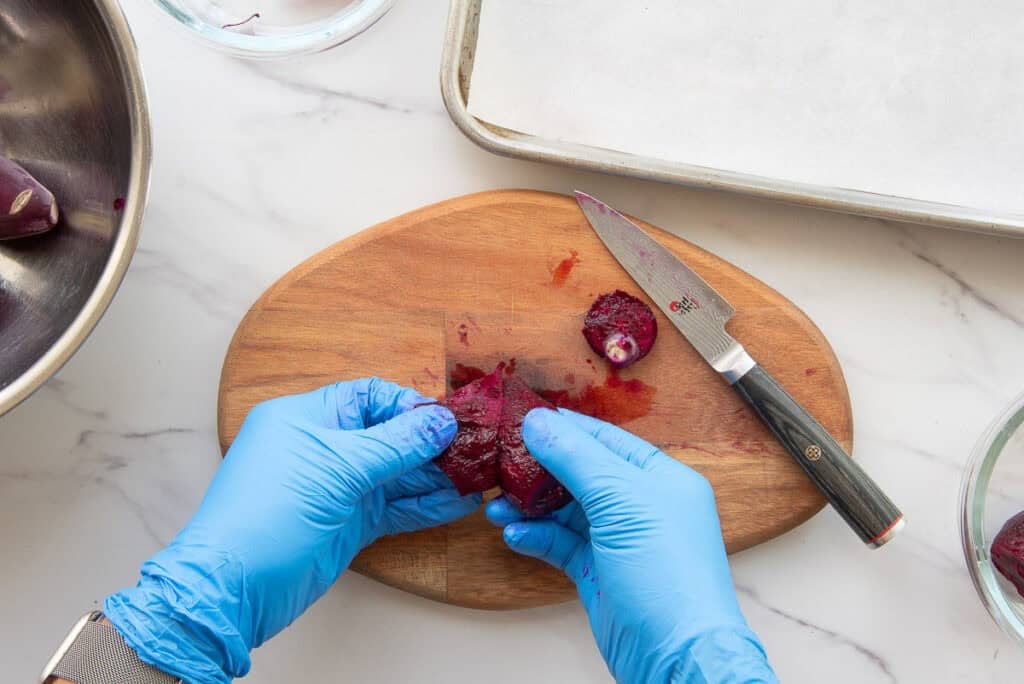
For me, it’s easier to do the burn and scrape method, then peel the fruits by hand.
Slice off the woody circle from the wide end of the prickly pear, then use your fingers to pull away the papery skins. I’m still wearing gloves because the fruit will stain your nails and skin. As you peel the fruit, its slime will make things slippery. Prickly pear has a mucilaginous quality like aloe vera or okra. Gloves make handling them a little easier. It helps to keep some paper towels nearby to wipe down the cutting board.
Wipe up spills as soon as you’re done to prevent stains, too.
How To Make Prickly Pear Syrup
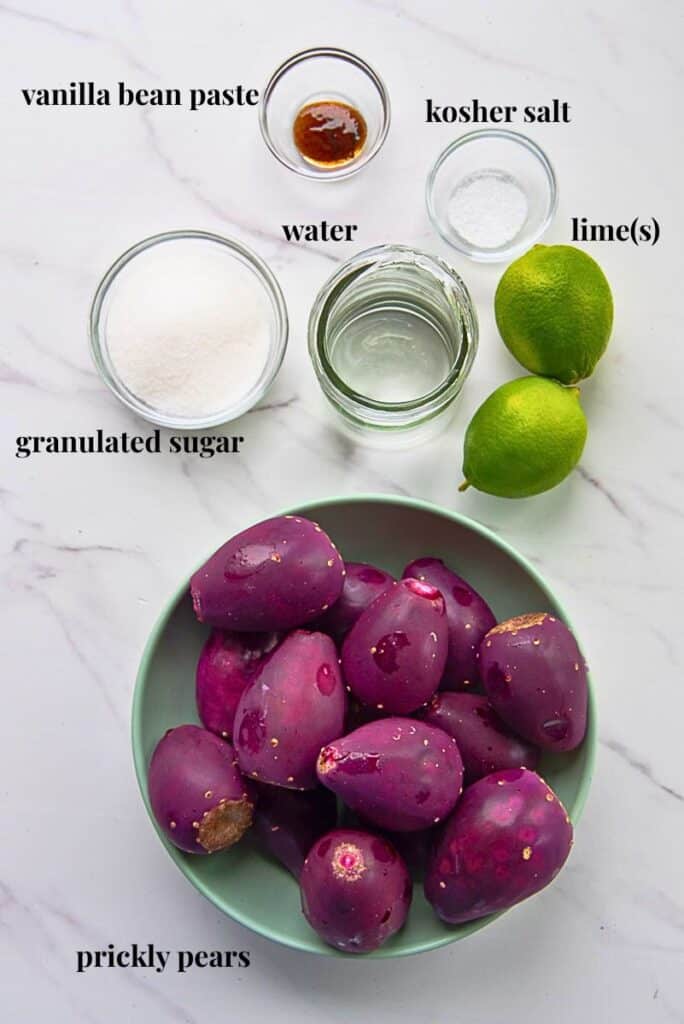
This syrup recipe requires two pounds of prickly pears. You also need granulated sugar, water, kosher salt (optional), vanilla extract or bean paste, and the juice of one or two limes.
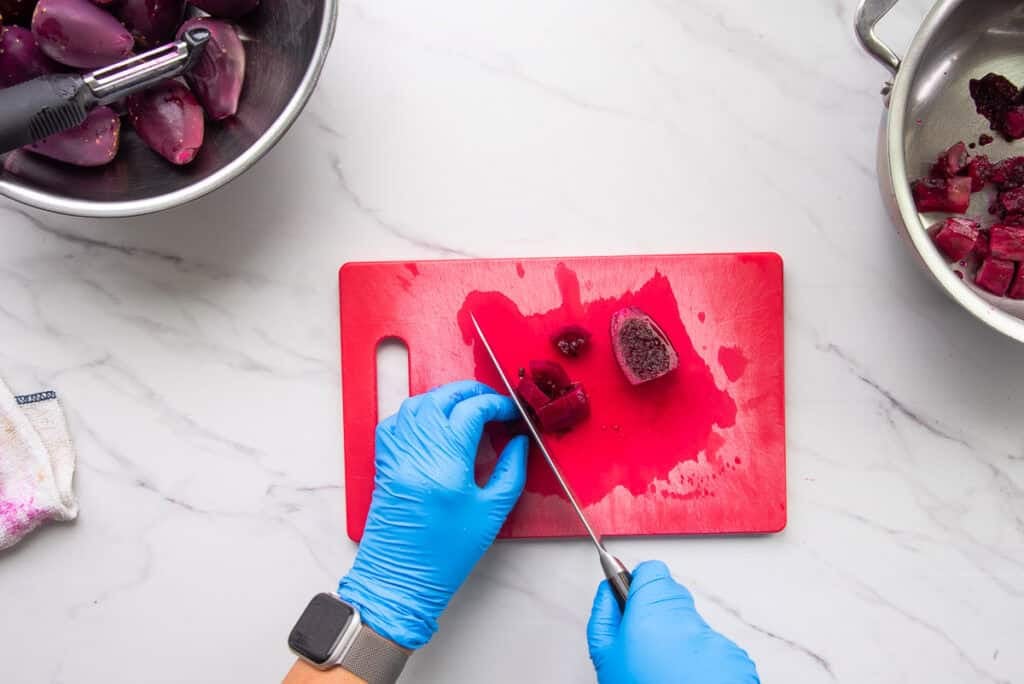
Cut the prickly pears into chunks after you peel them. There’s no need to remove the seeds for this recipe, but you can if you want to. Add the chunks to a 3-quart pot.
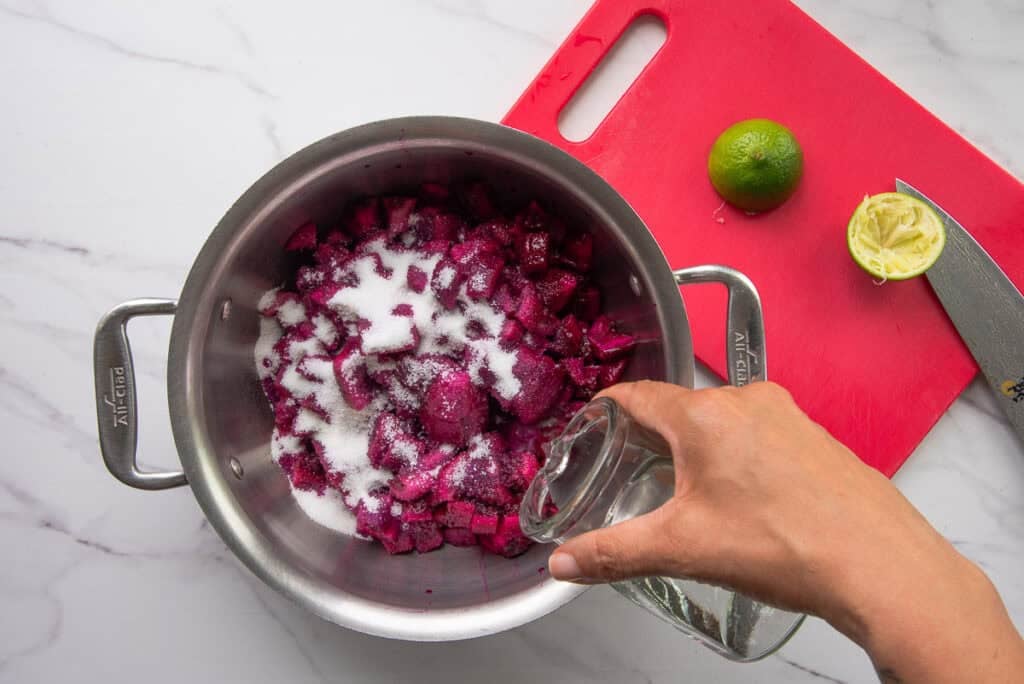
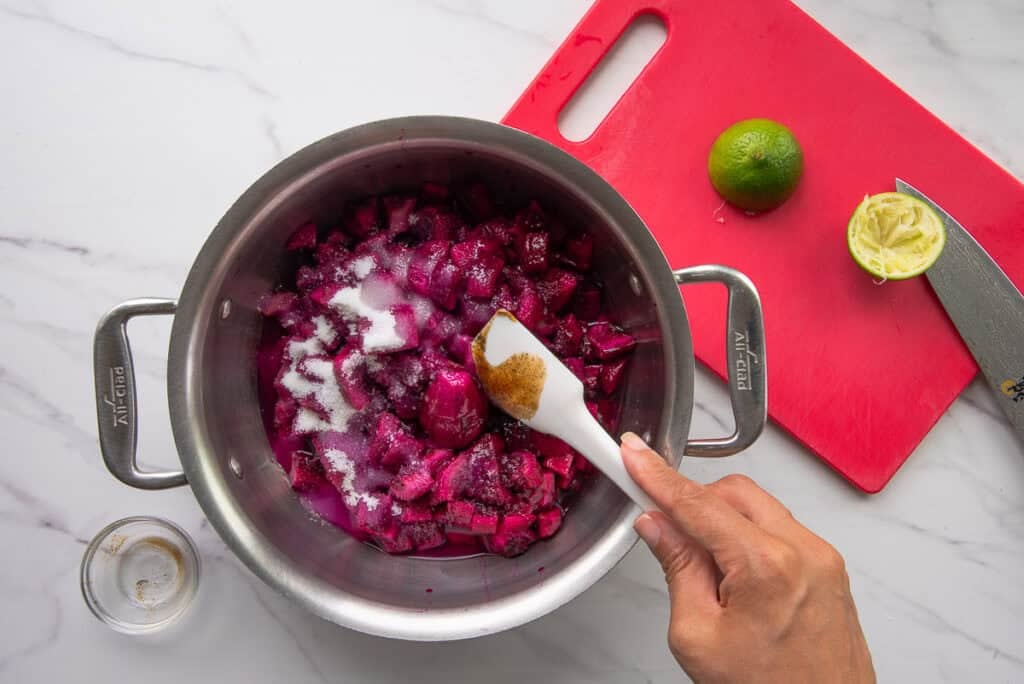
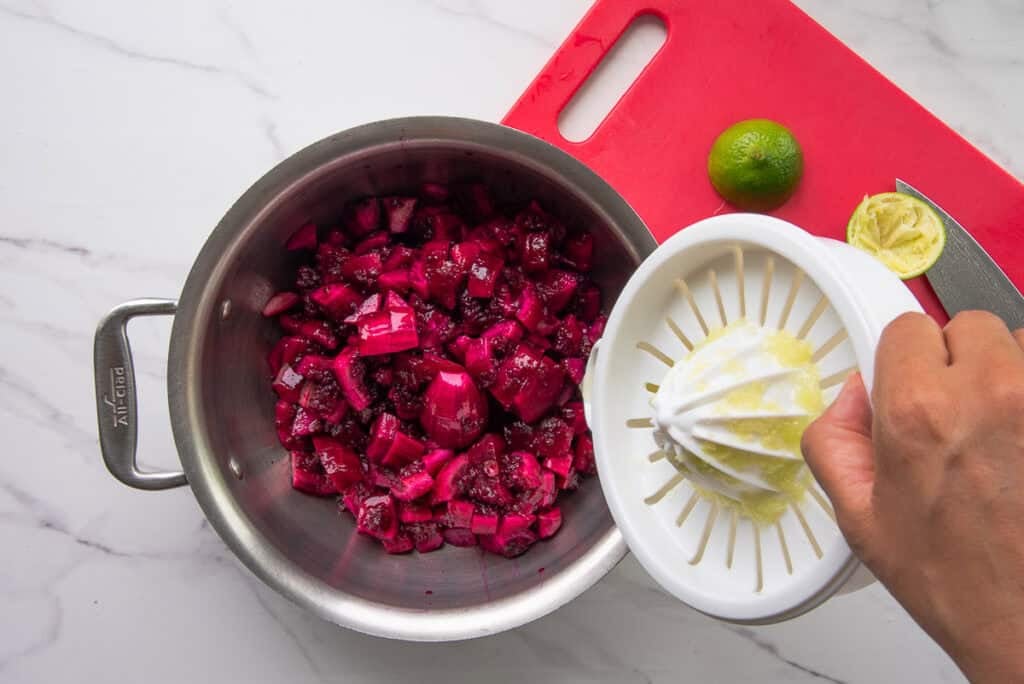
Add the sugar, water, vanilla extract, salt, and lime juice to the fruit in the pot. I use the juice of one lime if the prickly pears aren’t super sweet. If they are, adding two will cut the cloying sweetness a bit. You can replace lime juice with lemon juice if that’s all you have.
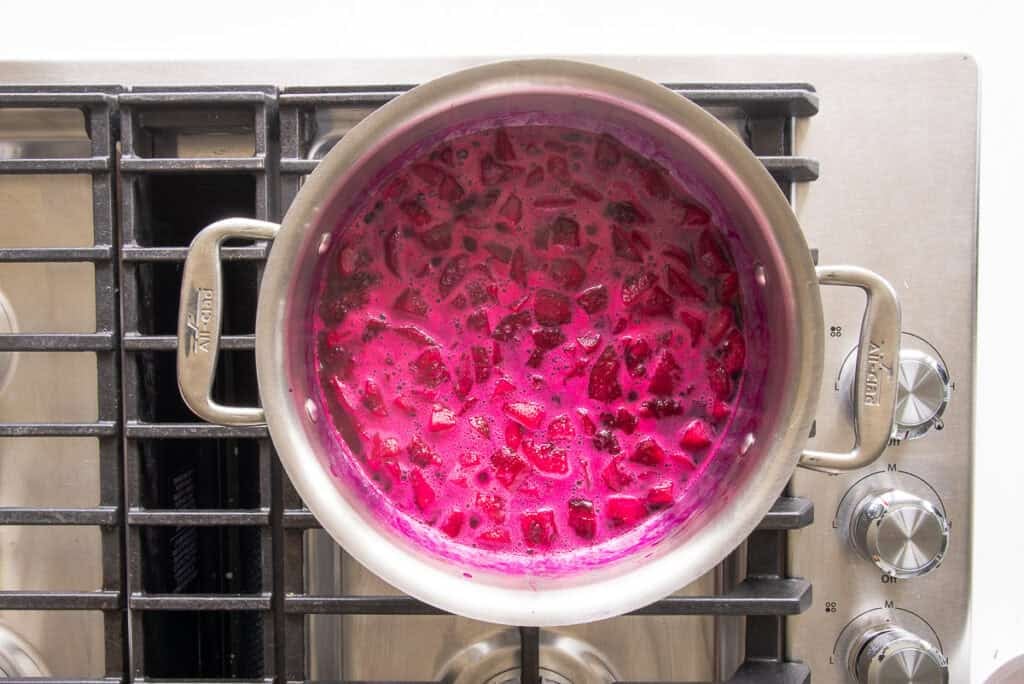
Stir everything in the pot together and bring the mixture up to a boil over medium heat. Once the liquid in the pot comes to a boil, decrease the temperature to medium-low and simmer the fruit until soft, stirring every 5 minutes.
My Tips For The Best Prickly Pear Syrup
- Use ripe fruit: prickly pears that aren’t fully ripe won’t have the dark magenta color you’re looking for, nor will they be sweet enough for this recipe.
- Don’t overcook the fruit: simmer the prickly pear chunks just until they soften and release the juice– about 20 minutes. Overcooking the fruit dulls its vibrant color.
- Use fresh lime juice: the tartness of lime juice brightens the flavor of the prickly pear syrup, but also helps to preserve it during storage by inhibiting bacterial growth. Bottled lime juice just doesn’t compare.
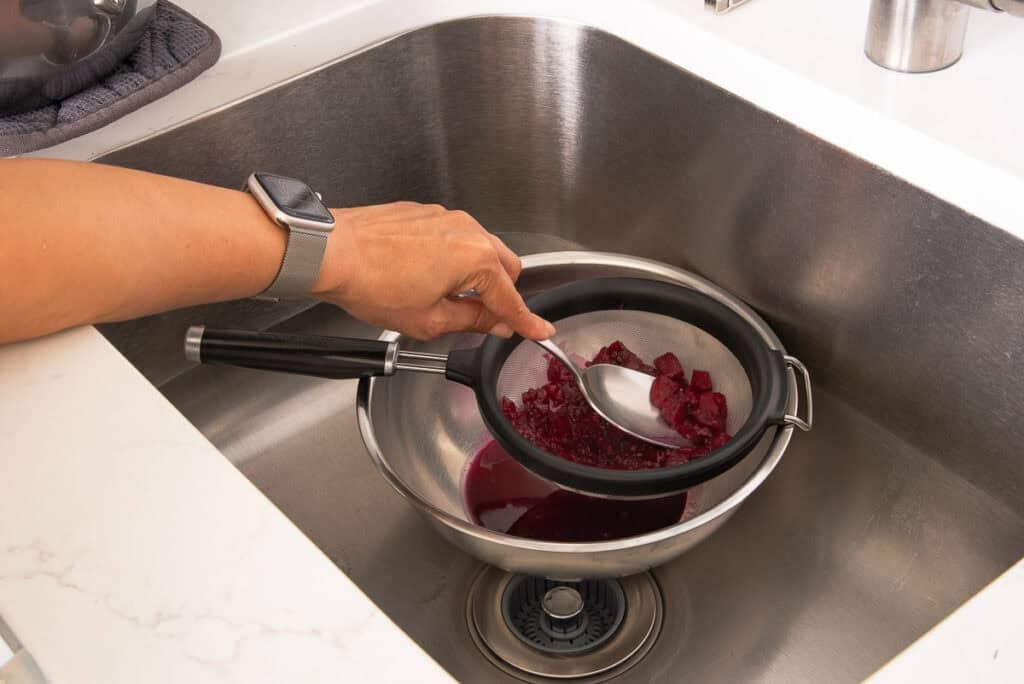
Once the fruit is soft, turn off the stove and allow the mixture to cool for 10 minutes.
Strain the prickly pear in a fine-mesh sieve and press the remaining juice from the fruit using a wide metal spoon. You can also mash the fruit with a potato masher in the pot, then pass it through a fine mesh sieve or cheesecloth.
How To Store The Syrup
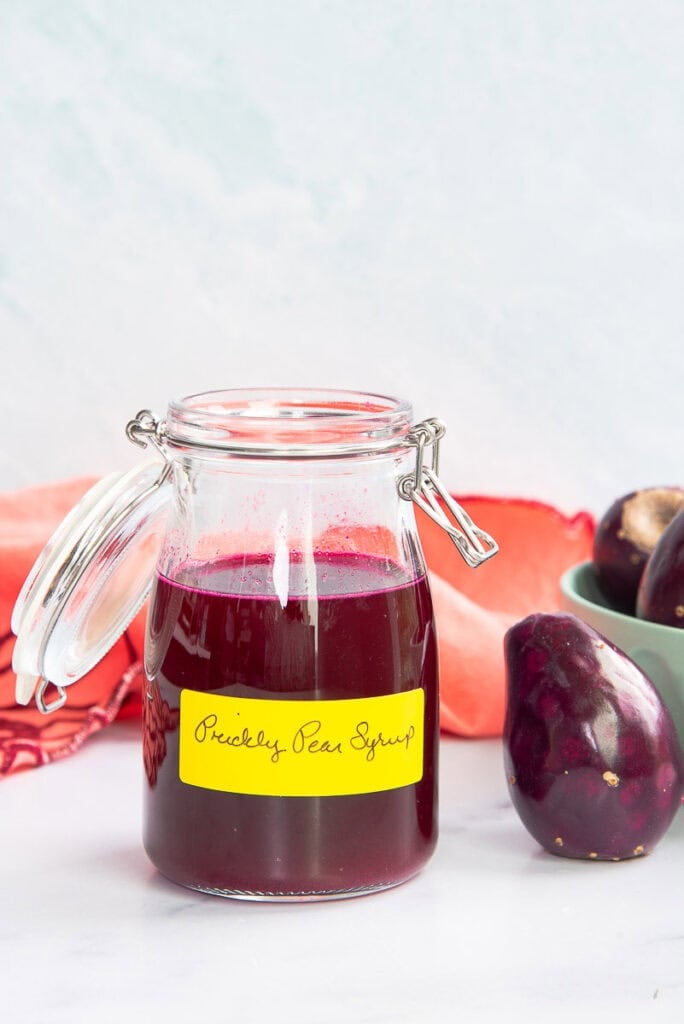
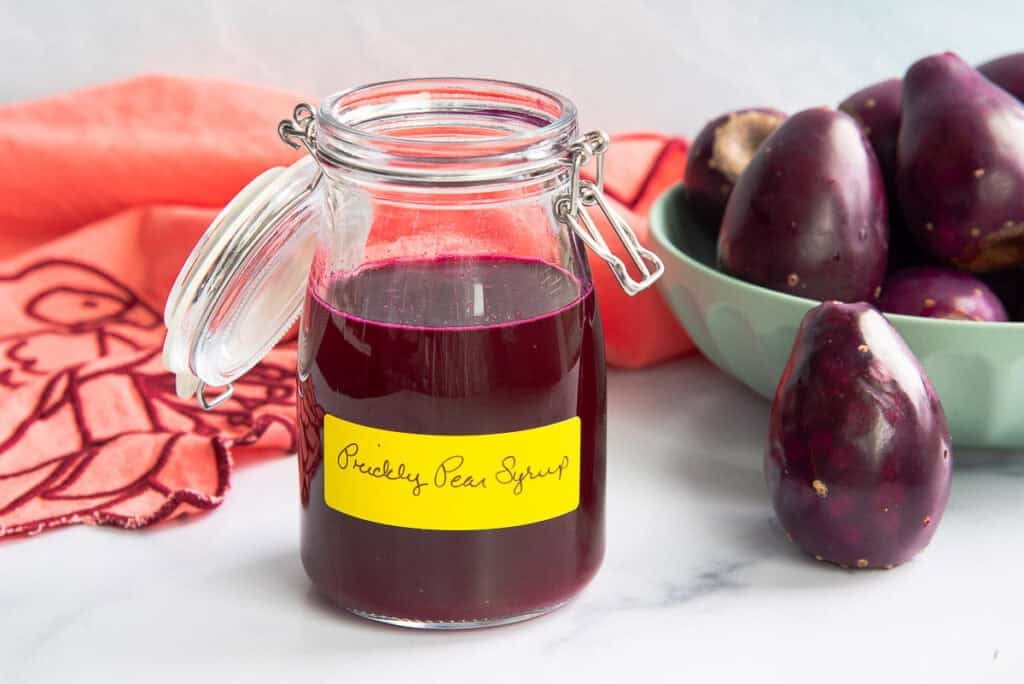
Cool the prickly pear syrup completely before bottling it. I like to store my syrup in a glass jar since it won’t stain. Whichever vessel you choose to store yours in, just make sure it’s very clean to prevent any funky stuff from growing in it.
Refrigerate the mixture immediately after cooling it to room temperature. Store the prickly pear syrup in the fridge and use within 2 to 3 weeks.
You can also freeze it in ice cube trays for up to 6 months if you don’t plan to use it right away. This is a great option if you want to use it to sweeten and/or color single-serve drinks or cereals.
Frequently Asked Questions
Do I have to remove the seeds?
No. They’re edible, but removing them will make pressing out the juice easier. You can add scooped-out prickly pear seeds and the attached pulp to a bottle of rum or tequila to make infused spirits.
Can I use frozen prickly pears?
Yes. Thaw the fruit first and use any juices released during thawing.
Why is my syrup brown instead of bright pink?
You overcooked the fruit. Overcooking can dull the fruit’s natural pigments. Simmer gently and avoid prolonged boiling.
Can I make this syrup without refined sugar?
Yes. Use honey, agave, or raw sugar. Keep in mind, each will change the flavor and color of the syrup, but only slightly.
Ways to Use Prickly Pear Syrup
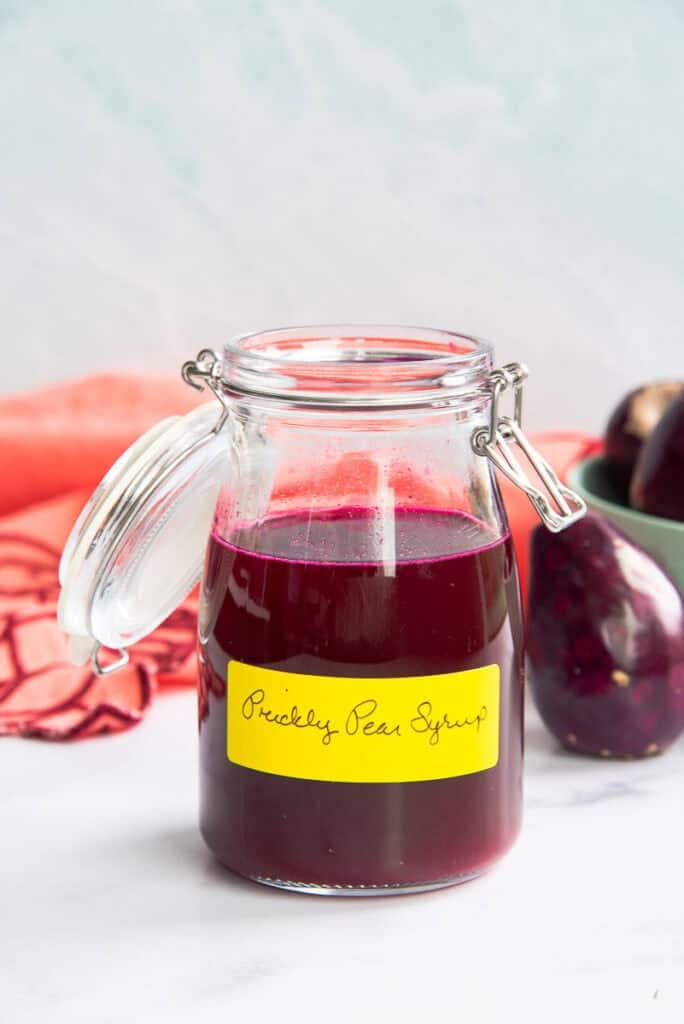
I like using prickly pear syrup to add color and sweetness to drinks. Stirring a cup of syrup into a pitcher of lemonade, limeade, or your favorite iced tea is an easy way to add pizzazz to a simple beverage.
Here are some other ways to use it:
- Freeze it into ice cubes, then add them to your drinks to create a magic show in a glass as they melt.
- Add a 1/4 cup to your vinaigrette recipes.
- Shake it into your next cocktail, mocktail, or soda.
- Add the syrup to your Valentine’s pancakes or waffle batter.
- Make sorbet with it
- Use it to top your favorite desserts like poundcake, ice cream, or cheesecake.
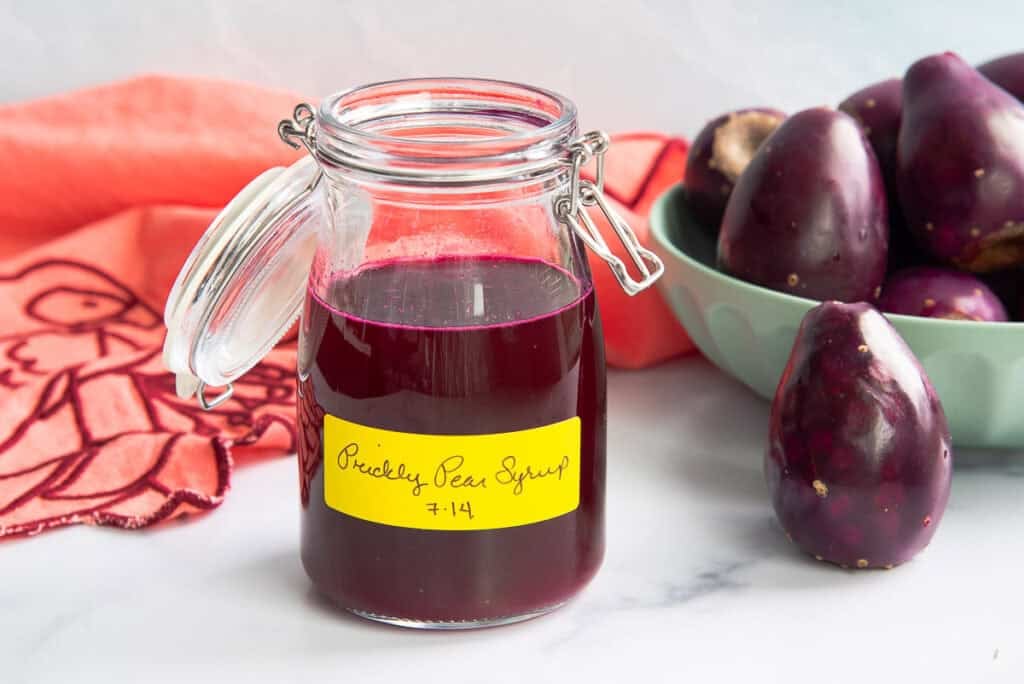
I love that I can walk 20 steps from my front door and find such a versatile ingredient. This prickly pear syrup is so useful in so many different recipes, so be sure to check back periodically to see what I’ve come up with.
In the meantime, put your batch to good use and let me know what you’ve come up with in the comments. Don’t forget to save this post for easy finding later.
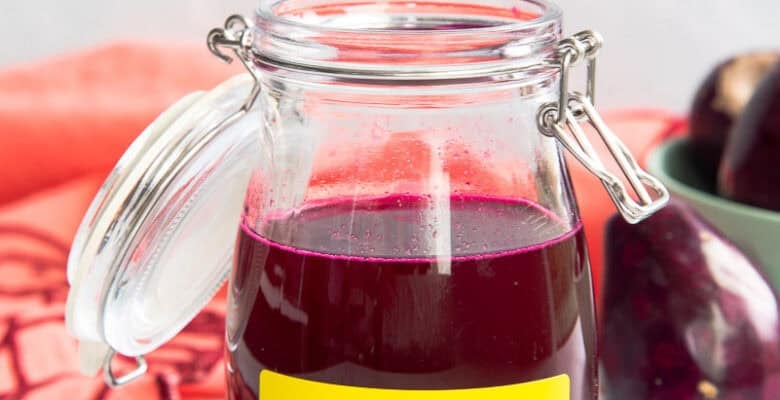
Prickly Pear Syrup
at Sense & EdibilityEquipment
- 3-quart saucier
Ingredients
- 2 pounds prickly pear
- 1/2 cup water
- 1/3 cup granulated sugar or more for sweetness (see notes)
- 1-2 medium lime juiced (see notes)
- 1/2 teaspoon vanilla extract or vanilla bean paste
- 1/4 teaspoon kosher salt optional
Instructions
Before You Begin…
- These instructions are using processed prickly pear. If you haven't remove the spines and glochids from the skin, please see the instructions in the post on how to do that.
Peel and Chop the Prickly Pear
- I recommend wearing gloves because the fruit will stain your nails and skin. As you peel the fruit, its slime will make things slippery. It helps to keep some paper towels nearby to wipe down the cutting board.
- Slice off the woody circle from the wide end of the prickly pear, then use your fingers to pull away the papery skins.Cut the prickly pears into chunks after you peel them. Add the chunks to a 3-quart pot.
Combine the Ingredients, Then Cook
- Add the water, sugar, lime juice, vanilla extract, and salt (if using) to the fruit in the pot. Stir everything in the pot together and bring the mixture up to a boil over medium heat.
- Once the liquid in the pot comes to a boil, decrease the temperature to medium-low and simmer the fruit until soft– about 20 minutes– stirring every 5 minutes.Once the fruit is soft, turn off the stove and allow the mixture to cool for 10 minutes.
Strain the Fruit, then Press
- Strain the prickly pear in a fine-mesh sieve and press the remaining juice from the fruit using a wide metal spoon. You can also mash the fruit with a potato masher in the pot, then pass it through a fine mesh sieve or cheesecloth.
Cool, Store, then Use the Prickly Pear Syrup
- Cool the prickly pear syrup completely before bottling it. Use a funnel to pour the syrup into a very clean glass jar to avoid stains and bacterial growth.
- Add the prickly pear syrup to your cocktails or drinks, use it to sweeten and color breakfast cereals or yogurt, or use it as a topping for your favorite cheesecakes or desserts.See post for more ideas on how to use your syrup.
Notes
- Replace the sugar with honey, agave, or raw sugar. Each will slightly change the flavor and color of the syrup.
- Replace the lime juice with lemon juice if that’s all you have.
- Use frozen prickly pear instead of fresh by first thawing the fruit and using any juices released during thawing.
- Use prickly pears that are deep purple in color.
- Wear gloves and quickly wipe up splatters while peeling and cutting the fruit since the juice will stain.
- Work carefully while cutting the fruit since its sliminess can make the cutting board and knife slippery.
- If your prickly pears aren’t that sweet, increase the amount of sugar to 2/3 cups (90g).
- I use the juice of one lime if the prickly pears aren’t super sweet. If they are, adding two will cut the cloying sweetness a bit.
- Avoid overcooking the fruit, which can dull the fruit’s natural pigments.
- Freezing the syrup in ice cube trays a great option if you want to use it to sweeten and/or color single-serve drinks or cereals.
- Refrigerate the mixture immediately after cooling it to room temperature.
- Store the prickly pear syrup in the fridge and use within 2 to 3 weeks.
- To freeze: pour the syrup into ice cube trays and freeze for up to 6 months if you don’t plan to use it right away.