
Memories of the Black Forest…kind of
Now we have never been into the Black Forest. But, we have visited cities- Villingen, Baden-Baden, and Freiberg- that bordered the Black Forest. Tromping through anyone’s forest- even Germany’s- is not my idea of good time. Cuckoo clocks are, surprisingly enough, and the Schwarzwald (Black Forest) is the place to get you one. You can find so many shops that make and sell the little annoying timepieces within a stone’s throw of, well… anywhere.
Only once did we see the costumes that made the Schwarzwälder Kirschtorte (Black Forest Cake) popular. Women of the Black Forest wear traditional costumes displaying their marital status. The bollenhut proudly marks them as married, with black poms (or bollen), or single, with red. So, basically, every Black Forest Cake you’ve ever had is single.
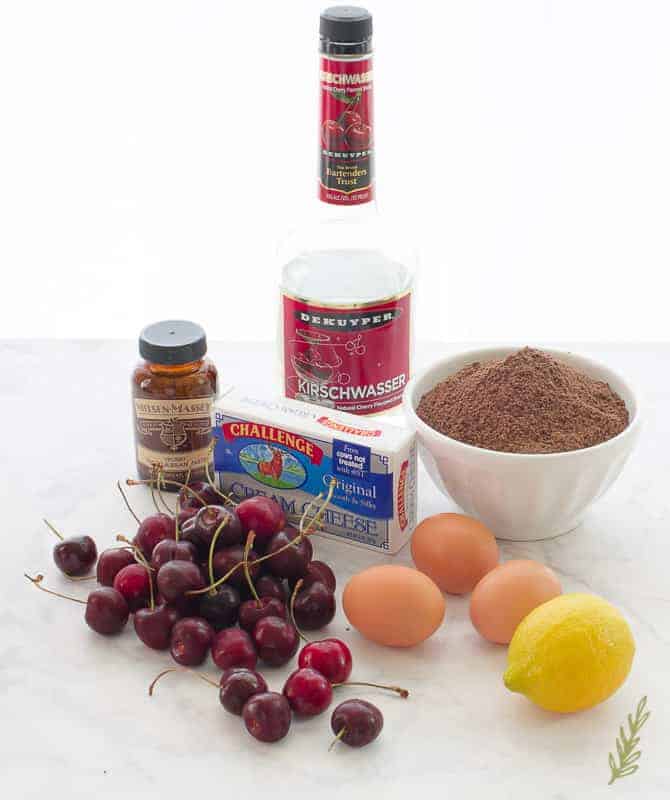
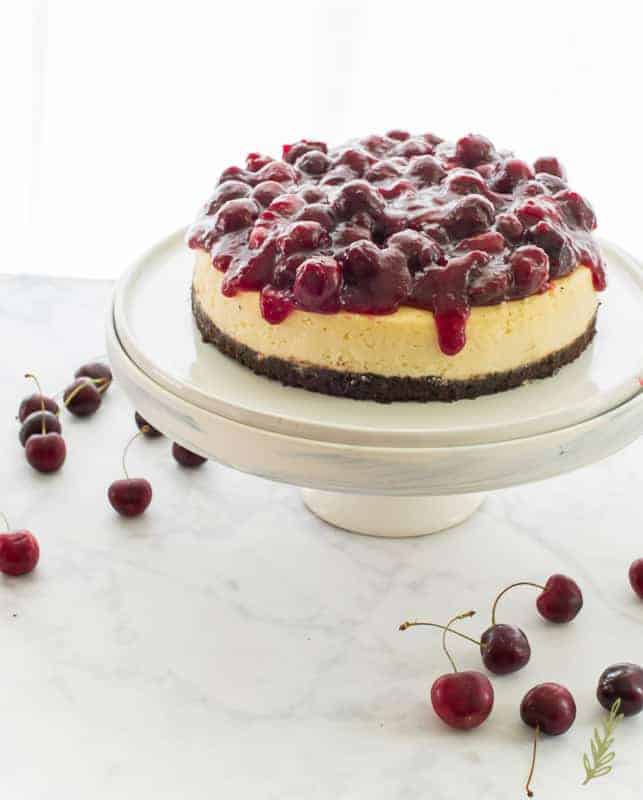
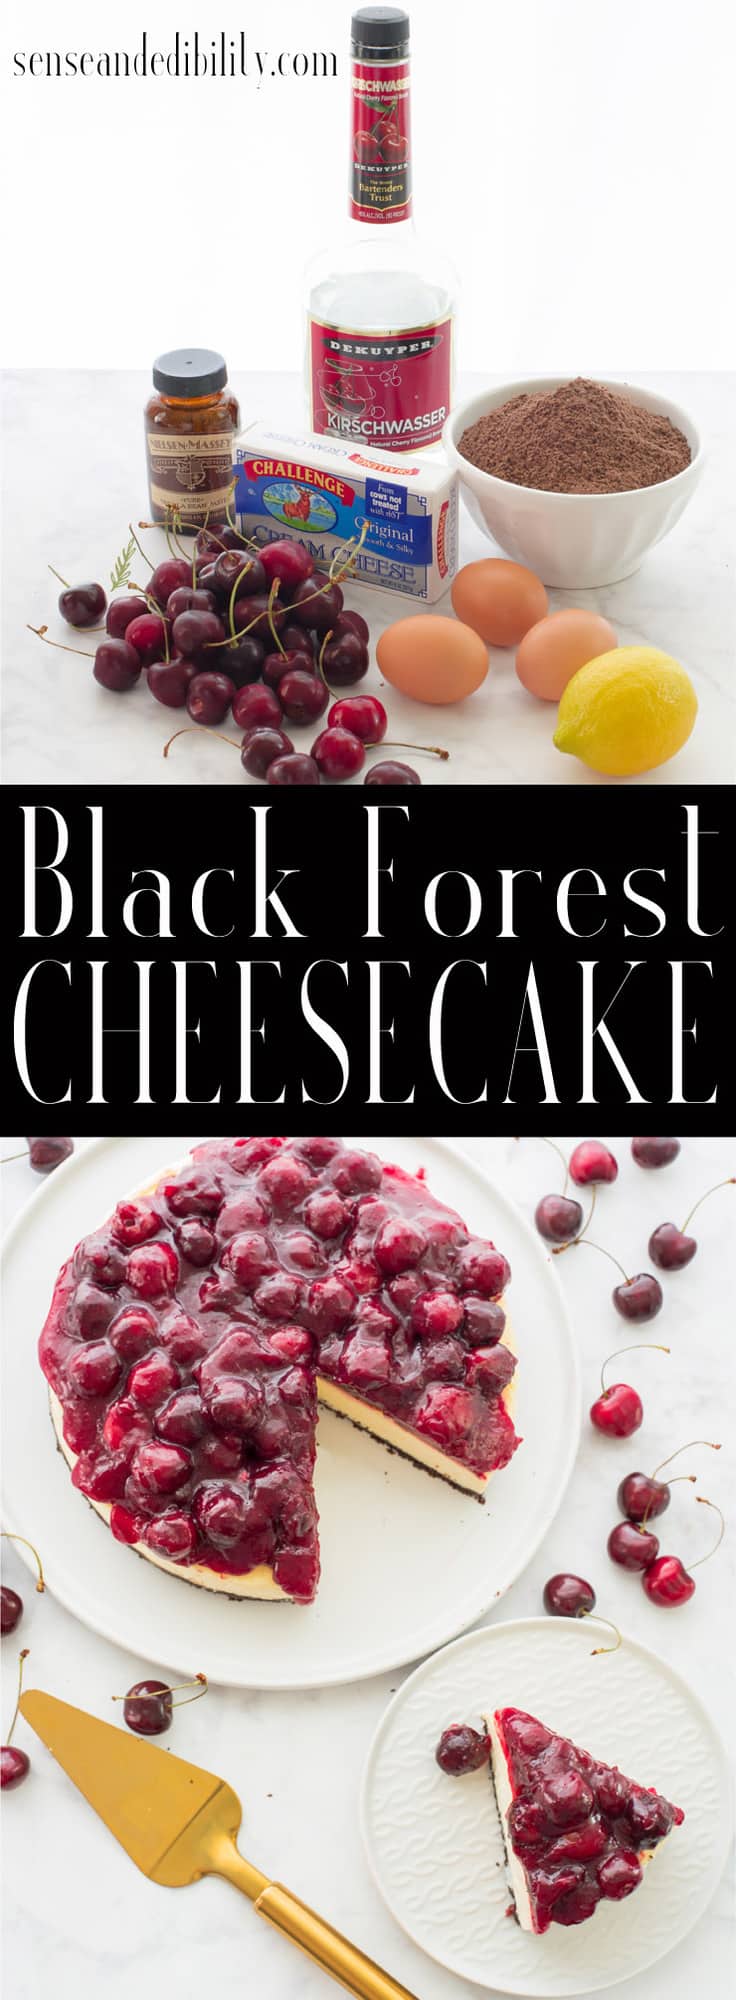
 What’s in a Black Forest Cheesecake?
Well, cream cheese for starters. Quality cream cheese if you can swing it.
The traditional way of making Black Forest anything is with sour cherries and kirschwasser (cherry-flavored brandy). The one thing you learn very quickly and, in my case appallingly, is that Germans do not enjoy hyper-sweet desserts. Their desserts appear to have all the qualities of the cloyingly sweet tastes of our cakes here in the U.S.; that is until you take a greedy bite of one. I allowed my first taste of a German küchen to fall, rudely, out of my mouth. Cakes aren’t that sweet in Germany- let’s just leave it at that. After a few years of living there- six, to be exact- I developed a taste for desserts that were less sweet.
My Black Forest desserts (be they cakes, cheesecakes, or cupcakes) always include kirschwasser and fresh, sweet cherries (I can’t locate sour cherries here). The cherry-flavored brandy is found in the liqueur section of your liquor store and it’s usually a well-stocked item. If you have to use canned cherry pie filling, I will begrudgingly say, “Fine.” Frozen dark cherries are a better option, though. After those two, the only other unique ingredient is the chocolate cookies we’ll use for the crust. I found some chocolate animal crackers and those did the trick. You may also use chocolate wafers or chocolate graham crackers.
So, let’s do this!
Prepare the Black Forest Crust
Unlike most cheesecake crusts, the only thing that’s in this chocolatey version is melted butter and cookie crumbs. Because we’re trying to stay true to the original, we don’t want to make this dessert overly sweet; that’s we’re omitting the sugar in the crust completely.
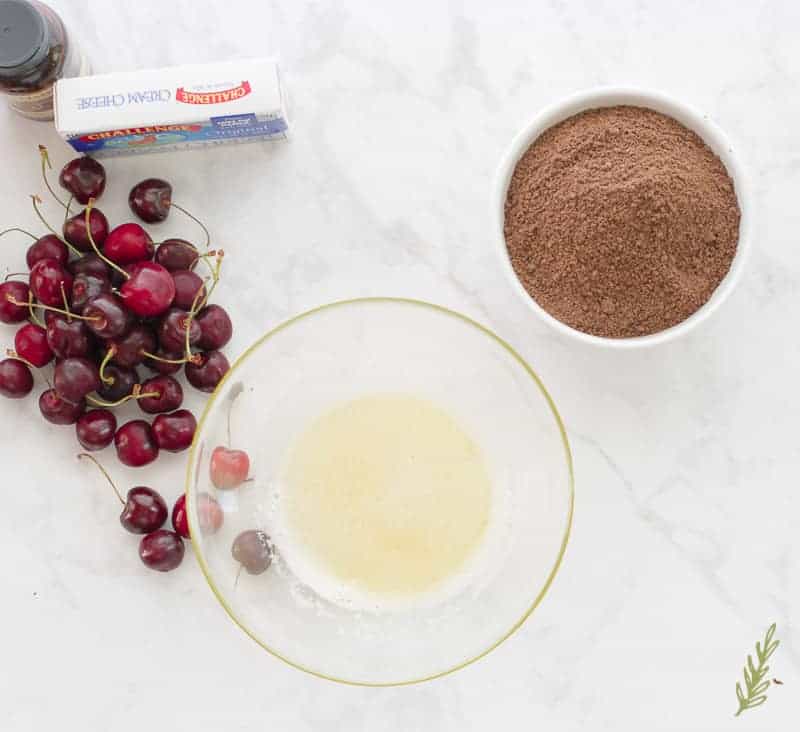
Melt unsalted butter (because we need to be in control every bit of salt added to our recipes) in a microwave-safe bowl for thirty seconds in the microwave. After the first burst of thirty seconds, check to see that the butter has melted; if it hasn’t hit it with another thirty seconds of melting time. Start in a microwave-safe bowl that’s fairly large because this will cut down on the amount of dishes you (or your kids) will need to clean when you’re done.
Check that your crust is properly mixed
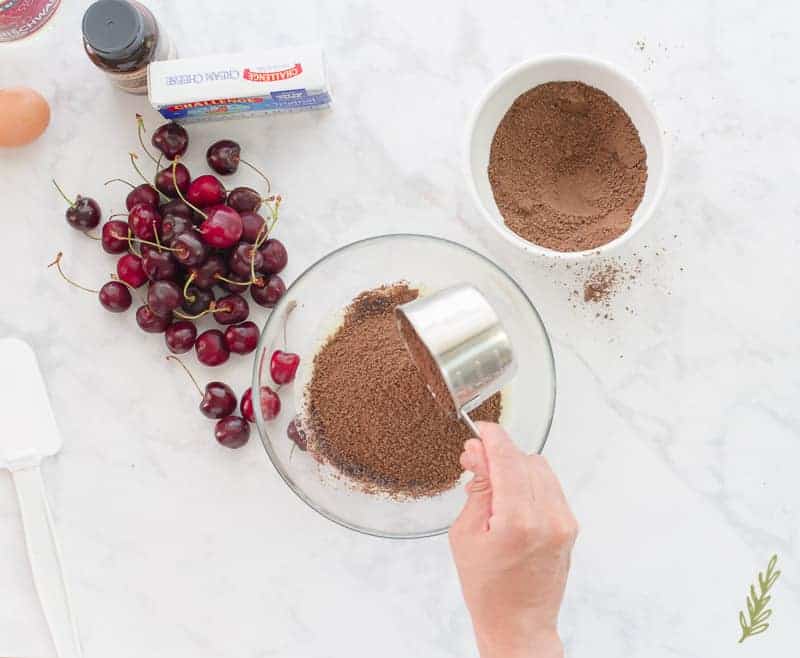
In the same bowl with the melted butter, add your crushed chocolate cookies and stir them together. Grab a handful of the mixture and squeeze it in your fist. It should clump together without excess fat oozing out. If you do see excess butter seeping through your fingers, add an additional quarter cup of cookie crumbs. Does the mixture crumble apart instead of holding together? Add more melted butter- a tablespoon at a time- until it clumps properly.
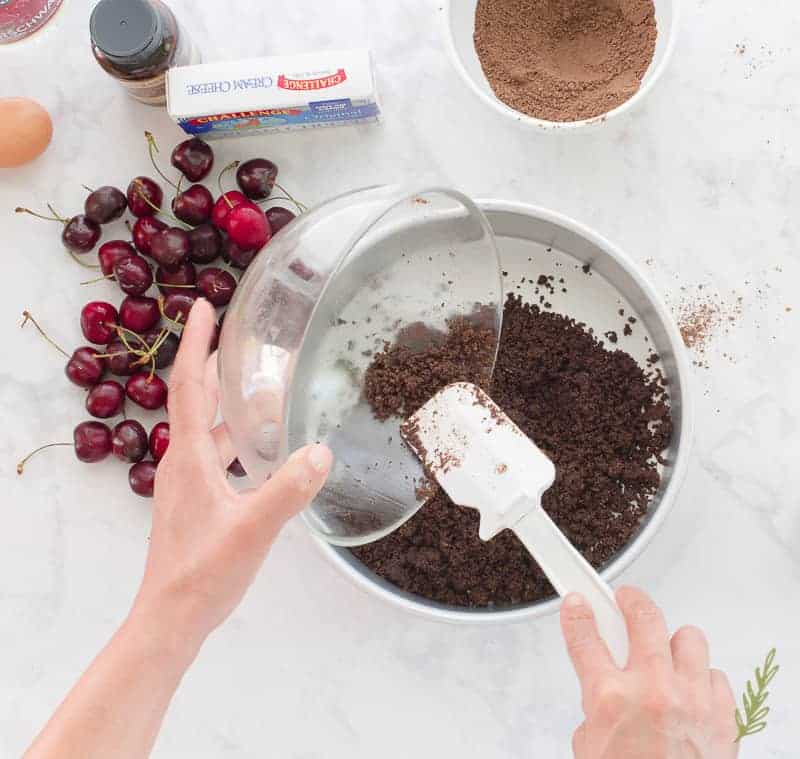
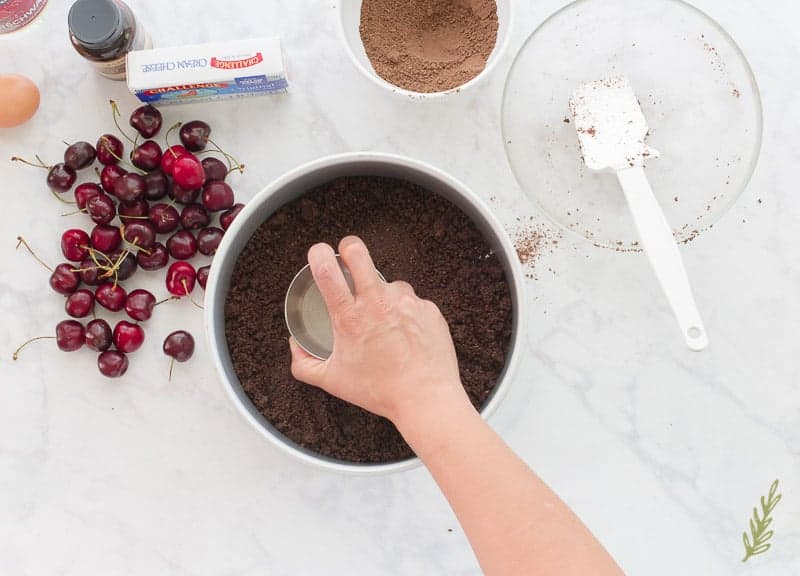
Place the pan into your preheated oven and bake the crust for ten minutes. Remove the pan from the oven and allow it to cool.
Prepare the Water-Bath
The bain-marie, or water-bath, is a baking technique used to create a consistent baking environment for custards and cheesecakes. The hot water that the cheesecake’s pan is surrounded by remains a constant temperature, and this eliminates any hot spots which normally occur in an oven. It results in a perfectly creamy cheesecake interior every time.
I make it easy by filling a larger cake pan, or roasting pan, with water I that I’ve set to boil on the stove. Place the pan into the oven on a rack placed in the lower half of the oven. Close the door and let it stay hot while you prepare the cheesecake.
Begin the Black Forest Cheesecake Batter
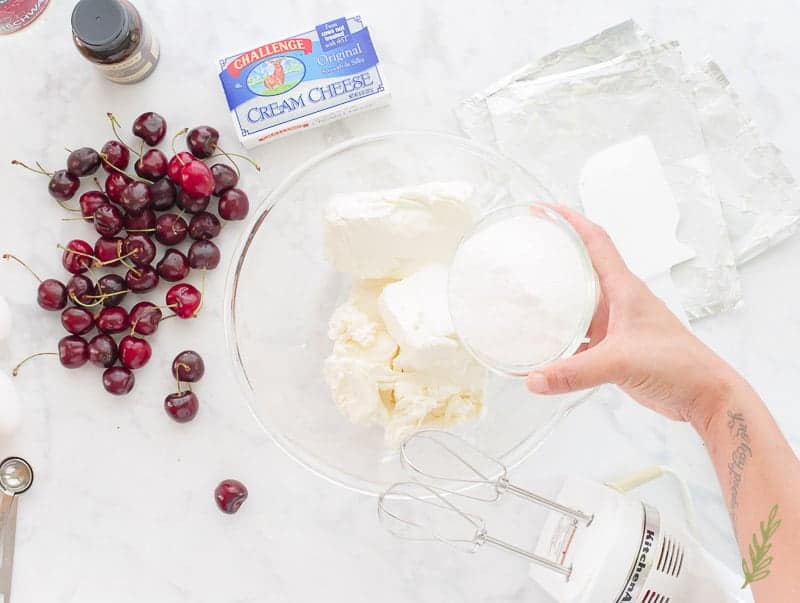
Now on to the fun part. In a large mixing bowl, add room temperature cream cheese. Room temperature is important because it eliminates those pesky chunks of cream cheese that aren’t blended well when cold. You can, most certainly, leave the cream cheese out for up to eight hours to get it to the right consistency. Hell, I left it out for two hours in this sweltering heat and it was good to go. My poor air conditioner is struggling, Friend.
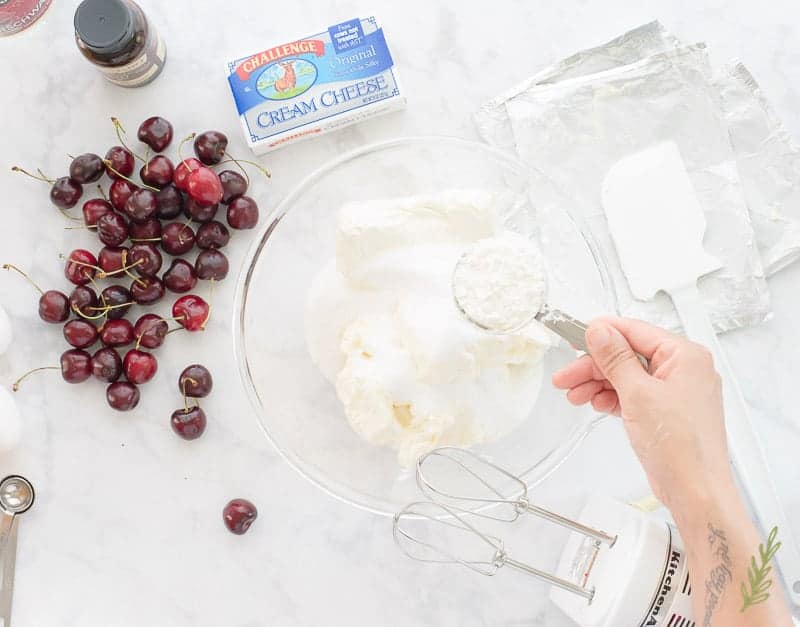
Okay, so, add the granulated sugar and salt to the cream cheese. Salt is always one of those ingredients that makes people ask me, “Why salt in a dessert?” Salt highlights sweet. If you’ve ever tasted a dessert that just tasted flat but you couldn’t put your finger on what it was- it was the lack of salt.
Add the cornstarch and mix on medium speed with a hand mixer (or in your stand mixer) until the mixture is perfectly smooth. Cornstarch, when added to a cheesecake, creates a fluffy body.
Gradually add the eggs
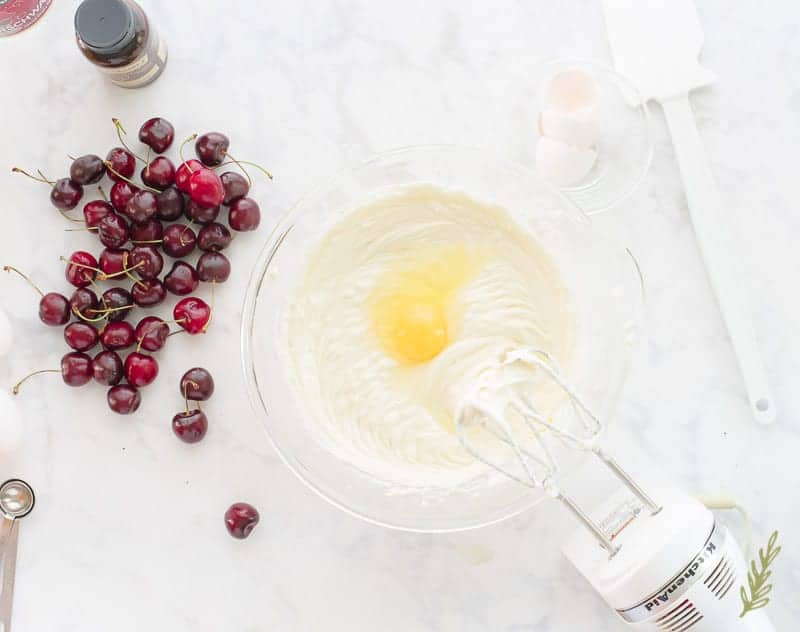
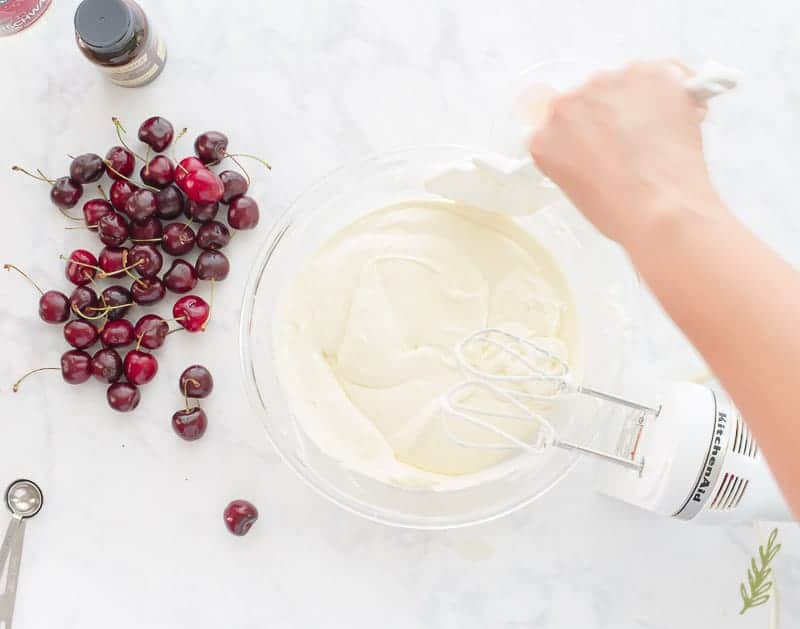
Add the eggs, one at a time, to the cream cheese. Blend until the egg is fully incorporated into the batter, then scrape down the bowl with a rubber spatula before adding the next egg. This is the best way to ensure your batter is well-mix and the ingredients are distributed properly throughout the cheesecake.
Scrape down the bowl once more after all of the eggs have been mixed in.
Quality flavorings are important!
Use kirschwasser for authenticity
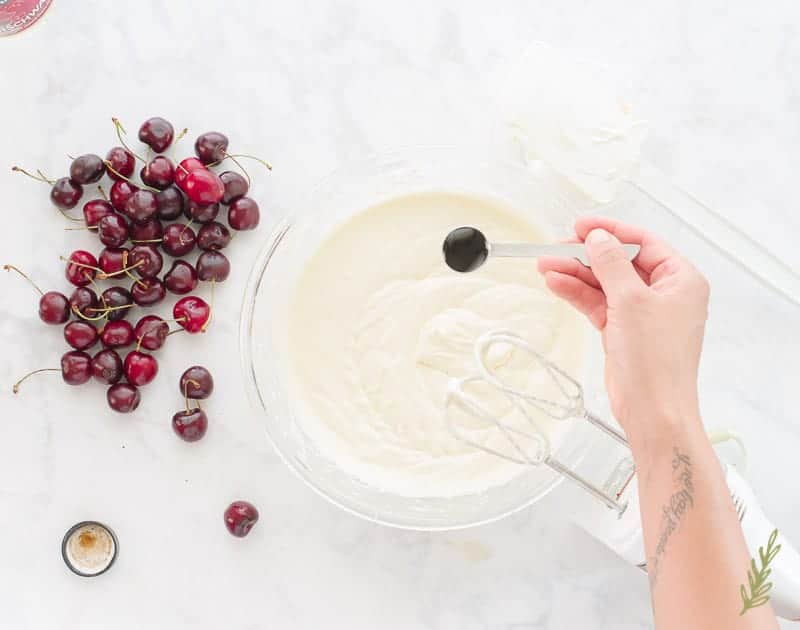
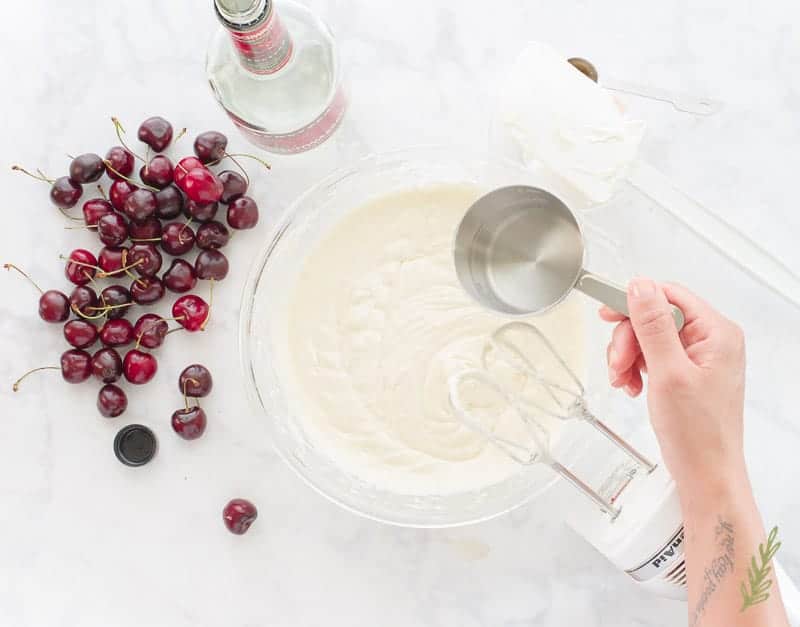
Finally, add the kirschwasser. This is going to be the flavor that sings through in the end, and yes, the alcohol will burn off through baking. No worries about the little ones developing a nasty habit, here- no, indeed.
Bake and Gradually Cool the Cheesecake
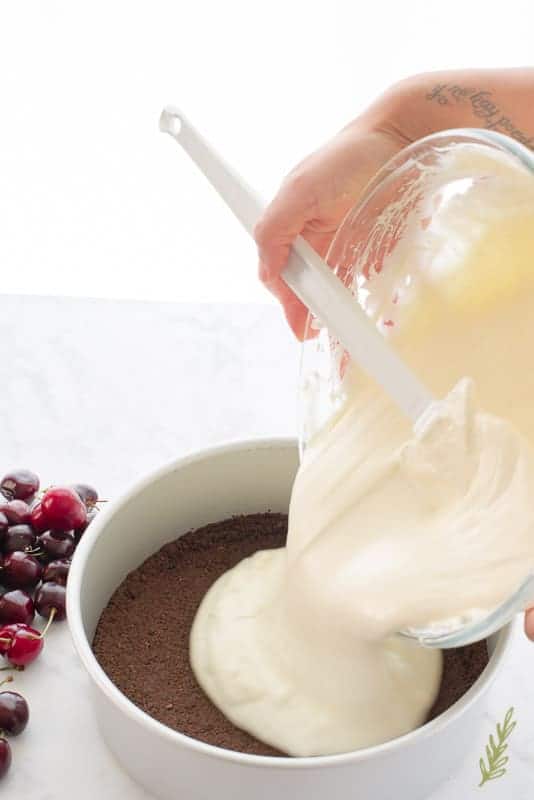
Now just pour the prepared cheesecake batter into the pan with the chocolate crust. Slip this gently into the bain-marie you already have in the oven and bake for one hour.
Once your cheesecake has baked, turn the oven off and prop the oven door open with a spoon. Allow the cheesecake to gradually cool in the oven for an hour. This prevents the cheesecake’s crust from cracking from a extreme change in temperature. If you’re in a rush, you can cut this cooling down period to thirty minutes.
You can remove the cheesecake from the bain-marie after the cool-down and let it cool on the counter for another twenty to thirty minutes. Pop it into the fridge and allow it to cool for at least six hours. When you’re ready to remove it from the pan, run a thin knife between the outside edge of the cheesecake and the pan. This loosens the cake. You should be able to invert it onto a clean plate before inverting it again onto a serving platter. Let this sit in the fridge while you make your cherry topping.
Why is homemade Cherry Topping the best for Black Forest Cheesecakes?
Let me give it to you straight: canned cherry pie filling is of the devil. It’s gloopy, artificially dyed crap-in-a-can. I have strong feelings about the stuff.
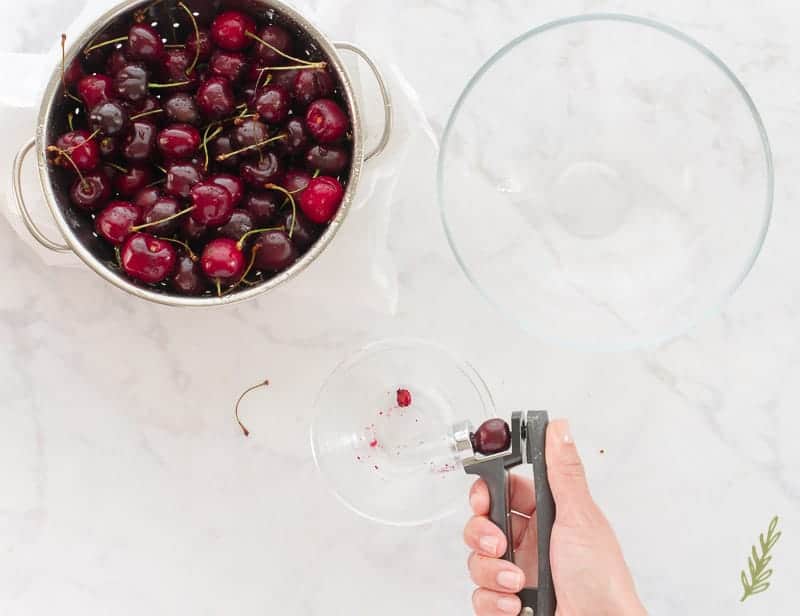
It’s cherry-season, my friend. You can find amazingly tasty, FRESH cherries right now! Pick up a pound and a half and set to pitting them. Pitting cherries is a messy affair, so do it in a clean sink; it’s also so cathartic. Grab a cherry pitter and place a cherry into the well. Imagine it’s an IRS agent, or a bill collector, and use the plunger to push out its insides. See! You feel better already, don’t you? I usually do this in the sink because the cherry juice has a tendency to fly everywhere. You can also use frozen cherries that have been thawed completely. Remember to reserve the juice if you choose this option.
Simmer the Cherries to soften them
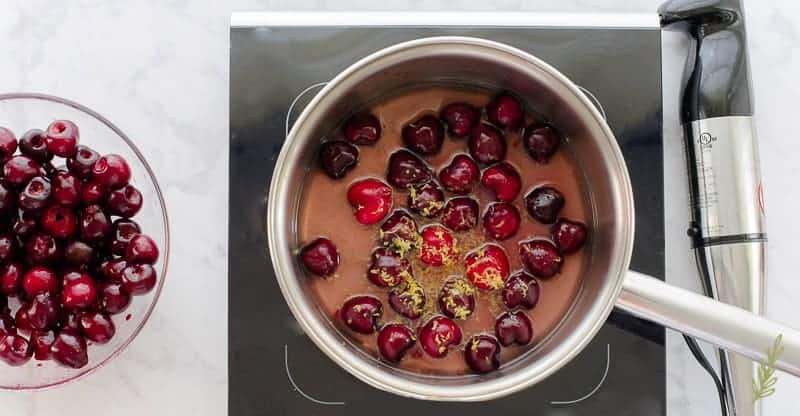
In a medium saucepan, bring a cup of the pitted cherries, sugar, water and lemon zest to a boil over medium-high heat. Reduce the heat to low and allow this mixture to simmer for five minutes. What you’re doing is cooking down those cherries to extract as much of their flavor as possible. We’re going to use this cooking liquid to flavor the rest of the cherries while simultaneously binding them together.
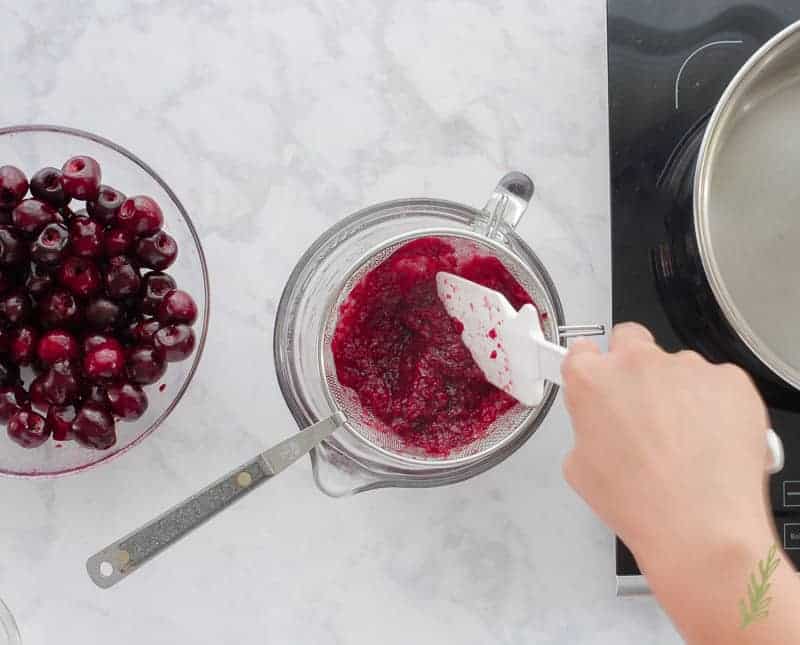
Once your cherries have finished cooking, use an immersion blender to blend them smooth. You can transfer them to a blender, instead, just be sure to vent the top properly to avoid an explosion from the hot liquids. Once the cherries are smooth, strain the juice from the mixture with a sieve. Discard the cherry pulp and pour the liquid back into the saucepan, and bring the liquid to a simmer.
Thicken the Strained Cherry Juice
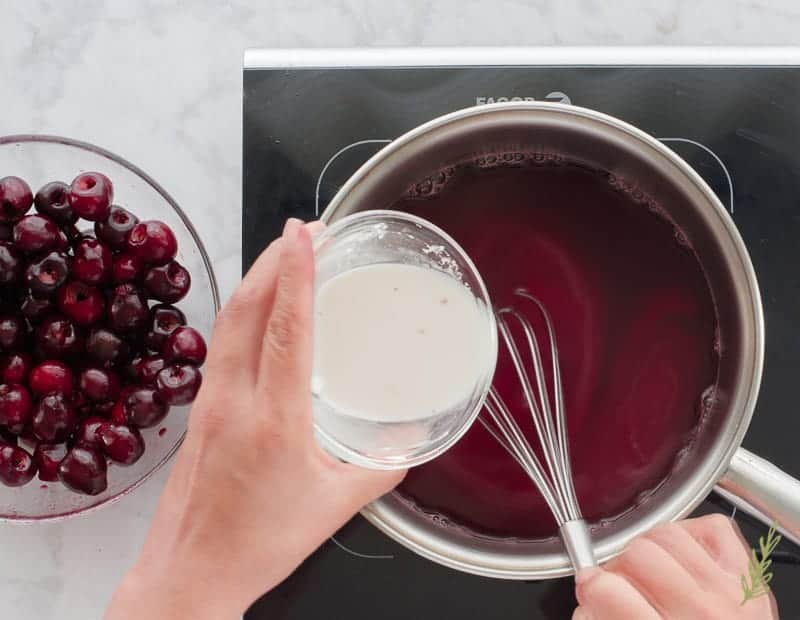
Combine the cornstarch and more kirshcwasser together in small bowl. This slurry is what we will use to thicken the cherry liquid to a jelly-like consistency. When the liquid begins to simmer in the pot, slowly drizzle the slurry into the mixture, whisking constantly. If you were to dump the entire slurry into the pot at once without gradually whisking it in, you’d have clumps of white cornstarch that will bind together before it has a chance to get mix in properly. Whisking and gradually adding creates a smooth, clear jelly when it’s finally cooked and thickened.
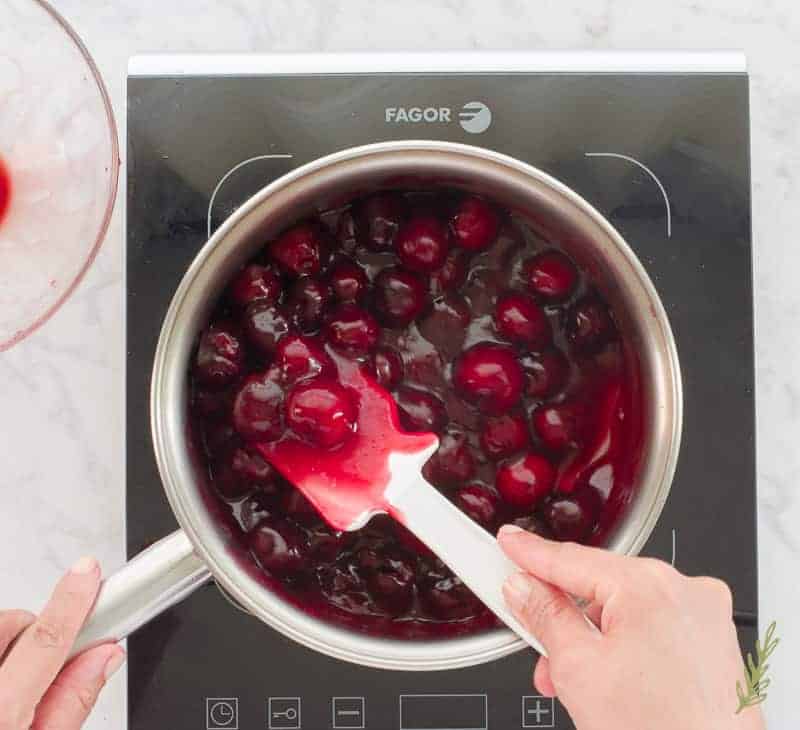
Once your cherry liquid has thickened and looks like lava (don’t allow it to boil), stir in the rest of the whole cherries. Make sure they’re all coated in the jelly evenly.
This cherry topping should be made an hour before you’re ready to serve it. If it sits for too long before topping the cheesecake, it will solidify and not pour properly. If that happens, just microwave it in thirty second bursts until it’s jelly-like again.
Topped your Black Forest Cheesecake with the cooled topping
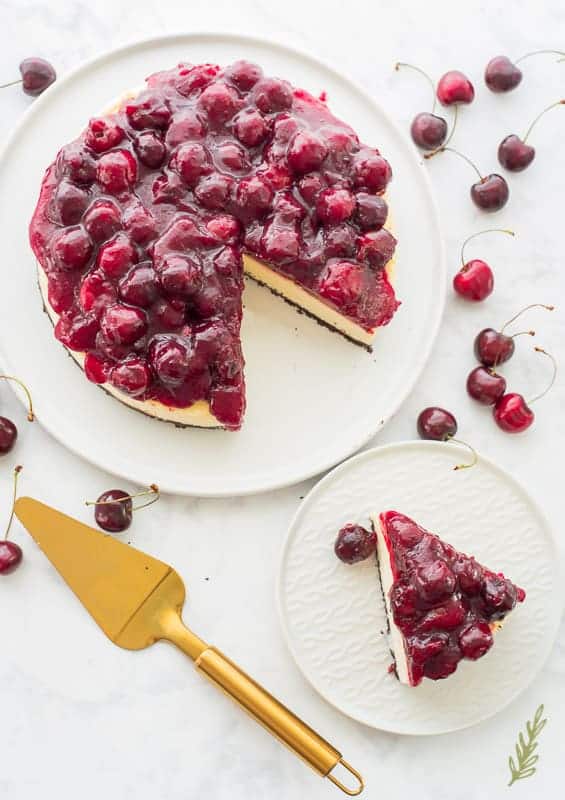
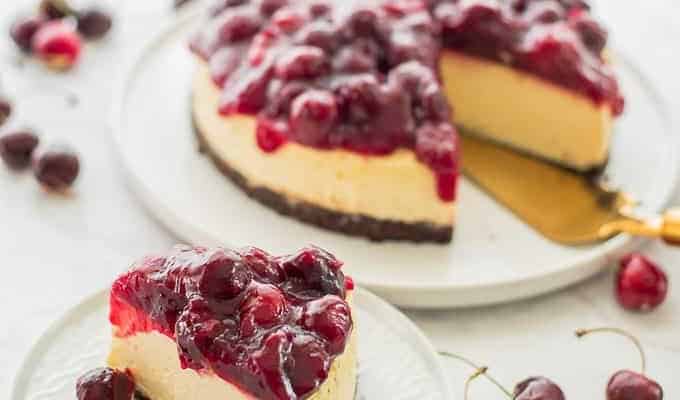
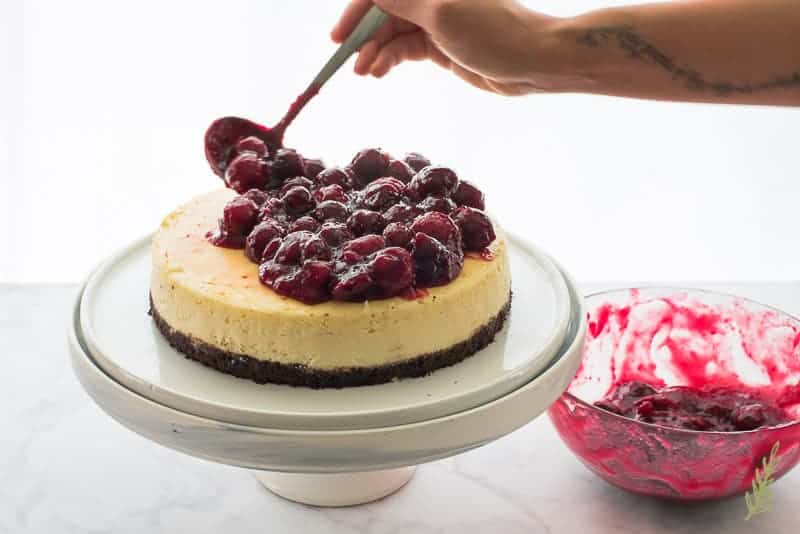
An hour prior to serving, top your cheesecake with ALL of the cherry topping. All. Of. It. Don’t even worry about it “might be too much.” No such thing. Do it.
Return the cheesecake to the fridge for a minimum of one hour to get that cherry topping nice and chilled prior to serving. Slice as big, or as small, as you want to. This cheesecake will keep in the fridge for up to three days. Good luck with getting that far, though.
Black Forest Cheesecake
at Sense & EdibilityIngredients
Chocolate Crust:
- 1 1/2 cups chocolate animal crackers crushed (about 1/2 of a 14.5 oz pkg of cookies)
- 6 tablespoons unsalted butter melted
Cheesecake Filling:
- 4 8 ounce packages cream cheese at room temperature
- 1 1/3 cup granulated sugar
- pinch kosher salt
- 1/3 cup cornstarch
- 4 large eggs
- 1 teaspoon vanilla extract
- 1/4 cup kirschwasser cherry-flavored brandy or liqueur
Cherry Topping:
- 1 1/2 pound dark sweet cherries pitted (fresh or frozen*), divided
- 1 medium lemon, juice and zest reserved
- 2 tablespoon granulated sugar (4 tablespoons if you prefer a very sweet topping)
- 1 cup water divided
- 3 tablespoons cornstarch
- 1 tablespoons kirschwasser cherry-flavored brandy or liqueur
Instructions
Make the Chocolate Crust:
- Preheat your oven to 350°F.
- Add the crushed chocolate cookies to the melted butter and stir them together. The mixture should hold together when squeezed in your fist. Pour the chocolate cookie mix into the cake pan. Use the bottom of a measuring cup to pack the cookie crumbs into an even layer in the pan. Push the crumbs up the sides of the pan about a 1/4" to form a side crust.
- Place the pan into the preheated oven and bake the crust for 10 minutes. After 10 minutes, remove the pan from the oven and allow it to cool.
- Fill a 12" cake pan with boiling water. Place the pan into the oven on a rack set in the lower half of the oven. Close the door to keep hot while you prepare the cheesecake.Prepare the Cheesecake Filling:
- In a large mixing bowl, mix together the cream cheese, granulated sugar, salt, and cornstarch. Mix on medium speed with a mixer until smooth.
- Add the eggs, 1 at a time, to the cream cheese. Blend until each egg is fully incorporated into the batter, then scrape down the bowl with a rubber spatula before adding the next egg. Scrape down the bowl once all of the eggs have been mixed in.
- Add the vanilla and the kirschwasser. Mix to incorporate fully.
- Pour the prepared batter into the prepared pan. Slip the pan gently into the bain-marie you already have in the oven and bake for 1 hour. Once fully baked, turn the oven off, and prop open its door with a wooden spoon. Allow the cheesecake to gradually cool in the oven for a 30 min. - 1 hour.
- Remove the cheesecake from the bain-marie after the cool-down period and let it cool on the counter for another 20 - 30 minutes. Put it into the fridge and allow it to cool for at least 6 hours. To remove the cake from the pan: run a thin knife between the cheesecake and the pan to loosen the cake. Invert it onto a clean plate before inverting it again onto a serving platter. Place into the fridge while you make the cherry topping.Make the Cherry Topping:
- Bring 1 cup of the pitted cherries, lemon juice and zest, sugar, and all BUT 2 TBSP of the water to a boil in a medium saucepan, over medium-high heat. Reduce the heat and allow to simmer for 5 minutes. Once finished simmering, use an immersion blender to blend them smooth.
- Strain the juice from the mixture using a sieve. Discard the cherry pulp and pour the liquid back into the saucepan. Bring the mixture back up to a simmer.
- Combine the remaining 2 tbsp of water, the cornstarch, and the kirshcwasser together in small bowl. When the liquid begins to simmer in the pot, slowly drizzle the slurry into the pot, whisking constantly, without allowing the mixture to boil. Once the liquid has thickened, fold the remaining whole cherries into the thickened sauce.Finish the Cheesecake:
- An hour prior to serving, top your cheesecake with ALL of the cherry topping.
- Return the cheesecake to the fridge for a minimum of 1 hour to chill the cherry topping prior to serving.
- This cheesecake will keep in the fridge for up to three days.
Notes
Nutrition
**This post contains affiliate links. To find out what that means to you, please read my disclosure page**
This Black Forest Cheesecake isn’t my only riff on a classic:
Crème Brûlée Pie
Berry-Misu

 What’s in a Black Forest Cheesecake?
very delicious cake
Thank you, Iza!
Oh my goodness, this looks and sounds utterly divine! Swing and pinning this recipe to make soon!
Awesome! Come back and let me know how you liked it, Amber!
My former boss loves black forest cake. I am sure he would devour this cheesecake in a heartbeat!
For sure, Lisa!
My mouth is watering over here!!! I’ve been on a cherry kick and cheesecake is right up there with my few favs. Thanks! (gorgeous photography as well!)
Thank you so much! I enjoy the photography almost as much as the food…almost.
This looks so good. Black forest cake is one of my favorites and so is cheesecake so I can’t wait to try the combination.
You’ll love it, Rachel!
Cheesecake is definitely one of my weaknesses when it comes to desserts. This looks like it would be so delicious!
I’m a cheesecake freak too, Becca. It’s my favorite, hands down.