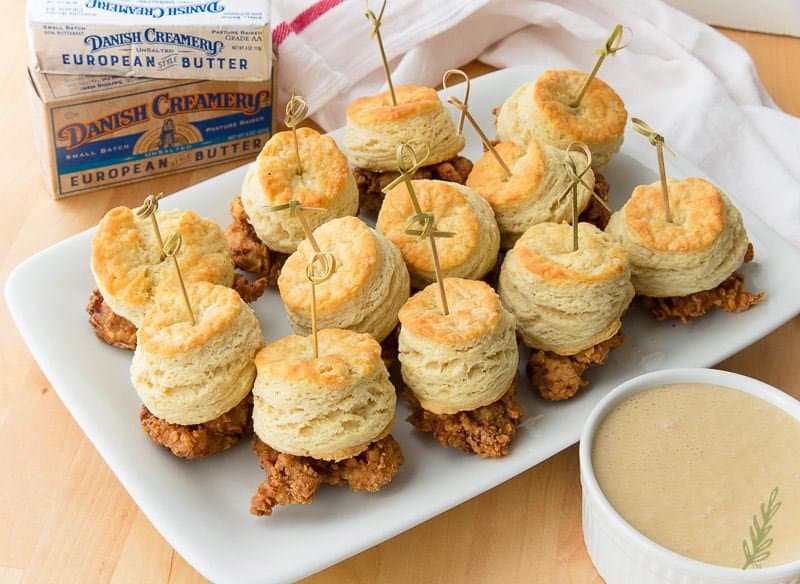
An invitation to your buddy’s party/cook-out/shindig is inevitable, so why not have a recipe on hand to wow your host(ess) with? Not only will this Chicken and Biscuits recipe wow the inviter, the other invitees will marvel over your culinary prowess. You can lord it over them- your kitchen genius. Gloat, even. They’re mere peasants.
The components for this recipe can, for the most part, be prepared in stages ahead of time. The chicken you need to marinate the day before serving. The biscuits may be mixed, cut and frozen up to two months ahead. The maple-butter dipping sauce should be mixed just prior to serving as it’s an emulsion. All these combined make this a clutch pot-luck (or, “Oh, shoot, what am I making for dinner?!?!”) recipe.
Marinate your chicken
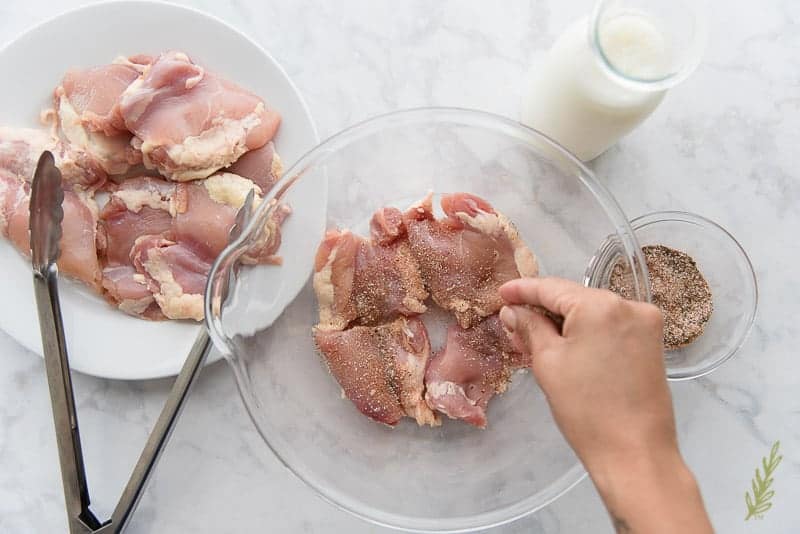
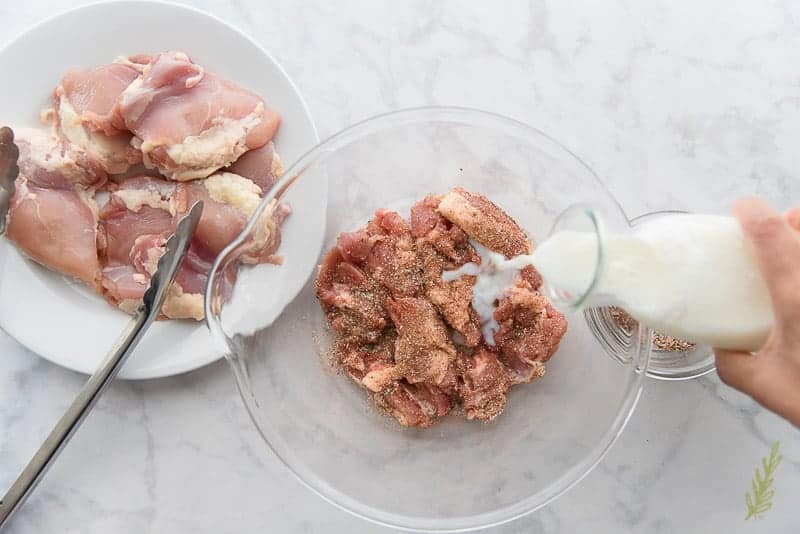
Now normally I give you an image of the ingredients in each step. But, as much as I love food, I know that there’s only so many times someone wants to see a photo of raw chicken. So, I spared you. You’re welcome.
I try to avoid deep frying boneless, skinless chicken breast if I can. Chicken breast has very little, to no, flavor- unlike chicken thighs- so, it rarely gets any love from me. That said, if you have an issue with dark meat, you can certainly substitute the thighs for chicken breast.
Depending on how you plan to serve this dish, you can either cut it: 1) into bite-size chunks (1 1/2″ inch cubes), 2) in half (about 2-3″ pieces), or 3) leave them whole. Party appetizers would benefit from the former, while the latter is best for entree-sized portions.
No matter how you decide to serve them, season them liberally with this Meat Spice Blend, you can also use a store-bought meat spice blend. If you must.
Once you’ve seasoned the chicken thighs, pour a 1/2 quart of buttermilk over the meat. Cover the bowl tightly and refrigerate for 8-24 hours. The longer the marinating time, the better, but don’t go past 24 hours.
Prepare your Buttermilk Biscuit Dough
For being a Northerner, I can make a hell of a biscuit. Seriously! I’ve been told by Southern grandmas that my biscuits are fluffier than clouds- and we know Southern Madeas/Memaws/Mammies don’t lie.
Mixing up a balanced dough- as quickly as possible- and keeping everything that goes in that dough as cold as possible is the key to getting those flaky, pillowy biscuits we all lust after.
Blend together your dry ingredients: the cake and all purpose flour blend, baking soda and powder, salt, and granulated sugar. The mixture of flours allows a minimal amount of gluten to develop. We don’t want the biscuits for our chicken and biscuits to be too tough, but we also don’t want them to fall apart- we are going to need one to support the other, after all.
The second, most important, part of a great biscuit is its buttery flavor. You know I love using Danish Creamery‘s fresh-churned butter in my baked goods. That’s because the prominent flavor of my biscuit is butter, so I choose a high-quality product that’s know for its velvety-rich flavor- only Danish Creamery checks all of those boxes.
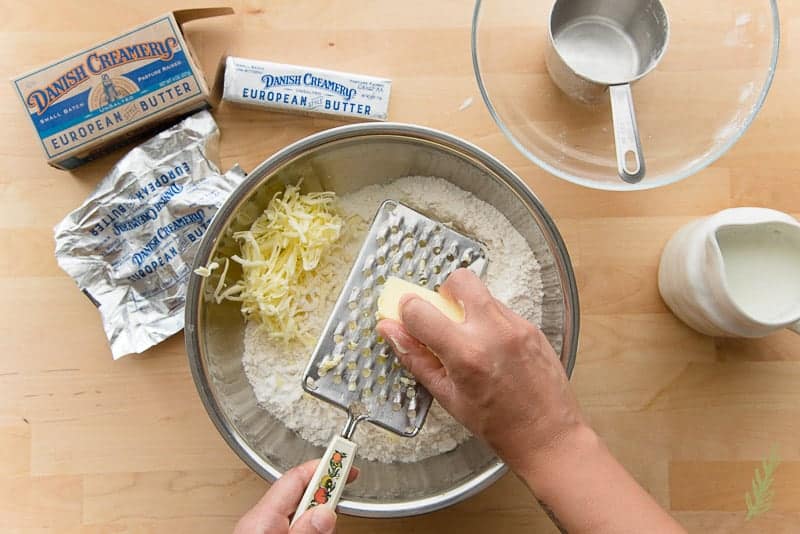
Grating ice-cold, or better yet, frozen butter is a great way to incorporate this creamy-tasting butter into your dry ingredients. Because it saves you the time of having to pinch the fat into the dry ingredients, it means you’re not warming up the dough too much. You just need to toss the slivers of butter into the flour mixture to coat them in the flour.
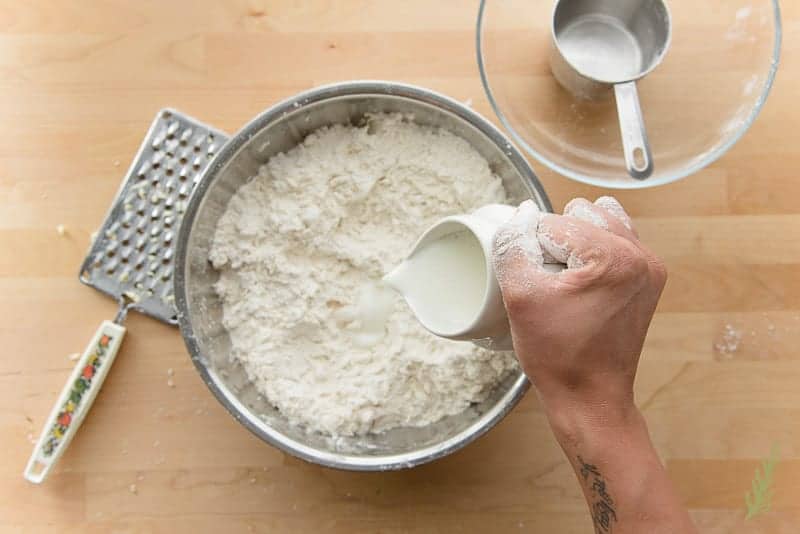
Now, pour your buttermilk into the mixture. Try to leave your buttermilk in the refrigerator until the last possible minute to keep it as cold as possible.
Mix and Chill the Biscuit Dough
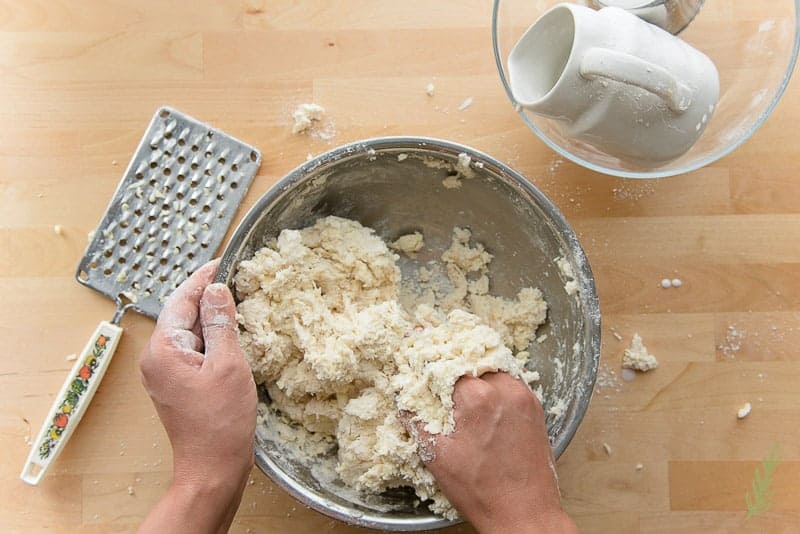
After you’ve added the buttermilk, fold it into the flour-butter mixture just until the dough comes together. You don’t want to handle the dough too much. Too much handling causes it to become too warm, which will begin melting the butter. This will leave you with sad, flat biscuits, which means your chicken and biscuits will be even more sadder (see how bad it is- I jacked up my grammar just to emphasize how terrible it will be).
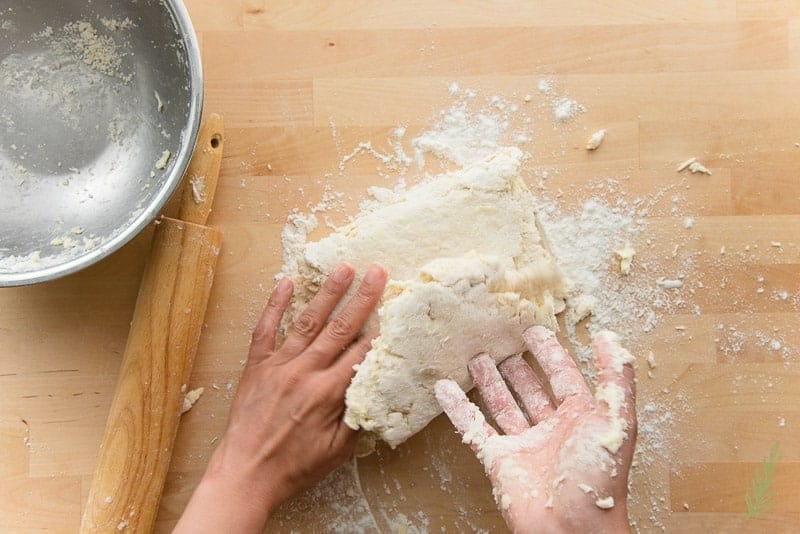
In culinary school, you learn that in order to achieve flaky layers in your baked goods, you need to create those layers prior to baking. All that means is that you need to fold your dough over a couple of times to create layers of dough separated by fat.
To do this, just roll your biscuit dough into a crude rectangular shape. Fold the dough in thirds- like you would a letter- and roll the dough out into another rectangle. Fold the dough again and roll it back out one more time before folding it a third (and final) time.
Now, after all that handling and rolling, your dough is spent. It will want to shrink back if you roll it out again. Because of this, you need to leave it folded (don’t re-roll a fourth time) and wrap it in plastic wrap. Place your wrapped dough into the fridge and let it relax for at least thirty minutes to one hour. Any less and you’re going to grow frustrated while trying to roll out your biscuit dough.
Key to a High-Rising Baked Biscuit
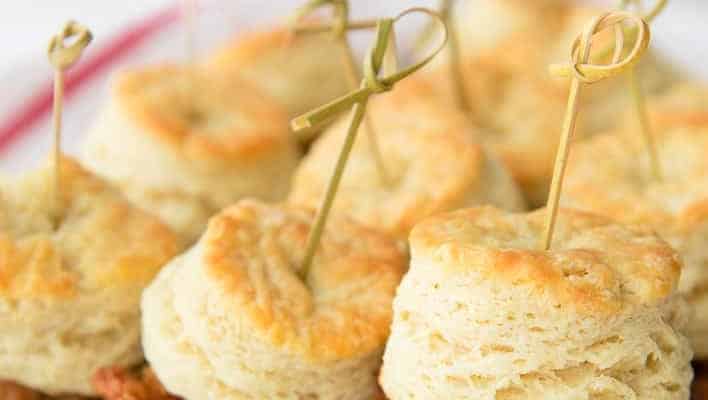
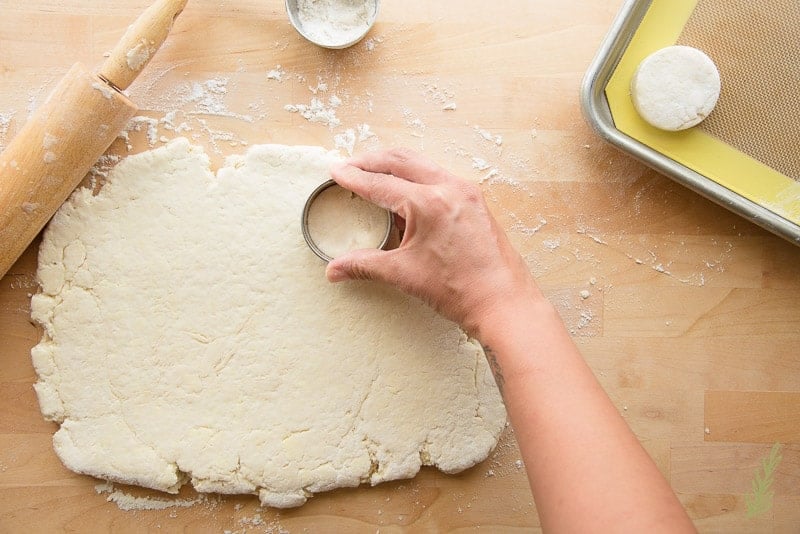
After your dough has rested, roll it out until it is a half-inch thick. Use a round biscuit cutter to cut the dough out. Go straight down and straight up when cutting the rounds of dough. Don’t twist the biscuit cutter or you’ll seal the dough, which prevents the biscuit from rising to its highest potential. You don’t want sad chicken and biscuits, do you? No, you don’t.
Be sure to cut the biscuits as close together as possible to get the most out of this first roll.
While most bakers will tell you not to re-roll scraps because scraps produce inferior biscuits, this baker (me) has been broke and struggled to pay for groceries, so I ain’t about to waste a scrap of nothing. But, do I want you to go buckwild mashing the dough together and kneading it and re-rolling? No, no I don’t.
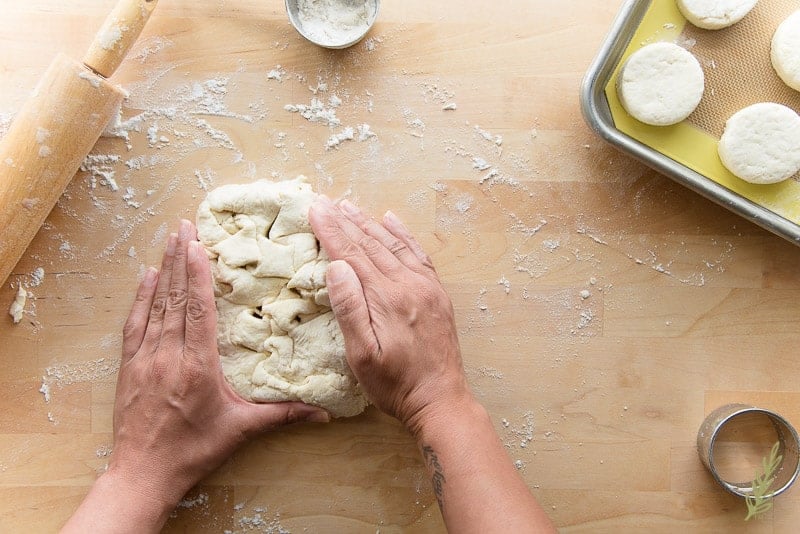
Just gather the scraps and press them firmly together until they stick to one another. Roll them to three-quarters of an inch thick and recut. I was able to get 6 more biscuits out of this second roll. If you have enough dough, repeat and cut out what you can. In an effort to utilize all of my dough, I’ve been known to put scraps into the biscuit cutter and plop that onto the pan.
Waste not want not.
Chill and Bake Your Biscuits
Chill the dough for 15 minutes to cool down the butter before baking. When cold butter is hit by the high heat of the oven, it releases steam and vaporizes which leaves pockets of air- that’s what creates those flaky layers.
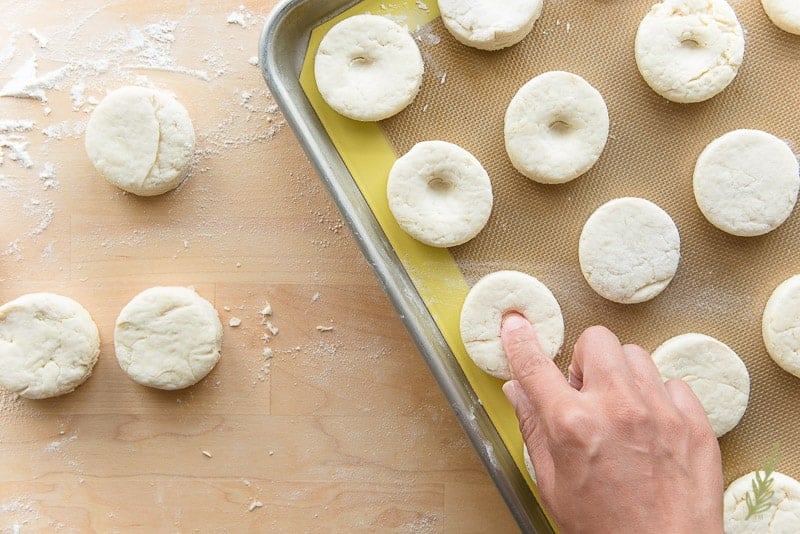
Just before baking, make a dimple in the top of each biscuit with your fingertip. This will create a more even surface in the baked biscuit because it prevents the center from bulging up. This is more for aesthetics than anything else.
Bake your biscuits at 400°F for 15 minutes. As soon as they come out of the oven, brush them lightly with melted butter. This is optional, though.
These biscuits can be frozen- for up to two months- before or after baking. Just be sure to wrap them well to protect against freezer burn.
Fry the Chicken
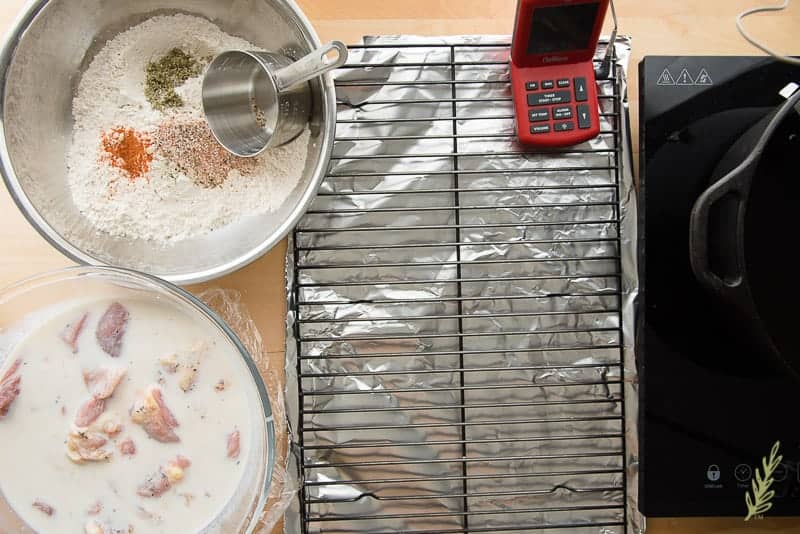
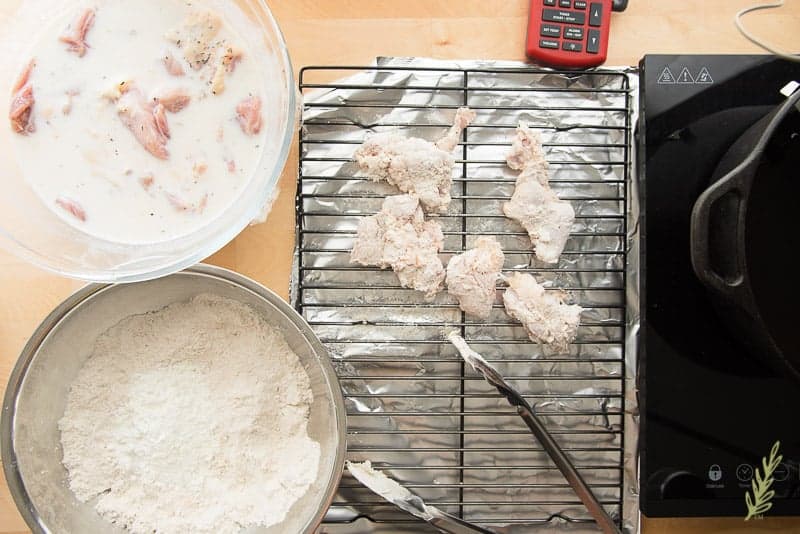
When you’re ready to fry the marinated chicken, set up a dredging/drying station. Place a cooling rack over a pan to hold your breaded chicken pieces on. I do this while I’m heating my peanut oil (vegetable oil or lard are also good frying oils).
You’ll be dredging the buttermilk-marinated chicken in all-purpose flour mixed with cornstarch that’s seasoned with more of my Meat Spice Blend.
After dredging the chicken, shake off any excess flour and allow the chicken to “dry” on the cooling rack while the oil heats to 375°F.
Fry your chicken pieces for 4-5 minutes, or until the internal temperature reaches 165°F.
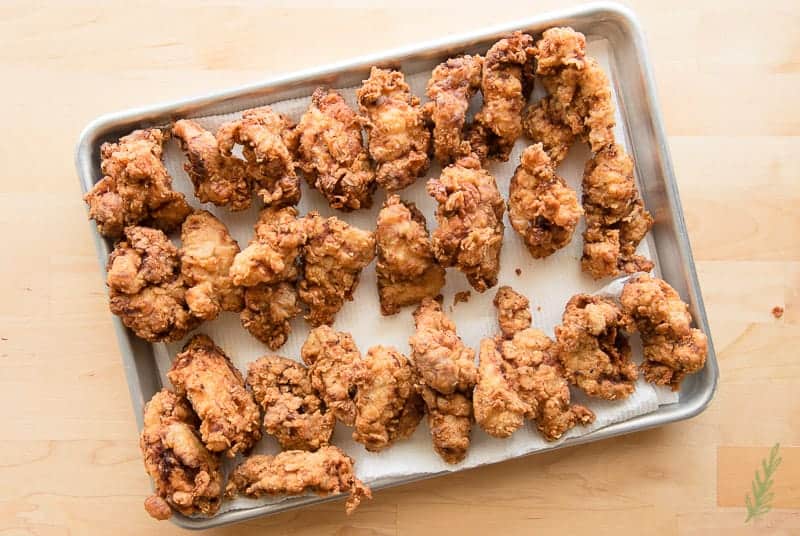
Transfer the fried chicken to a paper towel-lined pan to drain off excess oil and continue frying the remaining pieces of chicken. Keep the chicken warm in an oven set on the lowest heat setting.
Whip Up the Maple-Butter Dipping Sauce
While I think chicken and biscuits are perfect on their own, when you dip/slather/drizzle them in this maple-butter dipping sauce things become…well, perfecter (grammar is shot to hades in this post, y’all). It’s such a simple concoction, but the flavors are a mix of sweet, salty, and buttery- thanks to more of that rich, Danish Creamery butter from those happily pasture-raised cows. Because happy cows make amazing butter.
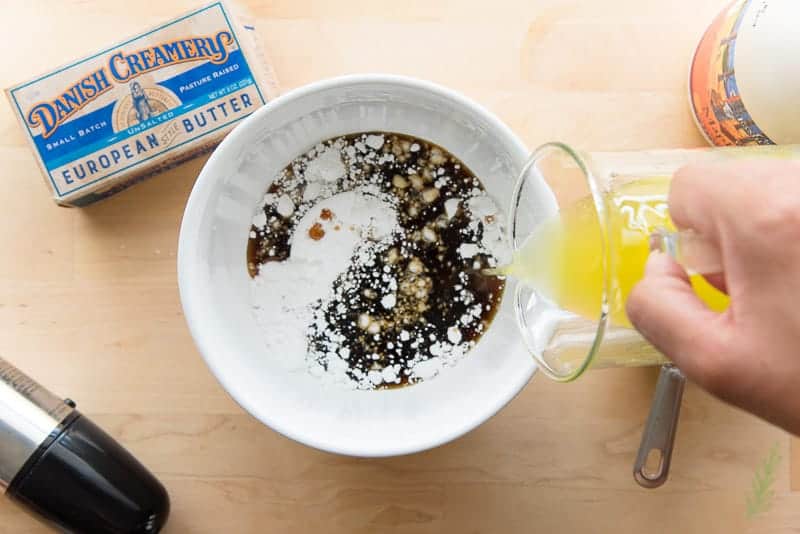
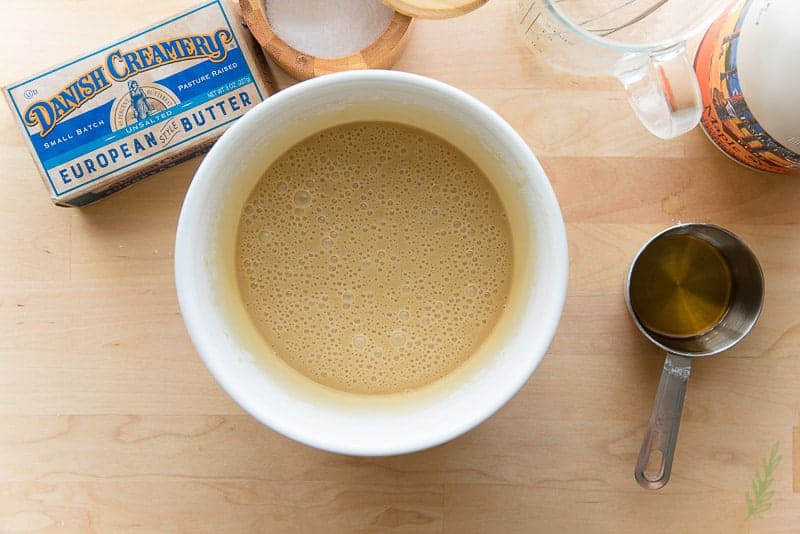
Combine sifted powdered sugar, pure maple syrup, and melted Danish Creamery butter. Add a pinch of kosher salt to amplify those flavors and whip the mixture with your electric hand mixer or an immersion blender for 6-7 minutes, on high.
What you’re doing is whipping the butter and sugar together until the butter cools, thickens, and surrounds the sugar, which means you’re creating a thick emulsion. This will remain thick and opaque and “dippable”.
Keep this at room temperature, as the consistency will change if you refrigerate it. If you end up with leftover dip after serving your chicken and biscuits, pack it in a container that you can rewhip it in, then refrigerate it. You’ll need to let it come to room temp before rewhipping, but it should blend beautifully.
Assemble, Serve, Dip and Prepare for Adoration
Now that the chicken is fried, the biscuits are baked, and the maple-butter is whipped; you’re all set to assemble. If you’ve made this to serve as an entree, do so a la carte: chicken on one platter, biscuits on another, with dip in between. Your diners can assemble them as they desire. Split the biscuits and create a sandwich, eat them separately- whatevs.
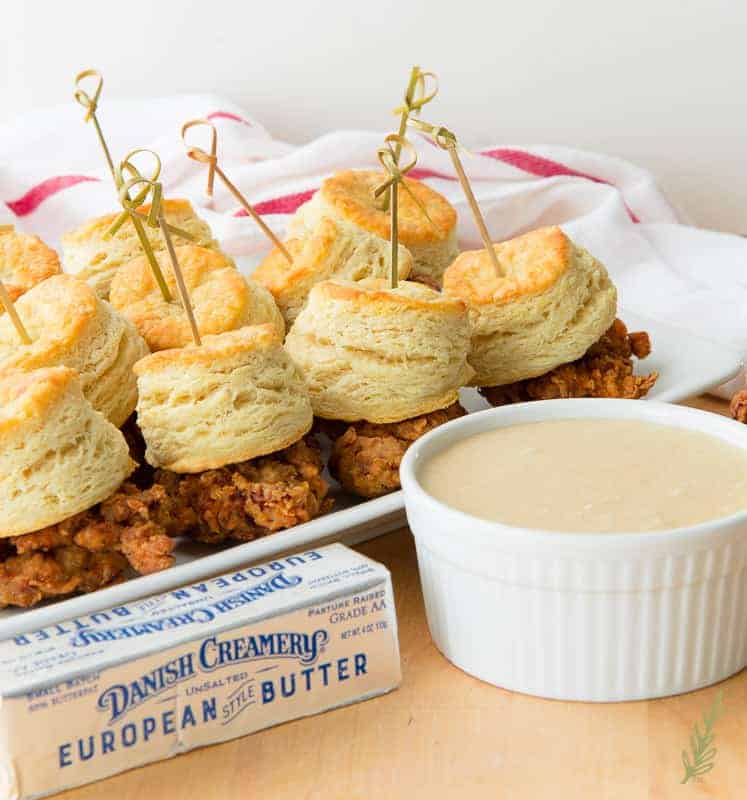
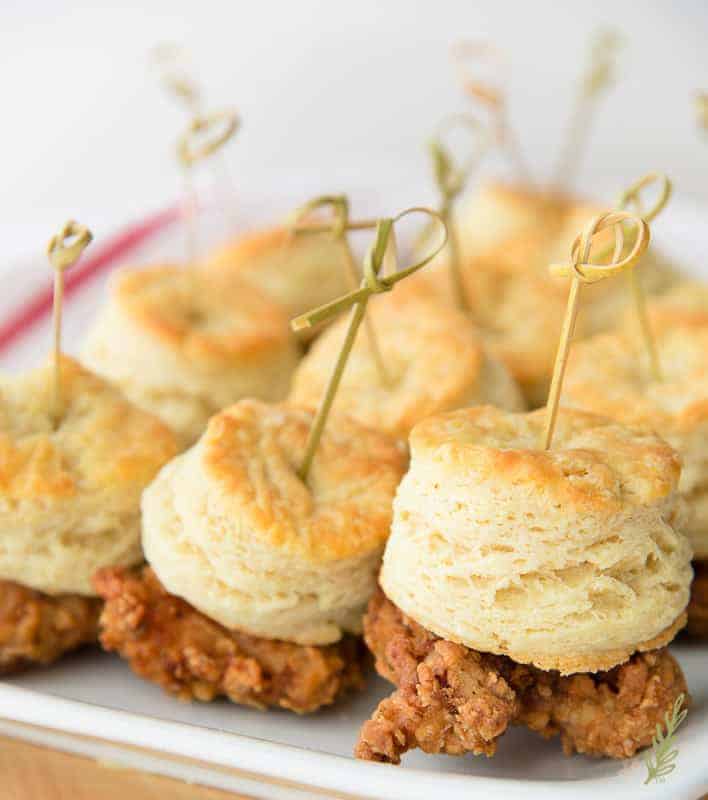
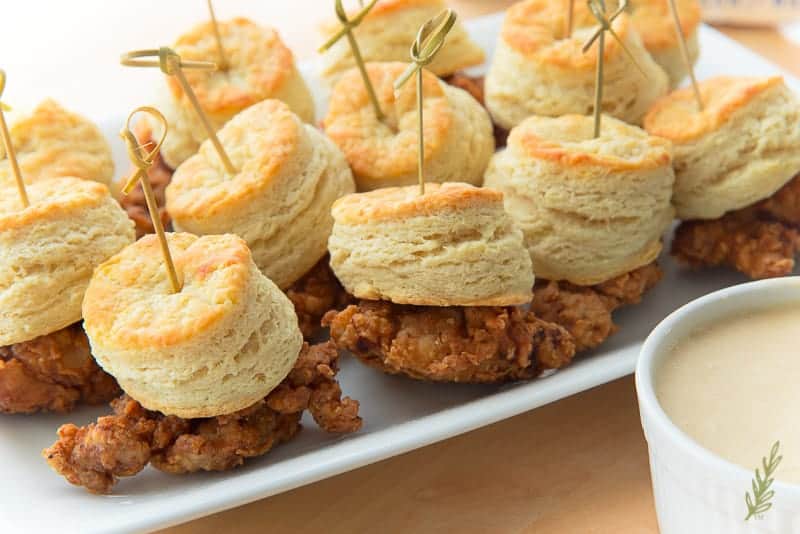
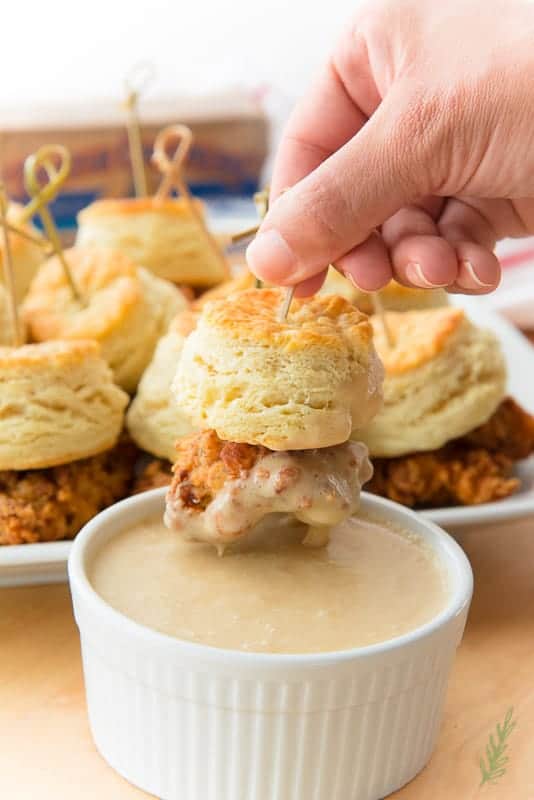
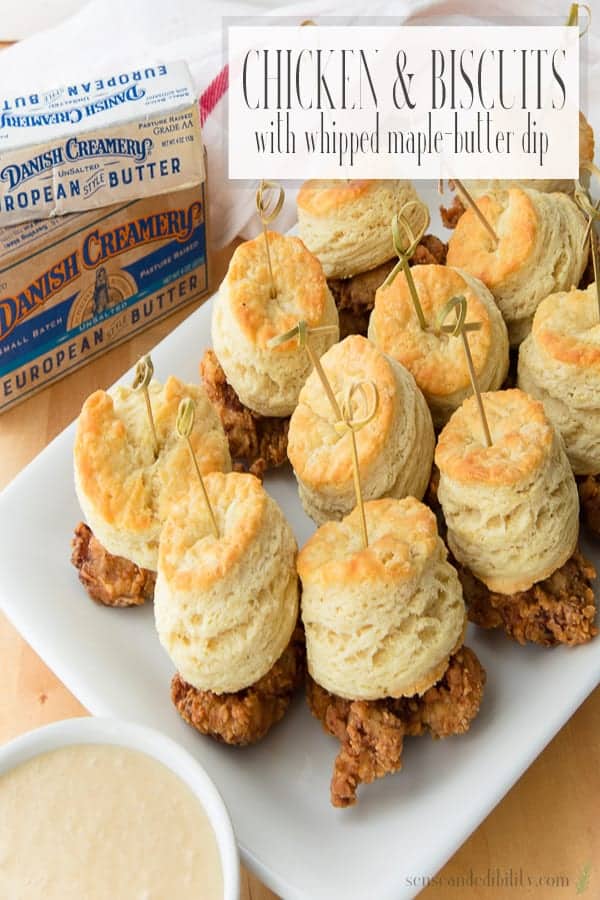
If you’re going the appetizer route, poke a toothpick through a biscuit, first, then anchor the biscuit with a piece of the fried chicken. I’ve tried it with chicken first and the biscuit just ends up sliding off of the skewer.
First thing’s first, we must ogle them. I mean, look at the height on those biscuits! Praising you for your chicken and biscuits genius is inevitable.
Arrange your chicken and biscuits skewers on a platter and transfer your Maple-Butter Dipping Sauce to a ramekin. Your diners can spoon their sauce onto their individual plates.
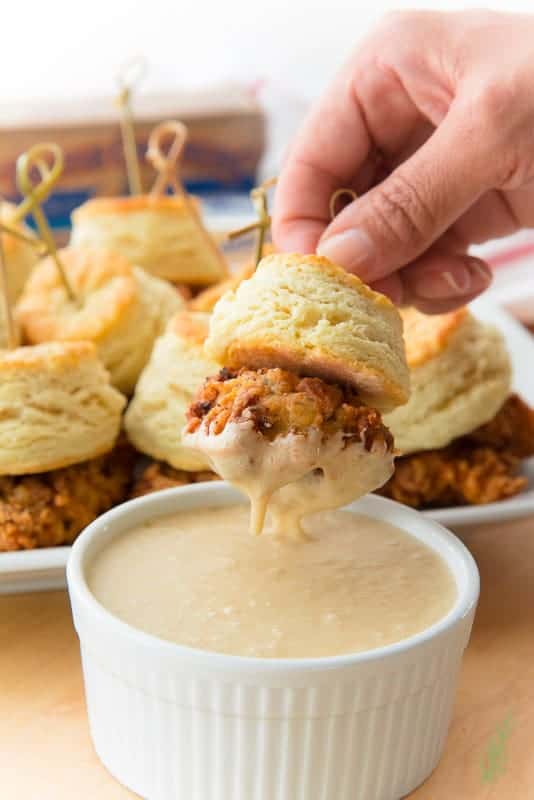
Or, they can dip their skewers into the sauce and forgo all the formalities. Just monitor them. Double-dipping is just trifling.
You can see which is my preferred method.
Go ahead and pin this for your next shindig. Be sure to share it with your guests if you plan on hosting a party any time soon. They may surprise you and show up with a plateful!
**This post contains affiliate links. To find out what that means to you, please read my disclosure page**
Chicken and Biscuits with Maple Butter Dipping Sauce
at Sense & EdibilityEquipment
- dutch oven
- deep fry thermometer
Ingredients
Fried Buttermilk Chicken
- 1 1/2 pounds boneless, skinless chicken thighs trimmed according to preference (see note in post)
- 1 1/2 tablespoons Meat Spice Blend
- 2 1/2 cups buttermilk
- 1/2 gallon peanut oil, vegetable oil, or lard for frying
- 2 cups all-purpose flour
- 1/4 cup cornstarch
- 1 1/2 teaspoons Meat Spice Blend
- 1 teaspoon dried rubbed sage
- 1/4 teaspoon cayenne pepper, optional
Buttermilk Biscuits
- 2 cups all-purpose flour
- 2 cups cake flour
- 2 teaspoons kosher salt
- 2 tablespoons granulated sugar
- 4 teaspoons baking powder
- 1 teaspoon baking soda
- 2 sticks (1 cup) Danish Creamery unsalted butter, ice cold or frozen
- 1 1/2 cups buttermilk
- 1/2 cup melted Danish Creamery unsalted butter, for brushing onto baked biscuits optional
Maple-Butter Dipping Sauce
- 1 cup powdered sugar, sifted
- 1 1/2 cups pure maple syrup
- 1/2 teaspoon vanilla extract
- pinch kosher salt
- 1 stick Danish Creamery unsalted butter, melted
Instructions
Marinate the Chicken
- Season the chicken liberally with the Meat Spice Blend, then transfer the chicken to a large non-reactive mixing bowl. Pour the buttermilk over the meat and cover the bowl tightly. Refrigerate 8-24 hours.
Prepare the Buttermilk Biscuits
- The following day, prepare your biscuit dough: combine the dry ingredients in a large mixing bowl.Grate the cold butter into this dry mixture. Toss the slivers of butter into the flour mixture to coat them in flour.
- Pour the cold buttermilk into the mixture and gently fold everything together just until the dough comes together. Don't handle the dough too much.
- Roll the biscuit dough into a rectangular shape, then fold the dough in thirds- letter-style- then roll the dough out into a rectangle again. Fold the dough again and roll it back out one more time before folding it a third (and final) time.
- Wrap the folded dough in plastic wrap. Place your wrapped dough into the fridge and let it relax for 30 minutes to 1 hour.
- After your dough has rested, roll it out until it is a half-inch thick. Using a round biscuit cutter press straight down and pull straight up to cut out the rounds of dough. Don't twist the biscuit cutter or you'll seal the dough, which will prevent the biscuit from rising fully. Cut the biscuits as close together as possible to get the most out of this first roll.
- Gather any scraps of dough and press them firmly together until they stick to one another. Roll the dough out to three-quarters of an inch thick and recut. Arrange the biscuits on a sheet pan lined with parchment paper or a silicone baking mat.
Chill, then Bake the Biscuits
- Chill the biscuits for 15 minutes. Meanwhile, preheat your oven to 400°F.Just before baking, make a dimple in the top of each biscuit with your fingertip. This will create a more even surface in the baked biscuit because it prevents the center from bulging up.
- Bake the biscuits for 15 minutes. As soon as they come out of the oven, brush them lightly with the melted butter.
Deep Fry the Chicken
- Preheat a 1/2 gallon of peanut oil (or your preferred frying oil) to 375°F. Use a deep fat frying thermometer to maintain a consistent temperature.
- While the oil is heating up, prepare a dredging/drying station for your chicken: place a cooling rack over a pan to hold the dredge chicken pieces. Whisk together the flour, cornstarch, and spices in a large mixing bowl.
- Coat the chicken pieces in the seasoned flour, shaking off any excess flour before transferring the chicken to a cooling rack to dry.
- Fry your chicken pieces in small batches for 4-5 minutes, or until the internal temperature reaches 165°F.Transfer the fried chicken to a paper towel-lined pan to drain off excess oil while you continue frying the remaining pieces of chicken. Keep the chicken warm in the oven set on the lowest heat setting.
Prepare the Maple-Butter Dipping Sauce
- Combine the powdered sugar, maple syrup, melted Danish Creamery butter, kosher salt and vanilla extract in a mixing bowl.Whip the mixture with your electric hand mixer (or an immersion blender) for 6-7 minutes, on high, until the mixture turns into a thick, opaque emulsion.Keep this at room temperature, as the consistency will change if you refrigerate it.
Assemble the Chicken and Biscuits
- Once the biscuits, chicken, and maple-butter dipping sauce are prepared, serve the chicken and biscuits separately, as sandwiches, or on skewers.
- As appetizers: poke a toothpick through one biscuit, then anchor the biscuit with a piece of the fried chicken.
- Arrange your chicken and biscuits skewers on a platter and transfer your maple-butter sauce to a ramekin. Dip the Chicken and Biscuit skewers into the Maple-Butter Dipping Sauce, or spoon the sauce over the skewers.
Notes
- Prior to baking: cut the biscuit dough into rounds and arrange them on a parchment-lined sheet pan. Freeze until solid before transferring the frozen discs to a freezer food storage bag. Store for up to two months.
- After baking: bake the biscuits as instructed and allow to cool completely on a cooling rack. Stack the baked biscuits in pairs before wrapping in plastic wrap. Place the wrapped biscuits in a freezer food storage bag. Store for up to two months. Just be sure to wrap them well to protect against freezer burn.


These look so good! I’ve been craving comfort food lately.
You and me, both, Lecy!
This looks so amazing! I would love to try this recipe!!
You should. You’ll love it.
My biscuits don’t turn out well when I make my variation of this. I guess it’s because I don’t chill them. I’ll try that this next time.
Definitely! Chilling the butter allows for those pockets of air to form, which is what makes for fluffy biscuits.
This looks great. I am wondering about the dipping sauce. If I am serving this on a buffet will it be sitting out for a few hours? Or will it separate and require frequent mixing> Should I keep it warm in the chafing dish? Any suggestions on using for a party would be appreciated!
You don’t need to keep it warm. In fact it holds up better if you don’t because you want it to stay a little thick. I left mine out for four hours and it remained perfect.
Wonderful. Thanks for the fast reply!
My pleasure, Suzy!
Yum!! This recipe looks so good! I’ve gotta try it.
Let me know what you think of it!
This is sure to wow my guests! I love the combo of maple and butter, it sounds absolutely delicious.
That maple butter dip balances the saltiness of the fried chicken so well!