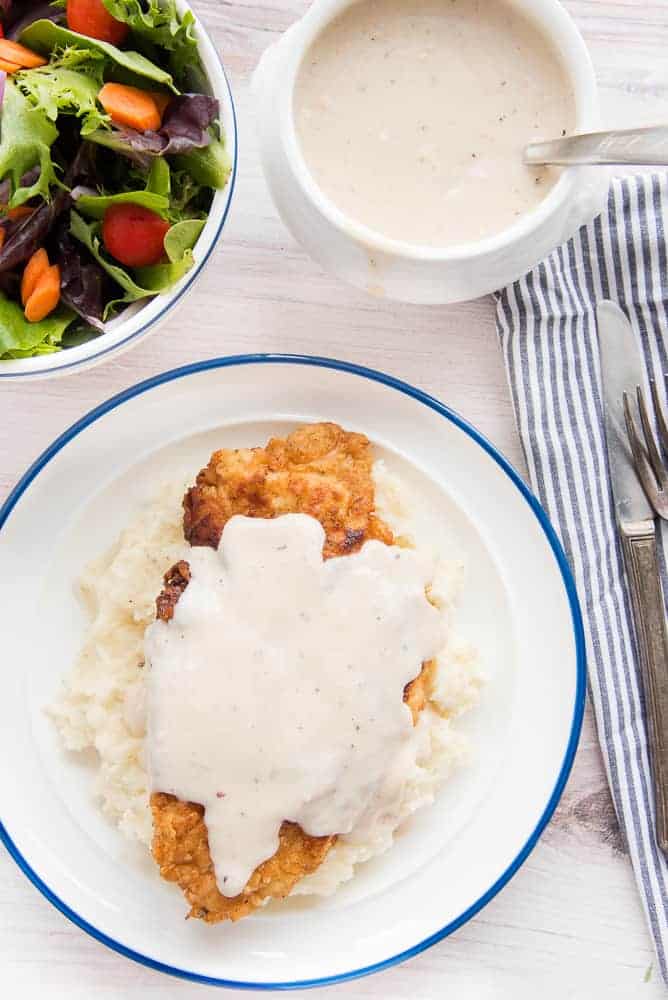
What is Chicken Fried Chicken?
The cooking technique is actually pan frying, which is a dry-heat cooking method in which food is cooked in a moderate amount of fat.
I’m referring to the overall preparation of this chicken. “Chicken frying” something simply means marinating (we hope), battering, then frying a piece a meat. Now, I say, “We hope,” because the expectation is that this chicken will be full-on flavor. Marinating is the best way to obtain that flavor, but not everyone believes in it. I’m a believer, and you should be too. You can chicken fry steak, pork, or- as we’re going to do- chicken. I’m sure there are more things to fry this way, but the aforementioned are the most popular proteins.
My recipe begins with thinly pounded boneless, skinless chicken breast. After marinating the chicken in a buttermilk brine, it gets a coating of seasoned flour. The final step is a bath in hot oil, which develops a crispy, golden crust.
Pan Gravy? What’s that?
Pan gravy is just what it sounds like: a sauce made by deglazing pan drippings and combining them with a roux (thickening agent) before finishing with a liquid. After adding flour to leftover frying grease, we’re going to add flour to create a blonde roux, then we are going to whisk in whole milk to produce the final sauce. Spices added to the gravy will finish the dish.
What You’re Going to Need to Make Chicken Fried Chicken
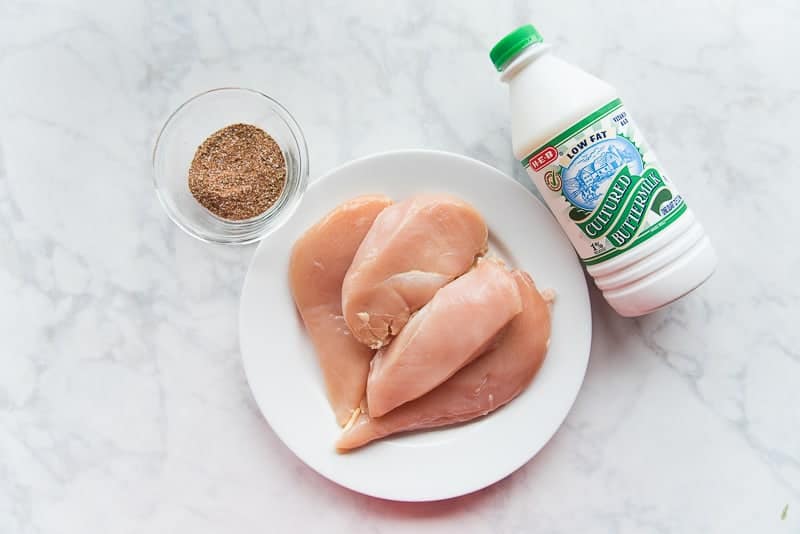
Chicken is the main ingredient in this recipe, that’s apparent in the name. But, you are also going to need a cup and a half of buttermilk, my Meat Spice Blend (or your favorite all-purpose seasoning), all-purpose flour, cornstarch, butter and oil (for frying), and whole milk (for the gravy).
You’re going to fry the chicken in a large cast iron skillet or similar type of pan. There are miscellaneous tools you’ll need as well, like a rack for holding the breaded chicken and tongs for turning the meat. Nothing too difficult, right?
Let’s get to it.
Why Pounding the Chicken Breast is Helpful
When it comes to frying boneless, skinless chicken breasts, you have two options: fry it as it comes and risk an uncooked middle with a burned crust. Or, and this is my preferred method, take a minute to pound out the meat and create less mass to cook through. You end up with a beautifully browned, crispy exterior covering tender, juicy meat. Do you see why the latter is my chosen route?
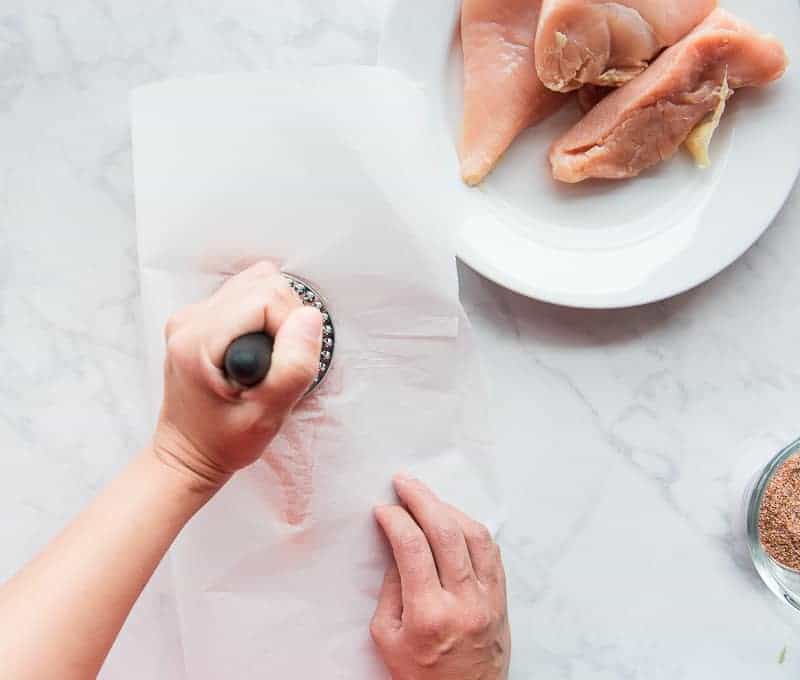
A meat mallet is used to bash the crap outta of meat. I mean, that’s not the “official” description, but I’m a writer, so I have to write descriptively. If you have a reversible mallet, like I do, make sure you’re using the flat side of the mallet, not the spiky side.
Take a look at your chicken breast. You’ll notice that it’s thicker towards the top. By pounding the meat to a thickness of about 1/2″ that thicker part is thinned out, making the entire breast the same thickness. This is what guarantees our chicken will fry evenly.
Fold a sheet of parchment paper around one of your chicken breasts. Use the meat mallet to pound the breast out to a 1/2″ thickness, focusing more of your rage on that big, thick part of the breast. Repeat until the rest of the chicken breasts have been thinned.
Season and Marinate the Chicken Breast
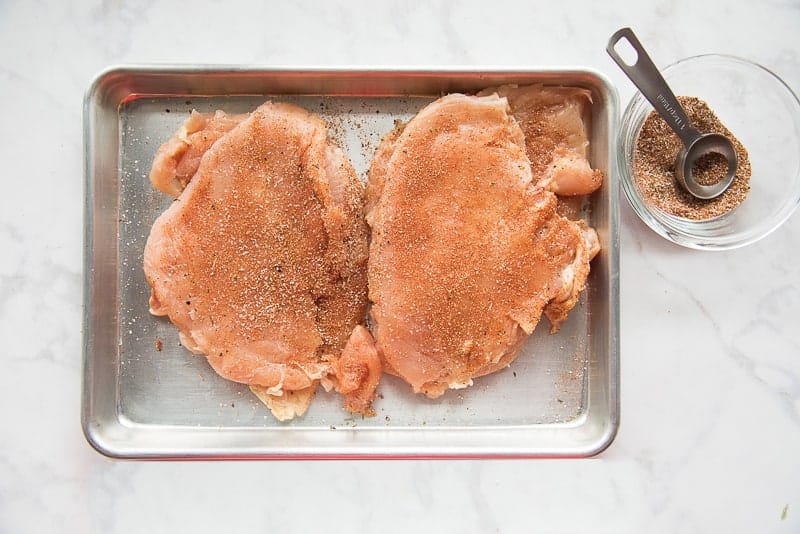
Marinating the chicken is vital because no one wants to eat a bland, sad piece of chicken. It’s going to look amazing when you’re done with it, so it should taste as good as it looks. Take advantage of the convenience of my Meat Spice Blend. You get all of the spices you need in one tablespoonful. If you don’t have any of my spice blend on hand, use the same amount of seasoned salt, or your favorite all-purpose spice blend.
Liberally season both sides of the breasts of chicken.
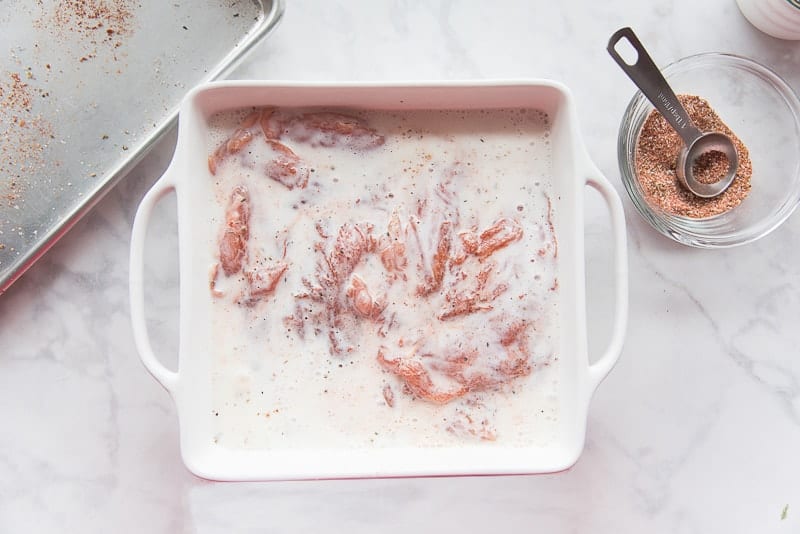
Before pouring the buttermilk, give it a gentle shake to mix it. The fat usually separates from the water as it sits in the bottle. Be careful when opening the bottle, though! Buttermilk has a tendency to spray out after it’s shaken. Don’t have buttermilk? I’ve got you! Mix together 1 1/2 cups of 2% milk with 1 1/2 tablespoons of lemon juice or white vinegar. Let this mixture sit for 15 minutes, and you’ve got buttermilk! You’re welcome.
Pour some of the buttermilk into your marinating dish. Place a single layer of the seasoned chicken on top of the buttermilk in the dish, then cover with more buttermilk. If you have a smaller dish, layer the buttermilk and chicken so that the meat is completely submerged in the milk. Cover the dish with plastic wrap and place it into the fridge. Allow the chicken to marinate anywhere from 30 minutes to 12 hours (or overnight). As I always say, the longer the meat has a chance to marinate, the more flavor it will have.
Season the Flour, then Dredge the Chicken
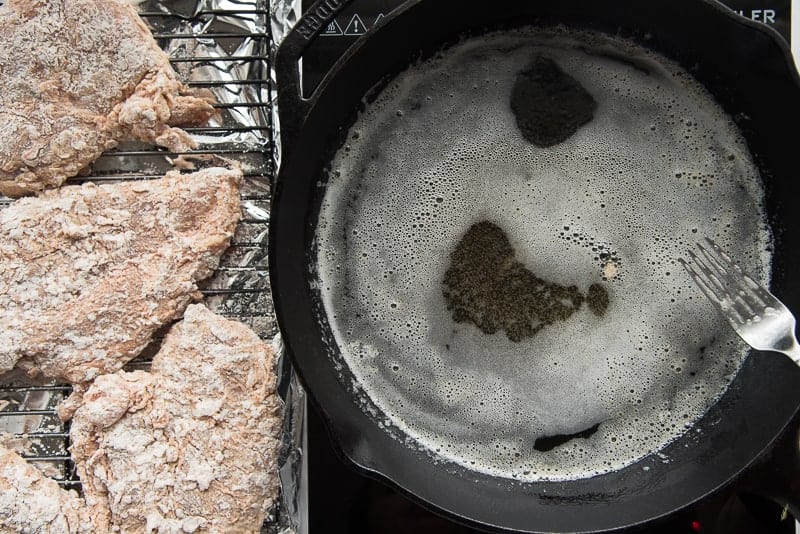
After the meat has had a chance to soak up all of that flavor, get ready to fry it. Add unsalted butter (for flavor) and vegetable oil or lard (for the higher smoke point) to a cast iron skillet. Preheat your cooking fat to 350°F.
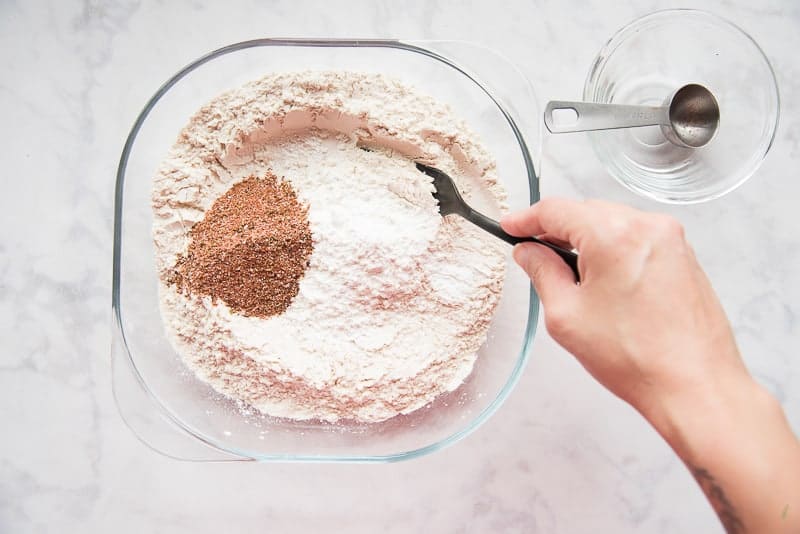
Meanwhile, prepare the flour mixture which you’ll dredge the chicken in. In a shallow dish, stir more of that meat spice blend and some cornstarch into the flour. The cornstarch will help to lighten the breading, which creates a crisper crust on the fried chicken.
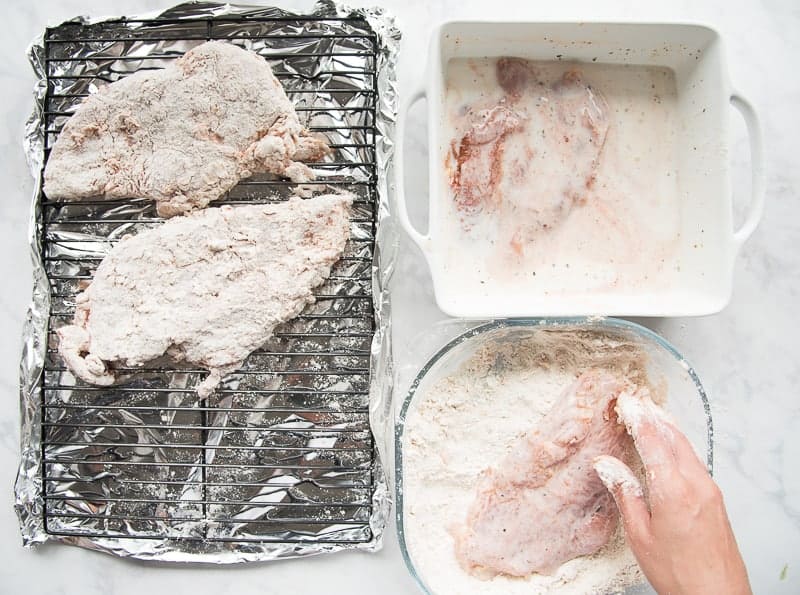
Remove the chicken from the buttermilk marinade and allow the excess milk to drip off of the meat. Place it into the seasoned flour and cover both sides. Be sure to press the meat down to encourage the flour to stick well. Lift the dredged chicken breast up and pat it gently to remove any excess flour. Gently lay the breaded chicken breasts on a cooling rack. This technique allows the flour to “set up”, so to speak, which helps it stick to the chicken breasts better, especially during frying.
Chicken Fry the Chicken Fried Chicken (say that 5 times fast)
By now, the grease in your skillet should be ready to fry these bad boys up. Test that the oil is at the right temperature by dropping in a piece of the flour mixture that’s left over from dredging the chicken. If the piece of breading begins to sizzle immediately and soon rises to the surface of the grease, it’s hot enough. You can also use a Thermapen Thermometer for greater accuracy. You’re ready to fry when a thermometer reads 350°F.
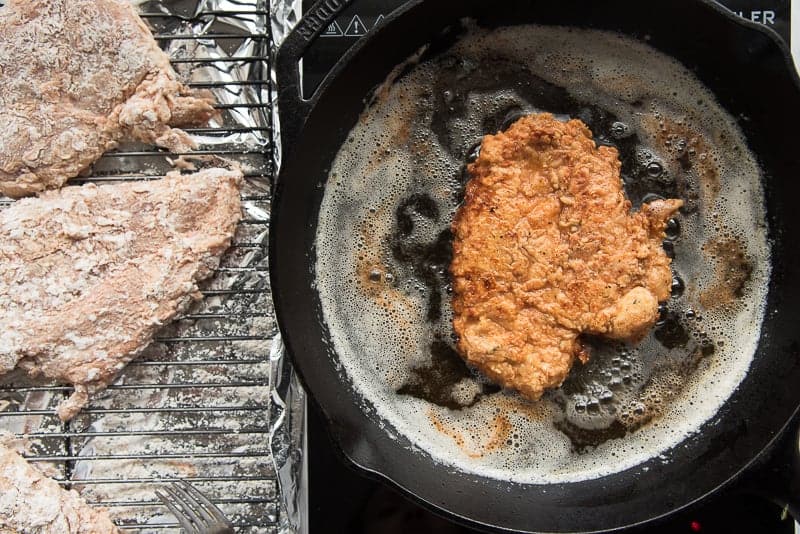
Depending on how big your skillet is, carefully lay one or two of your breaded chicken breasts into the hot oil. Fry the chicken on one side for 4 minutes, or until it’s golden brown and crispy.
Use a pair of tongs to carefully flip the meat over and fry for another 3-4 minutes, or until golden brown and cooked through. A thermometer inserted into the chicken should read 165°F.
Carefully remove the chicken fried chicken from the oil to a dish lined with paper towels, or to a clean rack set over a sheet pan. This allows excess grease to drain away. Transfer the fried chicken to a warm oven. Repeat these steps until all of the chicken has been fried.
Prepare a Roux from the Pan Drippings
After frying the chicken, drain off all but 1/4 cup of the grease from the skillet. I pour the grease into a heatsafe glass and wipe out the skillet, when I’m doing this. Wiping out the skillet produces a prettier, tastier pan gravy.
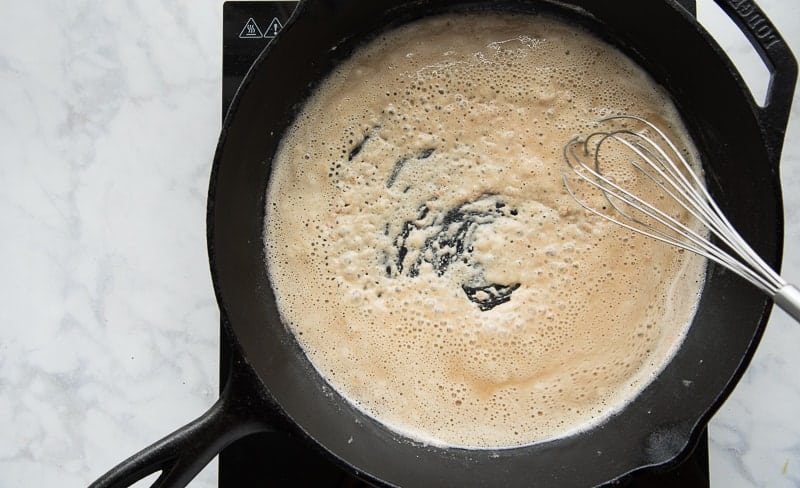
Return the lightly cleaned skillet to the stove. Over medium heat, heat the reserved grease for 1-2 minutes. Once the fat begins to sizzle, sprinkle the flour into the pan to make a roux, which is what we’ll use to thicken the gravy. Whisk the roux together, then cook it for at least one minute. That minute is essential because you want to cook off that raw, floury taste before using the roux.
If you find that your roux is too thick, add a little melted butter or a splash of oil to thin it out. Is there a puddle of oil on the sides of the pan? Add a tablespoon of flour to absorb it.
Cook the roux until it no longer smells of flour and begins to bubble and take on a blush of color.
Finish the Pan Gravy
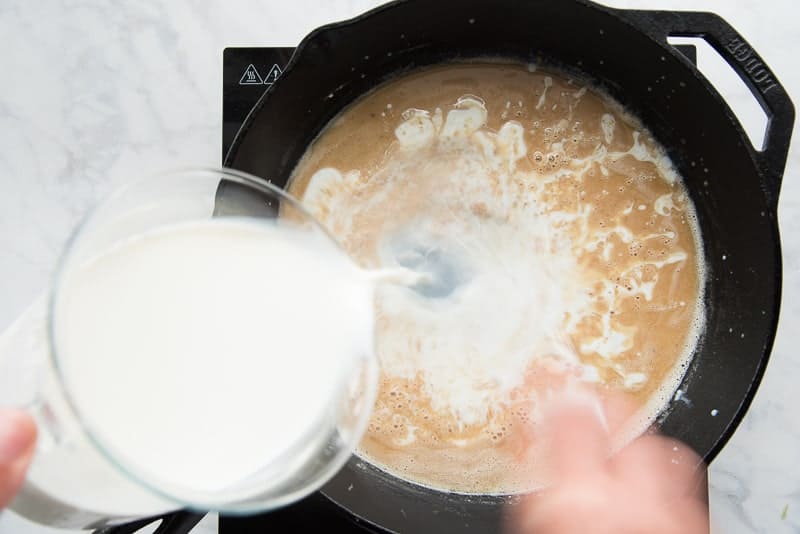
Slowly pour a cup of the room temperature whole milk into the roux, whisking constantly. You don’t want to dump all of the milk in at once because the gravy will become lumpy. Gradually adding the milk gives you time to whisk the gravy smooth as it thickens. Whisk until the roux is very thick and pasty. Now you can add the remaining milk in a slow, steady stream, whisking constantly as you pour it in.
Bring the gravy up to a very gentle simmer and allow it to thicken. Whisk steadily to keep the gravy from sticking to the bottom of the pan. Don’t let the gravy boil, or you risk scorching it.
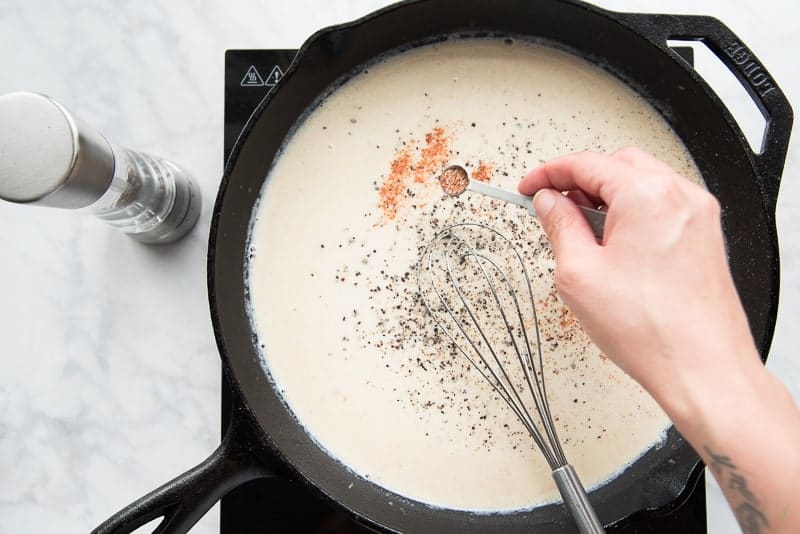
Once the gravy thickens enough to coat the back of a spoon, season it to taste with more meat spice blend, a pinch (or two) of salt, and a few turns of black pepper.
Keep the gravy warm until you’re ready to serve it, stirring it occasionally to keep a skin from forming on the surface. If a skin does form, it’s not the end of the world. You can either whisk it back into the gravy, or scrape it off and discard it.
Top the Chicken Fried Chicken with the Pan Gravy
What to serve with this Chicken Fried Chicken? Mashed potatoes. Period. Point blank. Bloop! Name another vessel that’s as perfect for sopping up the chicken’s flavorful juice and that scrumptious pan gravy. I’ll wait…
Oh. Cheesy Grits with Garlic, well, yes. Those would be okay too. This Steamed White Rice? Yes, point taken, but, only those three.
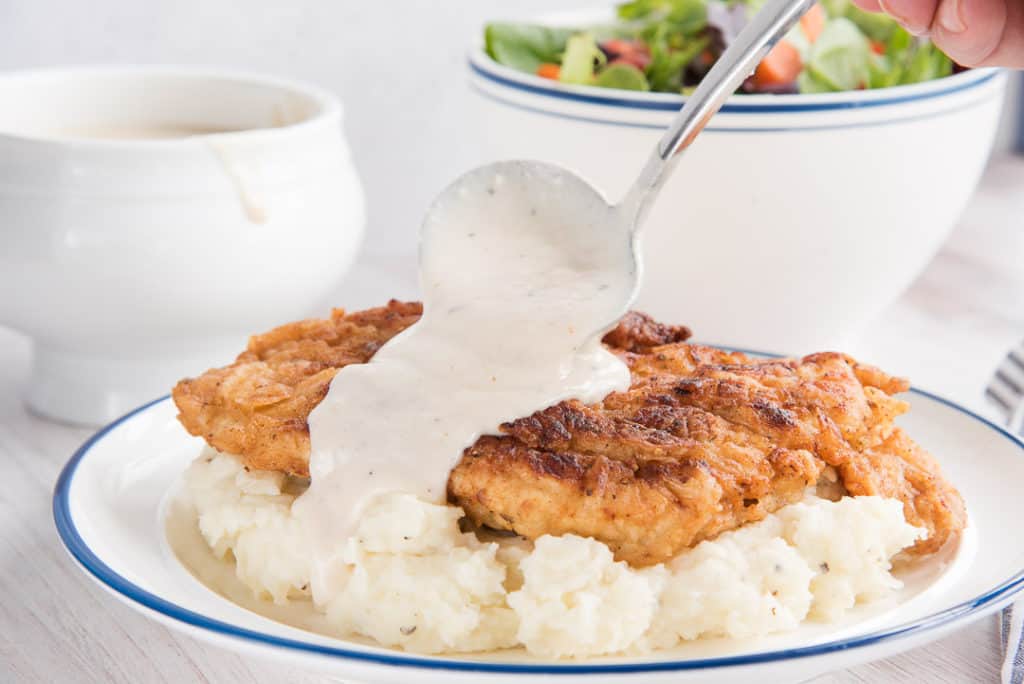
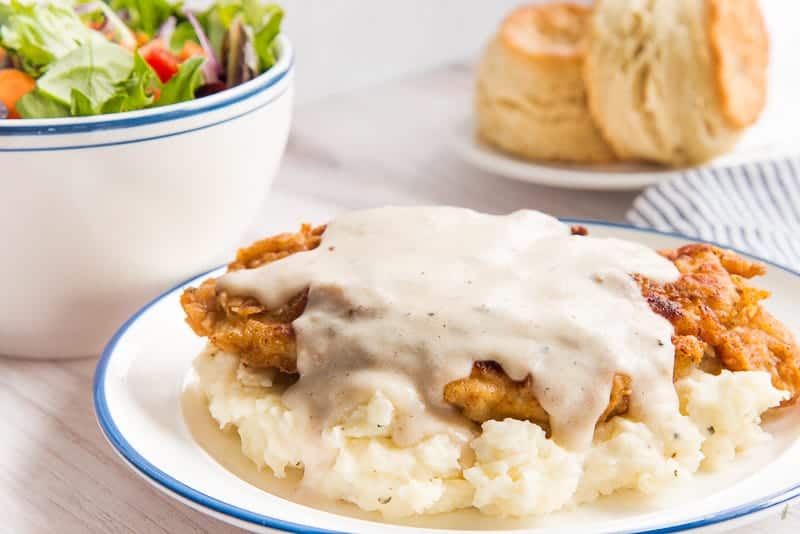
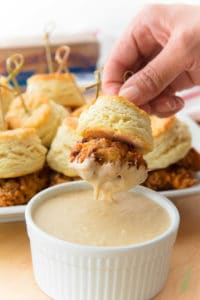
Once you’re ready to dig in, nestle a piece of that Chicken Fried Chicken onto a bed of mashed potatoes and lovingly slather a generous amount of that creamy pan gravy all. OVAH. It. Yes, gravy-slather, YASSSSS!
Why do I get so excited about food?!?
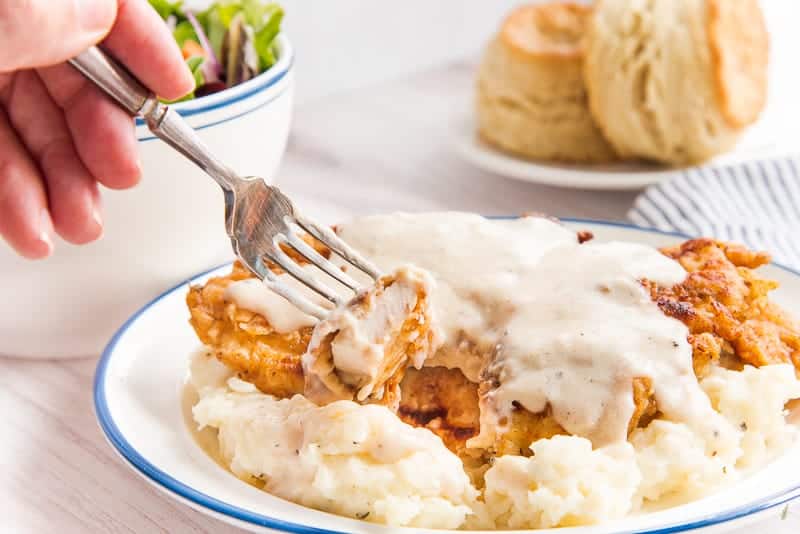
Let’s take a minute to enjoy this sight.
‘Kay! Minute’s over.
Serve and Enjoy!
Because this Chicken Fried Chicken with Pan Gravy is best served piping hot, I recommend doing just that.
Store any leftovers in the fridge for up to two days. You can reheat them in the microwave, but reheating in the oven is better for retaining as much crunch as possible.
Pin this recipe for your next dinner and be sure to share it with your world.
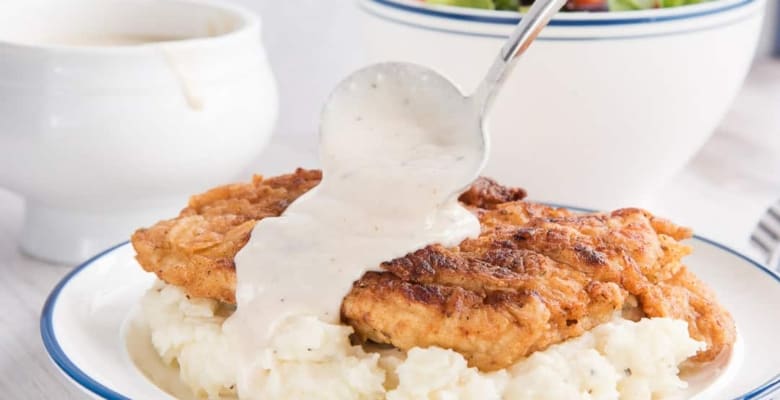
Chicken Fried Chicken with Pan Gravy
at Sense & EdibilityEquipment
- 12" skillet
- meat mallet
Ingredients
- 2 1/2 pounds boneless, skinless chicken breast pounded to 1/2" thickness
- 3 tablespoons Meat Spice Blend separated
- 1 1/2 cups buttermilk (see note for making your own buttermilk)
- 2 1/4 cups all-purpose flour separated
- 1/2 cup cornstarch
- 2 cups lard (or shortening, peanut oil, or vegetable oil)
- 1 stick unsalted butter* (or 1/2 cup ghee)
- 4 cups whole milk at room temperature
- salt to taste
- black pepper to taste
To Serve
- 4 cups prepared mashed potatoes
Instructions
Season and Marinate the Chicken Breasts
- Liberally season the chicken on both sides with 2 tablespoons of the Meat Spice Blend.Arrange the seasoned chicken in a dish in a single layer. Cover the chicken completely with the buttermilk. If you're using a smaller dish, layer the buttermilk and chicken so that the meat is completely submerged in the milk.
- Cover the dish with plastic wrap and refrigerate, allowing the chicken to marinate anywhere from 30 minutes to 12 hours (or overnight).
Season the Flour and Fry the Chicken
- In a cast iron skillet, preheat the lard and butter to 350°F over medium heat. Prepare a breading station by arranging the marinated chicken next to the dish that will hold the seasoned flour. To hold the dredged chicken breast, place a cooling rack over a sheet pan. Put these next to the flour dish. You can use a sheet pan alone for holding the dredged chicken.
- In a shallow dish, stir together 2 cups of the flour, the cornstarch, and 2 teaspoons of the meat spice blend. Remove the chicken from the buttermilk marinade and allow the excess milk to drip off of the meat. Dredge both sides of the chicken breast in the flour. Shake off any excess flour before gently laying the breaded chicken breasts on the cooling rack.
- Once your oil is hot, carefully lay one or two of your breaded chicken breasts into the skillet. Fry the chicken on one side for 4 minutes, or until it's golden brown and crispy.
- Use a pair of tongs to carefully flip the meat over and fry for another 3-4 minutes, or until golden brown and cooked through. A thermometer inserted into the chicken should read 165°F.
- Carefully transfer the chicken from the oil to a dish lined with paper towels, or to a clean rack set over a sheet pan, which will allow excess oil to drain off. Keep the fried chicken in a warm oven while you fry the remaining chicken breasts.
Prepare the Pan Gravy
- Carefully pour the grease into a heatsafe glass, then wipe the skillet clean.Return the skillet to the stove and pour in a 1/4 cup of the reserved grease. Heat the grease for 1-2 minutes over medium heat.
- Once the fat begins to sizzle, sprinkle the remaining flour into the pan to make a roux. Whisk the roux together, then allow it cook it for at least one minute to remove the raw, floury taste.If you find that your roux is too crumbly, add a splash of reserved grease to thin it out. If there are pools of grease within the roux, add a tablespoon of flour to absorb it.Cook the roux until it no longer smells of flour, about 1 1/2-2 minutes. It will start to bubble and take on a little color.
- Decrease the cooking temperature to medium-low. Slowly pour a cup of the room temperature whole milk into the roux, whisking constantly. Whisk until the roux is very thick. Add the remaining milk in a slow, steady stream, whisking constantly as you pour it into the pan.
- Bring the gravy up to a very gentle simmer and allow it to thicken. Whisk steadily to keep the gravy from sticking to the bottom of the pan. Don't allow the gravy to boil, or it may stick and become scorched.
- Once the gravy thickens enough to coat the back of a spoon, season it to taste with the remaining meat spice blend and salt and black pepper to taste. Keep the gravy warm over low heat until you're ready to serve it. Stir the gravy occasionally to keep a skin from forming on the surface. If a skin does form whisk it back into the gravy or scrape it off and discard it.
- Serve the Chicken Fried Chicken on a bed of mashed potatoes and top it with a generous ladle of creamy Pan Gravy. Serve the chicken while hot.
Notes
- 1 1/2 cups of 2% milk
- 1 1/2 tablespoons of lemon juice (or white vinegar)




Oh em gee! This recipe is amazing! I’m always so scared to make fried chicken but this recipe took all the guesswork out of it! It was hit with the whole family and i have some serious food critics! Try this recipe now!!!!
I’m so glad you tried and loved it, Rebecca!
Best chicken fried chicken I’ve ever had! Totally worth making it every week!
I love reading that! Fried chicken is such a comfort isn’t it?
Marta, your photos make this recipe so easy to recreate! Thank you!
Oh, it truly is my pleasure. Anything to make cooking more approachable.