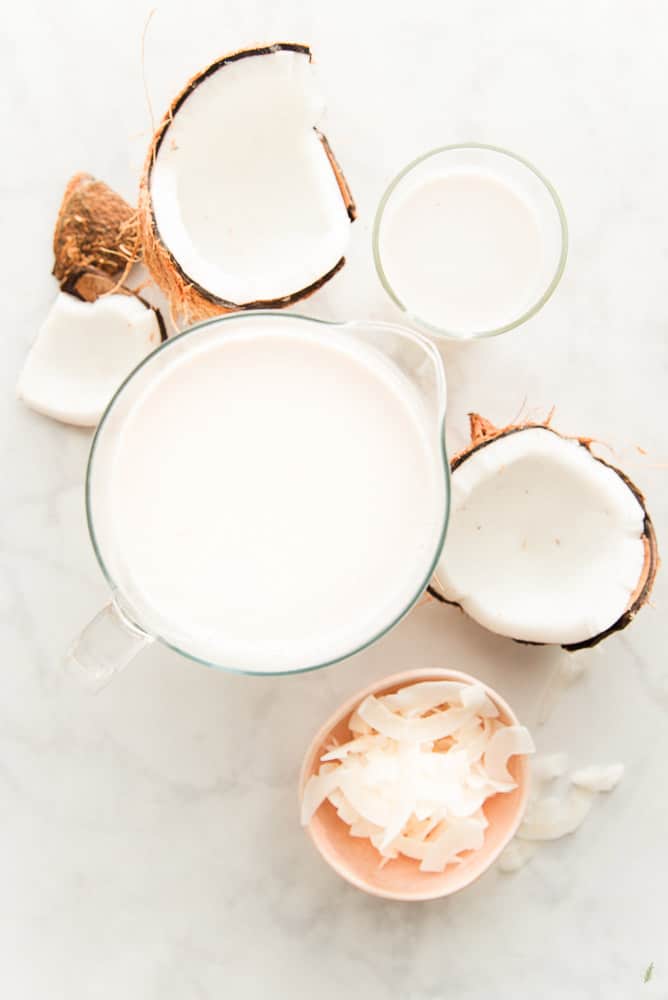
 Here’s a quick “tute” all about Coconut Milk. How to make it. Why you should make it. And what you can use it in when you make it. Besides being creamier and more refreshing than that stuff in a carton or can, fresh coconut milk is easily customizable to add (or not) flavorings you might be keen to include. I show you how to infuse your milk with flavors you love, or how to keep it as pure and virginal as…well, let’s move onto the process. Shall we?
How hard is it to make Coconut Milk at home?
I’m going to keep it real with you. Extracting the meat of coconuts is no joke. Because you deal with a hard shell and have to separate the meat from it, it’s labor-intensive. That step is how my husband earns his share of the coconut milk. Can I do it myself? Yes. Do I want to? No. That said, if you don’t have a Hector at home, you can do it yourself. I’ll show you how.
The most challenging part is extracting the meat from the shell. After that, you need to grate the meat, which is easy with a food processor. The meat is squeezed, which may be a bit intense if you’re a weak-body like I am. So, other than extracting the meat and the milk’s pressing, it’s not all that difficult. Either way, try it at least once, and after one taste, you’ll be okay to do it again and again.
What benefits do Coconut Milk from scratch have over store-bought?
According to the Library of Congress, the coconut is a dry drupe. A drupe- think peaches, plums, and apricot- is a fruit that contains a hard pit in the center of fleshy exo- and mesocarps. It’s hard to believe that coconut is a drupe like a peach (at least for me, it was hard to believe) because we see the fruit with the “fleshy part” removed. The dry, fibrous husk of a coconut is its mesocarp. In the produce section, we get the endocarp (or shell), which surrounds the meat.
Most store-bought canned coconut milk contains a lot of additives. Stabilizers, like guar gum, help prevent the coconut milk from separating as it sits on the store shelf. Even “pure” coconut milk contains some additives and preservatives, which means they’re not that pure at all. The canned stuff also loses tons of nutritional value because it has to go through the sterilization process to make it safe for canning.
If you have an intolerance to lactose (the sugar found in cow’s milk), coconut milk is an alternative, high in fiber and vitamins. It does contain a fair amount of calories, so it isn’t a low-fat alternative.
Above all else, the main reason for making your own at home is quality and safety. You know where it came from, and you know what’s in it.
What type of Coconuts should I use?
You can use the brown coconuts sold in the produce section to make this coconut milk. Since most of us don’t have a coconut tree in the backyard, that’s our best option. But, if you’re among the blessed who do have a tree, climb on up there and get a few green ones. I’m sure you know how to husk them and all of that, so we’ll keep plugging along with the recipe.
The type of coconut you don’t want to use is any that are shredded or pre-packaged. These kinds of products have preservatives or sweeteners added to them to make them suitable for baking and the like. They add unnecessary ingredients to your “pure” coconut milk, which makes them “not-so-pure” after all.
When you select a coconut at the store to use in this recipe, pick one that feels heavy for its size. What I mean by that is you want to pick it up and be all, “Whoa! That’s heavier than I thought it would be!” A coconut with some weight will have a good amount of water and a nice supply of meat inside.
What do I use to crack the coconut?
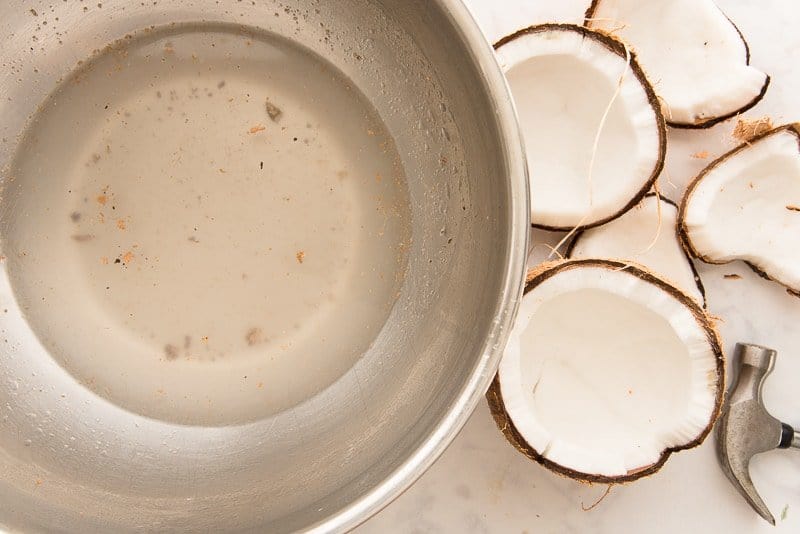
Extract the water inside by cracking the coconut right between its “eyes” and “mouth”. Take a look at the end of your coconut. It has three brown spots that resemble two eyes and an open mouth, or a bowling ball’s holes. Strike the coconut with your hammer where the “nose” would be. You might have to give it three or four whacks to get the nut cracked enough to pull apart. Drain the coconut water into a mixing bowl. Repeat this cracking with the second coconut.
Remove any debris, rogue fibers, and shell from the water using a strainer.
The coconut should be in pieces that are big enough to handle. Use a clean flat head screwdriver to separate the white flesh from the hard, brown shell. Because fresh coconut meat loves to stick the shell, you can also warm the coconut pieces in a 210°F (99°C) oven for 15 minutes. When you heat the coconut, the meat releases from the shell easier.
Stick the screwdriver’s head between the white flesh and brown shell and push up. The meat should release from the shell reasonably easy.
How can I flavor Coconut Milk?
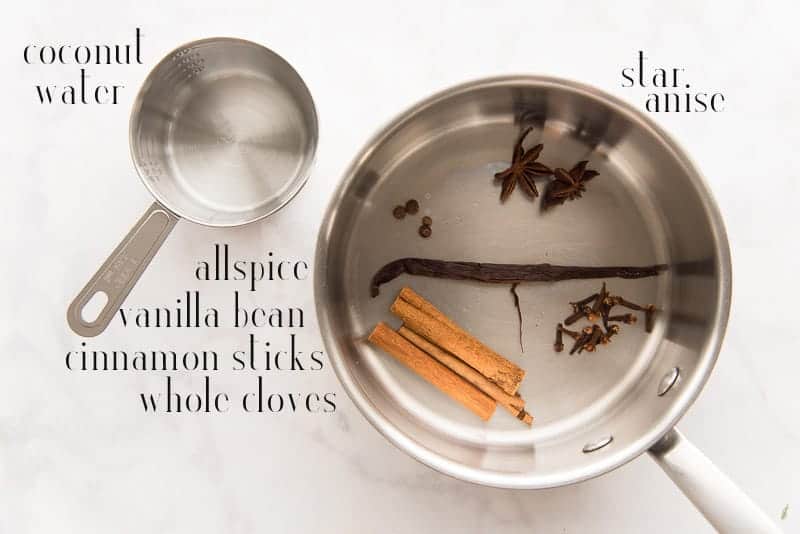
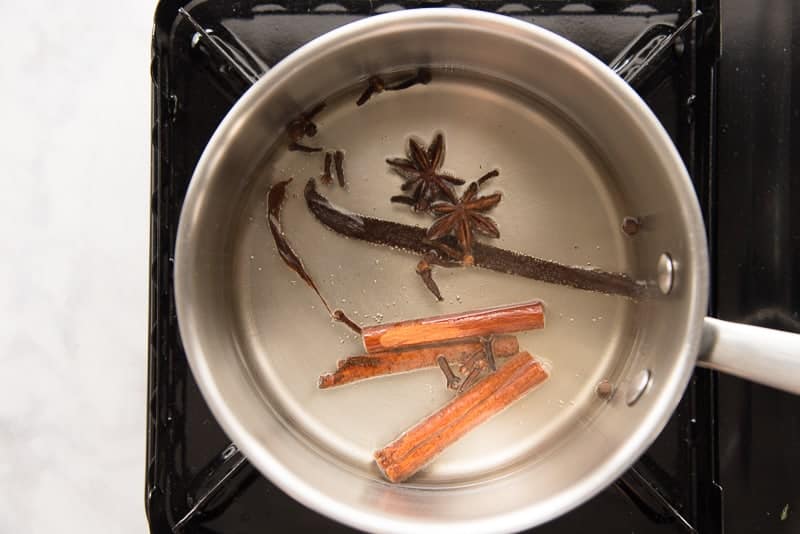
To create the coconut milk base, add that reserved, strained water to a small saucepan along with star anise, cinnamon sticks, allspice berries, and whole cloves. While all these spices are optional, they flavor the coconut milk subtly and give it a bit of depth: flavorwise. You can omit one or all of the spices to suit your taste.
Put the pot on the stove over a medium flame.
Bring the water to a boil. Next, reduce the heat to medium-low and simmer the spices for 5 minutes. After the “tea” has simmered for 5 minutes, turn the stove off and allow the spices to steep in the water for 15 minutes.
Strain the spices through a cheesecloth-lined strainer to remove them. Finally, use the back of a knife blade to press the paste out from the vanilla bean. Add the extracted paste to the strained coconut water tea and stir it with a spoon to combine.
Set the tea aside while you work on shredding the coconut meat.
What’s the best way to grate Coconut?
Once you’re ready to grate the coconut meat, give the pieces a quick rinse under cold running water. After, add the meat to a large mixing bowl.
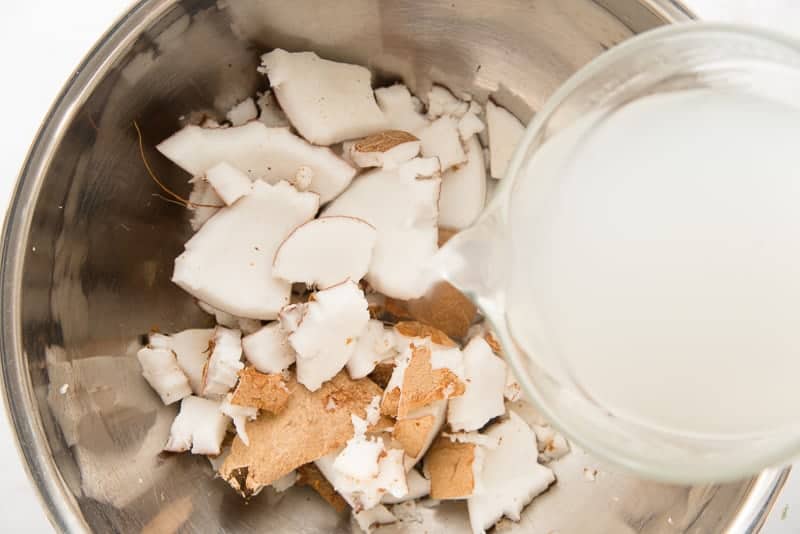
In a microwave-safe bowl, heat the coconut water in the microwave until steaming, or about 3 minutes. Because we want to soften the meat further, pour the hot coconut water over the large pieces of coconut. If your coconuts were small, or didn’t have a ton of water, add more hot water, as needed to just cover the coconut in the bowl. Sometimes, you need as much as 3 cups of water. Allow the meat to soak in the water until the water is cool to the touch or about 10 minutes.
Remove the coconut meat and grate it with the broad hole side of a box grater. You can also use a food processor to do this, but I find it’s easier to do it by hand since you don’t end up with chunks the processor can’t catch. Strain that coconut water once more. We’re going to use it until the wheels fall off.
How long do I soak the meat?
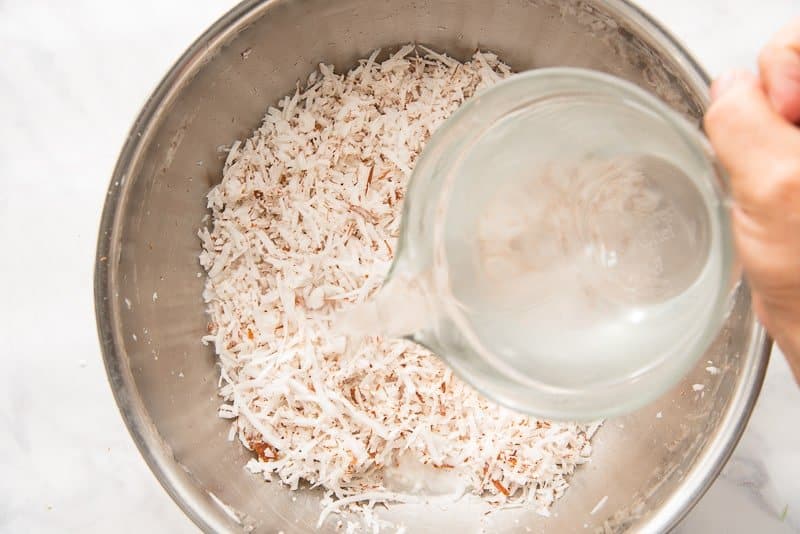
Pour the strained coconut water back over the grated coconut meat and allow it to soak for another 10 minutes. Each time you soak the coconut, you’re coaxing out more and more of its milk. Because we’re not diluting it with regular water and only reusing the coconut water itself, we’re fortifying that coconut flavor.
If you want to cut down on the prep (and you have one), you can use a juicer to extract the coconut milk. While I have used my juicer to do this in the past, the end result is not nearly as “coconutty” as when I do it the old-fashioned way.
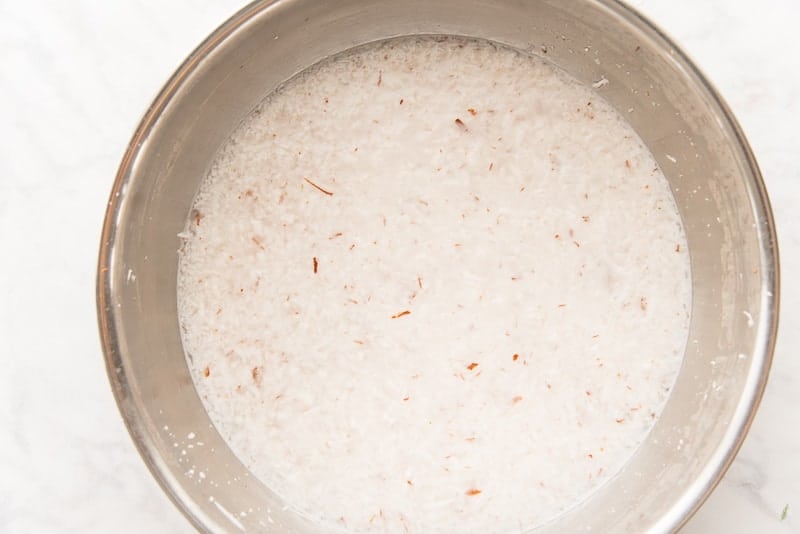
After 10 minutes, the liquid in the bowl will appear opaque and milky.
What’s the easiest way to extract Coconut Milk?
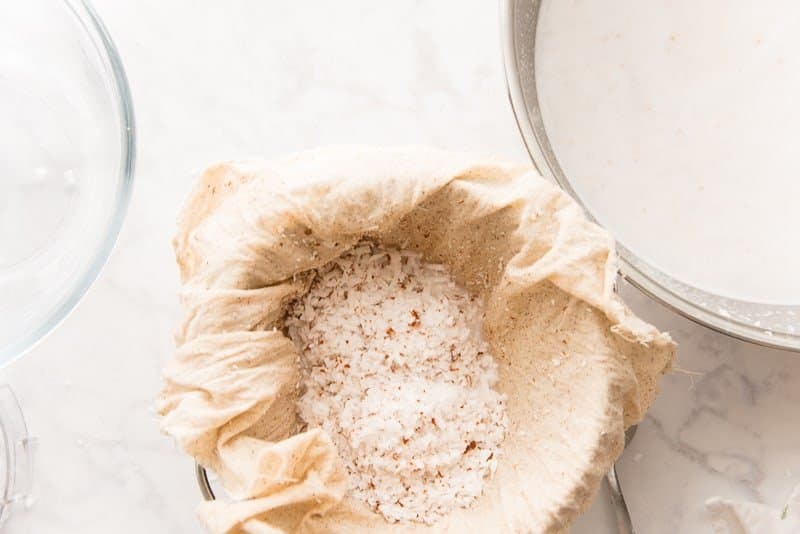
Scoop one or two cups of the shredded coconut into a muslin cloth or nutbag set inside a colander that has been placed over a deep bowl. Gather the ends of the muslin cloth or bag. Squeeeeeeeeeze the meat until you’ve extracted as much milk as possible. Transfer the squeezed coconut shreds to the bowl of your food processor or blender before continuing to scoop and press the remaining shredded meat.
After the first squeeze, pulse the meat with the blade attachment in your food processor or in your blender with a small amount of the extracted coconut milk. When I tell you that I’m removing the very soul out of these coconuts, this is what I mean.
Pour the coconut milk you squeezed from the shredded coconut meat over the pulsed coconut. Allow the milk to soak the coconut for 10 minutes.
Repeat the scooping and squeezing process to extract the rest of the coconut milk and essence from the pulsed meat.
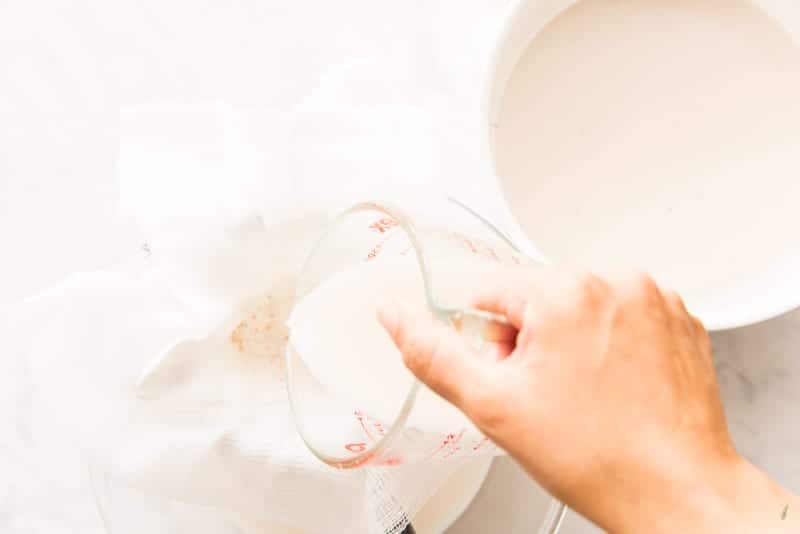
Finally, strain the coconut milk through cheesecloth that’s been placed over a fine mesh strainer set inside a bowl.
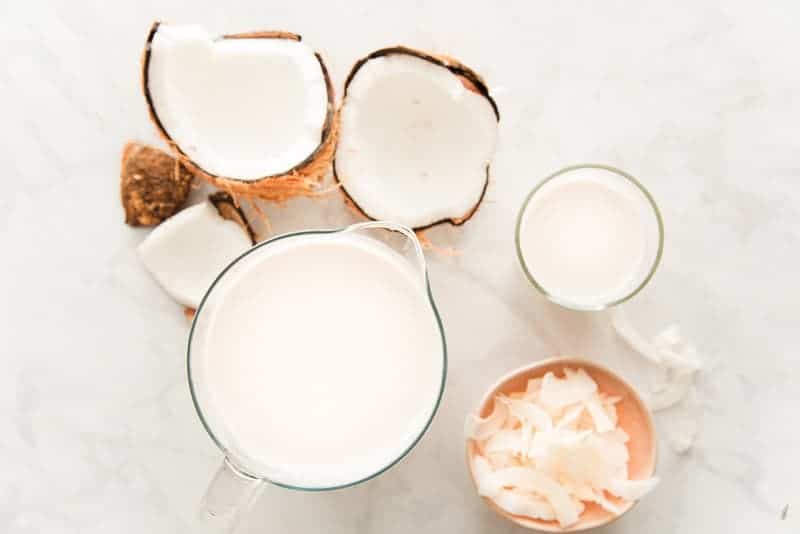
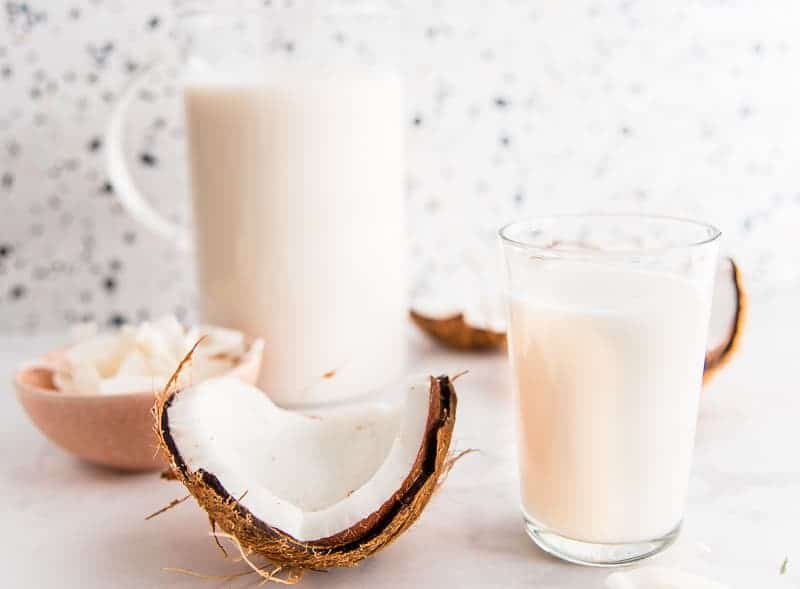
Once the coconut milk has been strained, transfer it to a glass or plastic serving pitcher.
How long can I store Coconut Milk?
At this point, give your coconut milk a taste. If you want, add a small amount of honey, agave syrup, or granulated sugar to sweeten the milk to suit your preference.
Once prepared, coconut milk will keep for one week in the refrigerator. After that, the flavor begins to weaken, and the fats begin to go rancid. Be sure to keep it refrigerated in a covered pitcher or container to keep it from spoiling faster.
Can I freeze it?
Coconut milk freezes exceptionally well. In fact, I’ve frozen it in ice cubes to use in cocktails, and it’s always hit with my guests. To do that, just pour the strained coconut milk into ice cube trays and freeze as you would water ice cubes.
If you don’t need coconut milk ice cubes, simply pour the milk into leak-proof bags and store it in the freezer for 3 months. Thaw the milk in the refrigerator, making sure to stir it well as the fat will have separated from the water in the milk.
How do I keep it from separating?
As the coconut milk sits, you’ll notice the heavy cream will rise to the top of the pitcher. That’s perfectly normal. Separation is just a part of coconut life. You can’t prevent it from happening, nor should you want to. To prevent the coconut cream from separating from the milk, you would have to add stabilizers. Adding stabilizers totally defeats the purpose of our making the coconut milk from scratch.
To mix the coconut milk, just give it a whisk to combine it. If your pitcher has a screw-on lid, just give it a vigorous shake, and it’s back to normal.
What can I use Coconut Milk in?
Okay, so, I used to make this Coquito Recipe with freshly squeezed coconut milk. But, after the twins were born, I got away from doing that because it was just too much work. After I made the coconut milk for this post, I made a batch of coquito and my word! I forgot how amazingly (dangerously) smooth it was.
If nothing else, you have to try this coconut milk in your coquito this year. Even making a virgin batch of coquito is a good idea.
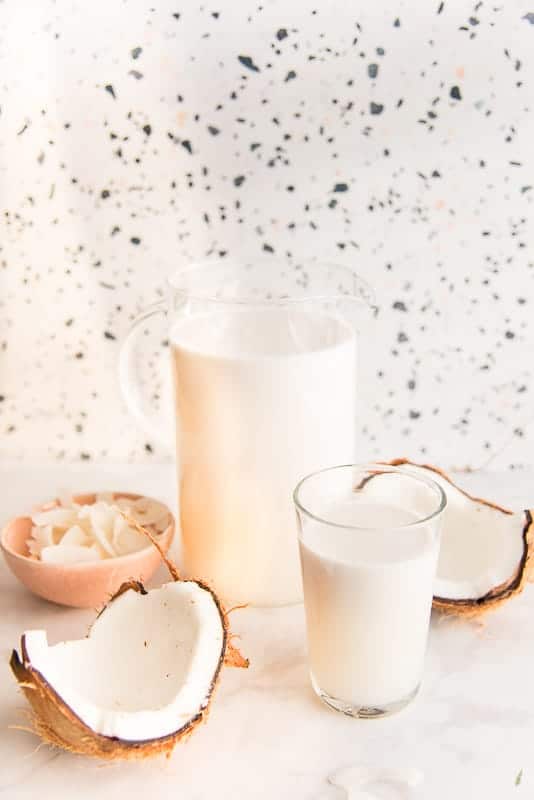
Besides the coquito, use this coconut milk in place of your coffee creamer. I use it to make my smoothies instead of cow’s milk, too. Or just drink it straight-up! You don’t really need a recipe in which to use it. Coconut milk stands on its own just fine.
Be sure to grab your hammer and make this Coconut Milk at least once. Taste the difference freshly-squeezed makes. Be sure to pin this recipe to your drinks board, then share it with your friends and family!
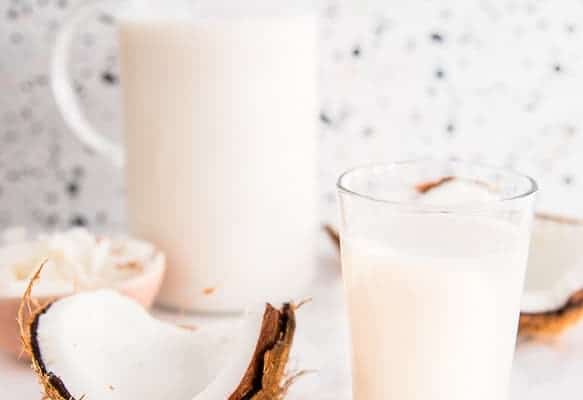
How to Make Coconut Milk at Home
at Sense & EdibilityEquipment
- hammer
- flat head screwdriver
- Grater
- food processor, blender, or juicer
- muslin or cheesecloth
Ingredients
- 2 coconuts
- 4 allspice berries optional
- 3 3-inch cinnamon sticks optional
- 2 star anise optional
- 1 teaspoon whole cloves optional
- 1 vanilla bean split
- hot water as needed to cover the coconut meat
Optional
- honey agave syrup or granulated sugar, to taste
Instructions
Extract the Coconut Water
- Use a hammer to crack the coconut right between its "eyes" and "mouth" or right in the center of the three brown spots a bowling ball's holes on one end of the coconut. It may require three or four strikes to crack the coconut enough to pull apart. Drain the coconut water into a mixing bowl. Repeat this cracking with the second coconut.
- Remove any debris, rogue fibers, and shell from the water using a strainer.Separate one cup of this strained coconut water from the rest to use in making the tea.
Prepare the Flavoring for the Coconut Milk (Optional)
- Bring the water to a boil, then reduce the heat to medium-low and simmer the spices for 5 minutes. After the "tea" has simmered for 5 minutes, turn the stove off and allow the spices to steep in the water for 15 minutes.
- Strain the spices through a cheesecloth-lined strainer to remove them. Finally, use the back of a knife blade to press the paste out from the vanilla bean.Add the extracted paste to the strained coconut water tea and stir it with a spoon to combine. Set the tea aside while you work on shredding the coconut meat.
Extract, then Shred, the Coconut Meat
- Use a clean flat head screwdriver to separate the white flesh from the hard, brown shell by sticking the screwdriver's head between the white flesh and brown shell and pushing up. It's okay if a thin film of brown sticks to the white meat.The meat should release from the shell reasonably easy. If the meat sticks to the shell, warm the coconut pieces in a 210°F (99°C) oven for 15 minutes. Heating the coconut releases the meat from the shell easier.
- Rinse the coconut meat quickly under cold running water, then add the meat to a large mixing bowl.In a separate microwave-safe bowl, heat the remaining coconut water (not the spiced tea) in the microwave until steaming, or about 3 minutes. Pour the hot coconut water over the large pieces of coconut to soften the meat.*If your coconuts were small, or didn't have a ton of water, add more hot water, as needed to just cover the coconut in the bowl. Sometimes, you need as much as 3 cups of water.*Allow the meat to soak in the water until the water is cool to the touch or about 10 minutes.
- Remove the coconut meat from the soaking coconut water and grate it with the broad-hole side of a box grater into a mixing bowl. This step can also be done with a food processor*.
- Pour the soaking coconut water back over the grated coconut meat and allow it to soak for another 10 minutes. After 10 minutes, the liquid in the bowl will appear opaque and milky.
- Scoop 1-2 cups of the shredded coconut into a muslin cloth or nutbag set inside a colander that has been placed over a deep bowl. Gather the ends of the muslin cloth or bag and twist the bag until you've extracted as much milk from the coconut meat as possible. Transfer the squeezed coconut shreds to the bowl of your food processor or blender before continuing to scoop and press the remaining shredded meat.
- Pulse the shredded coconut meat with the blade attachment in your food processor (or in your blender with a small amount of the extracted coconut milk). Pour the coconut milk you squeezed from the shredded coconut meat over the pulsed coconut. Allow the milk to soak the coconut for 10 minutes.
- Repeat the scooping and squeezing process to extract the rest of the coconut milk from the pulsed meat. Finally, strain the coconut milk through cheesecloth that's been placed over a fine mesh strainer set inside a bowl. Stir the spiced tea you made with the coconut water earlier into the coconut milk to flavor it.
- Once the coconut milk has been strained, transfer it to a glass or plastic serving pitcher.Taste the coconut milk and, if desired, add a small amount of honey, agave syrup, or granulated sugar to sweeten the milk.
- Store the coconut milk for one week in the refrigerator in a covered pitcher. As the coconut milk sits, the heavy cream will rise to the top of the pitcher, just give it a whisk to combine it. If your pitcher has a screw-on lid, you can give it a vigorous shake, instead to combine it.Serve the coconut milk on its own, in cocktails or smoothies, or use any cooking or baking recipes that call for canned coconut milk.
Notes
Freezer Instructions:
- Freeze the coconut milk in ice cubes to use in cocktails: just pour the strained coconut milk into ice cube trays and freeze as you would water ice cubes.
- Freeze for later use by simply pouring the milk into leak-proof bags and storing it in the freezer for 3 months. Thaw the milk in the refrigerator, making sure to stir it well as the fat will have separated from the water in the milk.




Can you use frozen Thai coconut? How would you do it?
I don’t recommend using frozen for making fresh coconut milk. The flavor is diluted in my opinion.
Outstanding! And the spice tea has my home smelling delightful.
I’m so glad to know that! Enjoy it and happy holidays!
Okay, I had no idea one could make their own coconut milk. I imagine is TASTES so much richer and better than the canned stuff.
It tastes 100-times better, Natalie.
Such a great how to!!! I will have to try my hand at this!
Enjoy it!
Wow this is super interesting to learn about, especially if you always buy it.
So glad you found it helpful!
I LOVE the idea of making coconut milk at home. I wish there was an easier way out there to open up a coconut!
But doesn’t it relieve so much pent up stress!?