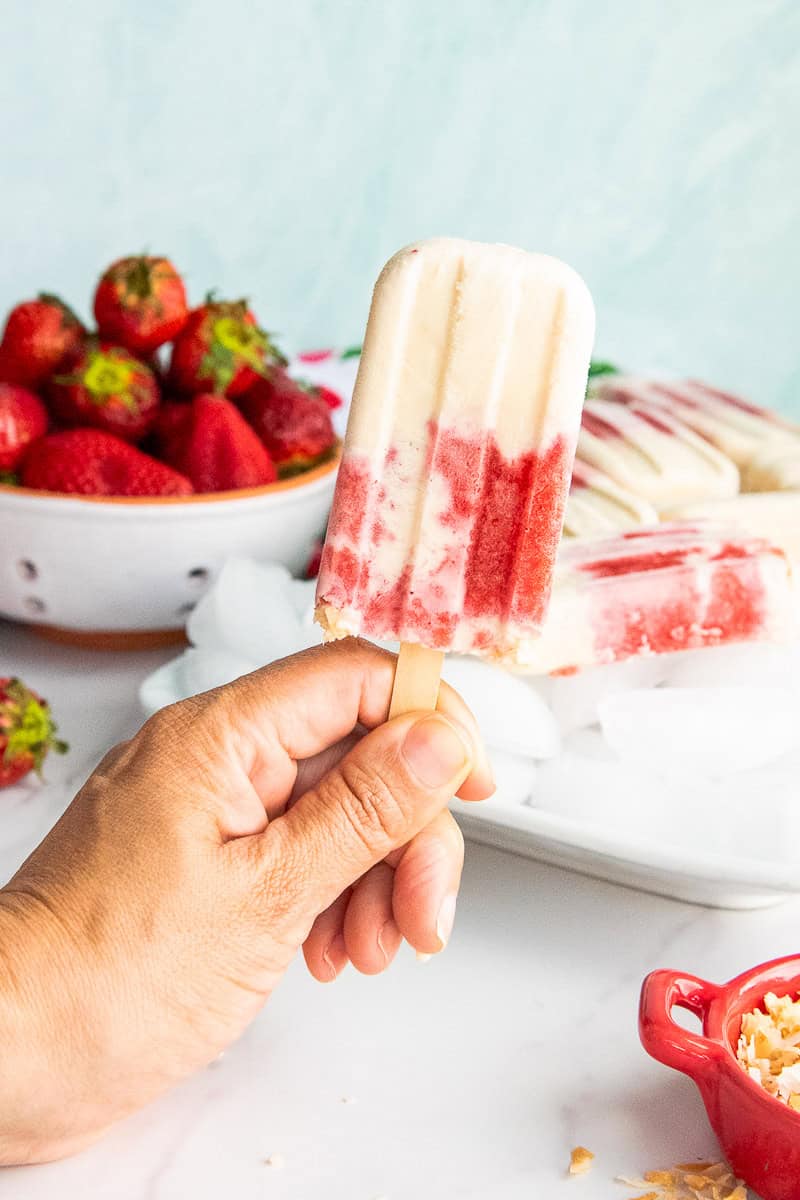
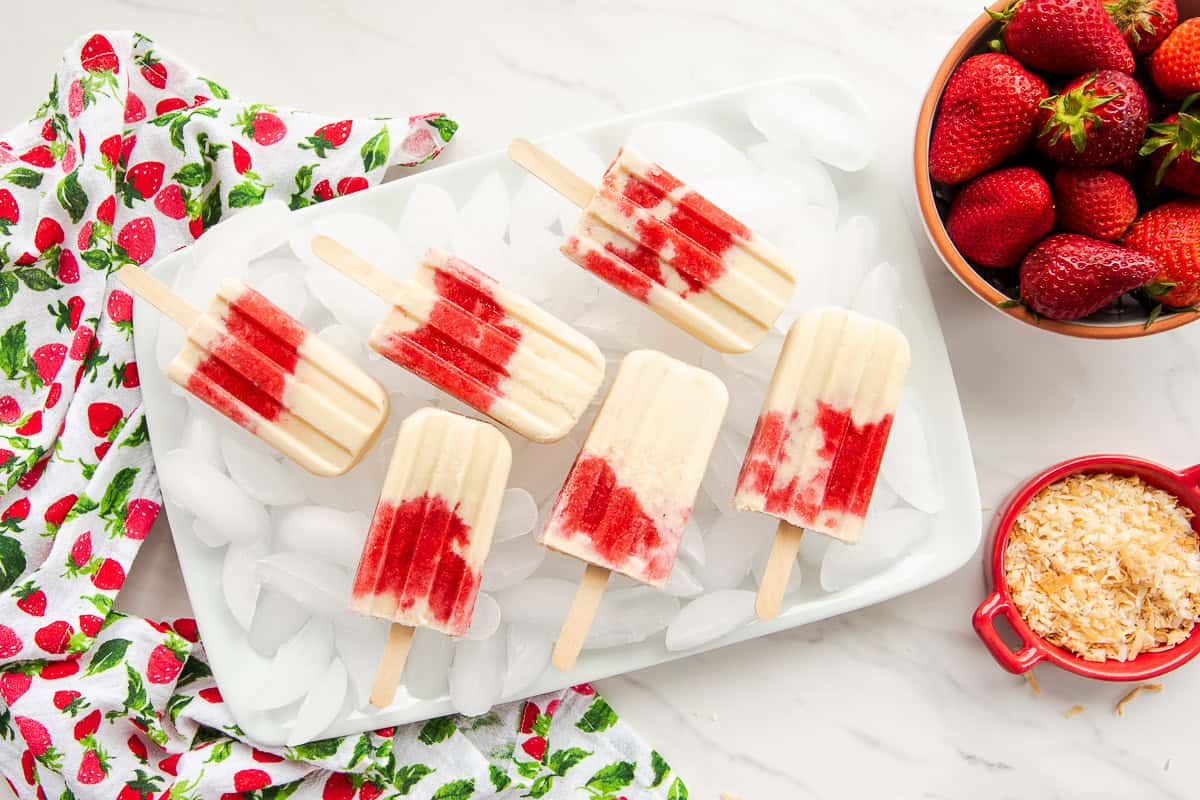
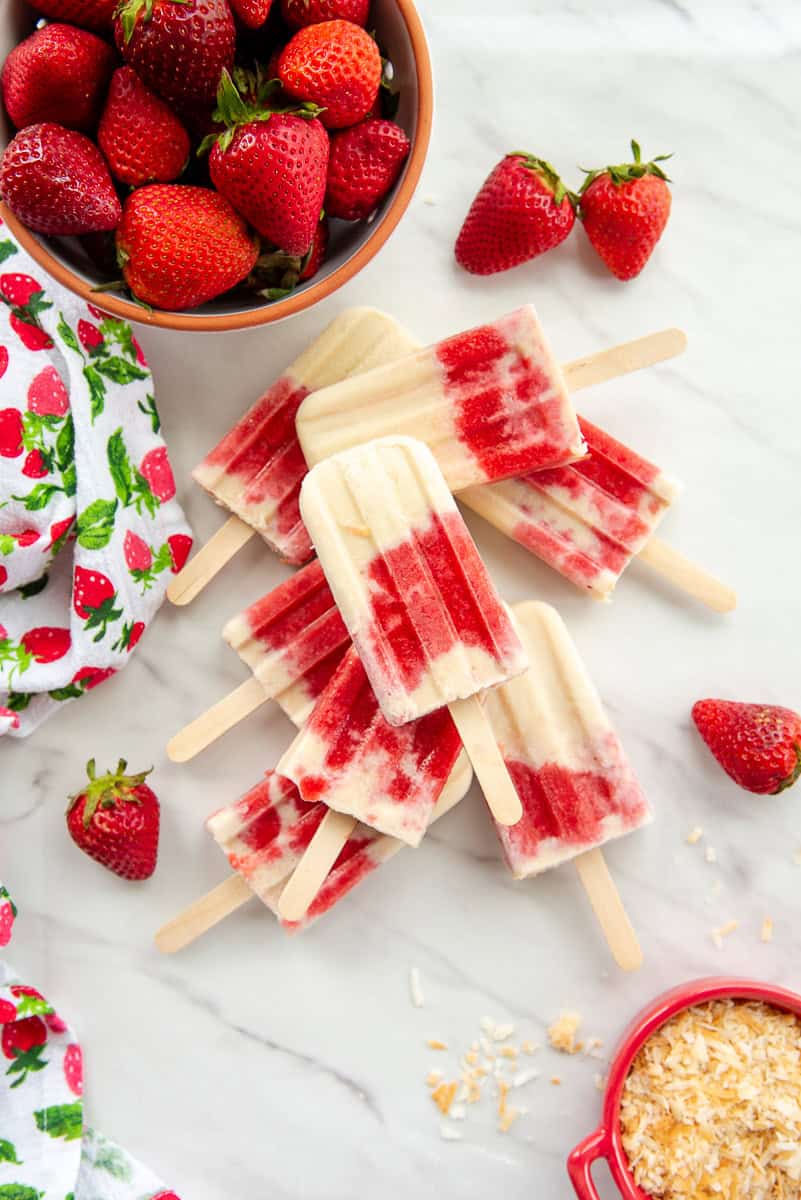
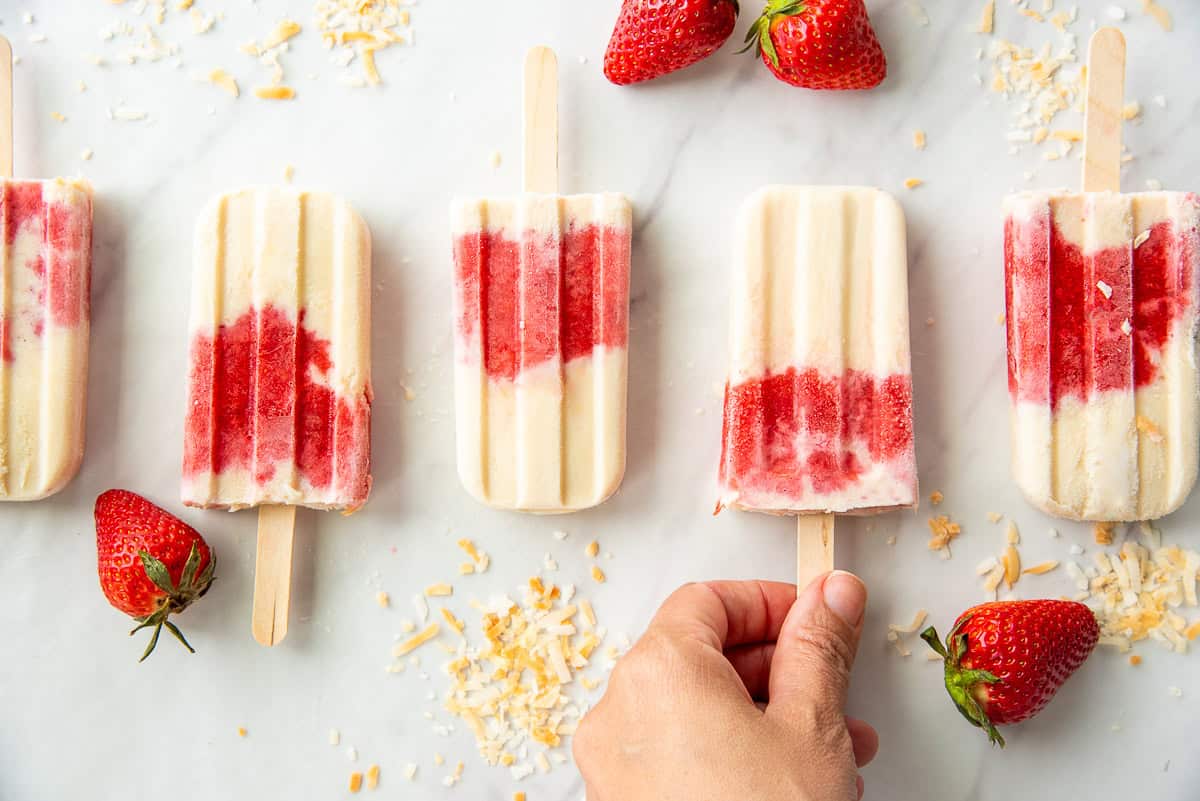
Coconut Strawberry Popsicles are the must-have dessert at every Summer event, even if it’s just a lazy Sunday at home. Creamy coconut milk and sweet, juicy strawberries combine to create a refreshingly creamy popsicle to scare away those high summer temps. This all-natural popsicle recipe is a hit with kids and adults alike, making them the must-have dessert of the season.
*I published this recipe in May 2017. It’s been updated with new images, copy, and clearer recipe instructions.*
What Are Popsicles?
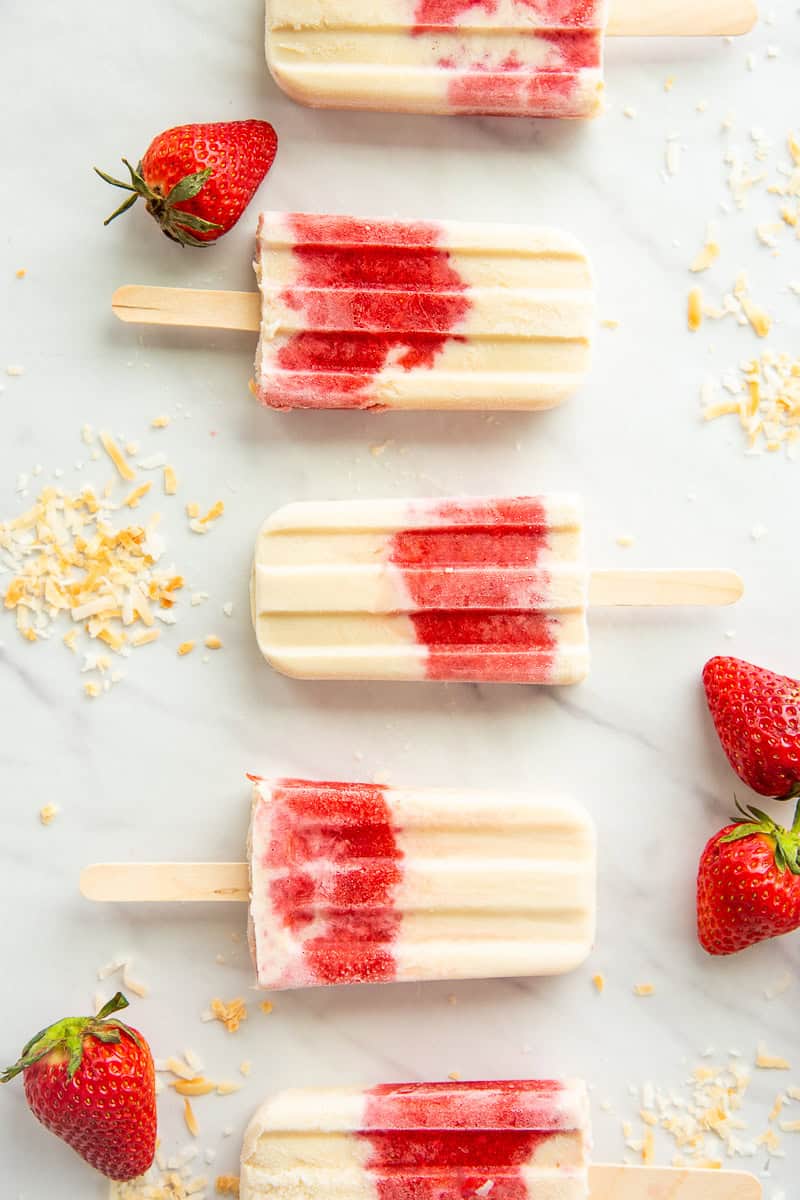
Popsicles are frozen dessert treats served on a stick. This recipe for coconut strawberry popsicles strikes a tasty balance between bright and refreshing and cool and creamy.
This homemade popsicle recipe is a fun kitchen project for the whole family. These coconut strawberry popsicles are simple to assemble, making them a great recipe to let the kiddos work on while you supervise with a cocktail in hand.
What Do I Need To Make Coconut Strawberry Popsicles?
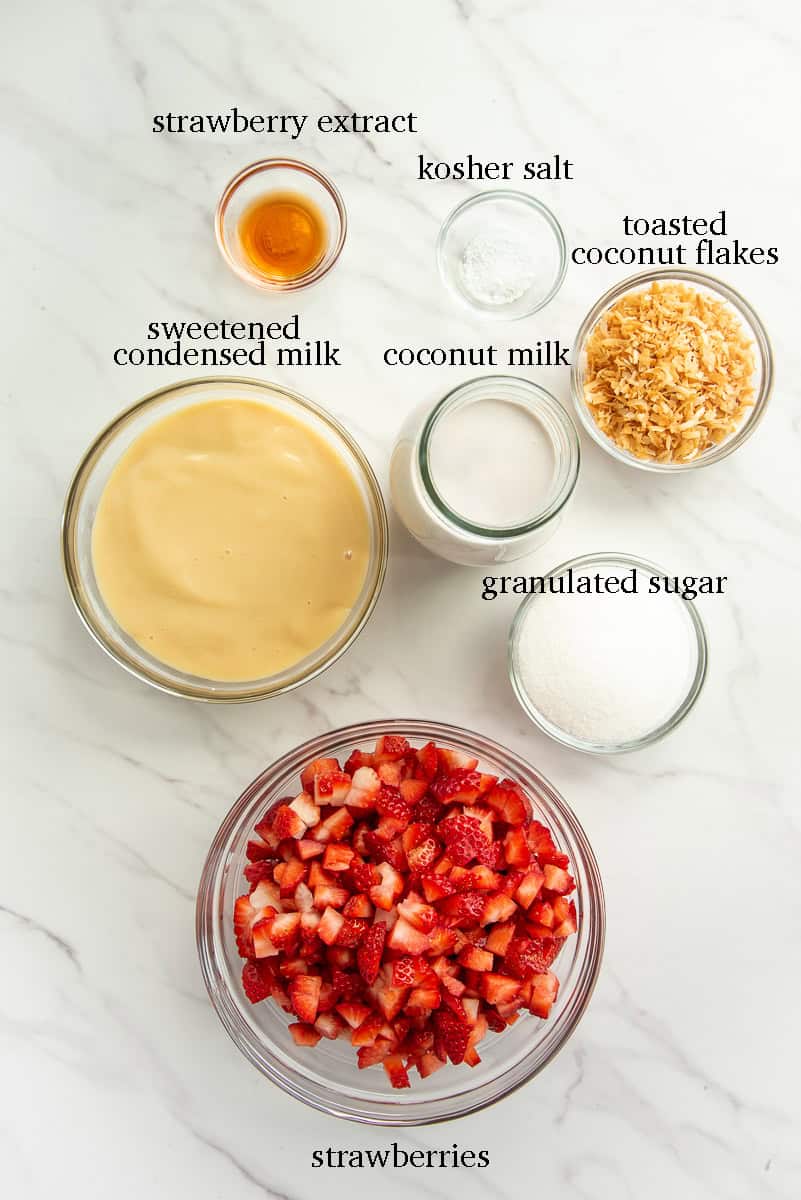
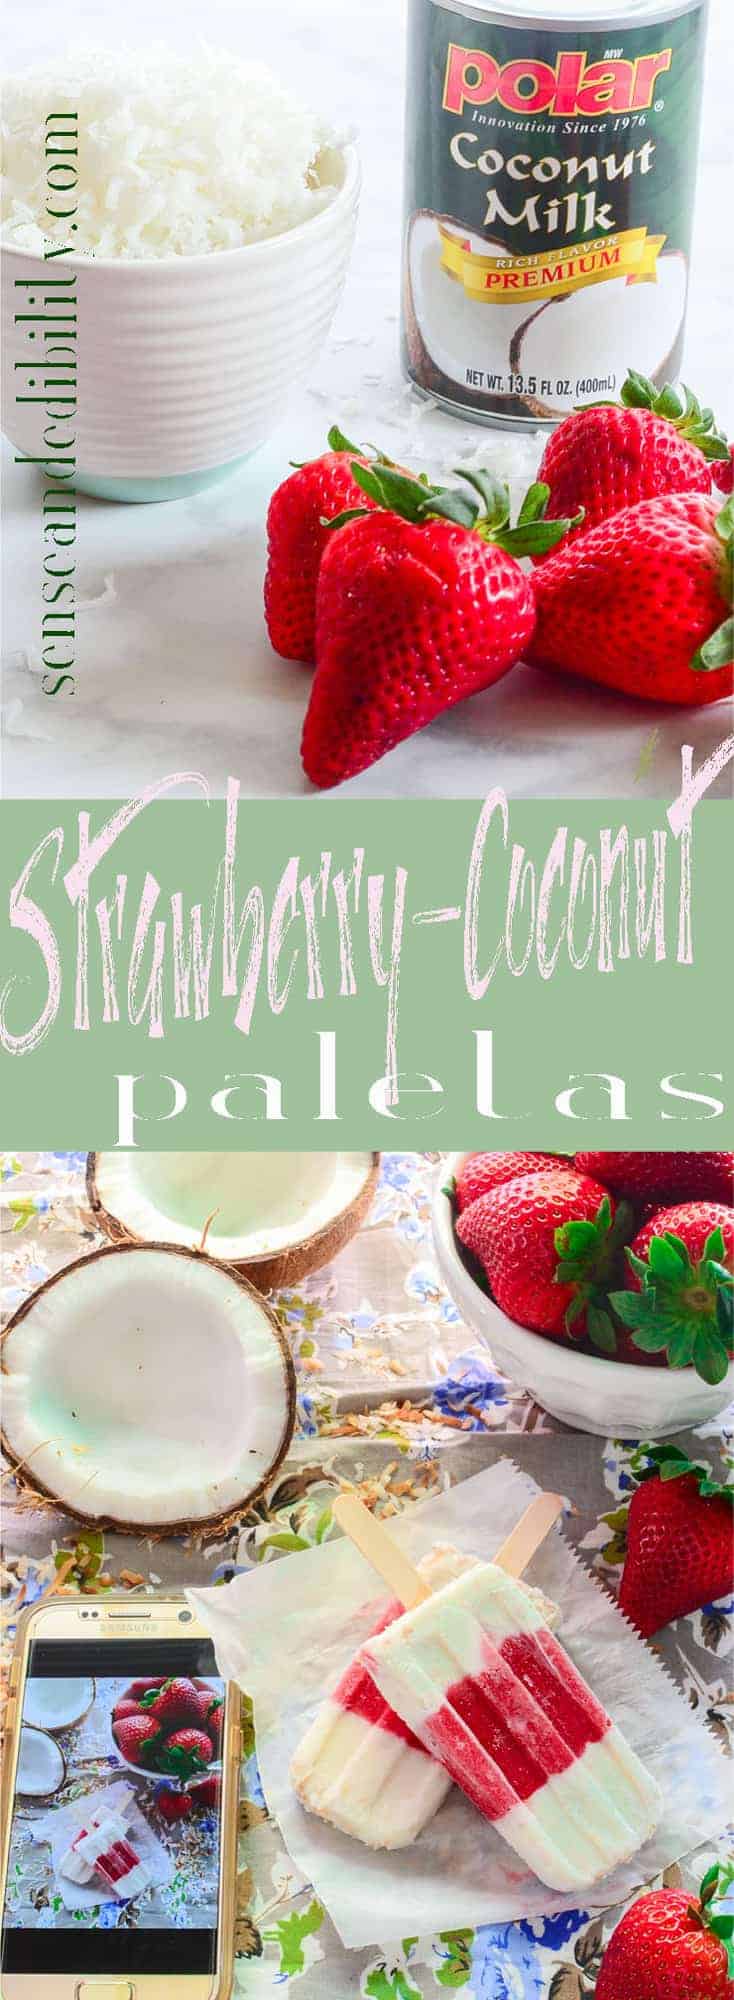
To make coconut strawberry popsicles, you need fresh strawberries, canned coconut milk, sweetened condensed milk, granulated sugar, toasted coconut flakes, strawberry extract, and kosher salt. You can replace the sweetened condensed milk with sweetened condensed soy or coconut milk to make this recipe dairy-free. This is one recipe where my homemade coconut milk won’t work because it contains more water than canned. You can use fresh coconut milk, but the popsicles may become icier and harder.
A popsicle mold and sticks are two tools you will need to finish the recipe.
How Long Can I Macerate The Strawberries?
Macerating fruits with sugar draws out their liquids to create a sweet syrup. This step also softens the fruit to give you a better mouthfeel when you bite the finished popsicles. Additionally, the syrup that the fruit produces further softens the fruit. Softer fruit makes for a pleasant bite once the popsicles are frozen.
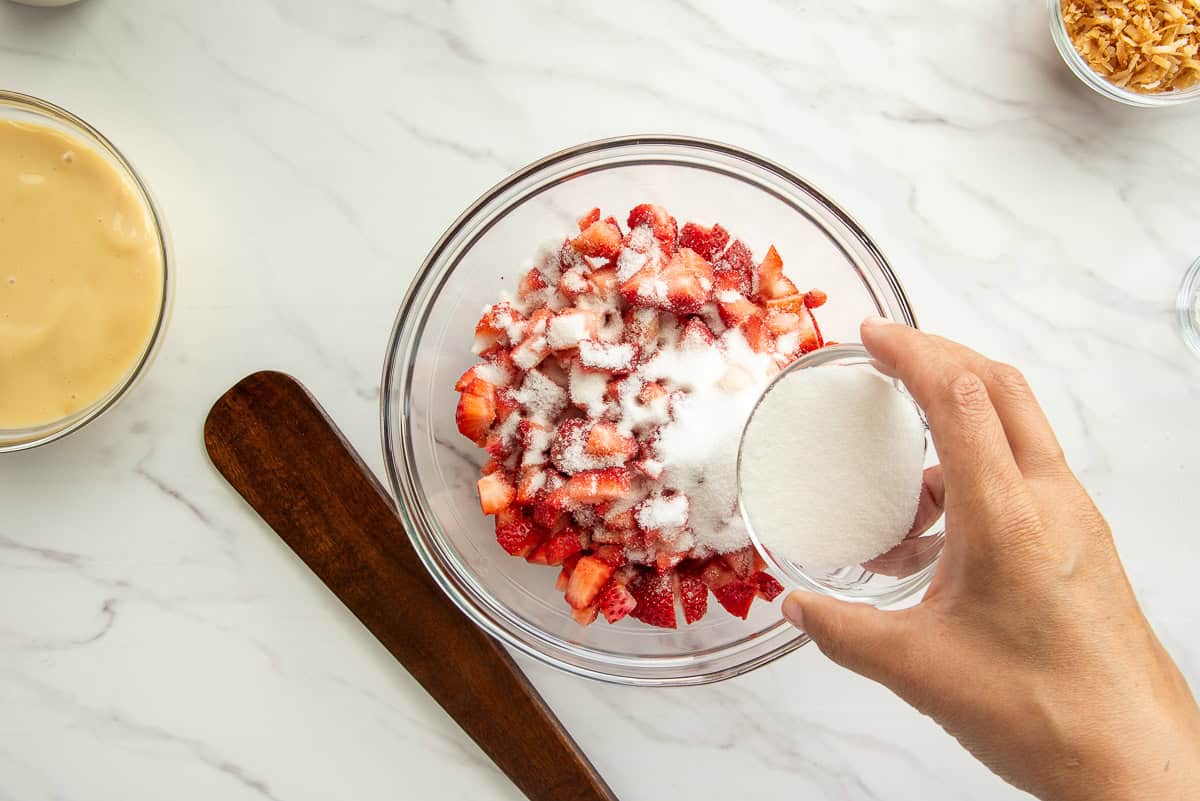
Begin by tossing hulled and diced strawberries in the granulated sugar in a large mixing bowl. Put the bowl of strawberries into the fridge and leave them to macerate in the sugar for at least 30 minutes or up to 24 hours.
You can macerate fruit for up to 24 hours. However, after 2 hours, you’re not gaining anything as the strawberries have released all the liquids they can. Leaving the strawberries as they are won’t harm the recipe, but you don’t want to store macerated berries for more than 24 hours.
How Do I Prevent Icy Or Hard Popsicles?
Hard or icy popsicles result from large ice crystals forming in the freezing water. The larger the ice crystals are, the harder your popsicles will be. The more water in a recipe, the higher the likelihood of ice crystals and hard popsicles. Slow freezing is another reason popsicles become hard. The faster you get your popsicles to freeze, the lower the chance ice crystals will form.
In addition to avoiding ice crystals, which make the popsicles crunchy, you want to avoid rock-hard popsicles. Hard popsicles are hard to bite through, which some people like to do. Adding alcohol, sugar, or thickeners (like gelatin, xanthan gum, or agar) will prevent the fruit mixture from freezing solid. After all, a smooth, semi-firm texture is what we want in sorbet or ice cream.
Sugar syrups or alcohol both lower the freezing point. Corn syrup is commonly added to commercial popsicles because it contains multiple sugar types and, as a result, does a better job of lowering the freezing point to keep the sorbet from freezing too hard. Alternatively, if corn syrup isn’t your thing, add food thickeners, like gelatin (for non-vegetarians), agar, or xanthan gum, to the fruit mixture. Thickeners will increase the viscosity of the liquid, which decreases the mobility of water, resulting in smaller crystals.
Can I Make These Coconut Strawberry Popsicles Dairy-Free?
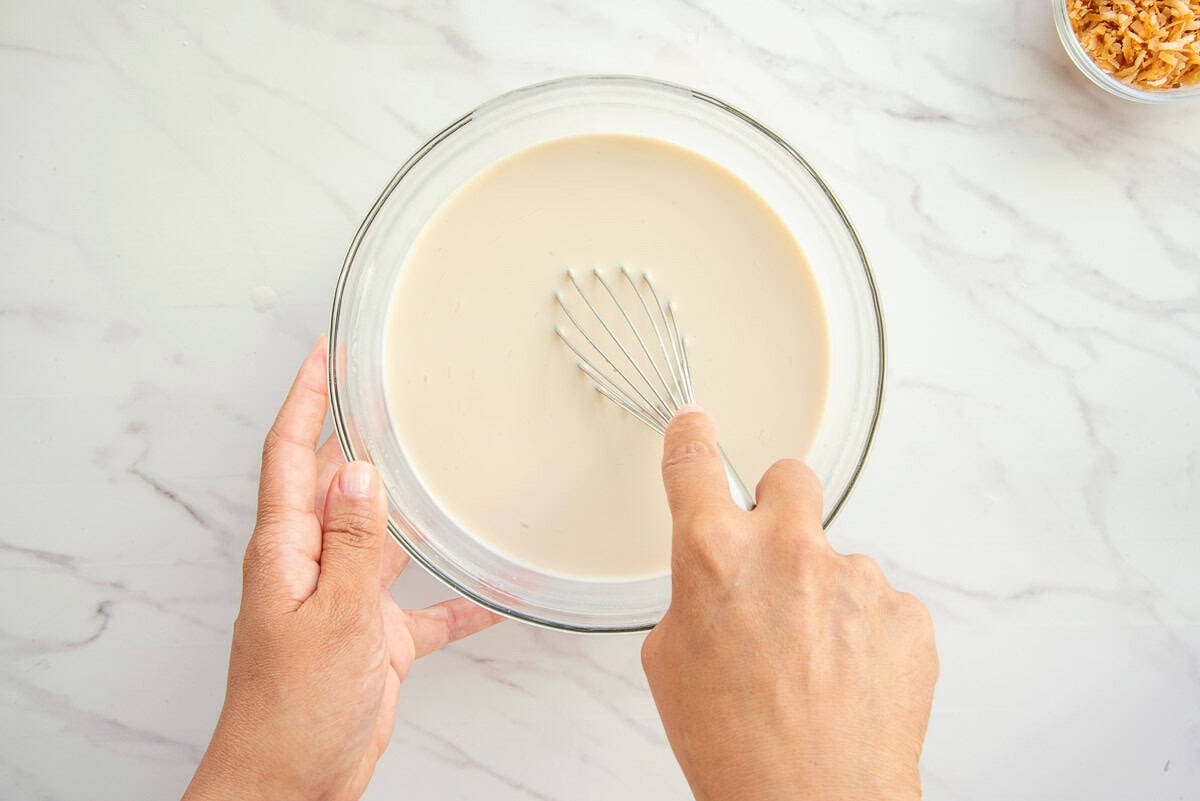
Whisk together the sweetened condensed milk and coconut milk in a bowl. I recommend doing this right after you start macerating the strawberries. Cover the bowl and put it in the refrigerator to chill the room-temperature milk. Remember, the colder the ingredients are when you assemble the popsicles, the less time it takes to freeze. Quick freezing prevents those ice crystals from growing too large.
You can mix the milk mixture up to 24 hours ahead and store it in a covered container in the fridge.
How Far Ahead Can I Make The Strawberry Puree?
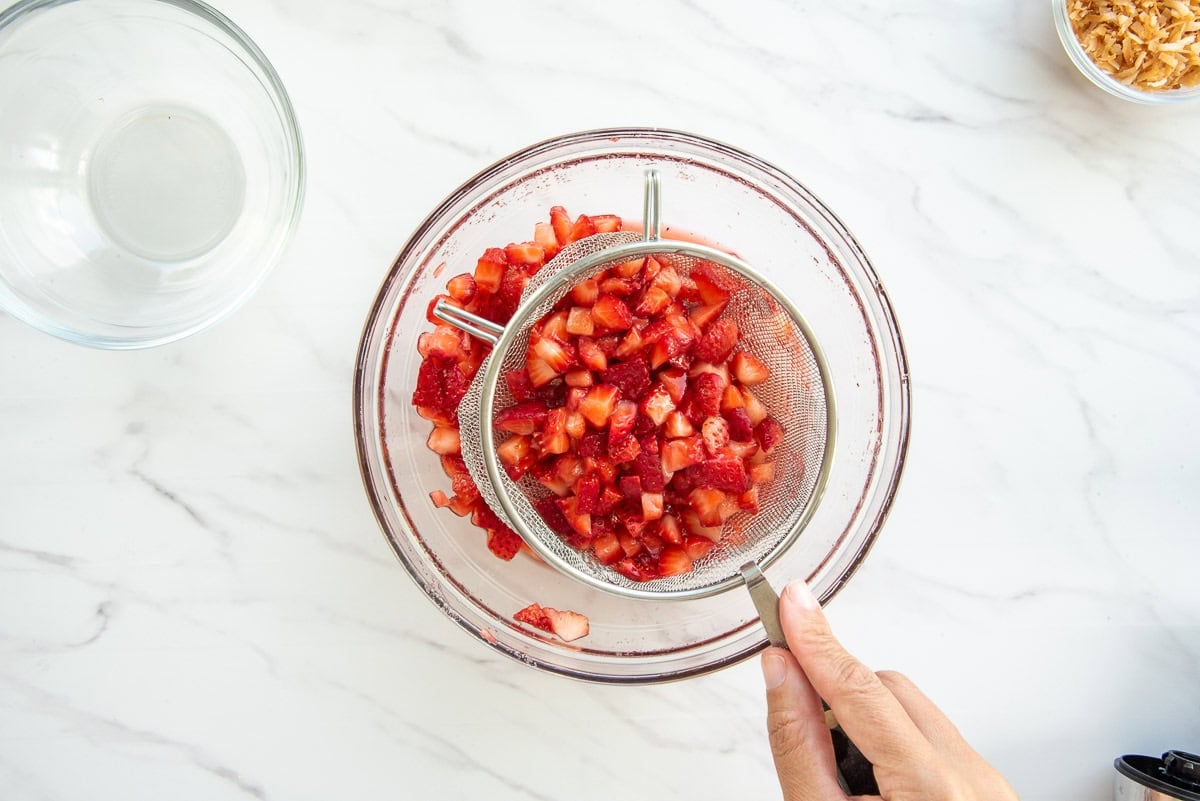
After macerating the berries for 30 minutes, strain 1 cup (about 200 grams) of the diced strawberries over the bowl with the rest of the berries. Reserve the strained berries to add to the thickened berry mixture we’re fittin’ to make. You don’t have to do this step, but I like nibbling on the chunks of berries as I eat my popsicle.
Stir the kosher salt into the unstrained berries in the other bowl. Use an immersion blender to puree the rest of the strawberries in the bowl. You can puree the berries as much or as little as you want. I usually go for a slightly chunky salsa consistency.
Microwave the pureed mixture for 5 minutes on high to evaporate the water. Be sure to stir the berry mixture once every minute to ensure it reduces evenly. You can do this step on the stovetop in a pot, but it will add 10 minutes to prep time. The stovetop method also produces more dishes. Boo.
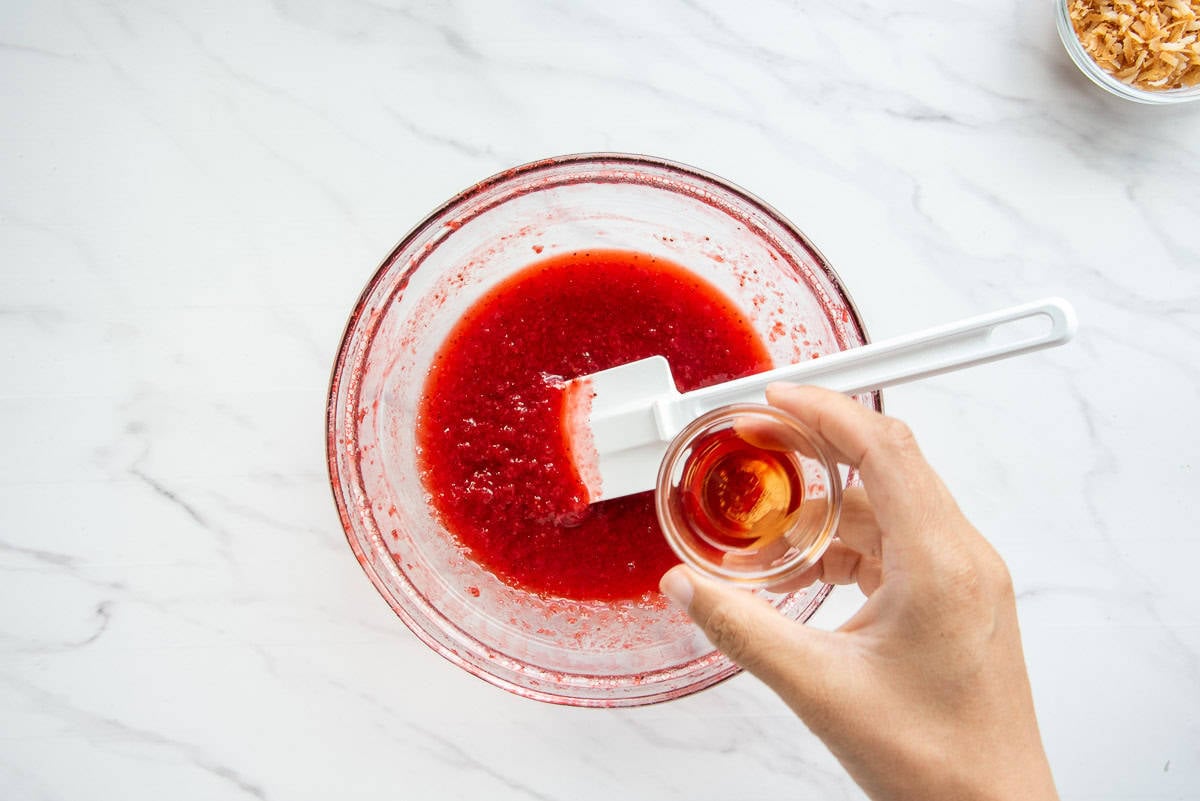
Once the mixture reduces by half and thickens significantly, stir the strawberry extract into the berry mixture. You can replace the strawberry extract with vanilla or almond if that’s all you have. Adding the extract provides a bit of alcohol, which again decreases that freezing point to give us a better mouthfeel. Avoid using strawberry emulsion or “flavor“ since they don’t have the alcohol content you want.
Can I Make These Popsicles With Different Berries?
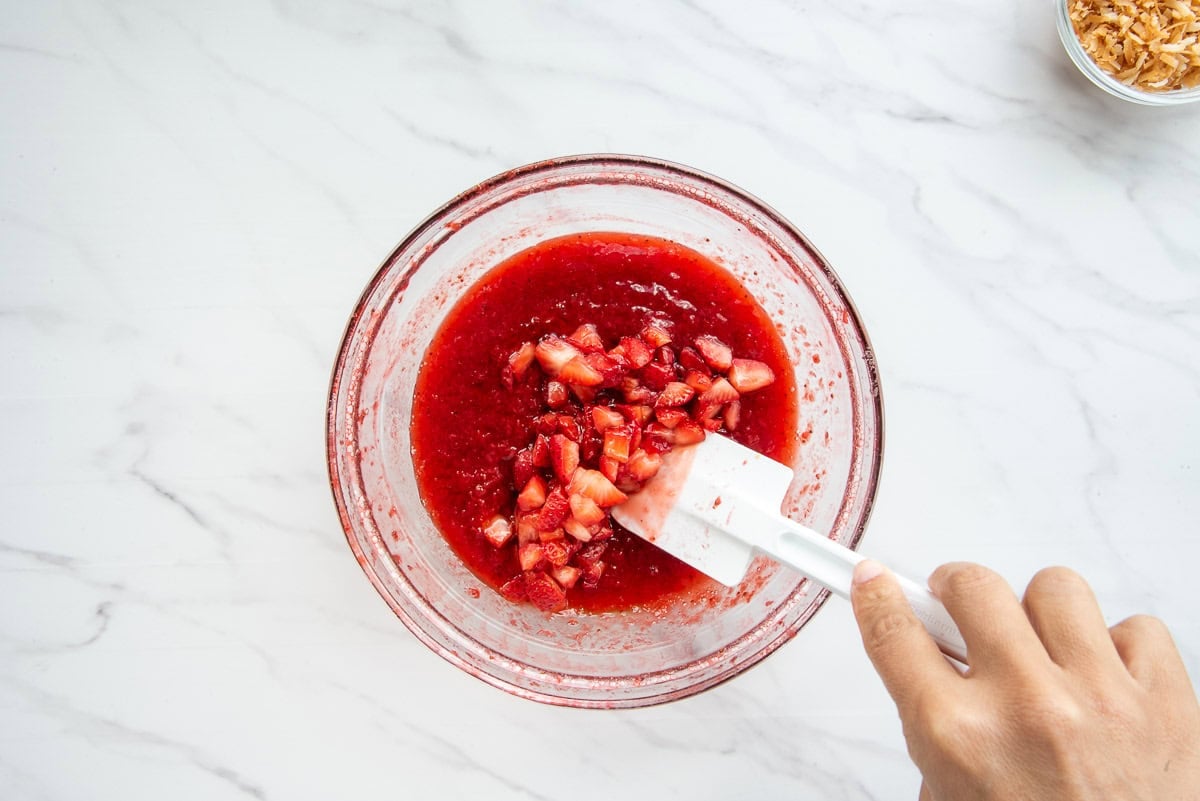
Use a rubber spatula to fold in the reserved berries and allow this mixture to chill completely. I usually do a fast chill by placing the bottom half of the bowl in an ice bath. You can also chill the berry mixture in the covered bowl overnight.
To change this recipe, switch the strawberries for blueberries, chopped blackberries, or raspberries. You can skip this step and use strawberry preserves, but where’s the science and fun in doing that?
Which Is The Best Popsicle Mold To Use?
The best popsicle molds are those made of metal because they are better conductors of cold air. The metal chills the mold’s contents faster, preventing large ice crystals from forming. Unfortunately, metal popsicle molds are more expensive, and some can rust. I use my silicone popsicle mold mainly because it’s easier to deal with than metal. Use whichever works best for your dexterity and budget. If you use metal, chill them in the fridge for 30 minutes before filling them.
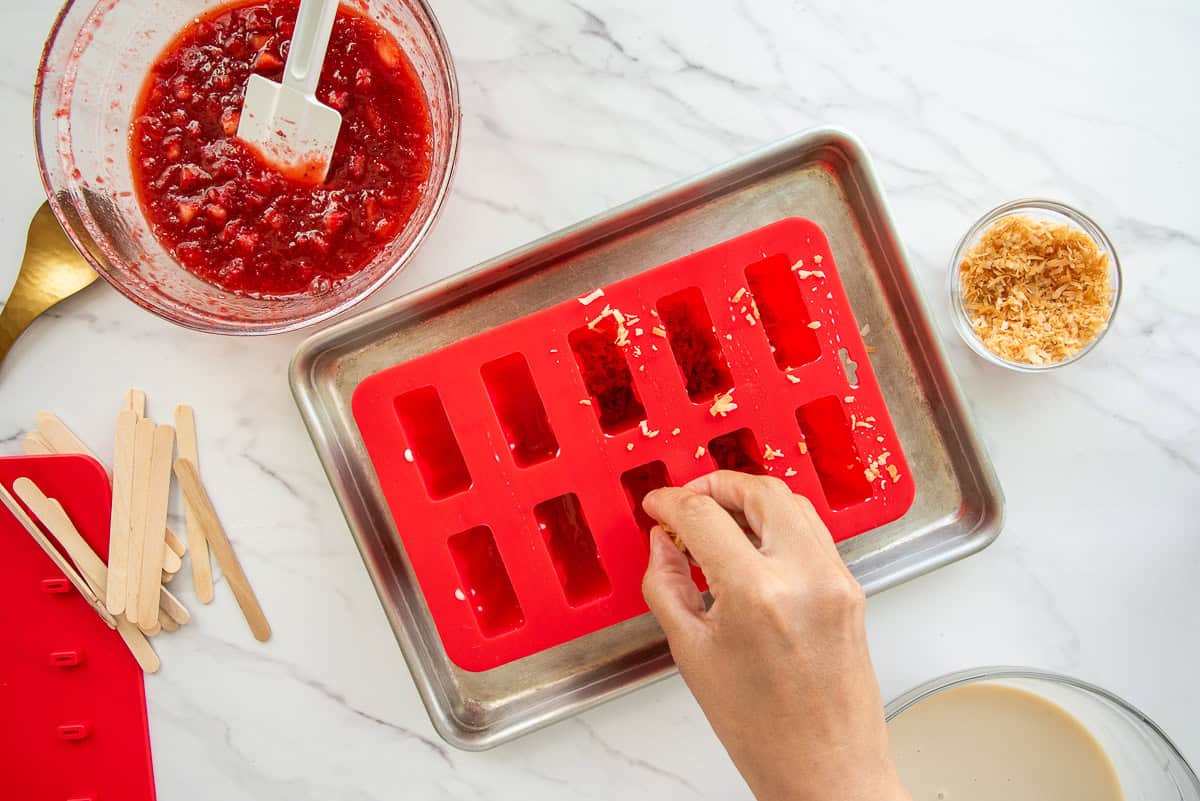
Pour a couple of tablespoons (30 milliliters) of the cold coconut milk mixture into the popsicle mold cavities. Freeze the mixture for 30 minutes to firm it up. This will give you better layering in the finished popsicle.
Sprinkle a generous pinch of the toasted coconut flakes over the coconut milk layer after it’s partially frozen.
How Long Do I Have To Freeze The Coconut Strawberry Popsicles?
Spoon a heaping tablespoon of the cold strawberry mixture over the toasted coconut. Top that layer with another pinch of toasted coconut flakes, then finish with more coconut milk.
Lay the cover over the mold and insert popsicle sticks into the slots.
Freeze the coconut strawberry popsicle mixture for at least 4 hours, overnight, if possible. This gives the popsicles ample time to freeze.
How Do I Store The Popsicles After Unmolding?
The easiest way to remove popsicles from their molds is to dunk the molds into warm water and pull them out by the stick. For connected molds, dip the bottom of the mold into a shallow dish of warm water. You might have to jiggle the popsicles and pull away the silicone from them to make removal easier.
After removing the coconut strawberry popsicles from the mold, wrap them in wax or parchment paper. Then, place the wrapped popsicles in a gallon-size freezer storage bag to prevent freezer burn or ice crystals from forming.
How Long Can I Store Coconut Strawberry Popsicles In The Freezer?
You can store coconut strawberry popsicles in the freezer for about 4 months as long as you keep them at a consistent temperature of 0°F (-18°C) or lower. Remove the popsicle(s) from the storage bag and return the rest to the freezer as soon as possible. The longer they’re stored (past 4 months) or held at room temperature, the faster their texture and flavor can degrade. They probably won’t last that long, but who wants a nasty popsicle?
Coconut Strawberry Popsicles are the perfect treat to cool you down during hot weather. Kids of all ages will love the combination the tropical, creamy coconut and sweet, tangy strawberries. They’re an exciting alternative to store-bought options made with ingredients you can pronounce. Surprise your family and impress guests at your next summer shindig by serving these tropical delights.
Don’t forget to share this coconut strawberry popsicle recipe with your friends and family and let me know what you think of them in the comment section!
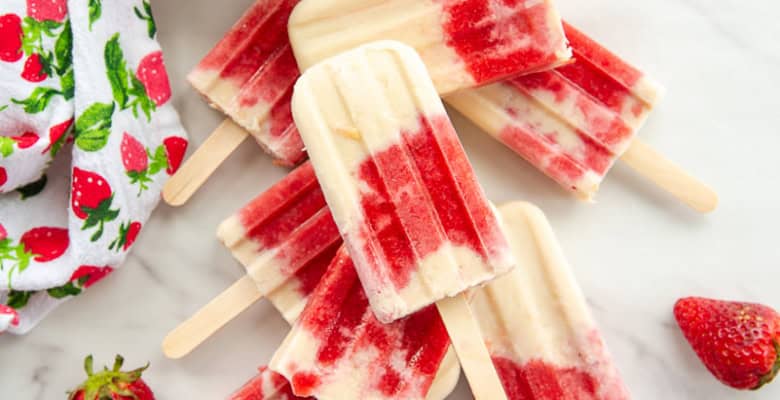
Coconut Strawberry Popsicles
at Sense & EdibilityEquipment
- immersion blender or conventional blender
- 12 cavity popsicle mold
- 12 popsicle sticks
Ingredients
- 1 pound (454 grams) strawberries rinsed, hulled, and diced
- 1/3 cup (80 grams) granulated sugar use (1/4 cup for less sweet popsicles)
- 13.5 ounce (400 milliliters) can full-fat coconut milk
- 1 14 ounce (396 grams) sweetened condensed milk
- 1 tablespoon (15 milliliters) strawberry extract or vanilla extract
- 1/8 teaspoon kosher salt optional
- 3/4 cup (80 grams) toasted coconut flakes
Instructions
Macerate the Strawberries
- Add the diced strawberries and granulated sugar to a large mixing bowl. Use a wide spoon or rubber spatula to toss the berries into the sugar. Put the bowl of strawberries into the fridge and leave them to macerate in the sugar for at least 30 minutes or up to 24 hours.
Mix the Milks
- Right after placing the bowl of berries into the fridge, whisk together the sweetened condensed milk and coconut milk in a separate 2-quart bowl or pitcher. Cover the bowl and put it in the refrigerator to chill the room-temperature milk.
Prepare the Strawberry Puree
- After macerating the berries for 30 minutes, strain 1 cup (about 200 grams) of the diced strawberries over the bowl with the rest of the berries. Reserve the strained berries to add to the thickened berry mixture later.
- Stir the kosher salt into the unstrained berries in the other bowl. Use an immersion blender to puree the rest of the strawberries in the bowl. You can puree the berries as much or as little as you want.
- Microwave the pureed mixture for 5 minutes on high to evaporate the water, stirring the berry mixture once every minute to ensure it reduces evenly.*You can do this step on the stovetop in a pot over medium heat, but it will add 10 minutes to prep time.*
- Once the mixture reduces by half and thickens significantly, stir in the strawberry extract. Use a rubber spatula to fold in the reserved berries and allow this mixture to chill completely. You can do a fast chill by placing the bottom half of the bowl in an ice bath. You can also chill the berry mixture in the covered bowl overnight.
Assemble the Coconut Strawberry Popsicles
- Pour 2 tablespoons (30 milliliters) of the cold coconut milk mixture into the popsicle mold cavities. Freeze the mixture for 30 minutes to firm it up.
- Sprinkle a generous pinch of the toasted coconut flakes over the coconut milk layer after it's partially frozen. Spoon a heaping tablespoon of the cold strawberry mixture over the toasted coconut. Top that layer with another pinch of toasted coconut flakes, then finish with more coconut milk.
- Lay the cover over the mold and insert popsicle sticks into the slots.
Freeze the Popsicles Until Solid
- Freeze the coconut strawberry popsicle mixture for at least 4 hours, overnight, if possible, to give the popsicles ample time to freeze.
- To remove popsicles from their mold: dunk the molds into warm water and pull them out by the stick. For connected molds: dip the bottom of the mold into a shallow dish of warm water. You might have to jiggle the popsicles and pull away the silicone from them to make removal easier.
- After removing the coconut strawberry popsicles from the mold, wrap them in wax or parchment paper. Place the wrapped popsicles in a gallon-size freezer storage bag to prevent freezer burn or ice crystals from forming.
- Store coconut strawberry popsicles in the freezer for about 4 months ensuring they are kept at a consistent temperature of 0°F (-18°C) or lower.
- To enjoy, remove the popsicle(s) from the storage bag and return the rest to the freezer as soon as possible.
Notes
- Replace the sweetened condensed milk with sweetened condensed soy or coconut milk to make this recipe dairy-free.
- You can replace the strawberry extract with vanilla or almond extract or with lemon juice for a tangy flavor.
- You can macerate fruit for up to 24 hours. However, after 2 hours, you're not gaining anything as the strawberries have released all the liquids they can.
- The colder the ingredients are when you assemble the popsicles, the less time it takes to freeze, which prevents those ice crystals from growing too large.
- Avoid using strawberry emulsion or "flavor" since they don't have the alcohol content you want.
- Swap the strawberries for blueberries, chopped blackberries, or raspberries.
- Use strawberry preserves and skip the strawberry puree prep.
- You can mix the milk mixture up to 24 hours ahead and store it in a covered container in the fridge.
- The longer the popsicles are stored (past 4 months) or held at room temperature, the faster their texture and flavor can degrade.



These should come with a warning because they are ADDICTING! I made these for my kids but I’m the one that’s really obsessed. The coconut and strawberry flavors are soooo good. Definitely a fave all summer long.
Enjoy them, Krysten!
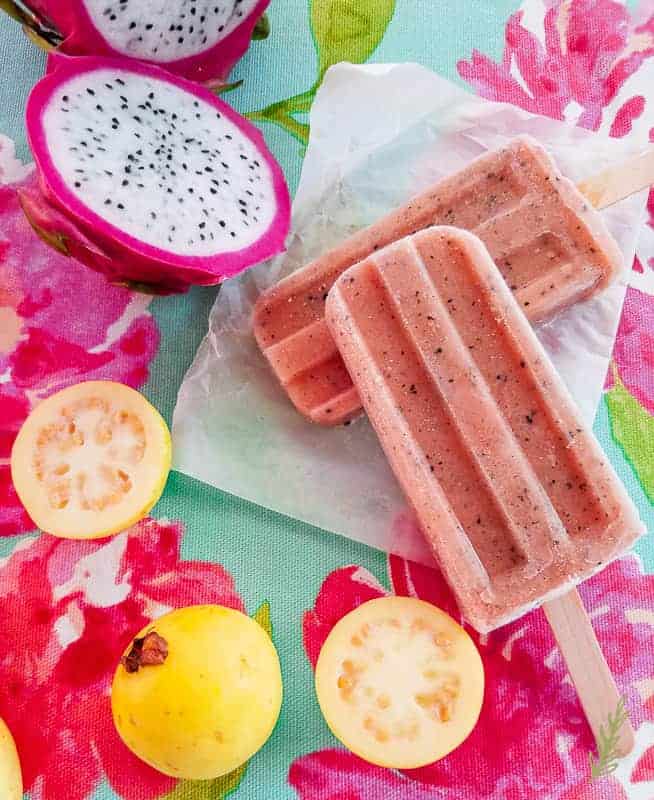
I had never used strawberry extract before but it was worth a trip to the grocery store to make these. So good! I’m trying your dragon fruit paletas next!
You should, Jazz!
I love anything that includes coconut and these popsicles are no exception! I’ll be making these all summer long. Such a great treat!
Especially in the Texas heat!