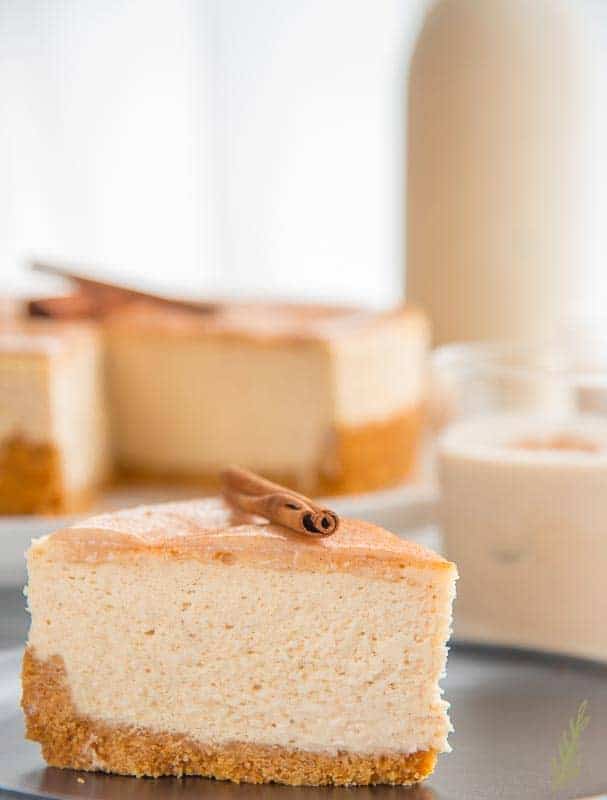
Feel free to use this season’s leftover coquito to create this delectable dessert. Begin the prep a day ahead for the best results.
What goes into this Coquito Cheesecake?
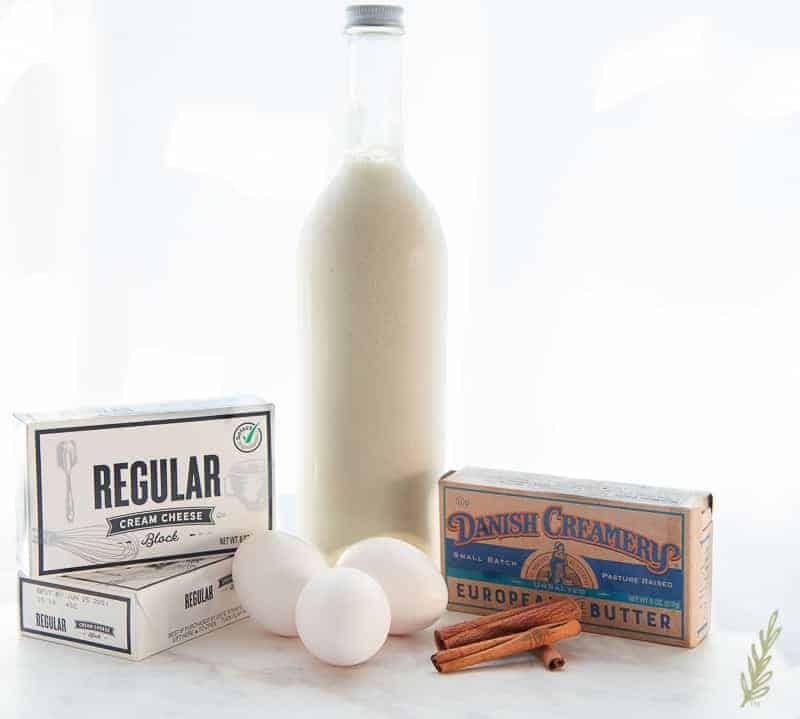
You’ll definitely need 2 cups of prepared Coquito. One cup for the topping, one to mix into the cheesecake itself. My coquito recipe is very simple and straight-forward, so I recommend whipping up a batch- or eight. Because the coquito is cooked, you can safely use coquito which contains alcohol. Virgin (alcohol-free) coquito is also okay to use here. If you don’t have coquito, or you’re not a fan of coconut, use regular eggnog instead. Bonus is you’ll probably be able to get it on sale!
The rest of the coquito cheesecake is created with unsalted butter, graham cracker crumbs, cream cheese, eggs, cinnamon and other spices, sugar and cornstarch.
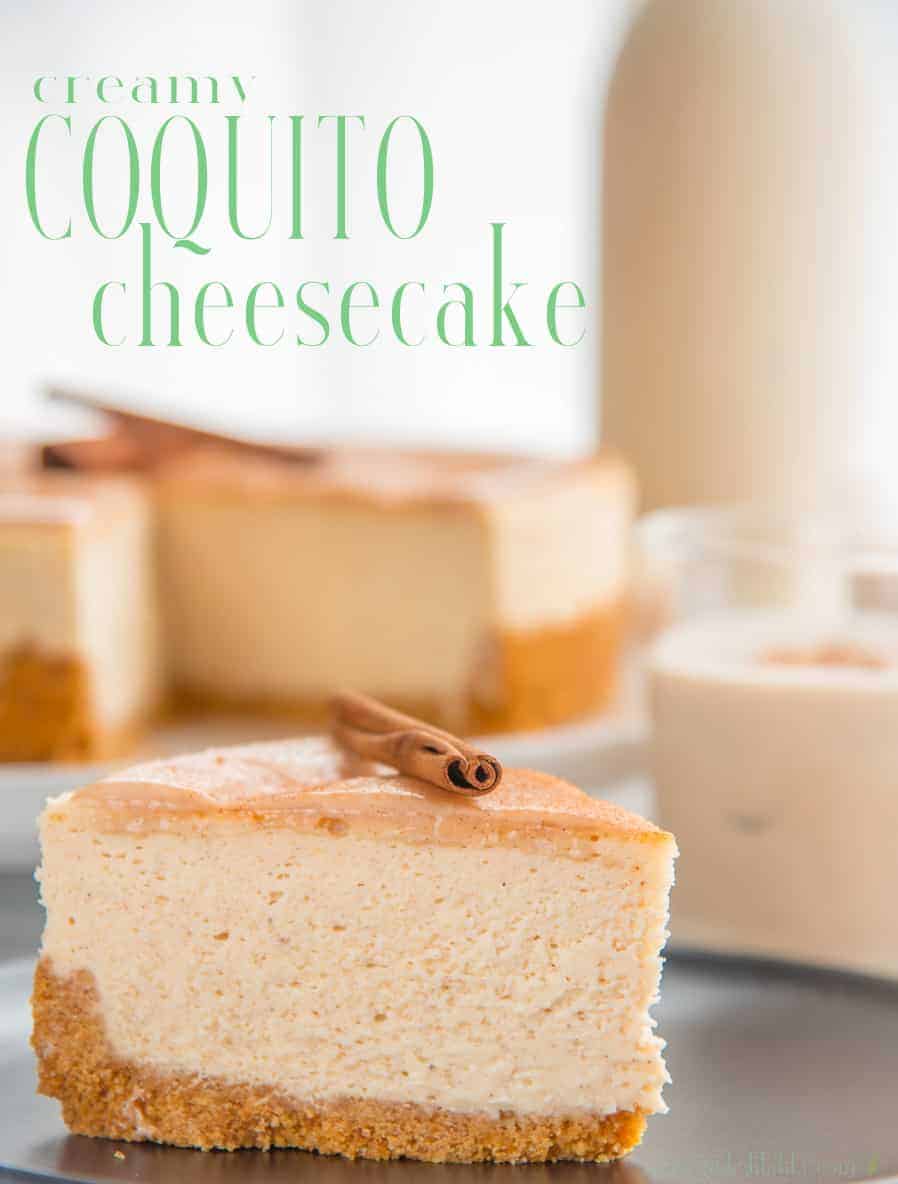
I always advise baking a cheesecake a day prior to serving it. Achieving that creamy, dense slice of cheesecake is only accomplished by allowing the cheesecake to firm up in stages. Patience is rewarded in a consistently smooth slice of coquito cheesecake every time.
Prepare and Bake the Graham Cracker Crust
A great cheesecake begins with an even greater crust. I’m a graham cracker crust-whore, so it’s important that my crust holds together. Not only must it hold together, it mustn’t be too greasy.
Begin by preheating your oven to 350°F. You’ll bake the crust and then continue using that same temperature to bake the cheesecake later.
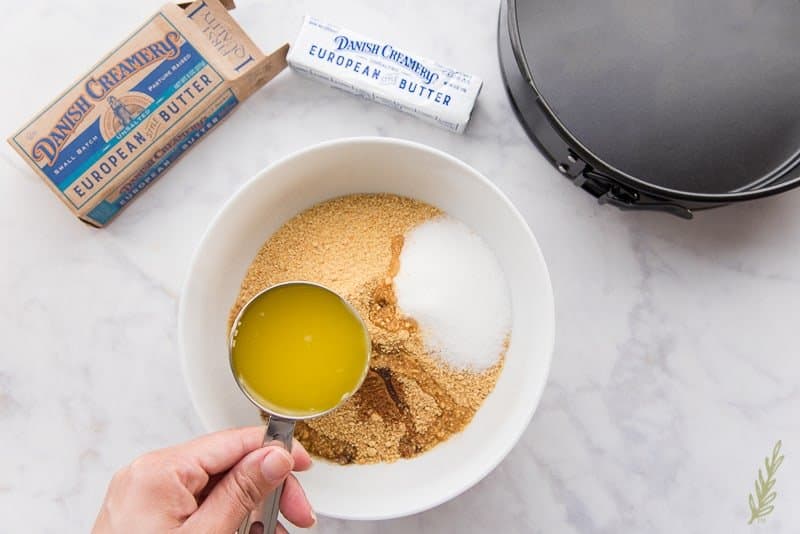
In a mixing bowl, mix together the graham cracker crumbs, sugar, ground cinnamon, and the melted unsalted butter. After mixing these together, grab a handful of the mixture and squeeze it together. The clump of crust should remain compacted. If it falls apart, add more of the melted butter- a tablespoon at a time- until it does hold together. On the other hand, if the clump seeps butter, add more graham crackers until it is no longer doing so.
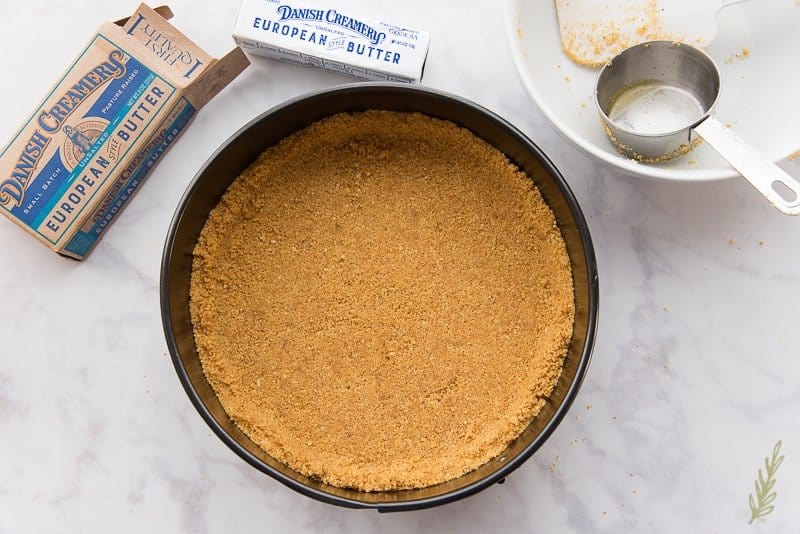
Using the bottom of the measuring cup you’ve used to measure out your ingredients, press the graham mixture into the bottom of a springform pan. Press firmly so it holds its shape once baked and be sure form a small side crust on the edge.
Bake the crust for 10 minutes in the preheated oven. Once baked, remove the pan from the oven and allow it to cool.
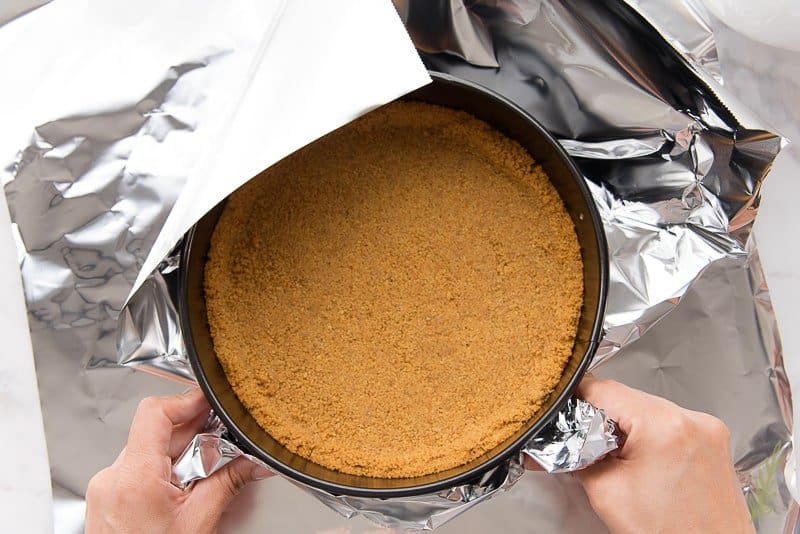
After the pan has cooled long enough for you to handle it, wrap the bottom and side of the pan in two layers of heavy duty aluminum foil. Be sure to avoid puncturing the foil while you’re wrapping the pan.
Mix the Coquito Cheesecake Batter
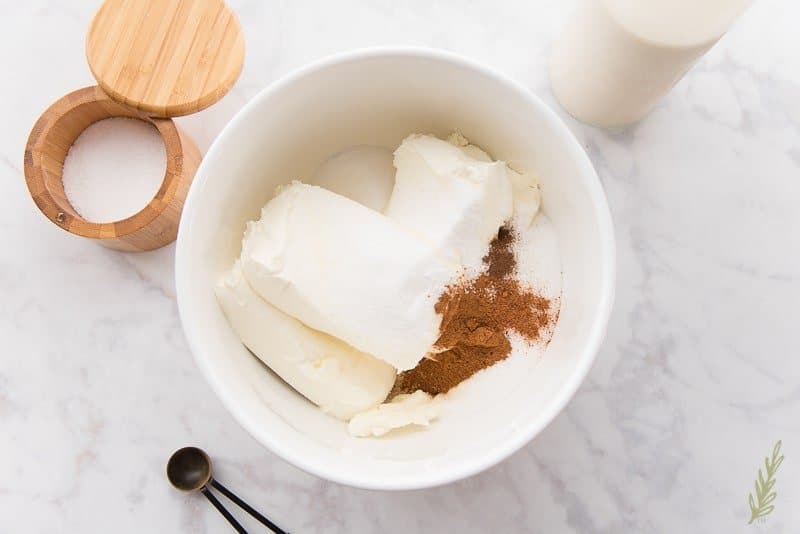
Mixing the coquito cheesecake batter is pretty simple: in a large mixing bowl, combine the room temperature cream cheese, sugar, salt, ground cinnamon, nutmeg, and allspice and blend on medium speed until the mixture is smooth.
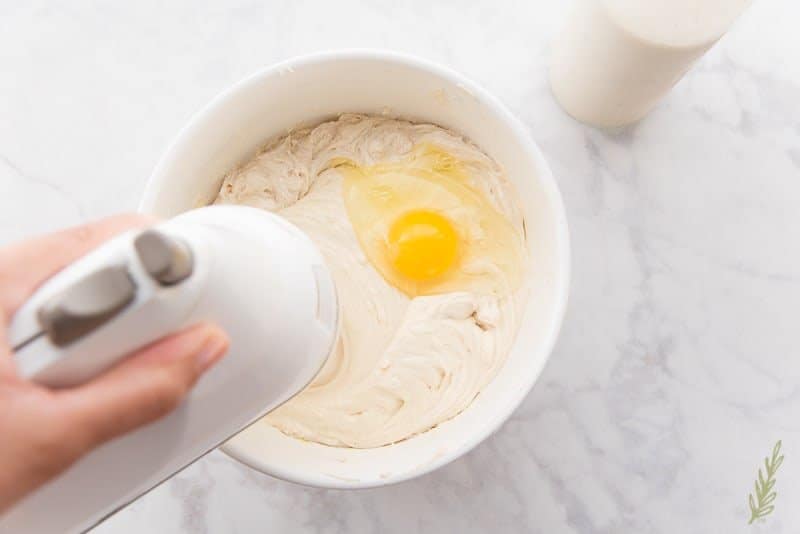
Add the eggs- one at a time- to the bowl. Turn off your electric hand mixer (or stand mixer) after each egg is blended in to scrape down the sides of the bowl. Continue to add the eggs in this manner until all of them have been mixed into the batter.
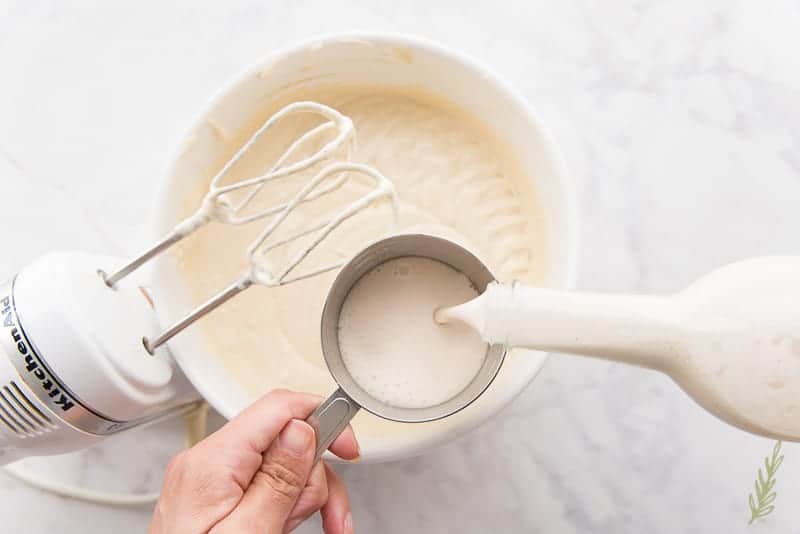
Now, it’s time to add the star ingredient. Blend in a cup of Coquito on low speed. Add the cornstarch to the bowl and blend just until it is mixed in.
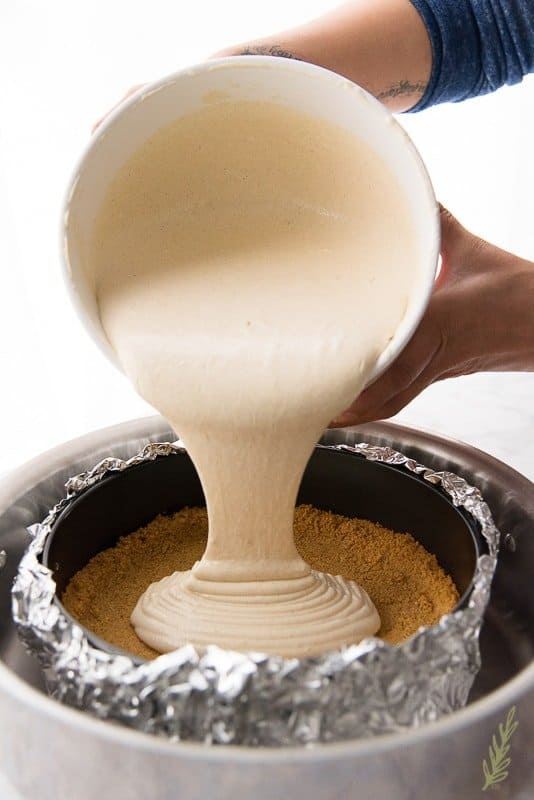
Pour the coquito cheesecake batter into your baked graham cracker crust. Set the foil-wrapped springform pan into a larger, shallow pan that allows at least 3 inches of space around it.
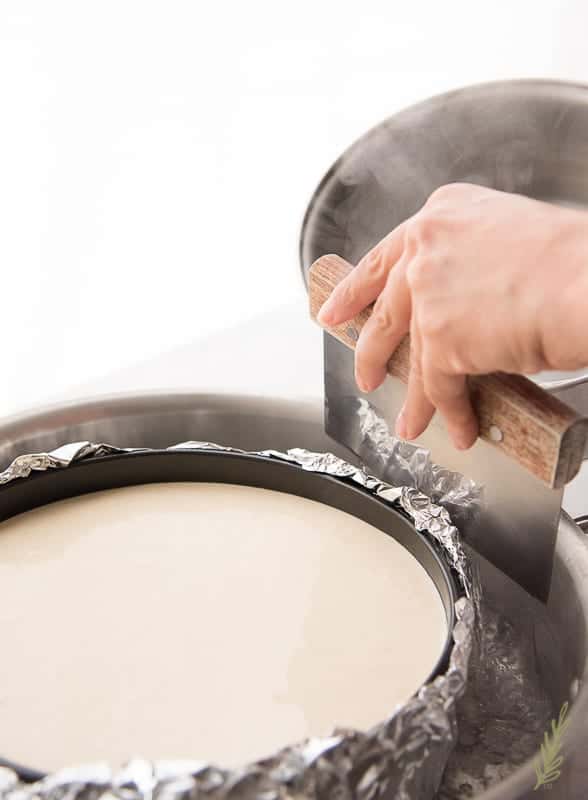
Pour hot water into the exterior pan- enough to reach halfway up the sides of the cheesecake-filled pan.
Bake the coquito cheesecake for 1 hour and 15 minutes, or until firm.
Cool the Coquito Cheesecake gradually
“Gradually” is the key word. A lot of my friends lament that their cheesecakes come out of the ovens with huge cracks in the center. Part of the reason that happens is not baking their cheesecakes in a water bath (or bain marie). The other cause of cracks is removing it from the oven right after baking. The sudden shift in temperature can cause the custard to break, which is a super-ugly letdown.
After your cheesecake has finished baking, don’t remove it from the oven. Instead, turn the oven off and prop the oven door open a bit. If your oven door doesn’t stay open a few inches on its own, wedge a wooden spoon between the wall of the oven and the door to help keep it open.
Allow the coquito cheesecake to cool in the oven- still in the water bath- for an hour.
Once that hour is up, remove the cheesecake from the oven and the water bath- removing and discarding the foil- and allow it to cool completely. This usually takes about 30 minutes to an hour. Cover the cheesecake- still in the springform pan- by placing plastic wrap directly on its surface (touching the cheesecake). Place the cheesecake into the fridge and allow it chill for a few hours- at least 4, but preferably overnight.
Prepare the Coquito Topping
I think the best thing about this coquito cheesecake is the topping. There can’t be anything better than eating your coquito, right?
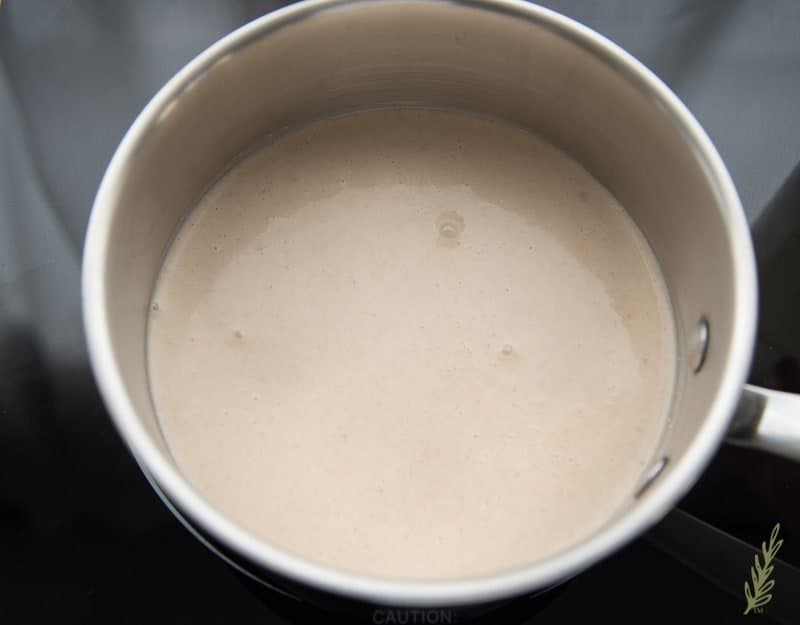
To prepare the coquito topping, which is really a glaze, pour all but 1 tablespoon of the coquito into a 1 qt saucepan. Over low heat, simmer the coquito for 10 minutes to cook off the rum that it contains. If you’re going the non-alcohol route, you’ll still need to bring the coquito to a simmer, but only for about 5 minutes. Don’t allow the mixture to boil or it could curdle.
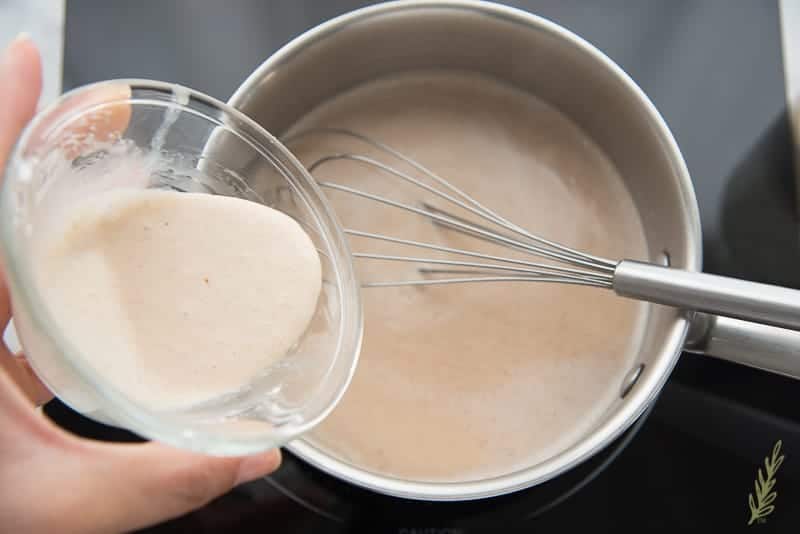
While you’re waiting for the rum to cook off, whisk together the reserved tablespoon of coquito and the cornstarch. This slurry will be used to thicken the coquito topping. Depending on how thick or thin your coquito is you may have to add more or less of this slurry to thicken it to the proper consistency.
Once the rum has cooked off, whisk the coquito slurry into the hot coquito in a slow, steady stream.
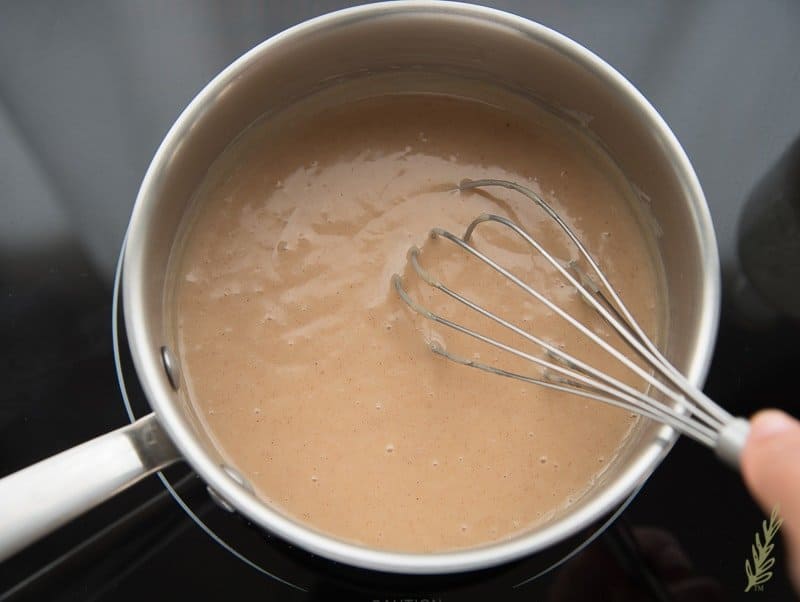
Continue to cook the coquito mixture- whisking constantly- until the mixture thickens to the consistency of ketchup. The whisk should leave a trail in the mixture when it’s fully thickened.
Allow the mixture to cool to room temperature.
Top and Serve the Coquito Cheesecake
After your coquito cheesecake has had time to chill out, remove it from the pan.
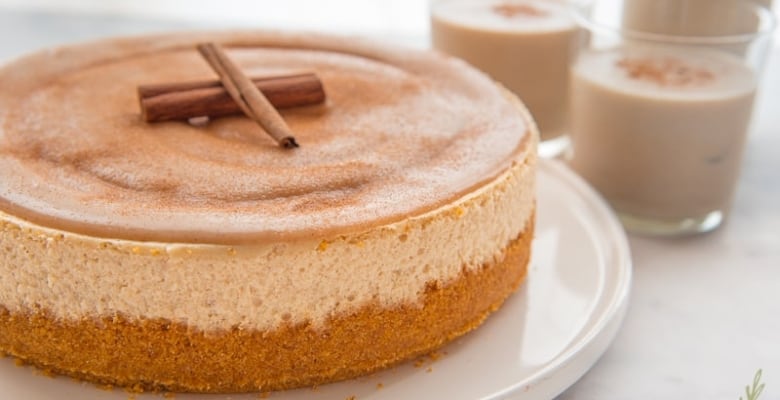
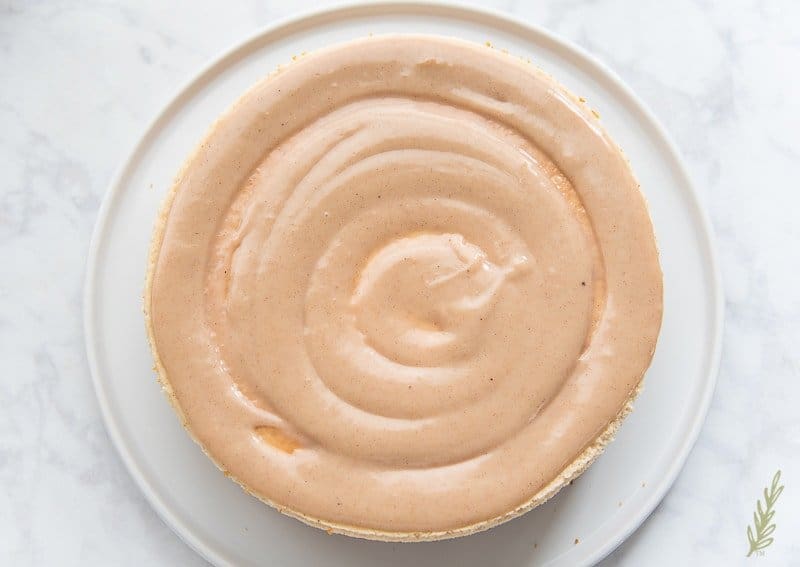
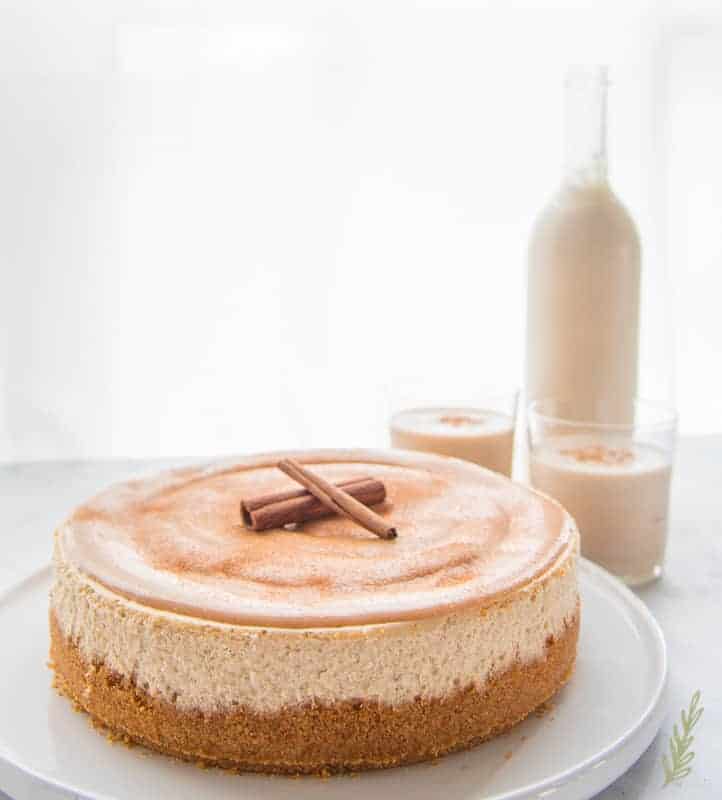
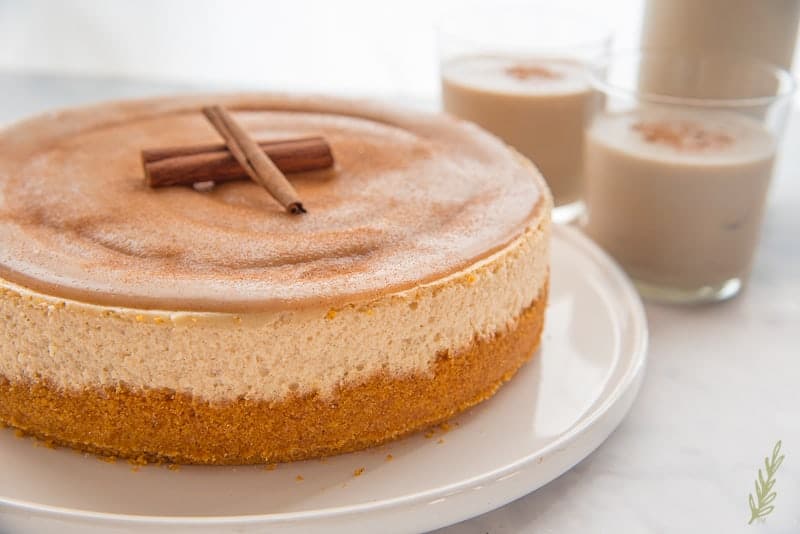
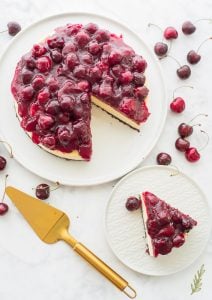
Give the coquito topping a stir, then ladle all (or half) of the coquito topping onto the surface of the cheesecake. I like to sprinkle on a bit of cinnamon-sugar on top of the coquito topping. The cinnamon-sugar cuts through the rum flavor a little bit and creates a delightful crunch to the cheesecake. It’s totally optional, though.
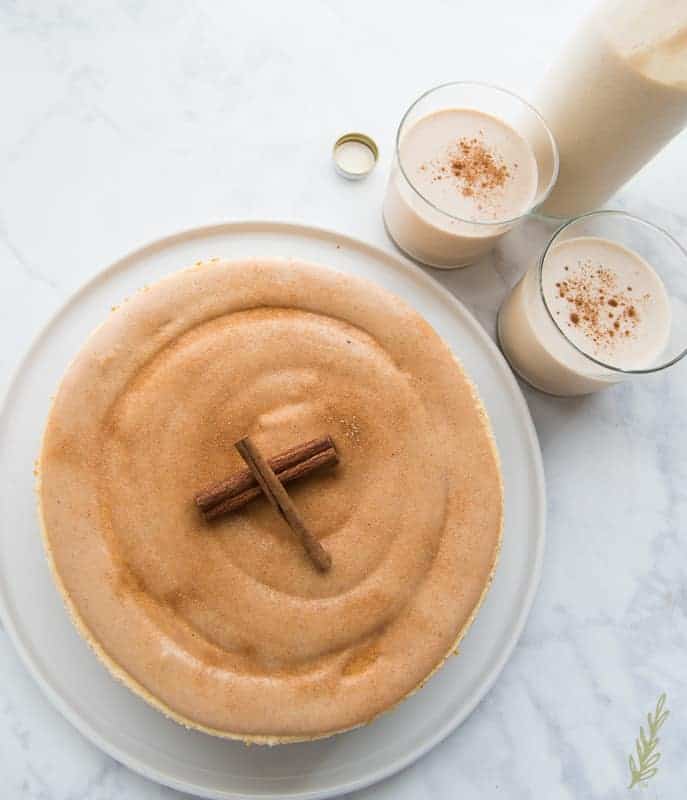
Garnish the Coquito Cheesecake with a couple of cinnamon sticks, if desired. These shouldn’t be eaten, although they’re perfectly harmless if they are. They will be a workout for your teeth and gums, though.
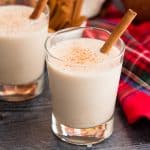
Serve and enjoy with what else? More Coquito!
If you’ve used my coquito recipe to prepare your coquito cheesecake, you’ll have plenty to serve alongside your slice. Pour a couple of glasses and grab some plates and forks.
Cheesecakes keep well for up to 3 days. After slicing, I press a piece of wax (or parchment) against the cheesecake’s interior to prevent it from drying out.
I feel like this Coquito Cheesecake recipe officially wraps up the 2019 holiday season. Hopefully, your holidays were all you hoped they’d be. If not, I wish many great things ahead.
Don’t forget to pin this recipe and share it with your friends and family!
Creamy Coquito Cheesecake
at Sense & EdibilityEquipment
- 9" springform pan
Ingredients
Graham Cracker Crust
- 2 cups graham cracker crumbs
- 2 tablespoons granulated sugar
- 1/2 teaspoon ground cinnamon
- 1/2 cup (1 stick) unsalted butter, melted
Coquito Cheesecake
- 4 8 ounce packages cream cheese, room temperature
- 1 cup granulated sugar
- 1 teaspoon ground cinnamon
- 1/2 teaspoon ground nutmeg
- 1/2 teaspoon kosher salt
- 1/4 teaspoon ground allspice optional
- 4 large eggs
- 1 teaspoon vanilla extract
- 1 cup prepared coquito
- 1/3 cup cornstarch
Coquito Topping
- 1 cup prepared coquito, separated
- 1 tablespoon cornstarch
Optional Garnishes
- 1 tablespoon cinnamon-sugar
- cinnamon sticks
Instructions
- Preheat your oven to 350°F.
Prepare the Graham Cracker Crust
- In a mixing bowl, mix together the graham cracker crumbs, sugar, ground cinnamon, and the melted unsalted butter. The mixture should remain compacted when squeezed in your hand. If it falls apart, add more melted butter- a tablespoon at a time- until it stays together. If the clump seeps butter, add more graham crackers until it is no longer greasy.
- Use the bottom of a measuring cup to firmly pack the graham crumbs into the bottom of a springform pan. Be sure form a small crust on the sides.
- Bake the crust for 10 minutes. After baking, remove the pan from the oven and allow it to cool. When the pan is cool enough to handle, wrap its bottom and sides in two layers of heavy duty aluminum foil. Be sure to avoid puncturing the foil when wrapping the pan.
Mix the Coquito Cheesecake Batter
- In a large mixing bowl, with a hand mixer or stand mixer on medium speed, blend the cream cheese, sugar, cinnamon, nutmeg, salt, and allspice together until smooth.
- Add the eggs to the bowl, one at a time. Scrape down the sides of the bowl after each egg is blended in. Continue to add the eggs in this manner until all of them have been mixed into the batter.
- Blend the Coquito and cornstarch into the batter on low speed. Mix just until the cornstarch is blended in.
Bake, then Cool, the Coquito Cheesecake
- Pour the cheesecake batter into your baked graham cracker crust. Set the foil-wrapped springform pan into a larger, shallow pan that allows at least 3" of space around it. Pour hot water into the exterior pan- enough to reach halfway up the sides of the cheesecake-filled pan.
- Bake the coquito cheesecake for 1 hour and 15 minutes, or until slightly firm.
- Once the cheesecake has finished baking, turn the oven off and prop its door open. If your oven door doesn't stay open a few inches on its own, wedge a wooden spoon between the wall of the oven and the door to prop it open.Cool the cheesecake- in its water bath- in the oven for 1 hour.
- After an hour, remove the cheesecake from, both, the oven and the water bath. Remove and discard the foil and allow it to cool completely at room temperature- about 30 min to 1 hour. Cover the cheesecake by placing plastic wrap directly on the surface of the cheesecake. Place the cheesecake (still in the pan) into the fridge and allow it chill for a few hours- at least 4, but preferably overnight.
Prepare the Coquito Topping
- Remove 1 tablespoon of the coquito from the cup of coquito you're using to make the topping. Pour the remaining coquito into a 1 qt saucepan. Over low heat, simmer the coquito for 10 minutes to cook off the rum. If you're using alcohol-free coquito, just bring the coquito up to a gentle simmer. Don't allow the mixture to boil or it could curdle.
- Whisk together the reserved tablespoon of coquito and the cornstarch to form a slurry.
- Once the rum has cooked off, whisk the coquito slurry into the hot coquito in a slow, steady stream.Continue to cook the coquito mixture- whisking constantly- until the mixture thickens to the consistency of ketchup. The whisk should leave a trail in the mixture when it's fully thickened.Allow the mixture to cool to room temperature. *This topping can be made a day ahead and stored in the refrigerator after cooling.*
Top and Serve the Coquito Cheesecake
- After your coquito cheesecake has set up for a few hours, remove it from the pan.Stir the coquito topping until smooth, then ladle all (or half) of the topping onto the surface of the cheesecake. Sprinkle the surface of the cheesecake with cinnamon-sugar if desired and garnish with cinnamon sticks.
- Store the coquito cheesecake in the refrigerator and enjoy within 3 days.
Notes
Nutrition
Try my other cheesecake recipes:
Sweet Potato Cheesecake with Pecan Praline Topping





This recipe recipe looks so delicious! My family will definitely love this for dessert!
Oh, they certainly will! Everyone raves about it.
Love the unique combination and flavors. Nothing like trying this recipe on my weekends.
You’re going to love it!
These look delicious! Can’t wait to give this recipe a try!
You’re going to love it!
Cheesecake is one of my favourite desserts but since I went vegan I’ve eaten a good one just once. Thanks for your recipe x
This is what would stop me from going vegan again, LOL!
So much deliciousness! You have definitely perfected the art of cheesecake and I definitely need to try your Coquito Cheesecake out!
You’re going to love it, Lisa!
Wow! I learned so much from this post…I have never heard of coquito before but it seems to me like it’s equivalent to North American Rum and Eggnog. But with coconuts. All these flavours together would make an amazing cheesecake!
It is very much like eggnog in the States! No nutmeg or bourbon, though.