Eating Your Piña Colada?
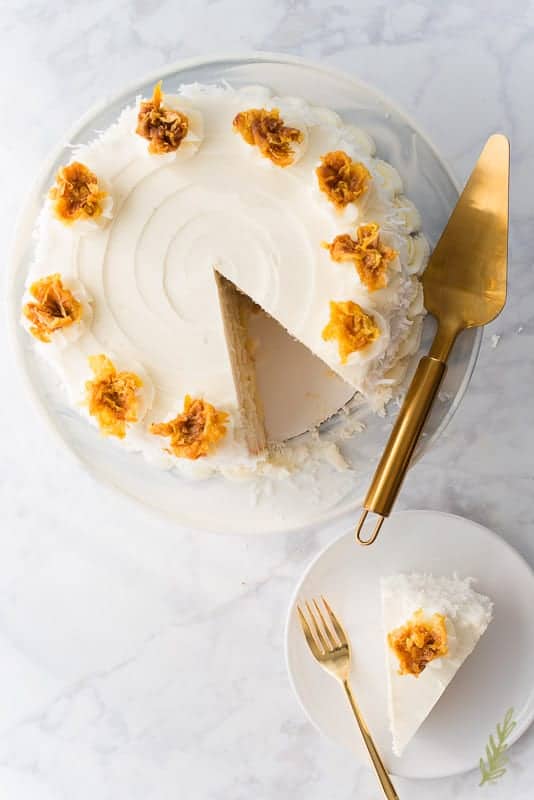
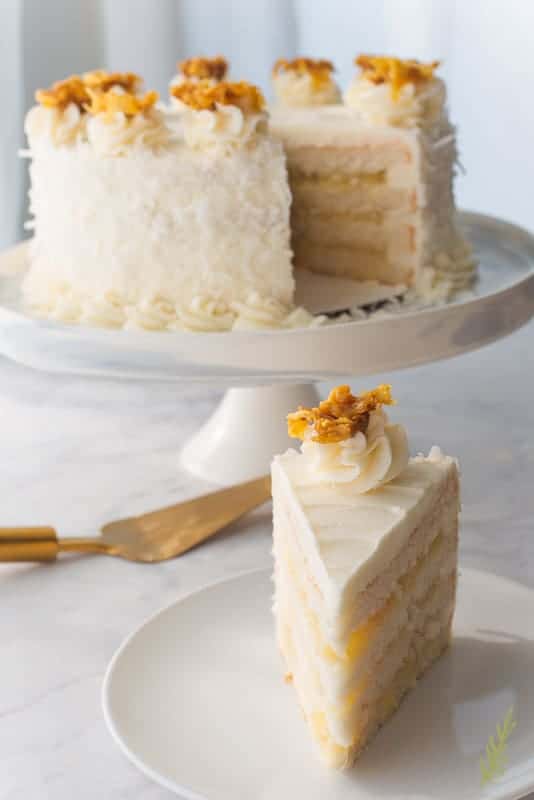
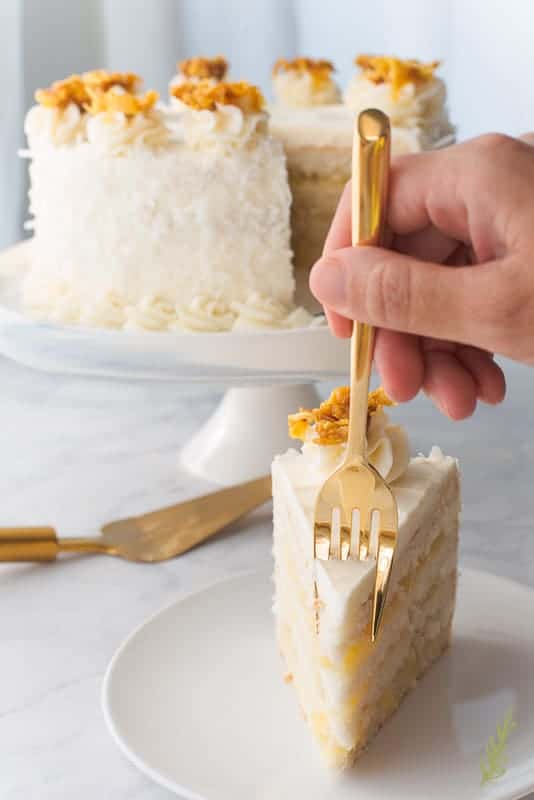
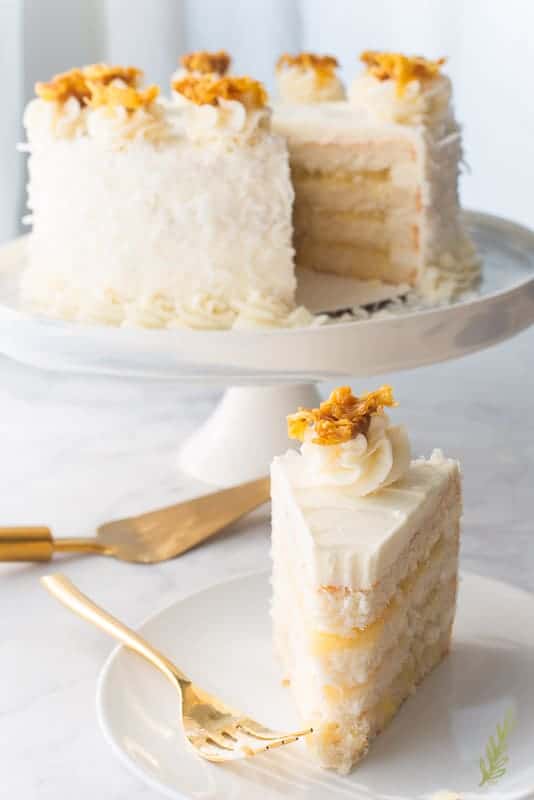
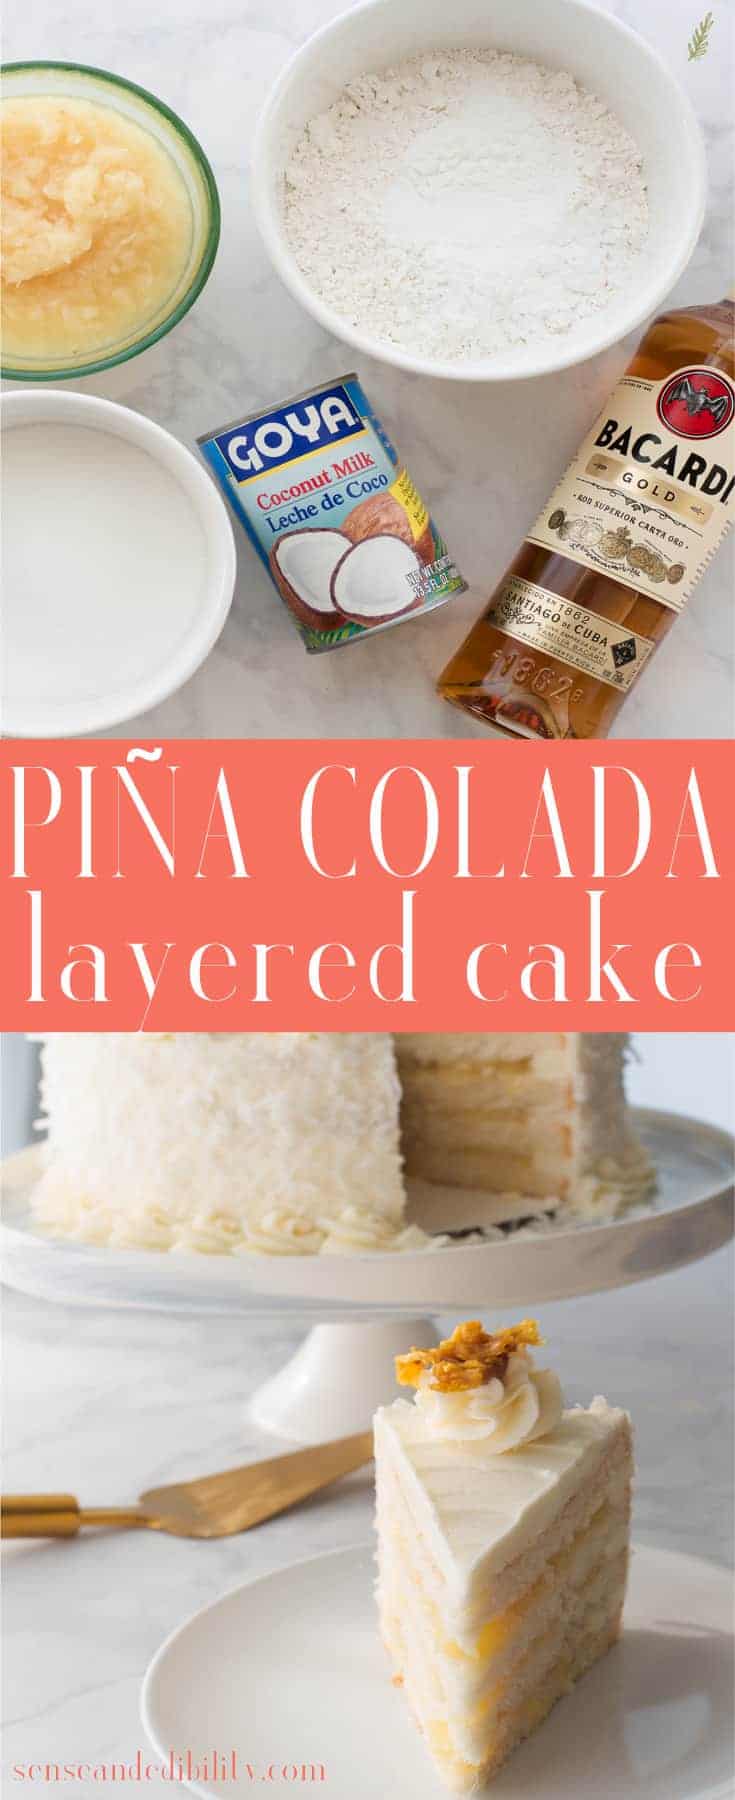
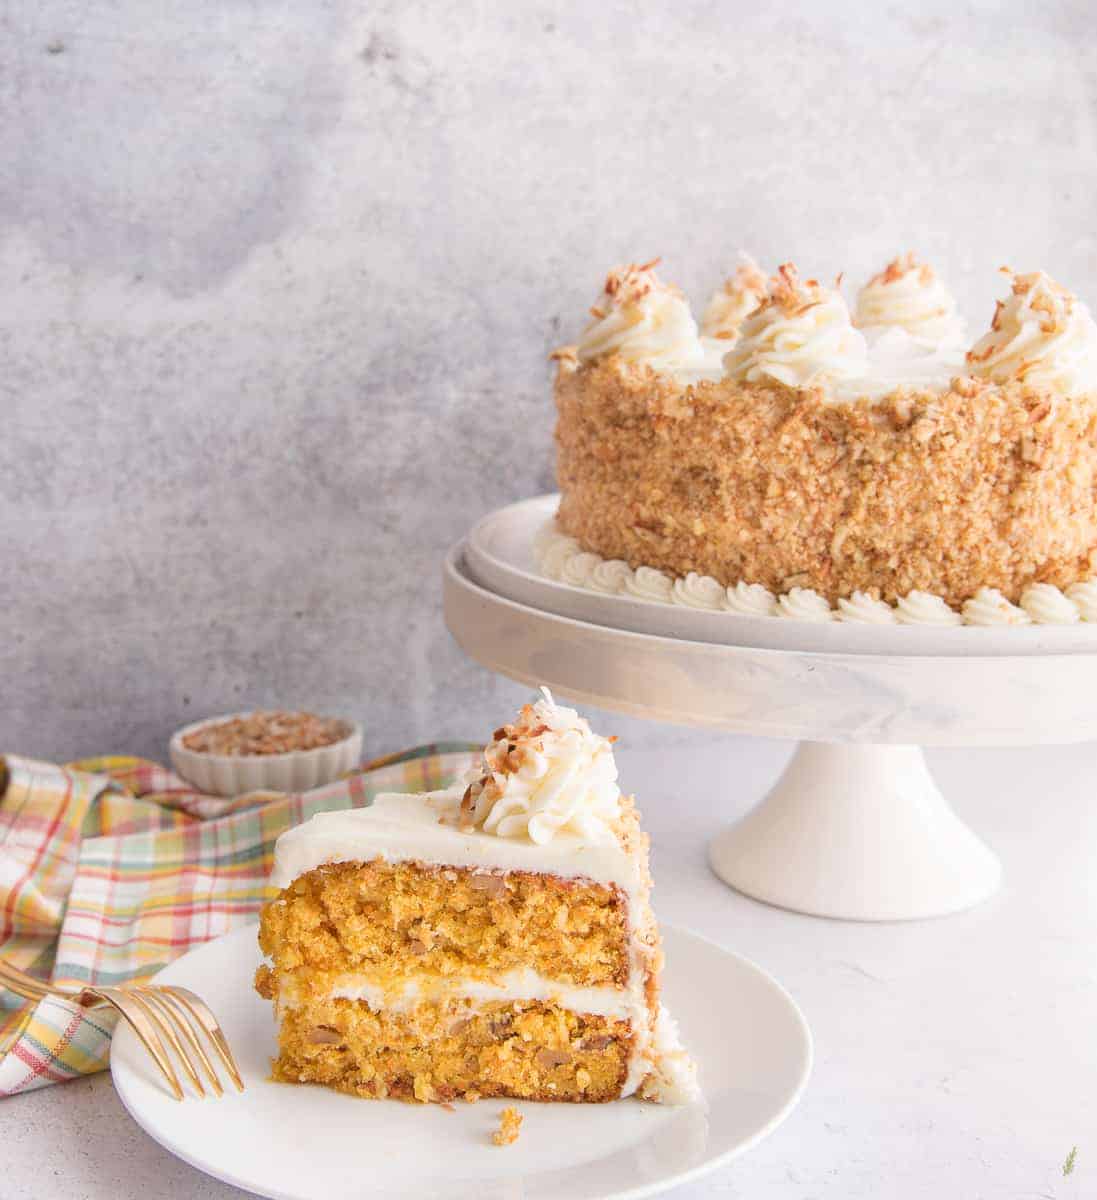
Yep, I have officially made consuming your cocktails with a fork a “thing”. The classic piña colada- a drink made popular at a bar in San Juan, PR- contains coconut cream, pineapple, and dark rum. My preferred cocktail has extra rum, but since my kids were sharing dessert, I toned it down and cooked it off. Instead of cream of coconut, I’m using full fat coconut milk. Coconut milk stands in for the milk I normally use in way that cream of coconut can’t. The layers are separated by a sweet-tart pineapple-rum filling. I covered this cake with vanilla buttercream, but coconut buttercream is another great option. Sweetened coconut flakes are nudged onto the exterior of the cake, which is finally decorated with buttercream rosettes and topped with the sweetest little dehydrated pineapple roses.
Prep the Cake Pans
The beginning is the base, which is the cake. Since this recipe is a collab of flavors, I recommend starting it a day in advance. I bake all of my cakes a day before I plan to decorate it. This ensures the cake’s texture is well-rested and stable. I’ve found that whenever I attempt to decorate a cake the same day I bake it, it’s too soft and flimsy to be wow-worthy.
To bake your coconut cake, start by preheating your oven to 350°F. Next, prepare two 10″ cake pans by cutting out two pieces of parchment paper into circles that you’ll use line the bottom of the cake pans. Spray the cake pans with non-stick baking spray and place the parchment circles into the greased pans. Now just set the pans to the side while you prepare the cake batter.
Sift the Cake’s Dry Ingredients
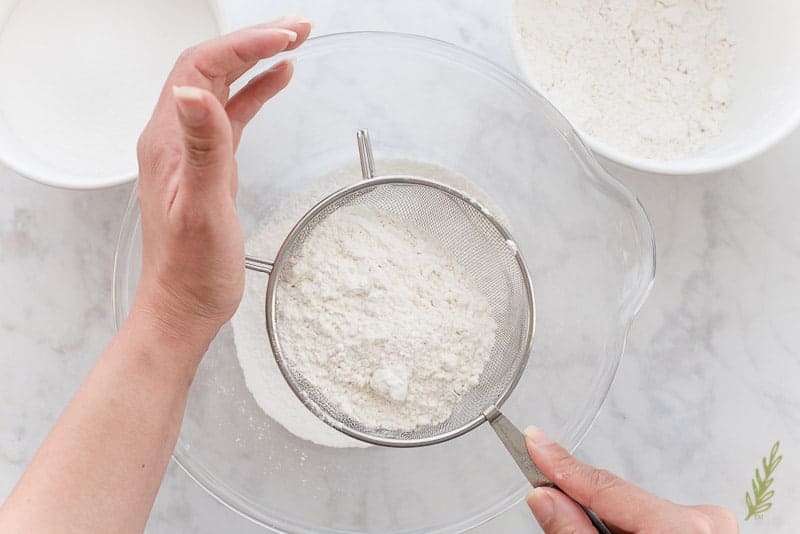
The first thing you should always do when making any cake, at all, is sift your dry ingredients together. Sifting the dry ingredients- in this case the cake flour, baking powder, and kosher salt- will incorporate air into the mixture and gives your cake that sought-after tender, fluffy crumb after it’s baked. Grab your sieve, or drum sifter, and sift the three ingredients together into a large mixing bowl. Repeat this sifting step twice more, for a total of three times.
Mix the Cake Batter
*Some Info on Emulsified Shortening*
Once the dry ingredients are sifted, blend them in that large mixing bowl- along with the emulsified shortening- using an electric hand mixer or stand mixer. Emulsified shortening (also known as high-ratio shortening) works best when making cakes and American buttercreams. At some point in time, the powers that be decided bakers no longer needed trans fat in our shortenings. As a result, our icings don’t whip up as fluffy and are no longer as shelf-stable as they once were, which meant our cakes were tougher and spoiled faster. “High-ratio” means that the shortening is capable of handling a higher percentage of sugars and liquids compared to the common shortening.
The biggest problem sourcing hi-ratio shortening is that it needs to contain trans fat in order for it to be of any use. Again, here in the States, that’s no easy feat. Look on the nutrition label for at least 1 gram of trans fat. Anything labeled high-ratio should have 3 grams of trans fat in it and is what you want.
Alpine, Sweetex, and most store brand shortenings contain trans fats. In the event you can’t find any or don’t feel like buying them, just use vegetable shortening.
Back to the Batter…
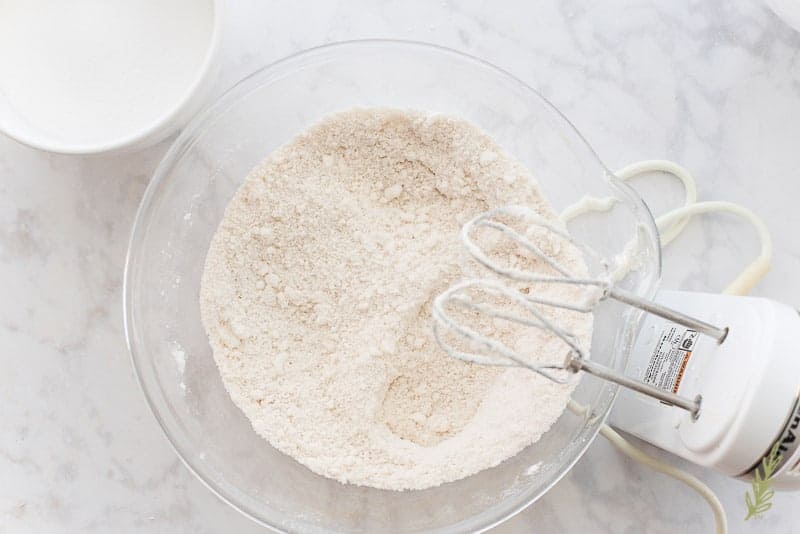
Because we’re using emulsified shortening, which spreads differently than most vegetable shortenings, you need to blend it with the dry ingredients first. This will help your cake blend properly during the mixing process. Blend the mixture on low speed for 4 minutes, or until the mixture looks sandy. Be sure to scrape down the bowl, once, halfway through the mixing time.
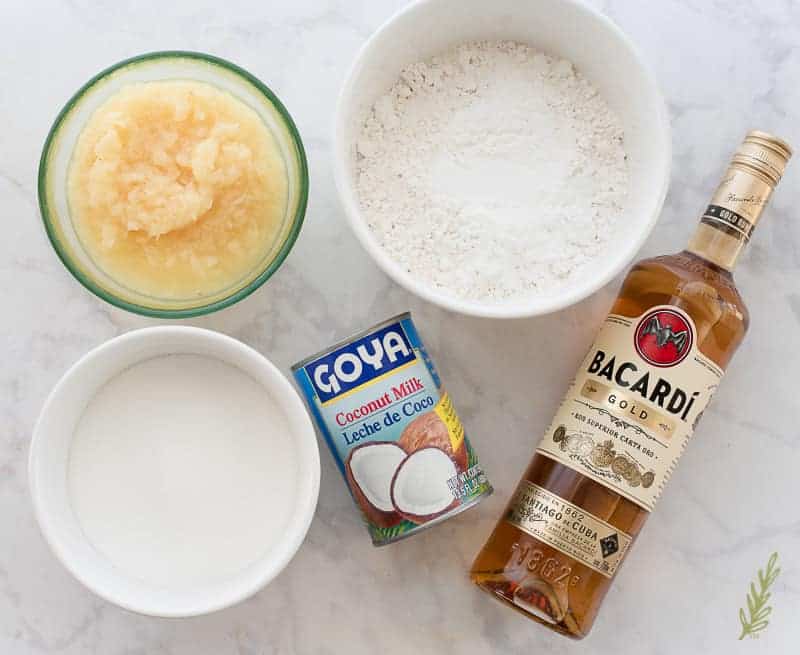
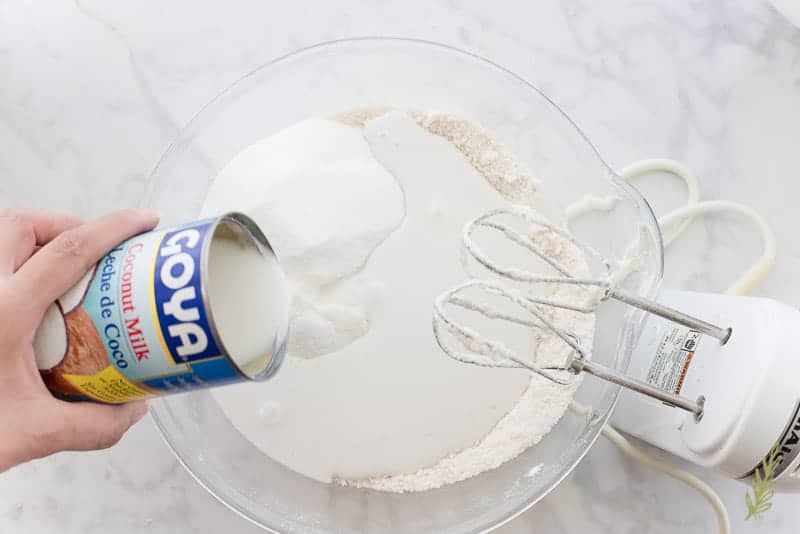
Add the sifted granulated sugar and a half can of whole-fat coconut milk to the bowl and blend on low for 3-5 minutes- using a rubber spatula to scrape the bowl down several times during the mixing process. Again, the Piña Colada cocktail uses cream of coconut, but coconut milk is best for a piña colada cake.
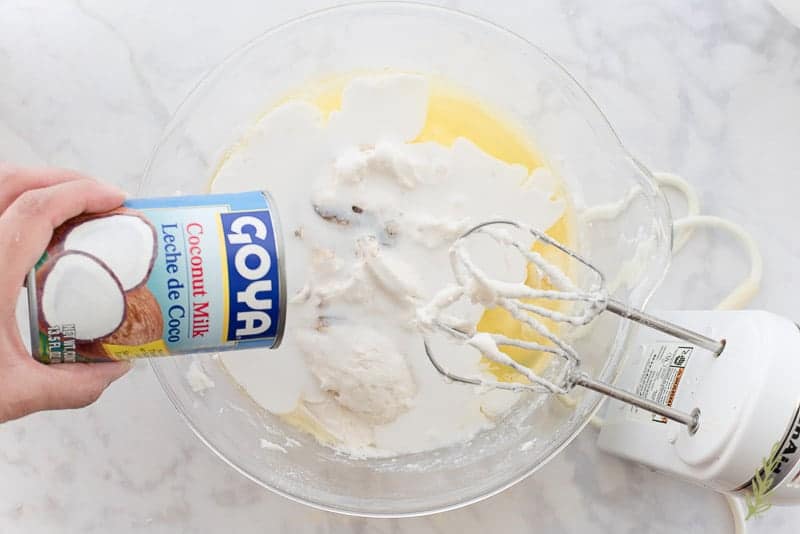
Now add the vanilla bean paste, the remaining coconut milk, and the lightly beaten egg whites to the bowl and blend on low for another 5 minutes. Don’t forget to scrape the bowl down a few times.
Pan and Bake
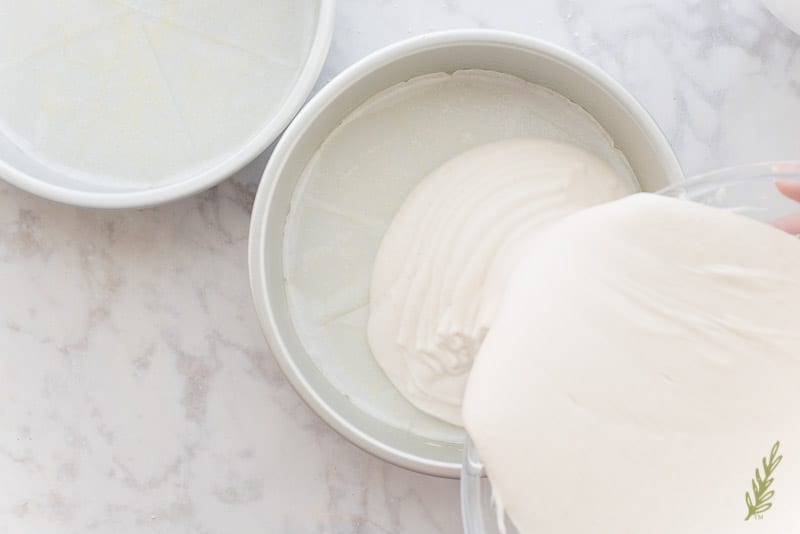
The final batter should be pourable.
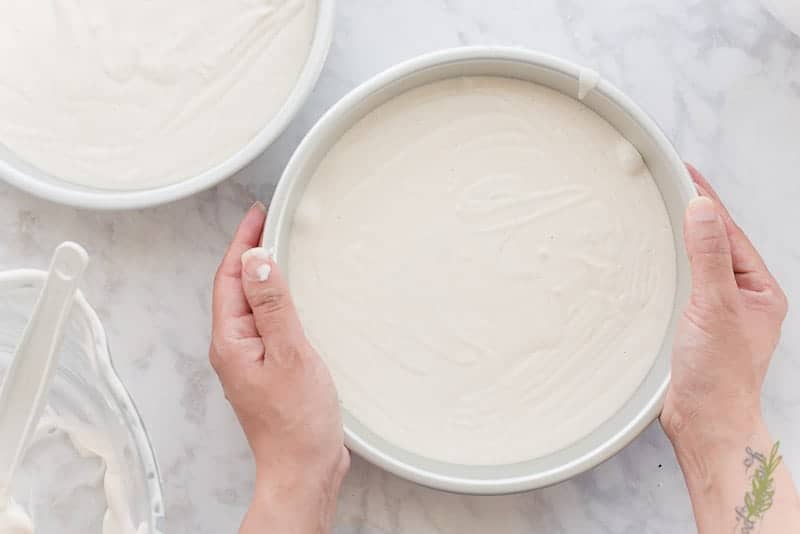
Divide the batter in half between the two prepared cake pans and tap the pans against the countertop to encourage any air bubbles to surface and pop. This will prevent unsightly holes in your baked cakes. Now just bake the cakes for 25-30 minutes. A toothpick inserted into the center of the cakes should come out clean.
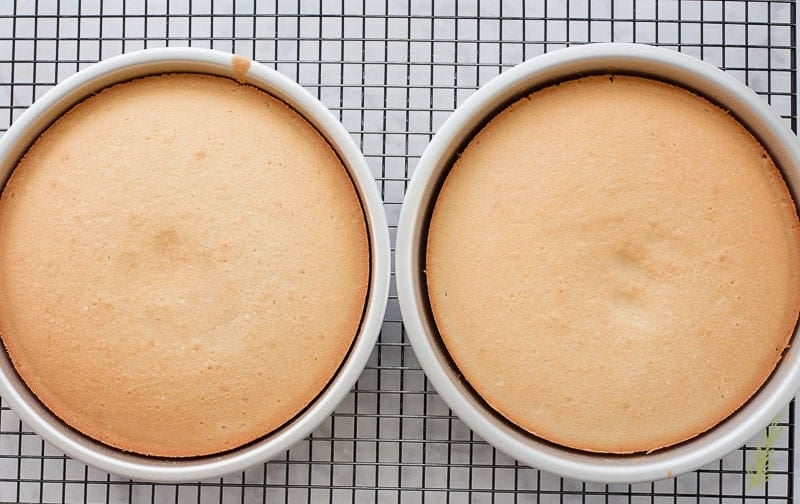
Another telltale way to know that your cakes are baked is to lightly press their centers. They should spring back when touched. The edges of the cakes will also pull away from the pans, like the cakes in the image above. Place the cake pans on a cooling rack and allow the cakes to cool in their pans for five minutes. Remove them from the pans and let them cool completely on the cooling racks. Wrap the cooled cakes in plastic wrap until ready to fill and decorate.
Make the Vanilla Buttercream
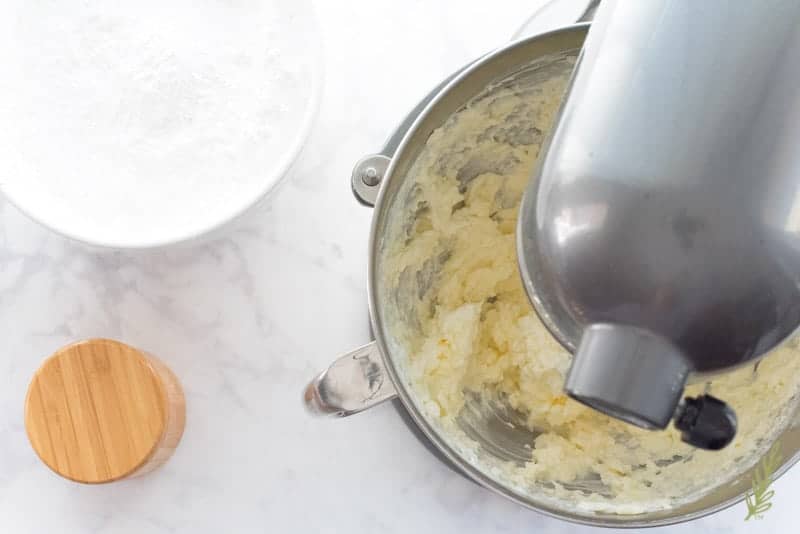
To make the Vanilla Buttercream: first, sift the powdered sugar. Getting air into that sugar is the key to a light, fluffy icing. Cream the shortening and unsalted butter together, on low, until smooth. Add a pinch of kosher to the mixture to temper the sweetness.
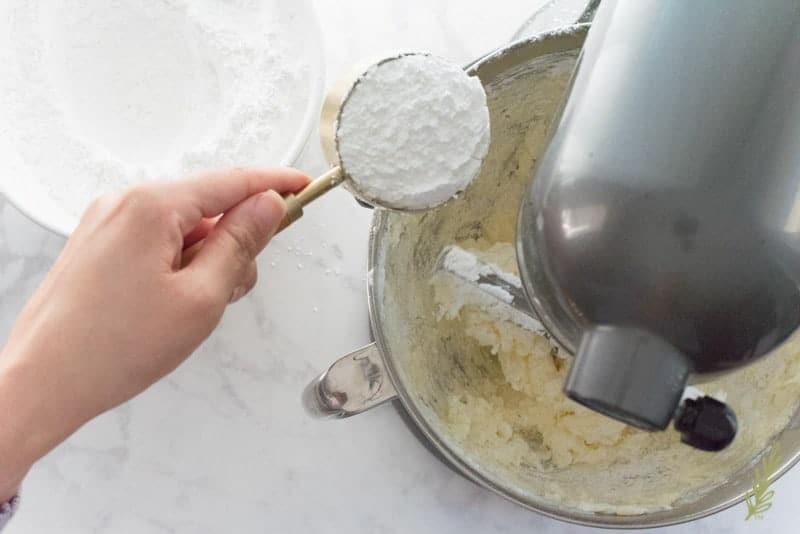
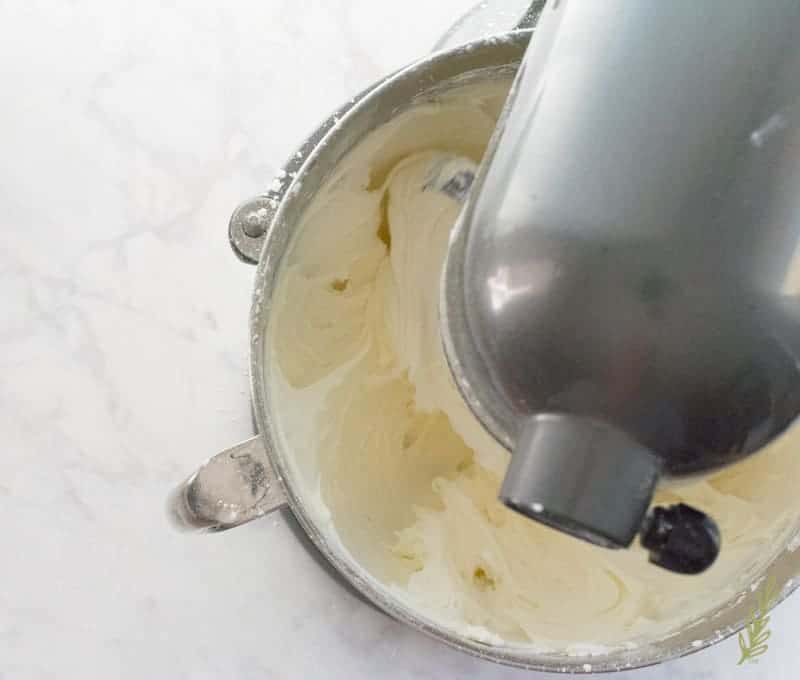
Once the butter and shortening are smooth, begin adding the sugar, a cup at a time. After all of the sugar has been added, crank the speed up to medium-high and whip the ingredients together for 5 minutes.
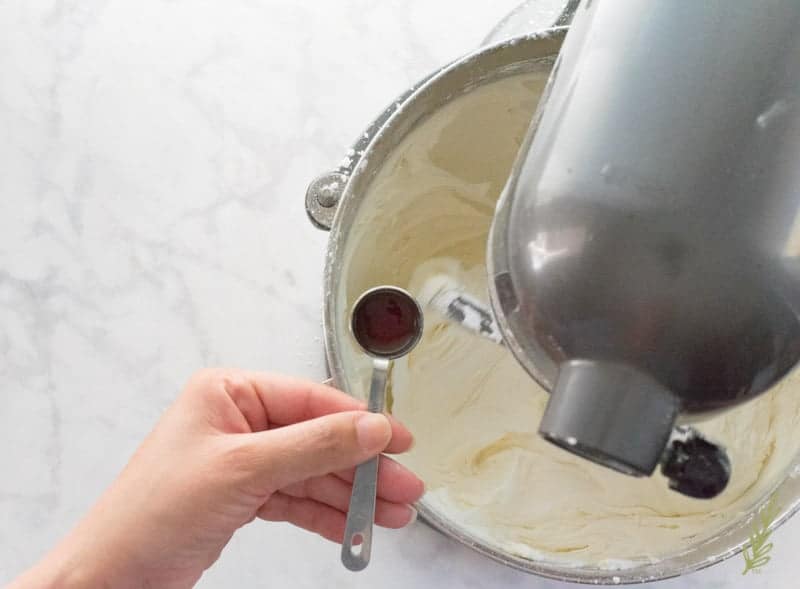
Add the vanilla extract- or coconut extract if you want to up the Piña Colada/coconut factor. Crank the speed BACK up and whip the icing for 3 or 4 more minutes.
The icing should look light, airy, and fluffy!
Vanilla buttercream can be stored in the fridge for up to a week. You can even freeze it for 6 months so long as you pack it into a freezer storage bag.
Prepare the “Piña” in the Piña Colada AKA the Pineapple-Rum Filling
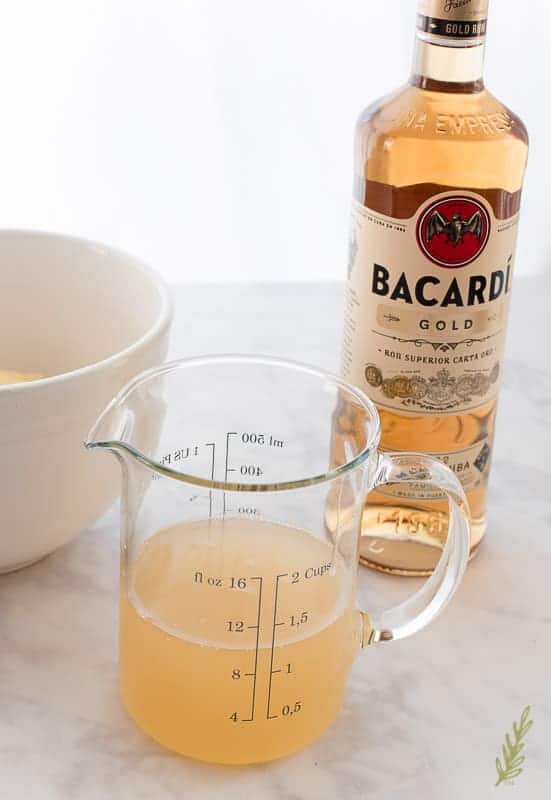
Drain the pineapple juice from a can of crushed pineapple over a mixing bowl for at least 15 minutes. Transfer the juice to a measuring cup and add enough Bacardi Gold to measure 1 1/4 cup of total liquid.
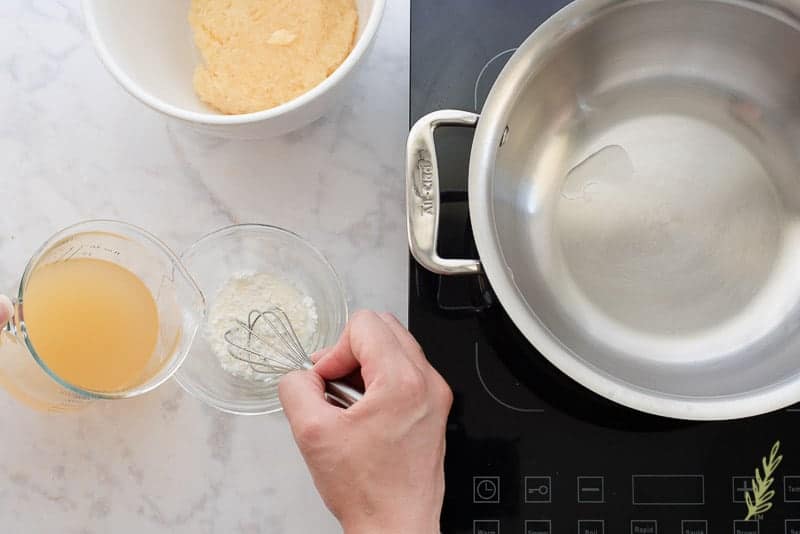
Add a tablespoon of that liquid to a prep bowl that has 2 tablespoons of cornstarch in it, whisk them together until smooth. This slurry is what we’ll use to thicken the pineapple filling. Pour the rest of the pineapple-rum liquid into a saucier and bring it to a boil over medium-high heat. We need to cook off that booze, so boil it for a couple of minutes!
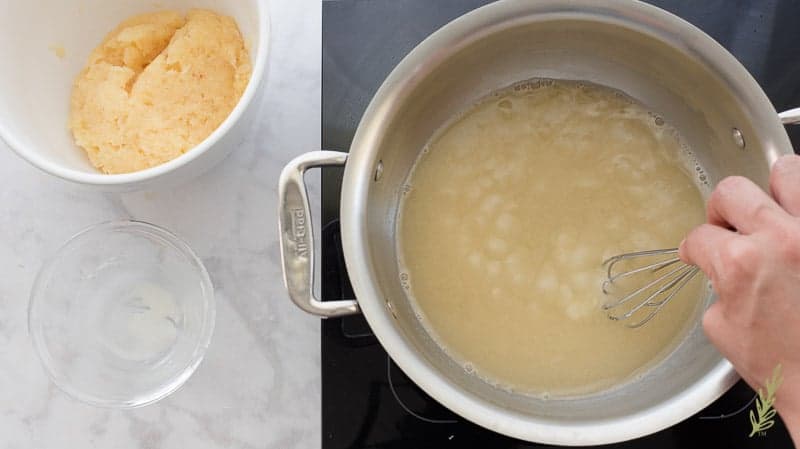
Use the smallest whisk you own (not really, I’m just an idiot) to whisk the slurry into the boiling juice. Be sure to whisk the entire time you’re streaming in the slurry or it will form into white, gelatinous clumps. If it does, it’s no biggie, just strain the mixture after it thickens. The mixture will look cloudy when the cornstarch is first added, but as it cooks, it’ll thicken and clear up.
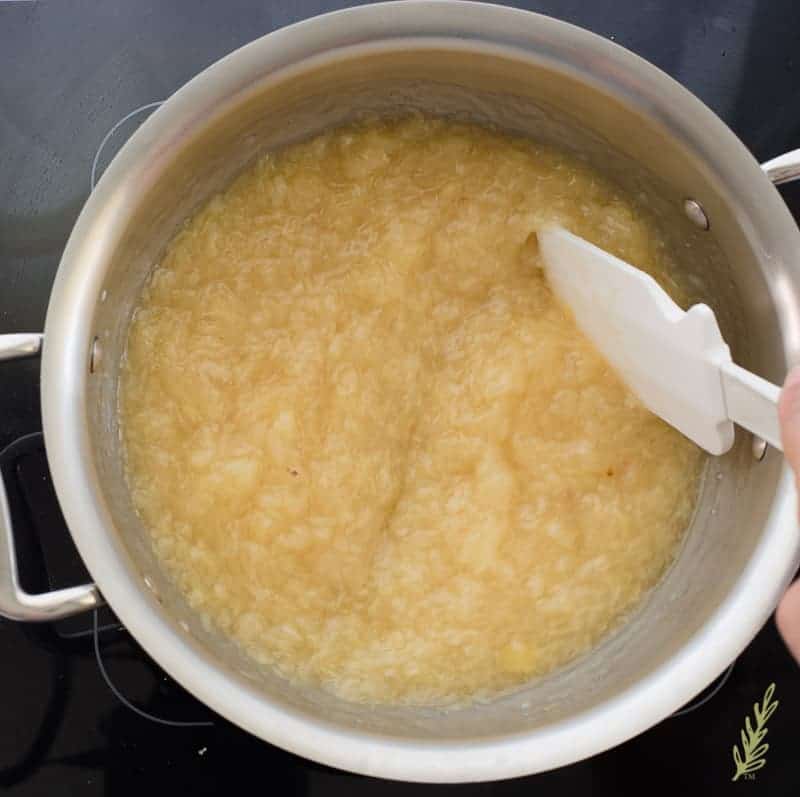
Once the mixture is thick and bubbles like lava, fold in the crushed pineapple. Remove the pot from the heat and allow the pineapple-rum filling to cool completely. Once cool, you can store it in the fridge for up to a week or until you’re ready to assemble the Piña Colada cake.
Assemble the Cake
First, Some Tips for Success
To keep your cake board from sliding around while you’re trying to fill and ice it, place a small piece of non-skid shelf liner between your turntable and a 10″ cardboard cake circle.
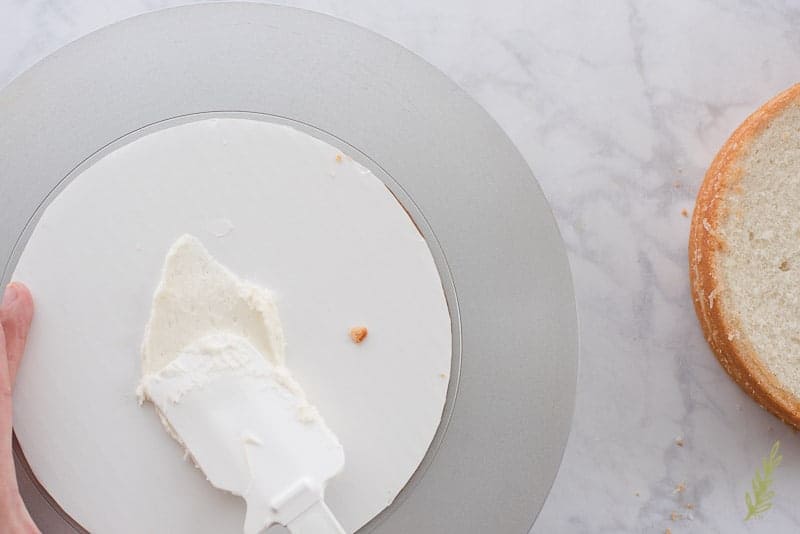
Use a rubber spatula to spread a dollop of vanilla buttercream onto the middle of the cake circle. Divide each cake layer into 1/2 inch layers using a serrated knife. After removing the parchment paper from the bottom of the cake, place one of the layers onto that dollop of buttercream and press down to stick the cake to the board. You now have a stable foundation, Friend!
Fill the Cake
One of the most disappointing things you can experience is watching the filling in your cake ooze through the frosting on said cake. Ask me how I know.
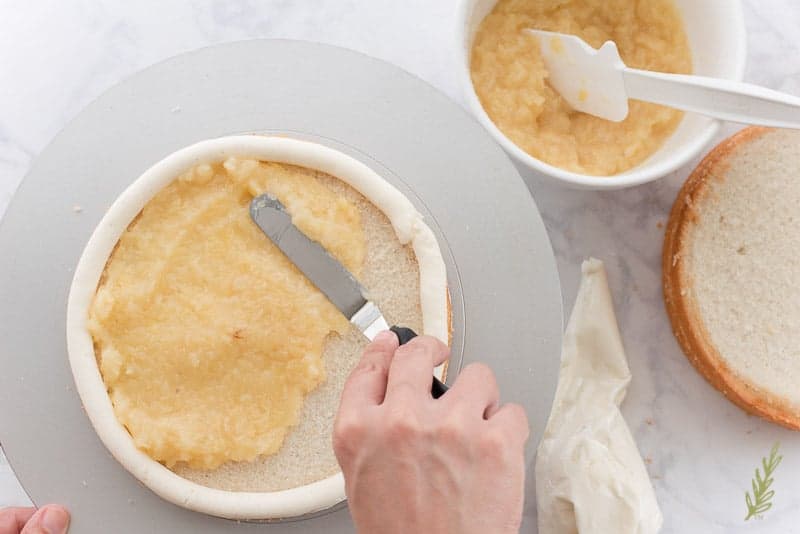
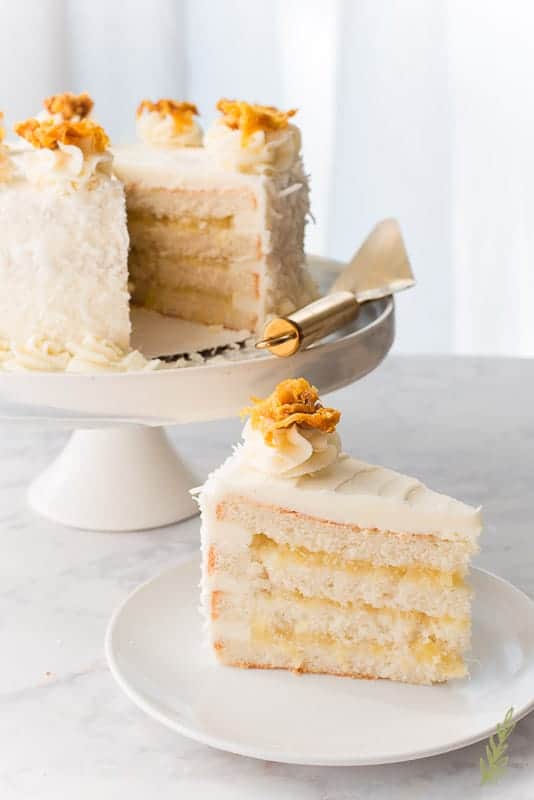
To prevent this trauma from resurfacing 20 years down the road, you need to create a literal dam of icing to contain the filling. Fill a piping bag with the vanilla icing and pipe a half-inch thick border of icing around the cake layer. Use a small offset spatula to spread a half-cup of the pineapple-rum filling into the center of that buttercream dam. Place the next layer of cake onto the filling and repeat the process until your cake is filled and stacked with all four layers.
“Dirty Ice” to Create the Perfect Exterior
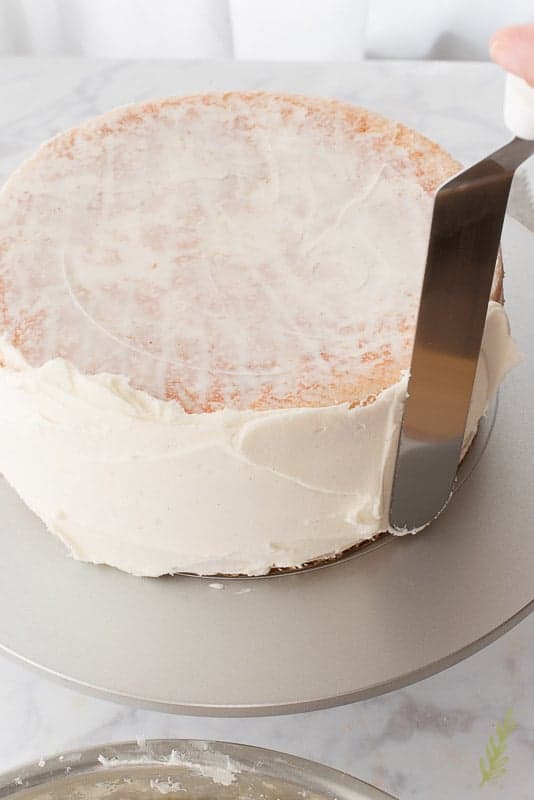
Use a 10″ offset spatula to spread a very thin layer of the vanilla buttercream onto the sides and top of the cake. A thin, thin layer is a must. This “dirty ice” is what we use to trap all of the crumbs on the exterior of the cake. Once they’re trapped there they will stay, which means they won’t come through the final coating of buttercream.
Put the cake into the fridge and let the buttercream set up for an hour or two. Once the icing is firm, spread a thicker layer of buttercream onto the outside of the cake. Smooth to the best of your ability and use the spatula to create a swirly pattern on the cake’s surface if you want.
Garnish and Enjoy!
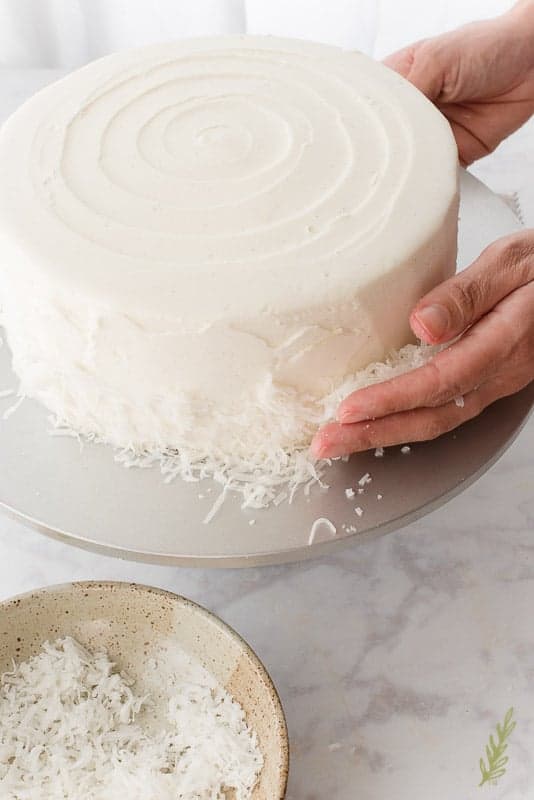
Garnish the sides of the iced cake with unsweetened shredded coconut. Start garnishing right after you’ve iced the cake since the icing will still be soft enough for the coconut to stick to. Brush the excess flakes off of the turntable and back into the bowl you’re using to hold them. Keep recycling your flakes until the cake’s sides are completely covered.
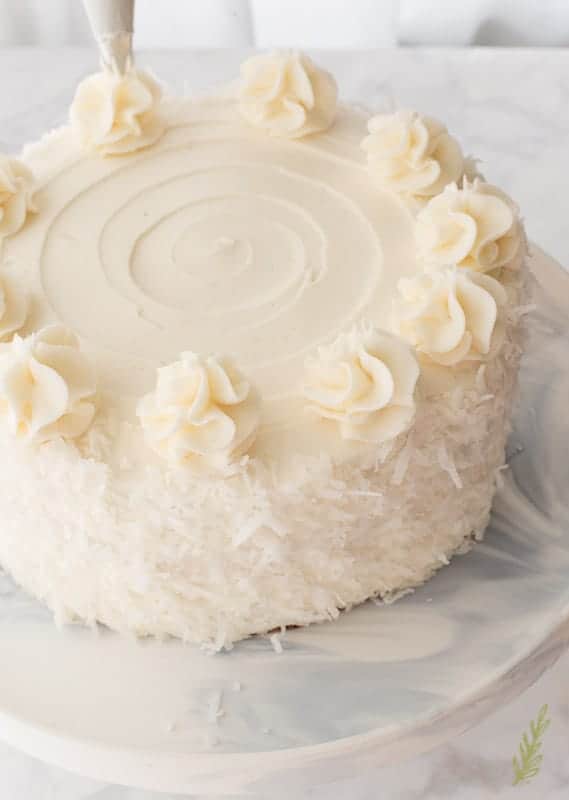
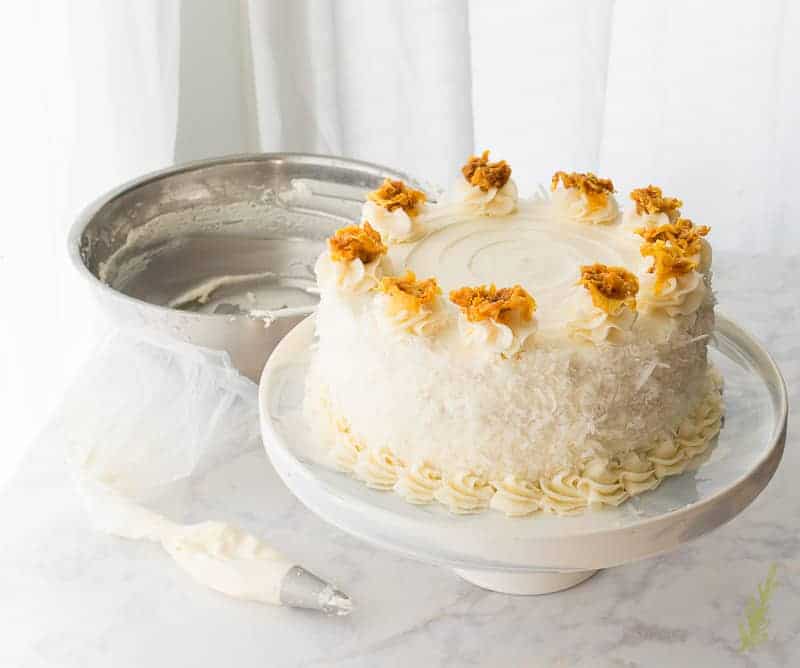
Fit your piping bag with a 1M tip and fill it with the remaining buttercream. Pipe vanilla buttercream rosettes around the outer edge of the cake.
Top each rosette with a dried pineapple rose or pieces of dried pineapples. These are just thin slices of pineapple that I formed into roses and dried in my food dehydrator. Dried pineapples are my addiction. I dehydrate mine in this beaut.
You can keep the cake in the fridge, or display it on a cake stand fit for a queen. Dish it out when you’re ready to wow your peeps.
Enjoy it anytime this week…or next…or forever.
It is safe for children and adults, alike.
Bite, by bite, this cake is appealing to everyone…well, everyone that doesn’t have a coconut allergy. And everyone who likes Piña Coladas…but mostly everyone.
Enjoy my Piña Colada layer cake, then share it, and pin it.
**This post contains affiliate links. To find out what that means to you, please read my disclosure page**

Piña Colada Layer Cake with Vanilla Buttercream
at Sense & EdibilityIngredients
Pineapple-Rum Filling (may be made a week ahead)
- 20 ounce can of crushed pineapple, drain- juice reserved
- dark rum (optional)*
- pinch kosher salt
- 1 1/2 tablespoons cornstarch
Vanilla Buttercream (may be made a week ahead)
- 1 pound unsalted butter, softened
- 1 cup vegetable shortening
- pinch kosher salt
- 2 1/2 pounds powdered sugar, sifted
- 1 tablespoon vanilla extract
- 1 teaspoon fresh lemon juice
- 1 tablespoon whole milk, to thin as needed (optional)
Coconut Cake (make one day ahead)
- 2 3/4 cups (375g) cake flour
- 1 tablespoon + 2 teaspoons (23g) baking powder
- 1 teaspoon (8g) kosher salt
- 1 cup (188g) emulsified shortening, see info in post
- 2 cups (469g) granulated sugar, sifted
- 13.5 ounce can full-fat coconut milk, divided
- 1 3/4 teaspoon vanilla bean paste, extract, OR coconut extract
- 8 large (250g) egg whites, lightly beaten
To Garnish
- 2 cups sweetened coconut flakes
- 8 dried pineapple chunks or roses (see info in post)
- toasted coconut flakes, optional
Instructions
Prepare the Pineapple Filling (up to one week in advance)
- Transfer the drained pineapple juice to a measuring cup and add enough rum to measure 1 1/4 cup of total liquid.
- Combine a tablespoon of this liquid and the cornstarch together and whisk until smooth.
- Pour the rest of the pineapple-rum liquid into a saucier and bring it to a boil over medium-high heat. Boil for 2 minutes to cook off the alcohol.
- Reduce the heat slightly and pour the slurry into the pot in a slow trickle, whisking constantly.
Be sure to whisk the entire time you're streaming in the slurry or it will form into white, gelatinous clumps. If clumps form, strain the mixture after it thickens. - While continuously whisking, allow the liquid to come to a boil and thicken.Once the pineapple juice has become thick and bubbles like lava, remove the pot from the heat and fold in the crushed pineapple.
- Allow the pineapple-rum filling to cool completely. Once cool, transfer the filling to a storage container and refrigerate, or use as instructed.
Make the Vanilla Buttercream (up to a week in advance)
- In a large mixing bowl, or in a stand mixer: cream the butter, shortening, and salt together, on low speed, until smooth. Be sure to scrape the bowl down once while mixing.
- Once the butter and shortening are smooth, begin adding the sugar to the bowl, one cup at a time. Increase the speed to medium-high after all of the sugar has been added and whip for 5 minutes, scraping down the bowl twice during mixing.
- Add the vanilla or coconut extract and lemon juice to the bowl and continue to whip the icing for 3 or 4 more minutes, once again, scraping occasionally to ensure a well-mixed buttercream.If the icing is too thick to spread smoothly, add a tablespoon of milk to thin it slightly. The icing should be fluffy and smooth when finished.
- Transfer the buttercream to a storage container and store in the fridge for up to a week or use it right away. If you refrigerate it, bring it to room temperature and blend until soft before using.
Prepare the Coconut Cake (bake one day ahead)
- Preheat your oven to 350°F. Next, cut two 10" circles of parchment paper that you will use to line the cake pans. Spray the cake pans with non-stick baking spray and place the parchment circles into the greased pans. Set the pans aside while you prepare the cake batter.
- Sift together the cake flour, baking powder, and kosher salt three times into a large mixing bowl.
- Add the emulsified shortening to the dry ingredients and blend the mixture on low speed for 4 minutes, or until the mixture looks sandy. Scrape down the bowl once during the mixing time.
- Add the granulated sugar and half of the coconut milk to the bowl. Blend on low speed for 3-5 minutes, scraping down the bowl several times.
- Add the vanilla bean paste (or either extract), remaining coconut milk, and the lightly beaten egg whites to the bowl and blend on low for another 5 minutes, scraping the bowl down occasionally while mixing. The batter should be pourable when done.
- Divide the batter in half between the two prepared cake pans and tap the pans against the countertop to encourage any air bubbles to surface and pop. Bake the cakes for 25-30 minutes, or until a toothpick inserted into the center of the cakes comes out clean.
- Place the cake pans on a cooling rack and allow the cakes to cool in their pans for 5 minutes. Remove them from their pans and cool completely on the cooling racks. Wrap the cooled cakes in plastic wrap until ready to fill and decorate.
Assemble and Decorate the Cake
- Cut each cake into 1/2 inch thick layers (horizontally) using a serrated knife. After removing the parchment paper from the bottom of the cake, place one of the layers onto a 10" cardboard cake circle (or directly onto a cake plate).
- Fill a piping bag with the vanilla icing and pipe a 1/2" thick border of icing on the top edge of the cake layer. Use a small offset spatula to spread half a cup of the pineapple-rum filling into the center of the buttercream border. Place the next layer of cake onto the filling and repeat the process until your cake is filled and stacked with all four layers.
- Use a small offset spatula to spread a very thin layer of the vanilla buttercream onto the sides and top of the cake. Refrigerate the cake for 1-2 hours, or until the icing is firm.
- Once the icing is firm, cover the exterior of the cake in a thicker layer of buttercream. Smooth the icing and use the spatula to create a decorative pattern on the cake's surface if desired.
- Garnish the sides of the iced cake with the unsweetened shredded coconut while the icing is still soft.
- Fit your piping bag with a 1M tip and fill it with the remaining buttercream. Pipe vanilla buttercream rosettes around the outer edge of the cake.Top each rosette with a dried pineapple rose or pieces of dried pineapples. Sprinkle toasted coconut flakes on top of the cake, if you'd like.
- Refrigerate until ready to serve.
Notes
Nutrition
Try these great dessert recipes for your Easter celebrations:
Cannolis Three Ways
Black Forest Cheesecake



Hi Marta, I love this cake and want to make it for Christmas. Is it possible to use Piña Colada cream of coconut instead of cocunut milk and can I bake this cake in silicone cake pans instead of tin cakepans?
The recipe is formulated for the coconut milk. Cream of coconut and coconut milk are not the same in that cream of coconut is much sweeter than milk. I suggest just using the coconut milk. Yes, you can bake the cake in silicone cake pans. You may need to increase the baking time by 5-10 minutes since they won’t get as hot as metal tins.
Oh my! This looks delicious! and it’s such a pretty cake too!
Thank you so much, Peachy!
You had me at pina colada!!!! This looks absolutely delish! Def making it for a girls night
Ooooh! What a great idea! Girl’s night would be complete with this cake, Jennifer!
WOW is this cake a show stopper, Marta! I love pina coladas so I need it in my life.
You definitely do need it, Leigh! It’s so good.
Wow, this cake looks so good. I would love to try it.
It tastes BETTER than it looks, so you’re in for a treat.
This looks really good! I can’t even come close to decorating a cake this well.
I’m sure you’re not giving yourself enough credit, Rachel. I think you’d do a fantastic job.