Making your own Sourdough Starter is easy, and the reward is homemade bread with a unique flavor. Don’t allow the phrase “homemade sourdough starter” to intimidate you. This easy-to-follow recipe is very forgiving and makes starters a fun experience. Use this starter for your sourdough bread loaves, sweet bread, quick bread, or breakfast breads like waffles, pancakes, and muffins. Feeding once a week is recommended, but not a hard and fast rule.
What Is the Purpose of a Sourdough Starter?
A sourdough starter is a combination of flour and water, and in this case, yeast is allowed to ferment so it can later be used in your bread recipes to help them rise.
A sourdough starter collects wild yeast from the environment to give it rising power. In the case of this recipe, though, we’re getting help from active-dry yeast to get a jumpstart on the process.
Bread containing a sourdough starter has a slight tang from the acids created in the starter by fermentation. I prefer sourdough breads to regular yeasted breads because they’re more flavorful.
Is Making a Sourdough Starter Really That Hard?
The great “Stay Home of 2020” inspired many people to make sourdough for the first time. It also gave sourdough recipe writers liberties to make things super-complicated to keep people locked in.
Making a sourdough starter isn’t difficult. It just requires a couple of minutes of your attention for a few days to get it going. At least when you make it the way I do.
The toughest part of making a sourdough starter is trapping the wild yeast you need to create the desired fermentation. We will use culinary science since the yeast wheel has already been invented. The only effort we need to put forth is feeding the starter once a day to get it going.
After the sponge is up and running, we leave it to mature in the fridge, feeding it once a week. Or, if you’re forgetful like me, once a month.
What Ingredients Do I Need to Make a Sourdough Starter?
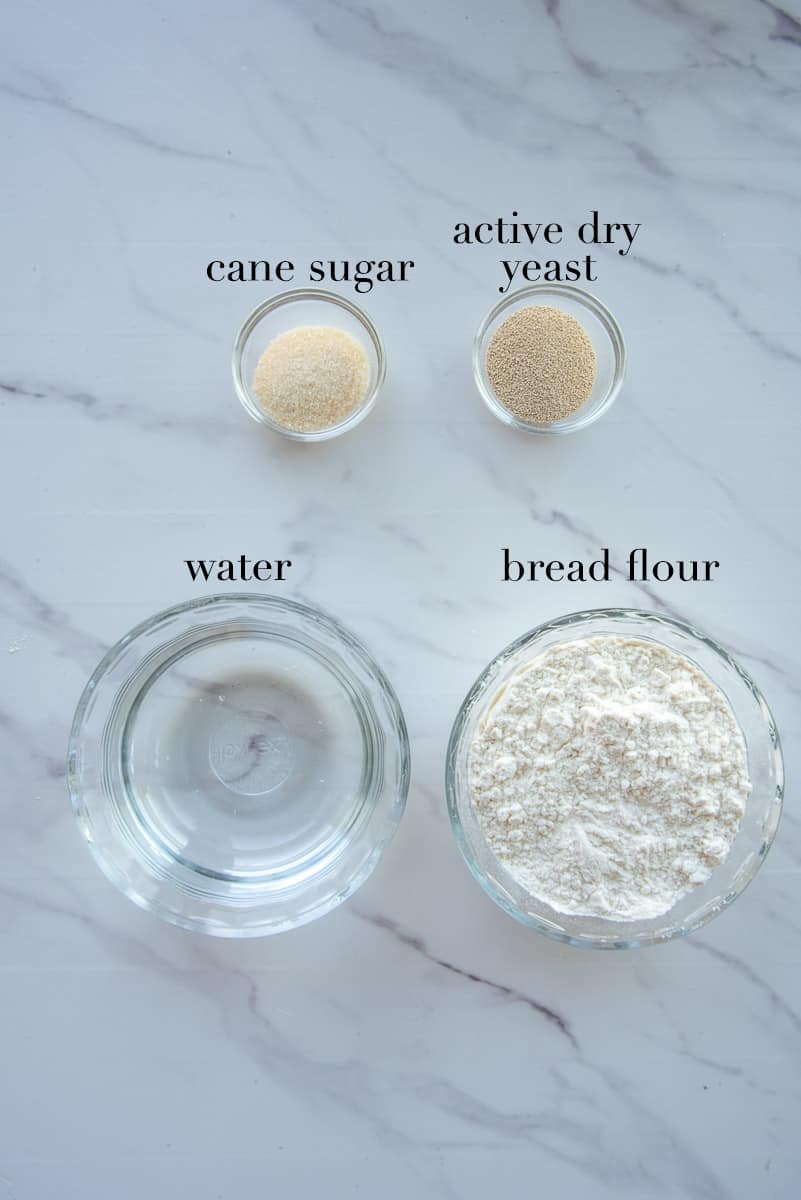
The ingredients needed to make a sourdough starter are bread flour, warm water, active dry yeast, and cane sugar (or sugar in the raw). You can also use granulated white sugar, brown sugar, or honey instead of cane sugar.
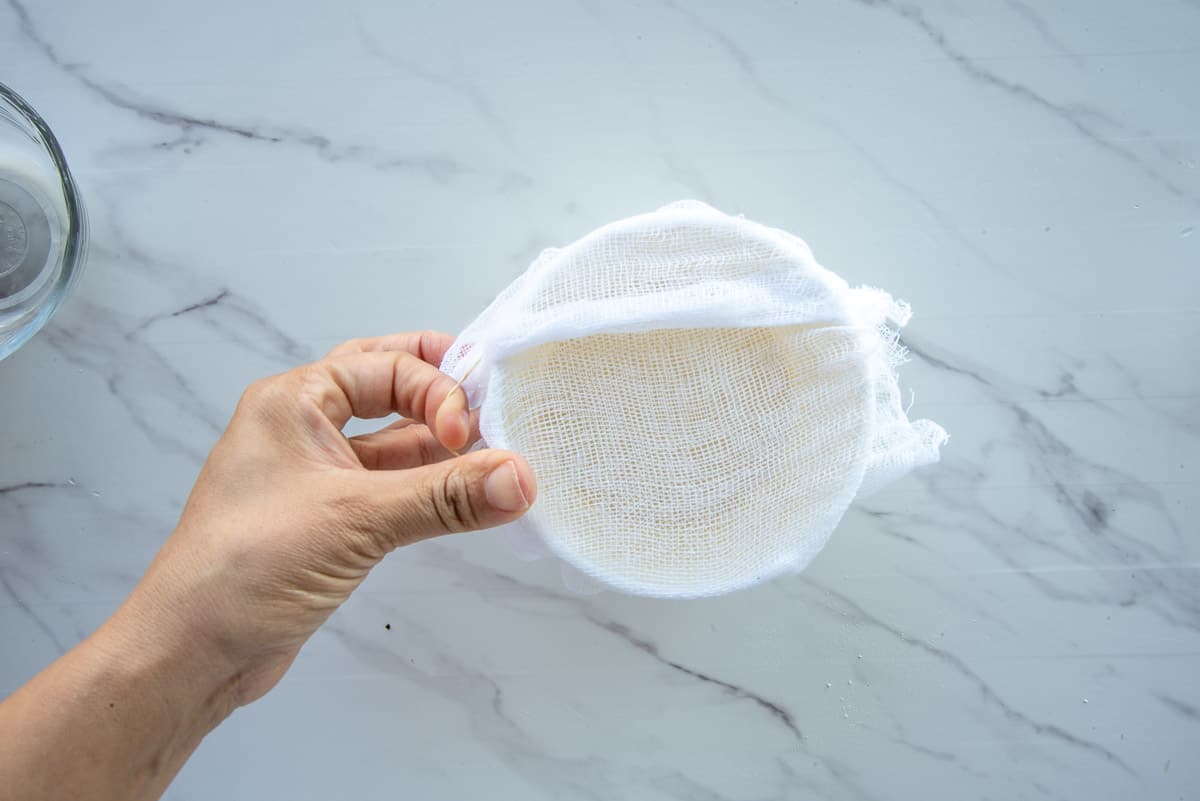
You will mix and ferment the starter in a mixing bowl. Cheesecloth or a kitchen towel with an open weave allows the wild yeast in your kitchen to settle into the mixture as it ferments. This gives your starter more oomph and flavor.
That’s all it takes to make the starter.
How Long Does It Take to Ferment the Starter?
It takes 5 to 7 days to make a sourdough starter, depending on how warm your kitchen is. For a less tangy starter, you only need to ferment it for 2 days, but I go the full 7 days for ultimate flavor.
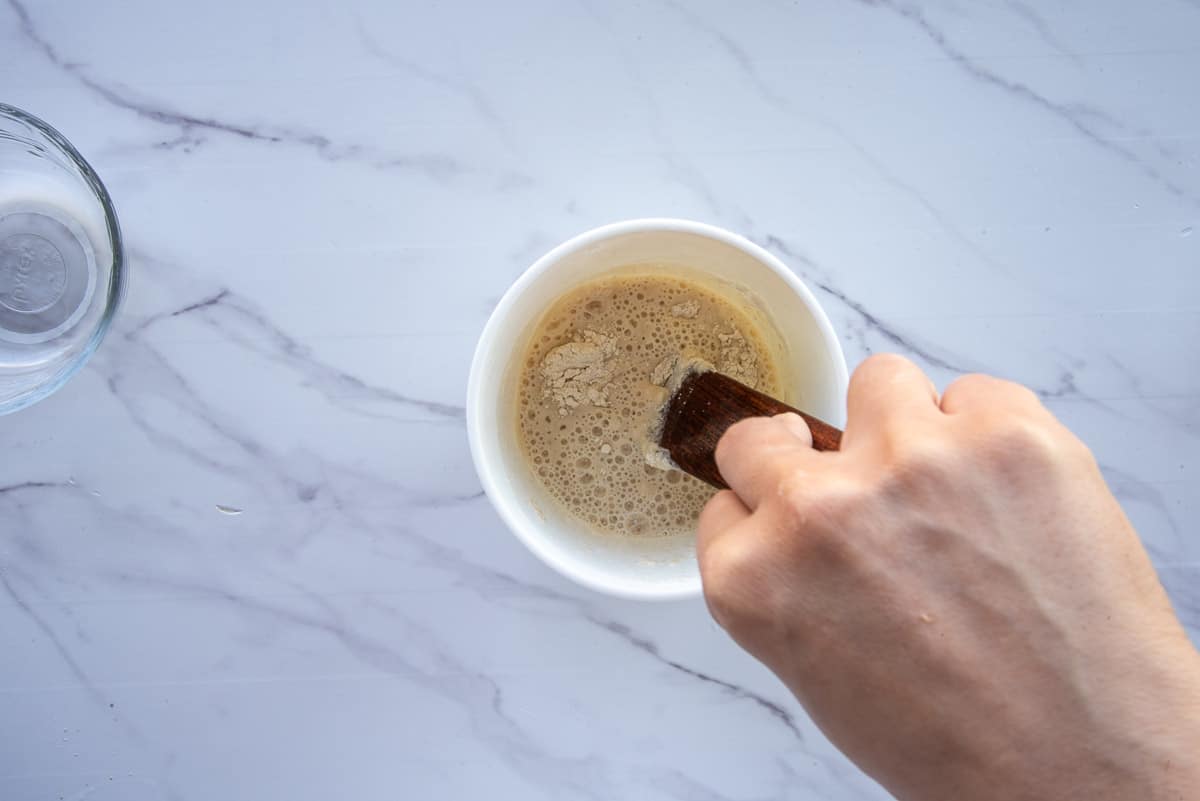
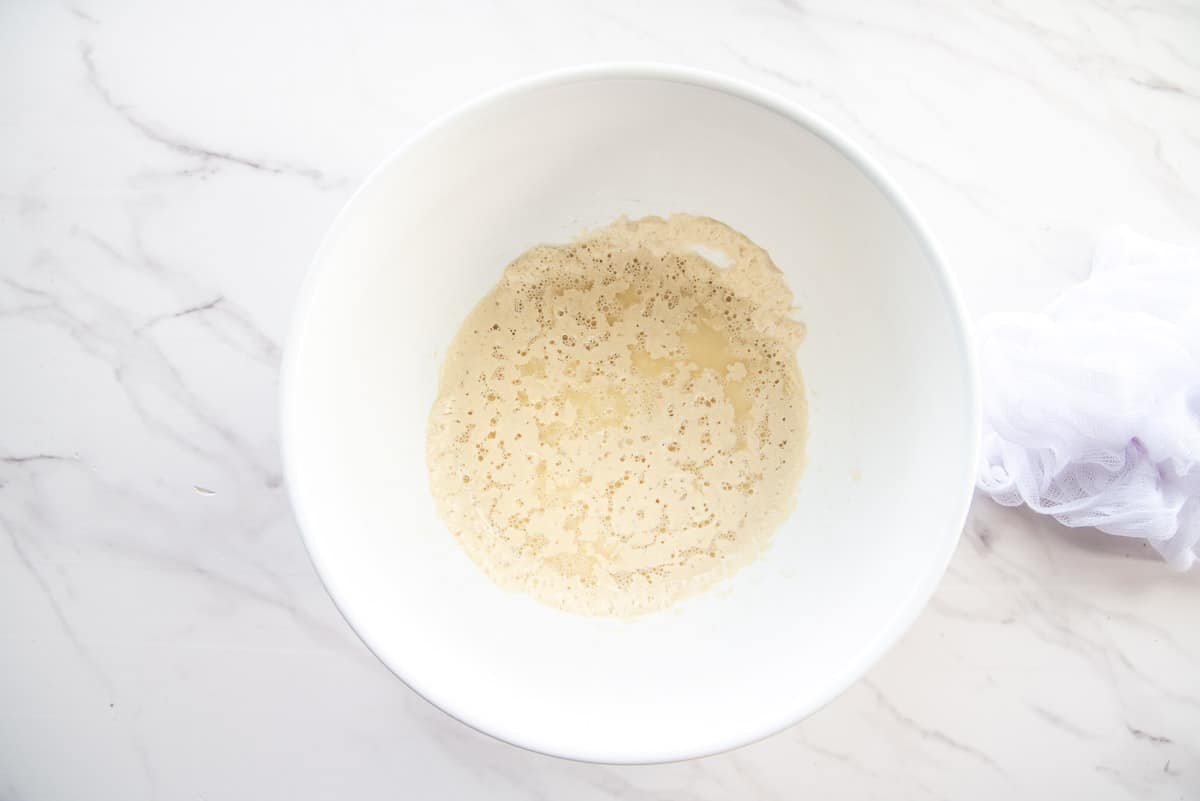
Use a wooden spoon or spatula to stir the bread flour, sugar, and active dry yeast in a ceramic or glass bowl. Pour warm water into the dry ingredients, stirring until a batter-like consistency forms.
Cover the bowl with a piece of cheesecloth or a clean kitchen towel and secure it on the bowl with a rubber band or by tying kitchen twine around it.
Allow it to rise and fall on itself for 24 hours in a warm place in your kitchen or pantry.
What Is the Liquid On Top?
The starter will rise and bubble, and deflate after 24 hours.
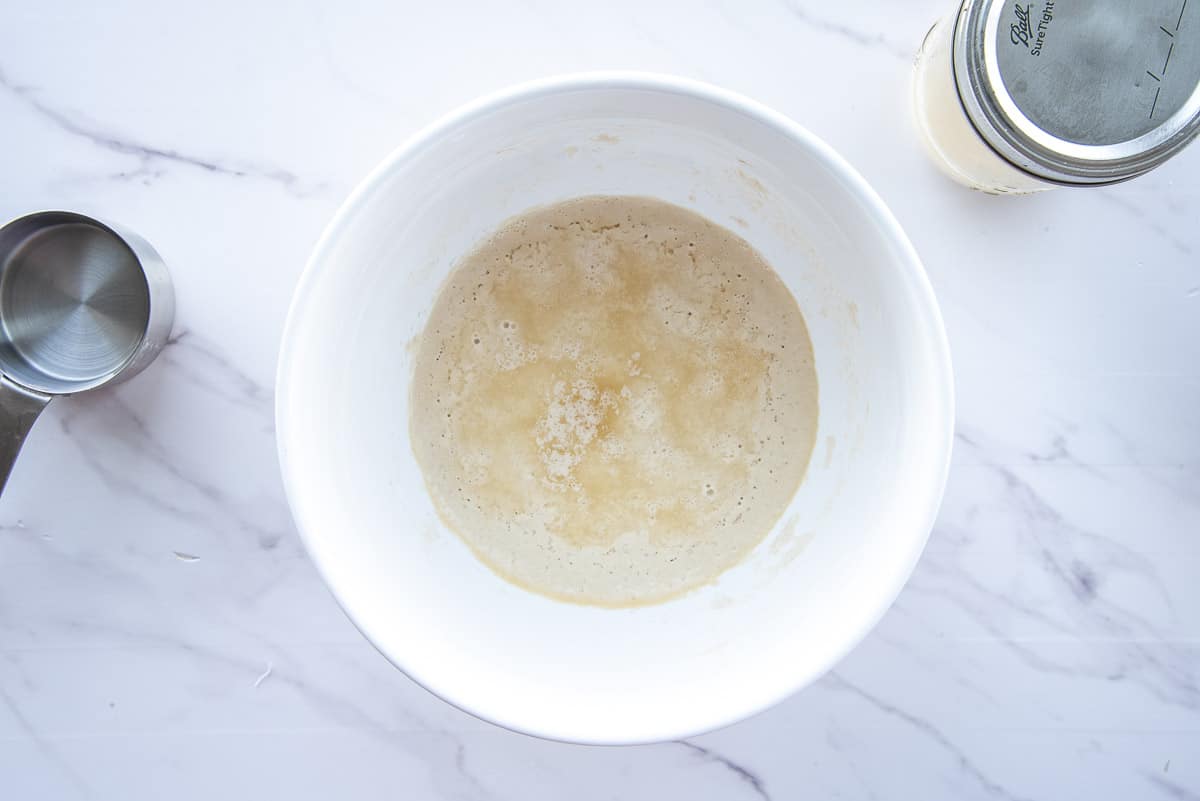
The liquid formed on top of the sourdough starter is called “hooch.” It’s a yellowish liquid produced by the starter to let you know that your starter is hungry. You can pour the hooch off your sourdough, but since I prefer a tangy, tart sourdough, I stir mine back into the starter.
Why Do I Need to Feed the Starter?
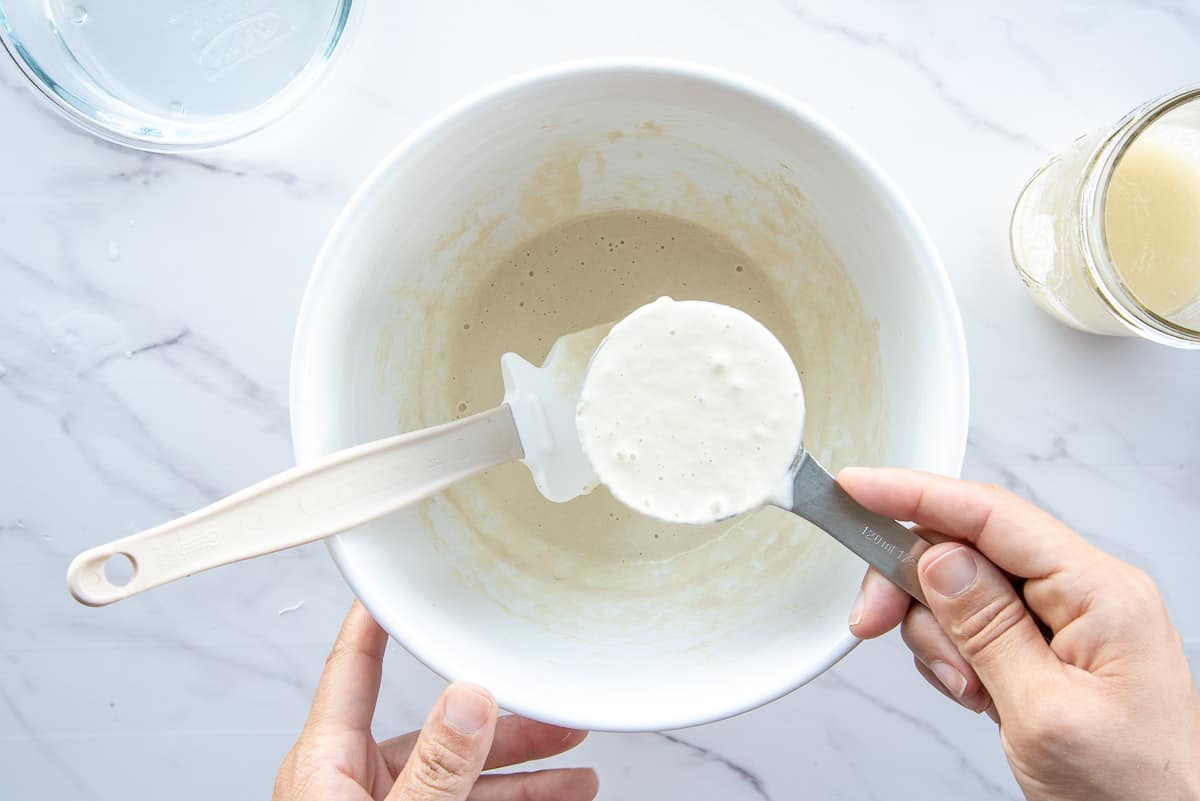
Remove a half-cup of the starter from the bowl and transfer it to a separate glass jar.
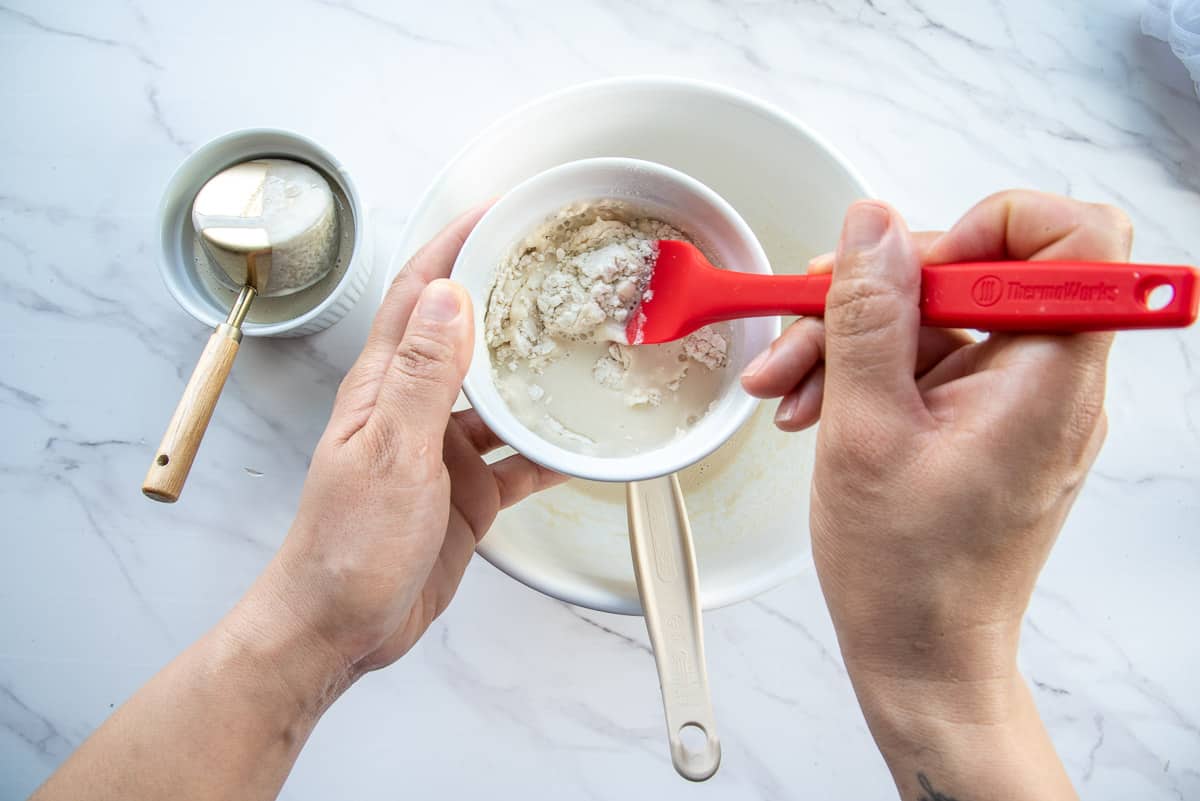
Replace that discard with a half-cup of bread flour and a half-cup of warm water, stirred together until it forms a smooth batter. Pour the mixture of flour and water into the yeast mixture in the mixing bowl to give it something to feed on.
Cover the bowl again with the cheesecloth and allow it to ferment for another 24 hours.
Feeding your sourdough starter is important because the yeast and good bacteria in the starter need something to eat. The carbohydrates from the flour you feed the starter produce more gas, alcohol, and an acidic environment, which is what makes sourdough products taste so epically awesome.
What Do I Do With the Discard?
Repeat the process on days 3 through 7 (if you’re going the full 7 days), always leaving the starter at room temperature to maximize fermentation.
The portion of starter that you remove from the rest before feeding is called a sourdough discard, but don’t let the name fool you. You don’t have to throw out this discard. You can add it to other recipes to give it a mild, tangy flavor.
You can use sourdough discard in any bread recipes that begin with a sponge, like these:
You can also add some of your sourdough discard to your favorite pancake, waffle, or muffin recipes.
How Do I Store My Sourdough Starter?
After your 5th, 6th, or 7th day, your sourdough starter is ready to go into the fridge.
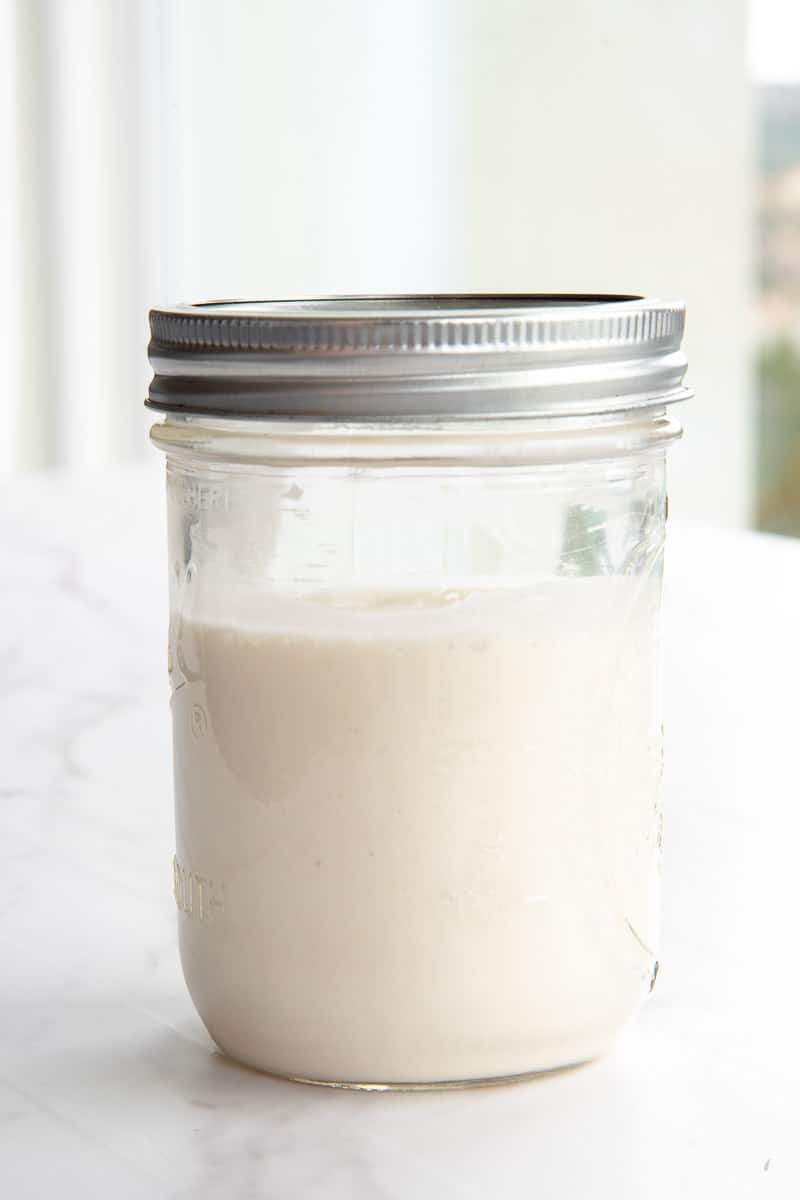
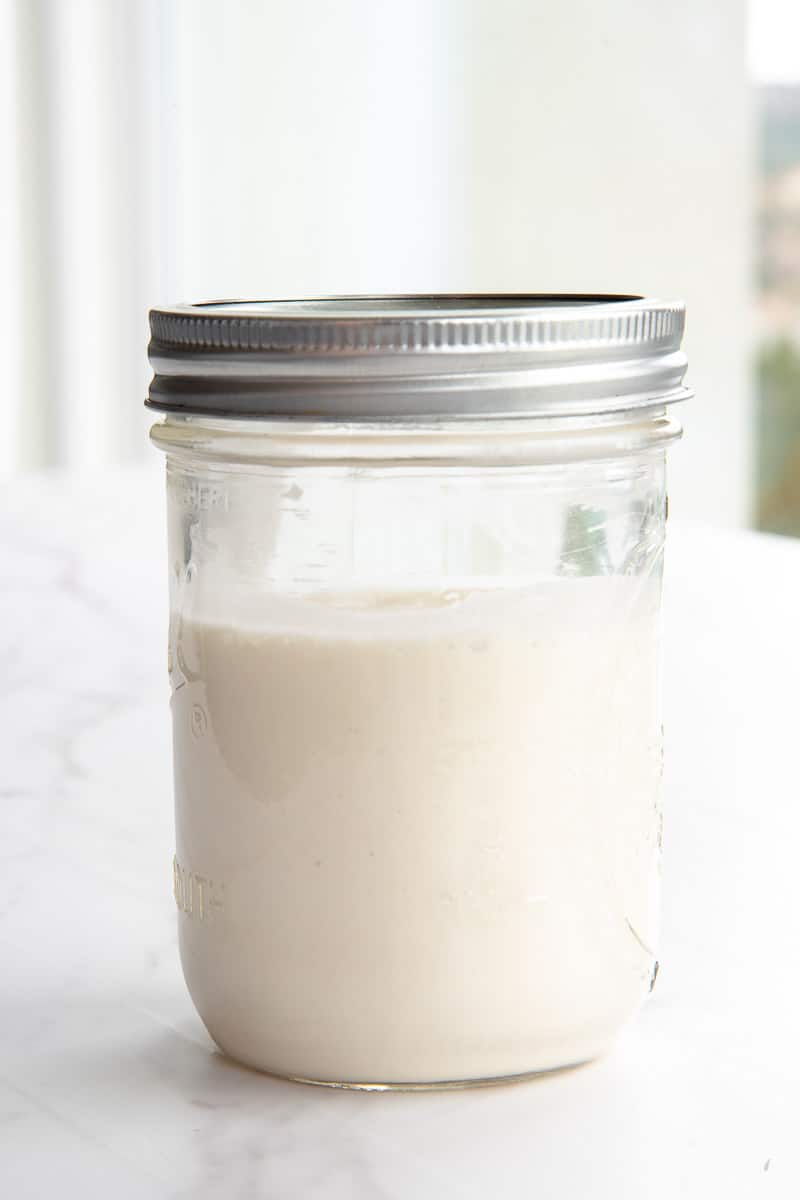
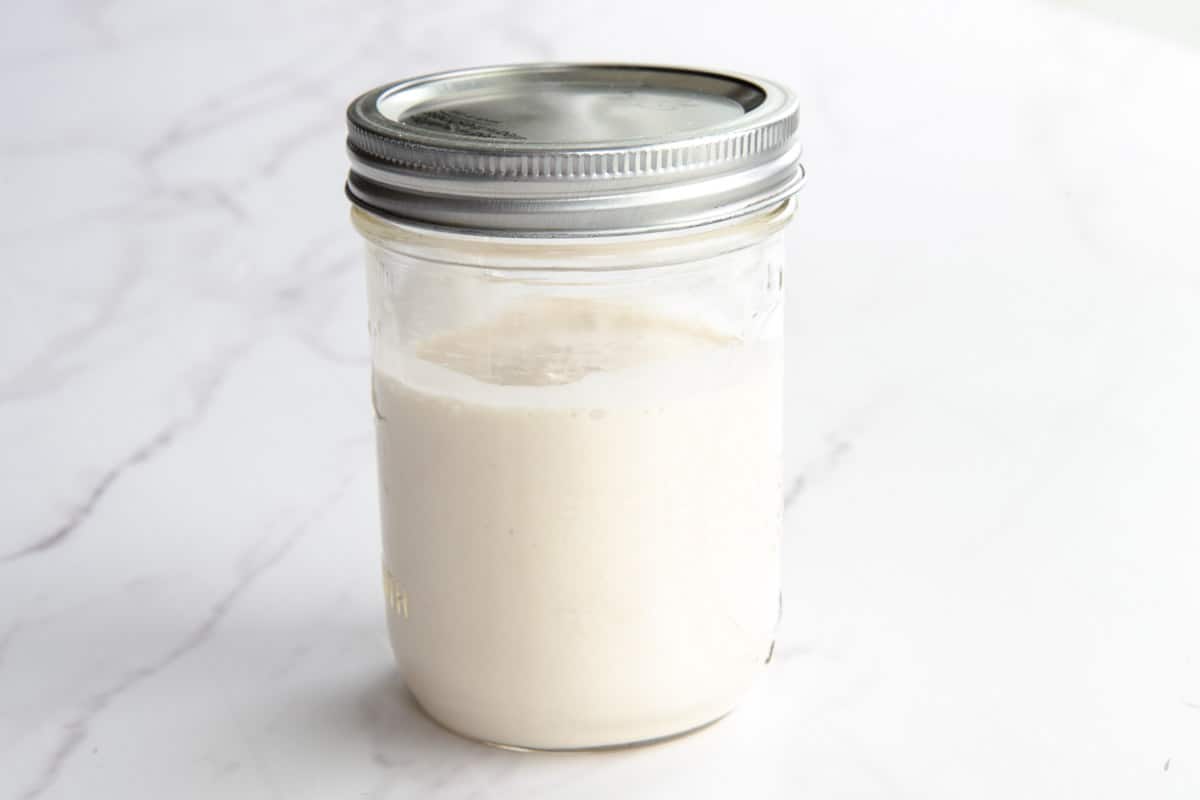
Scrape it from the bowl and into a 1-quart (or larger) glass jar with a tight-fitting lid. Store the sourdough starter in the fridge in between uses and feedings to stall the fermentation and growth of the yeast. The cold air basically means naptime for the yeast.
How Do I Use It?
Each recipe calls for a different amount of sourdough starter, to begin with, but generally, plan to give your starter 8 hours to get ready for baking.
Repeat the feeding steps above by removing half of the starter into your discard jar. Add more of that flour and water mixture and feed the starter. Within 6 to 8 hours of feeding the starter, it should rise, bubble, and smell malty and tangy.
Measure out the amount of starter called for in your recipe, reserving 1 cup (or 120 grams) for later. Feed that cup of starter again before putting it back in the fridge.
After the (room temperature) starter doubles in size and feels elastic when you touch it, it’s ready to use.
How Often Do I Need to Feed the Starter?
I’m, more often than not, a lazy baker.
A sourdough starter should be fed once a week, but I’ve gone up to a month without feeding mine, and the sourdough police haven’t arrested me yet. So, take that for what it’s worth.
You can get away with feeding your sourdough starter once every two weeks because that’s a happy medium and more realistic for people with adult responsibilities.
Just pull the starter from the fridge and stir the hooch back into it before feeding it, as instructed above.
Can I Freeze It?
You can freeze a sourdough starter for up to a month. The longer you freeze a sourdough starter, the less effective it will be in leavening your breads. Just something to be mindful of.
To freeze your starter, transfer it to a freezer-safe jar or container and freeze it. Thaw the starter under refrigeration and proceed with feeding and allowing it to warm up.
You can also dry your sourdough starter. Spread it in a thin layer over parchment paper or a silicone baking mat and leave it in a dry area of the kitchen until it cracks. You want it to be bone-dry, so you can crumble it into a jar for later storage.
It helps ward off moisture if you chuck a food-safe silica packet in the jar with the dried sourdough starter. To use a dry sourdough starter, rehydrate 1 to 2 ounces with the same amount of water and feed it with equal parts of water and flour.
How Do I Know If My Starter Goes Bad?
You have to make an effort to spoil a healthy starter, but it has been done.
Severe neglect of your starter can cause it to develop rose-colored streaks. When you see that, it’s time to throw your starter out. Remember that the hooch can appear very dark in color because of the alcohol that the yeast is throwing off. It’s still good. I know because I sent a sample with the girl child to test it in her chemistry lab, and it only grew healthy bacteria. You’re welcome!
If the hooch skeeves you out, you can pour it off, but I usually stir it back into the starter.
Stay tuned for recipes on using your sourdough starter to make some of the best bread you’ve had in life. I’m developing recipes for how to use your sourdough discard, as well. In the meantime, get started on your sourdough starter, so you’re ready to go. Don’t forget to share this easy sourdough starter recipe with your baking buddies, too!
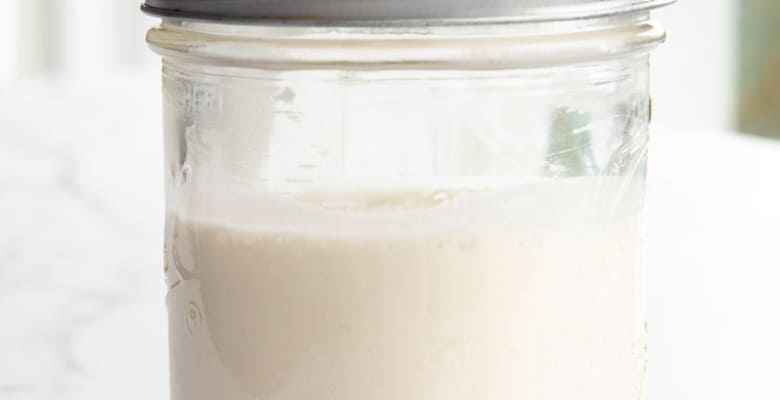
Sourdough Starter
at Sense & EdibilityEquipment
- cheesecloth or clean kitchen towel
- glass jar with tight-fitting lid
Ingredients
- 4 1/2 cups (585 grams) bread flour separated
- 1 tablespoon (12 grams) cane sugar
- 1 tablespoon (9 grams) active dry yeast
- 4 1/2 cups (1 litre) warm water separated
Instructions
Begin the Starter
- Use a wooden spoon or spatula to stir the 1 cup (130 grams) of the bread flour, sugar, and active dry yeast together in a ceramic or glass bowl. Pour warm water into the dry ingredients, stirring until a batter-like consistency forms.
Cover and Allow the Starter to Ferment for 24 Hours
- Cover the bowl with a piece of cheesecloth or a clean kitchen towel and secure it on the bowl with a rubber band or by tying kitchen twine around it. Allow it to rise and fall on itself for 24 hours in a warm place in your kitchen or pantry. The starter will rise and bubble, and deflate after 24 hours.
Remove a Portion of the Starter and Feed the Remaining
- Remove a half of the starter (about 1 cup or 250 milligrams) from the bowl and transfer it to a separate glass jar. Reserve this discard for future recipes. Replace that discard with 1/2-cup (65 grams) of bread flour and 1/2-cup (60 milliliters) of warm water, stirred together until it forms a smooth batter.
- Pour the mixture of flour and water into the yeast mixture in the mixing bowl to give it something to feed on.Cover the bowl again with the cheesecloth and allow it to ferment for another 24 hours.
Repeat the Feeding Process
- Repeat the process on days 3 through 7 (if you're going the full 7 days), always leaving the starter at room temperature to maximize fermentation. After your 5th, 6th, or 7th day, your sourdough starter is ready to go into the fridge.
Transfer the Starter To Its New Home
- Scrape it from the bowl and into a 1-quart (or larger) glass jar with a tight-fitting lid. Store the sourdough starter in the fridge in between uses and feedings to stall the fermentation and growth of the yeast.
To Use Your Starter
- Plan to give your starter 8 hours before you using it.Repeat the feeding steps above by removing half of the starter into your discard jar.
- Add 1/2 cup (65 grams) of bread flour and 1/2 cup (60 milliliters) warm water mixture and feed the starter. Within 6 to 8 hours of feeding the starter, it should rise, bubble, and smell malty and tangy.
- Measure out the amount of starter called for in your recipe, reserving 1 cup (or 120 grams) for later. Feed that cup of starter again before putting it back in the fridge.
- After the (room temperature) starter doubles in size and feels elastic when you touch it, it's ready to use.
Maintain the Starter
- Feed your sourdough starter once every two weeks, stirring the hooch back into the starter or discarding it before feeding, as instructed above.
Notes
Swaps and Substitutions:
- Replace the cane sugar with brown or white sugar, or honey.
- Use all-purpose flour in place of bread flour.
Tips and Techniques:
- For a less tangy starter, you only need to ferment it for 2 days, but I go the full 7 days for ultimate flavor.
- You can add the sourdough discard to other recipes to give them a mild, tangy flavor.
- A sourdough starter should be fed once a week, but you can go up to a month without feeding it.
- Severe neglect of your starter- heating it or not feeding it for a very long time- can cause it to develop rose-colored streaks, which means it's to throw your starter out.
- Hooch appears as a grey or dark-colored dark liquid on top of the starter. The starter is still good. You can pour off the hooch or stir it back into the starter before using it.
Storage Instructions:
Drying Out Your Sourdough Starter:
- Spread the sourdough starter out in a thin layer over parchment paper or a silicone baking mat and leave it in a dry area of the kitchen until it cracks.
- Once it is bone-dry, crumble the starter into a jar with a tight-fitting lid. Add a food-safe silica packet to the jar with the dried sourdough starter to prevent moisture from developing.
- To use a dry sourdough starter, rehydrate 1 to 2 ounces with equal parts warm water before feeding it with equal parts of water and flour.
Freezing Instructions:
The longer you freeze a sourdough starter, the less effective it will be in leavening your breads. Just something to be mindful of.- Transfer it to a freezer-safe jar or container and freeze it for up to a month.
- Thaw the starter under refrigeration and proceed with feeding and allowing it to warm up.





I have been making lots of bread recently and did not know much about sourdough starters. This post was so informative and it has improved my bread-making journey massively.
Im so glad to hear that, Jen.
I’m late to the bread baking craze and I’ve been really intimidated by sourdough. Your instructions and explanations instilled the confidence in me that I needed to actually do it. So easy and I can’t wait to get baking!
You’re going to love it, Jessica!
This recipe was so helpful and I loved learning about the food science behind it. Thanks for talking me through making my first sourdough starter–came out great!
I’m so happy you like it, Jazz!
I love sourdough bread and have never tried making it at home, so I was excited to try your sourdough starter recipe this past weekend! I cannot wait to use it to make all the things 🙂
All the things will be amazing, LaKita!
Sourdough bread is one of my favorite things but I was always so intimidated to try making it myself until now. Your instructions felt like you were right with me in the kitchen and the results were absolutely scrumptious! Thank you for helping me reach a milestone.
You’re welcome, Robin!
Hey Marta, I followed your sourdough starter guide, and it was a total success! My homemade sourdough has never been this good – your clear instructions made all the difference. Thank you for sharing your wisdom! xx
I’m happy to hear that, Camille. You’re welcome!