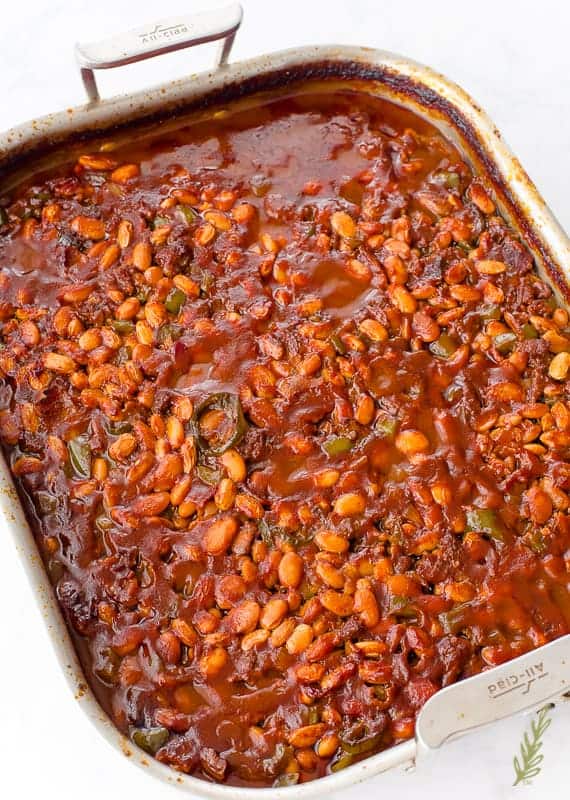
What’s So “Texas” About Them?
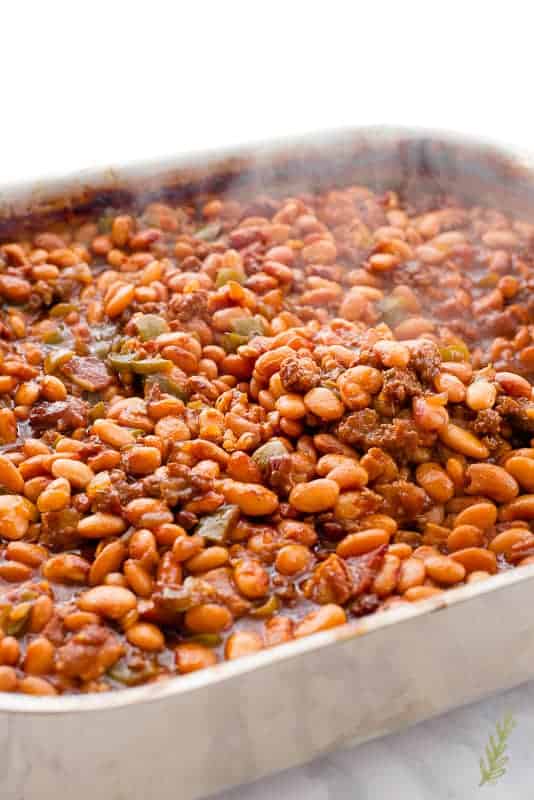
If you have to ask after seeing the image above, then you don’t know much about the Lone Star State. Everyone who lives in Texas- even for a day- knows that Texans love a few things: Whataburger, Dr Pepper, BBQ, and guns. I’ve incorporated three out of four them in this recipe. Guns just don’t taste good. To make this economical- and downright amazing- I’m making the baked beans using dried beans instead of canned. If you’re in a hurry, you can use the canned beans version I’m going to include in the notes section.
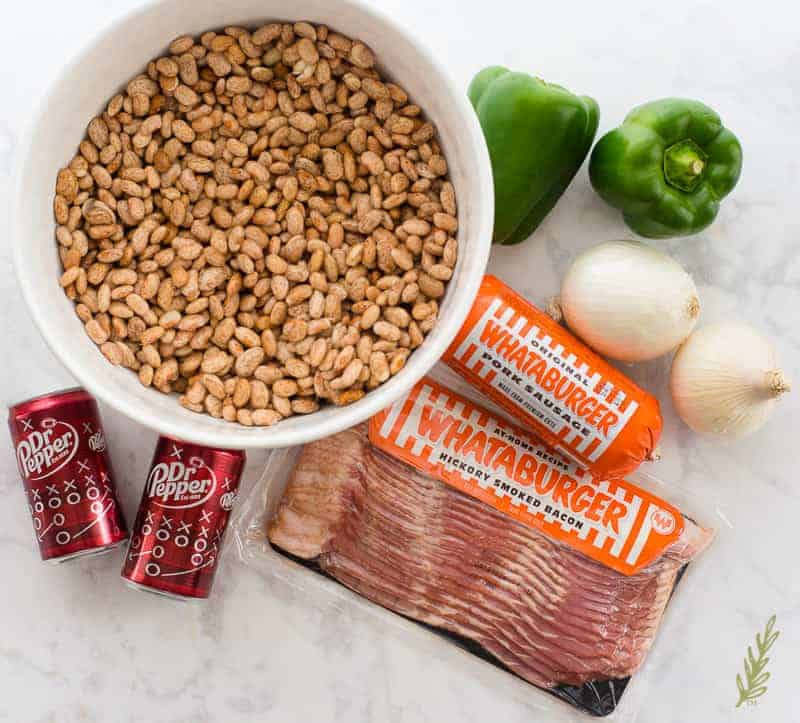
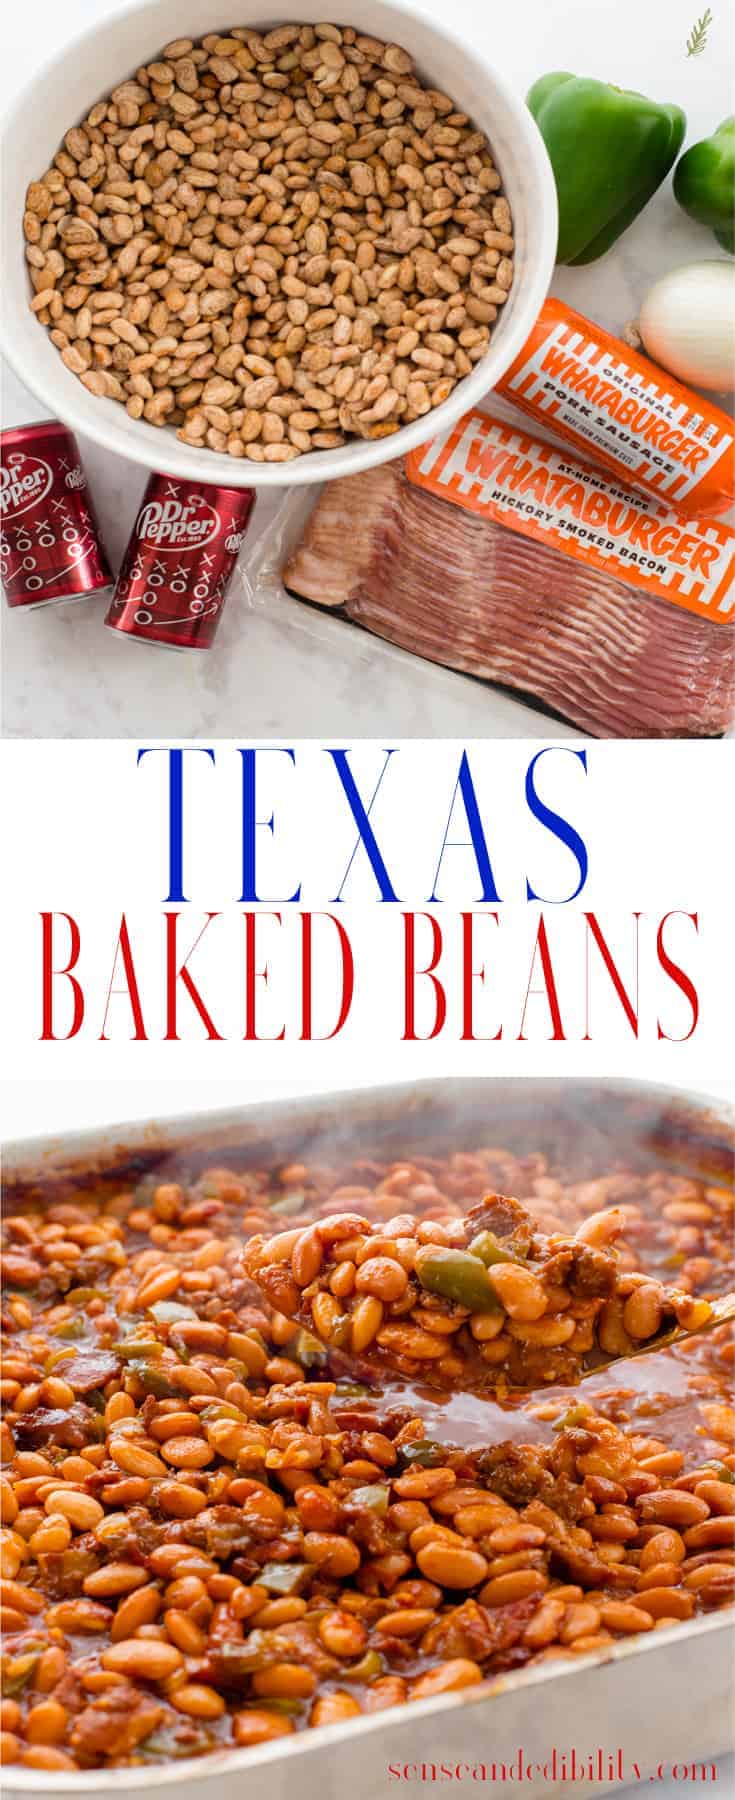
In addition to the bacon, sausage, DP, and beans, you’ll also need onions, green peppers, garlic, jalapeños (which are optional) and a host of seasonings.
Why (and How) to Use Dried Beans
At one dollar for a one pound bag, cooking with dried beans is a no-brainer. You get triple the amount of beans for a third of the cost of canned beans. Yes, they require more effort, but it’s not labor-intensive effort.
The first step in preparing dried beans is to soak them. After a few hours of soaking, the beans need to be boiled in order to soften them. From there, you can drain and freeze the beans, or cook them. That’s it! Besides being more budget-friendly, dried beans are tastier because they end up having more texture.
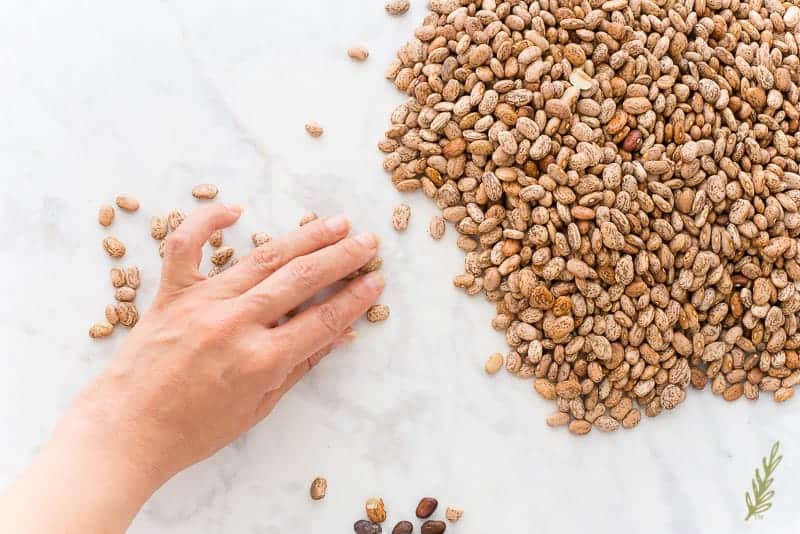
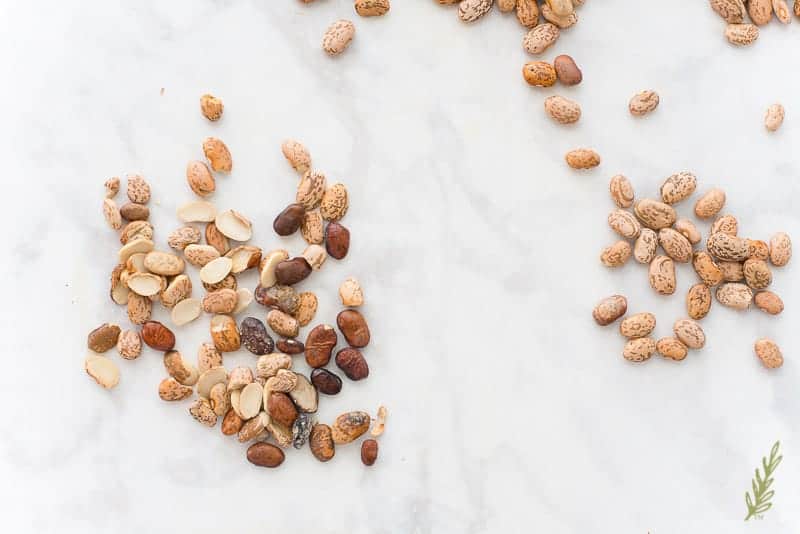
Prior to soaking the beans, though, you’ll need to sort through them. Sorting is a must when working with any dried beans. Because they are ground dwellers, bags of beans often contain small pebbles or unusable beans. Dump all of the beans for the recipe onto your countertop and pick through them a few times. Three is my magic number.
Separate, then discard, any pebbles or beans that don’t look like the others. Check out my pile of rejects for examples of what to get rid of. The beans that are broken in half aren’t necessarily bad, but they’ll turn to mush by the time the baked beans are done cooking, so I get rid of them ahead of time.
Soak and Simmer the Beans
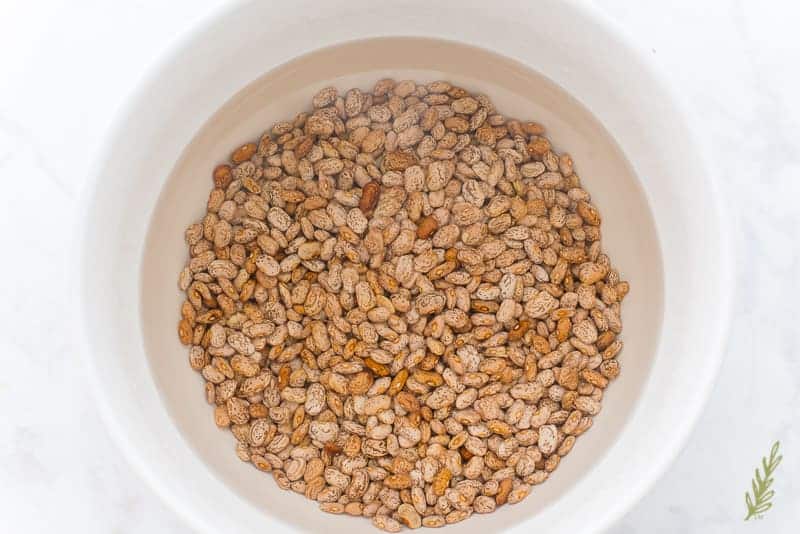
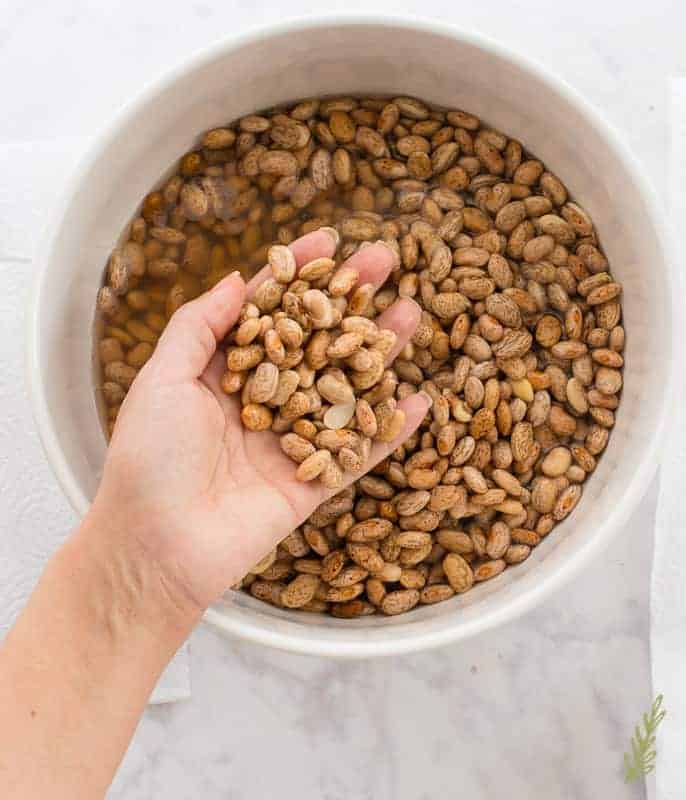
Any recipe in which you’re using dried beans will begin as follows: dump the rinsed beans into a large bowl and cover the beans with a couple inches of water. Rinsing the beans is important because it removes the thin layer of dirt and dust that covers the beans. Allow the beans to soak for at least 8 hours, or overnight. I prefer to soak my beans overnight so they’re ready to use the next day. It’s as easy as sorting them and filling the bowl with water and going to bed.
The next day (or after soaking) pour the beans and their soaking water into a large stockpot. I like to use the soaking water because it’s full of flavor from the beans. If needed, add enough water to cover the beans at least 3 inches. I throw in a small white onion (cut in half), a whole clove (or two) of peeled garlic, and a bay leaf, as well. These three are solely for flavor. Discard them once the beans are finished cooking. Simmer the beans for an hour, or two, until they are al dente. You don’t want them to be too soft after cooking or they’ll turn to mush after baking. When they offer a bit of resistance that’s the perfect time to pull them off of the stove. Drain the beans, BUT save the water!
Prep the Beans
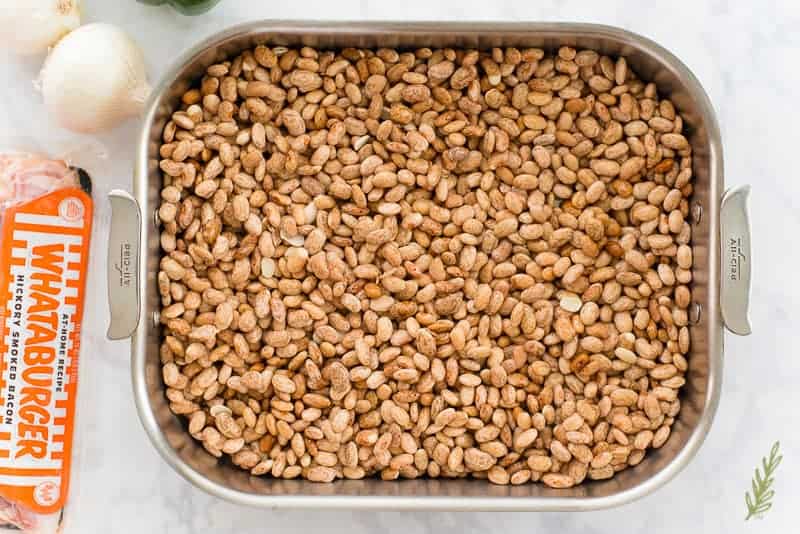
Once the beans are cooked, pour them into a lightly-greased roasting pan, then set them to the side while you make the BBQ sauce. Oh! Go ahead and pre-heat your oven to 350°F.
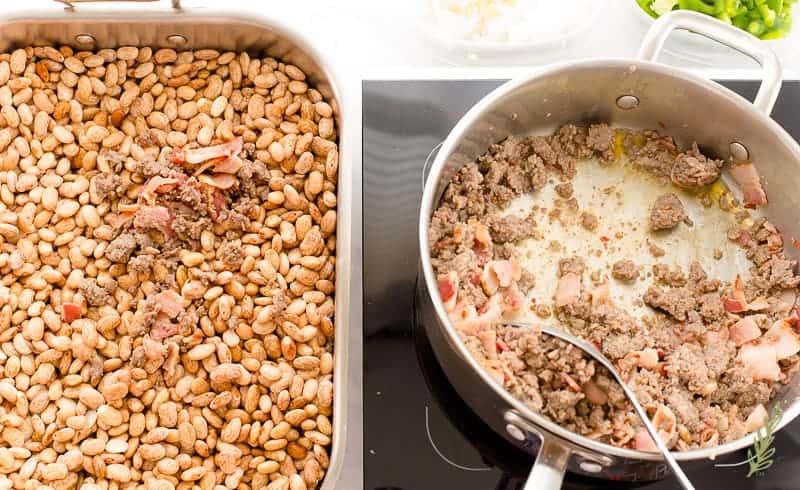
Over medium-high heat, brown your Whataburger bacon and pork sausage in a skillet. Once the two are cooked through, use a slotted spoon to transfer them from the skillet to the roasting pan with the beans. Drain off all but a tablespoon of the fat from the pan. You’ll use this to sauté the aromatics.
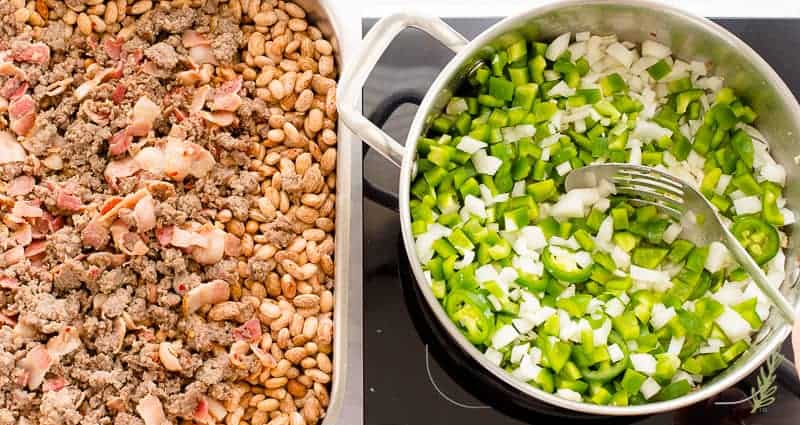
Add the chopped green bell peppers, onions, garlic, and the sliced jalapeños to the hot skillet. Sauté these over medium-high heat until they are glossy and translucent (about 5 minutes). Transfer these to the bean pan as well. All of these ingredients are going to add a tremendous amount of flavor to our Texas baked beans.
Make the Dr. Pepper BBQ Sauce
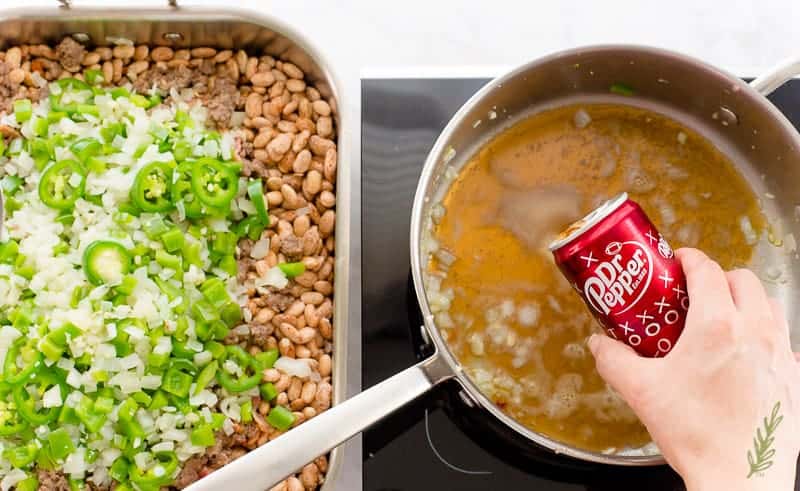
To make the Dr. Pepper BBQ sauce, deglaze the skillet with a can of Dr. Pepper. Use your spoon to scrape up any browned bits of food from the bottom of the pan. Bring the liquid to a boil over medium-high heat, then allow it to reduce by half. Just keep it boiling and it will slowly begin to evaporate. PS: If you’re ever near Waco, Texas, you have to visit the Dr. Pepper museum. It’s a great little place that tells the history of my favorite soft drink.
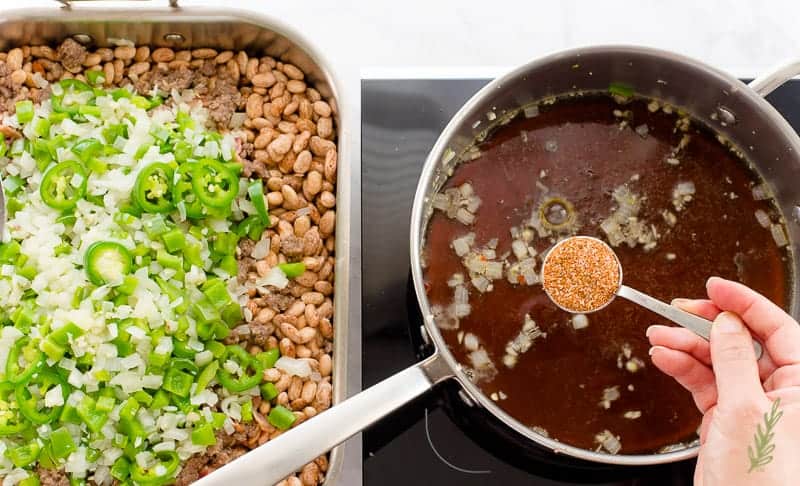
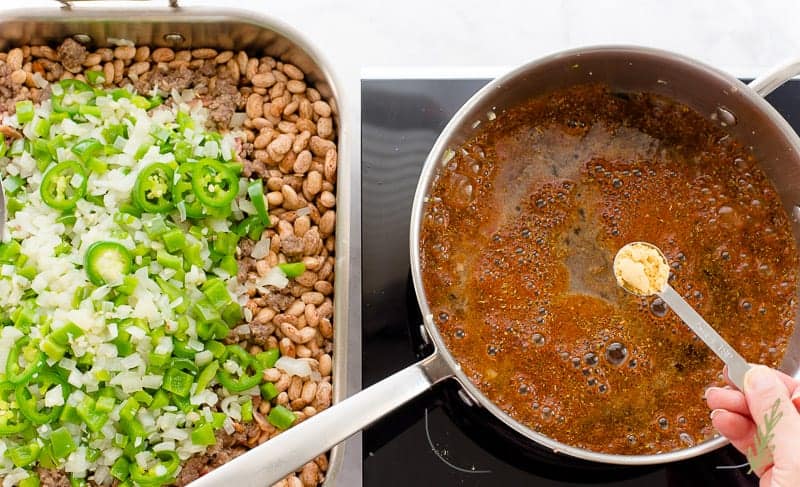
Once the DP has reduced, reduce the heat and allow the liquid to simmer. Add a tablespoon of this Meat Spice Blend to the pan.
Follow that with a teaspoon of ground mustard and some brown sugar.
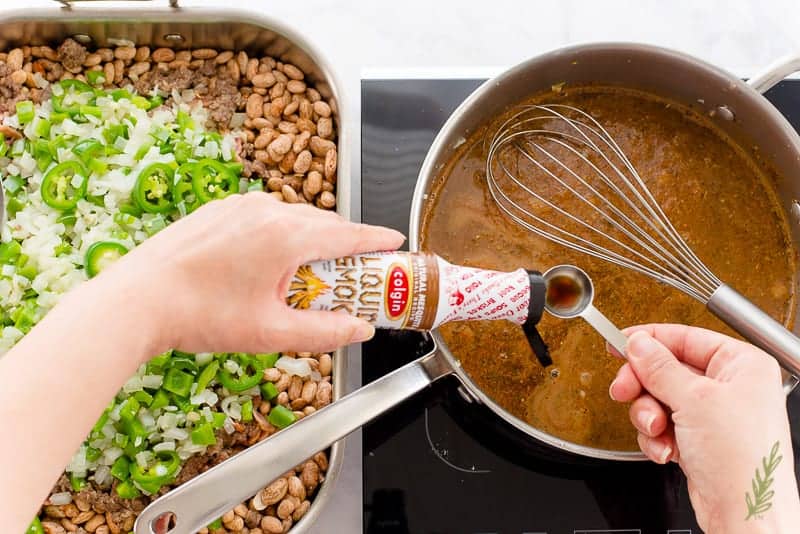
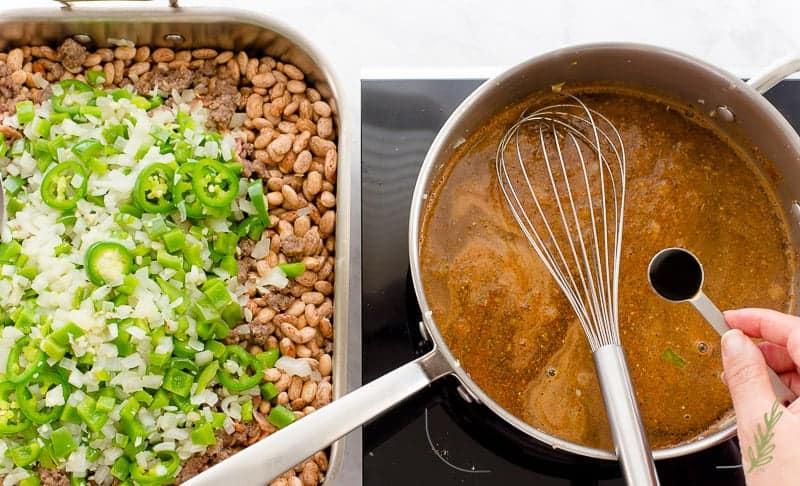
To create a smoky-BBQ flavor add liquid smoke, then use your whisk to mix everything together. Allow the sauce to continue simmering.
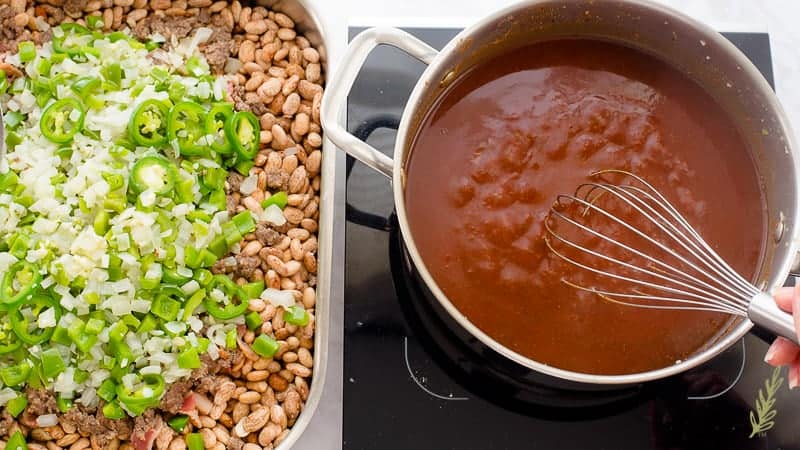
To finish the BBQ sauce, add the molasses, worcestershire sauce, and ketchup.
Allow the sauce to continue to simmer for 10 minutes, whisking frequently, until thickened to the consistency of bottled BBQ sauce.
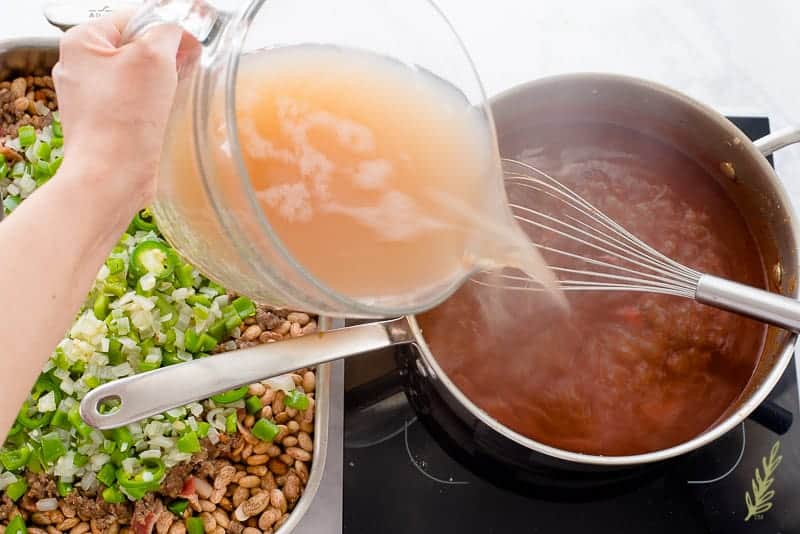
If you find the sauce is too thick, thin it with some of the reserved bean liquid.
Assemble and Bake the Beans
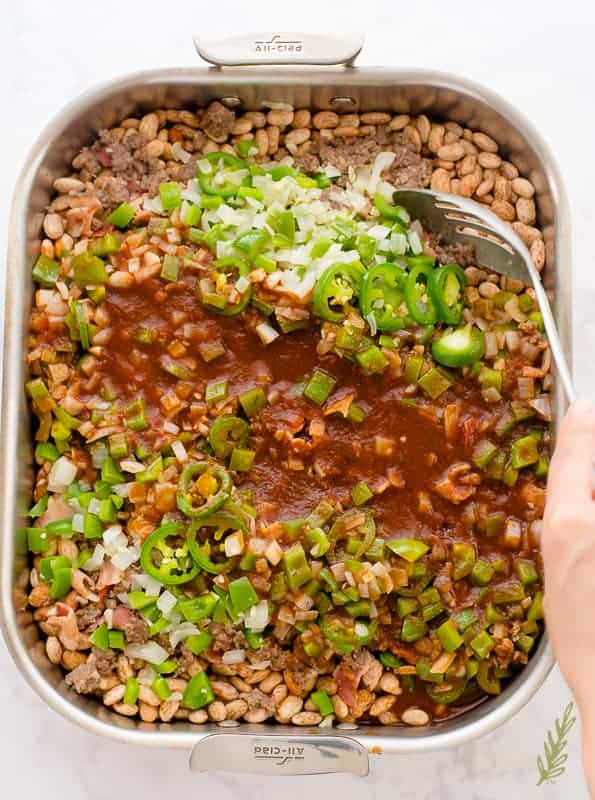
Once your BBQ sauce has thickened, pour it over the beans in the roasting pan. Stir the sauce into the beans, then cover the pan with aluminum foil and bake for 1 hour.
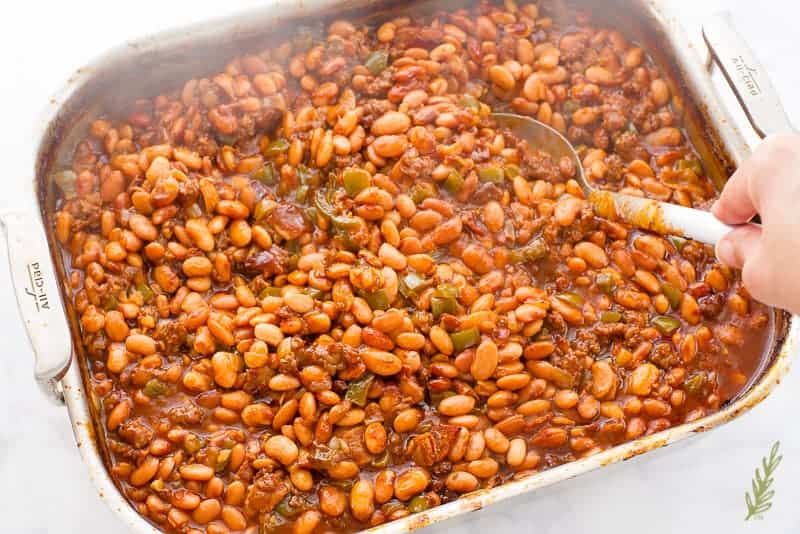
Remove the pan from the oven and stir the beans well. Return the pan to the oven and continue baking- covered- for an additional 1-2 hours, or until the sauce is very thick and the beans are tender.
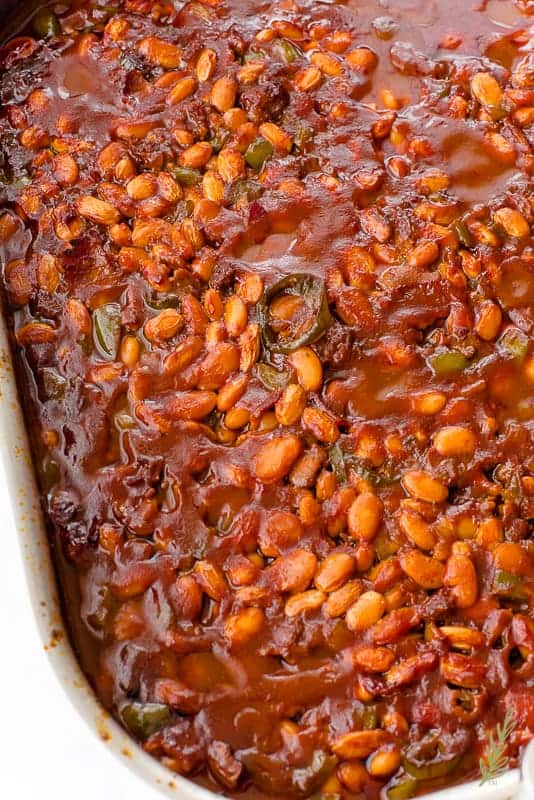
If you want a sauce that is extra-thick, cook the beans uncovered for the last half-hour.
Serve and Enjoy
Like I said, the great thing about these beans is that, in spite of the fact that they take a few hours to make, their preparation is mostly hands-off. This helps when you’re, say, painting the second floor of a 3100 sq. ft. house, ya know?
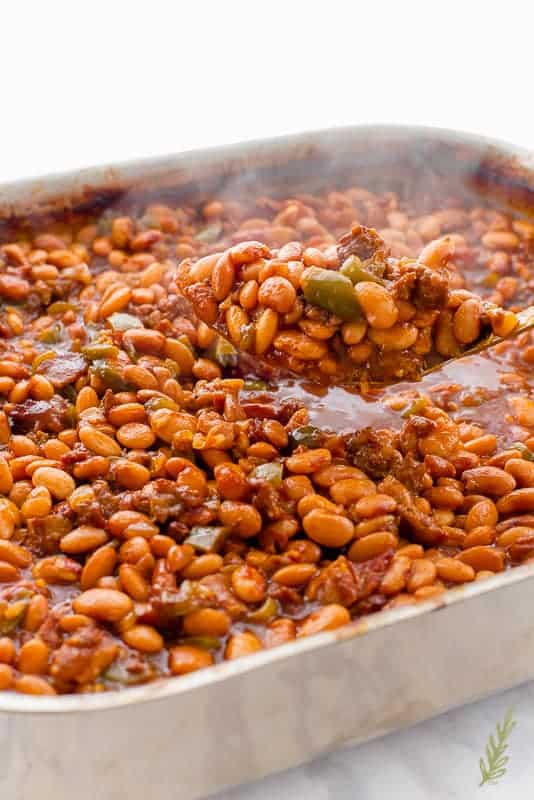
Once the beans have finished baking, you’re all set to dig in and enjoy. I served this batch with these Baby Back Ribs and a green salad- super easy and delicious. They’re also great for potlucks, BBQs, or summer parties. Dad’s day is coming up, as well, and this would be great recipe to prepare for him.
These beans can be stored in the fridge for up to 3 days, or frozen for up to a year. Either way, you’ll have a great side dish that goes with any number of entrees. It’s also filling on its own with just a slice of cornbread. Pin, then share this recipe with the folks in your life who have a lot going on.
**This post contains affiliate links. To find out what that means to you, please read my disclosure page**
Texas-Style Baked Beans
at Sense & EdibilityIngredients
Dried Beans
- 1/2 pound (2 cups) dried pinto beans sorted and rinsed
- 4 cups cold water (plus more as needed)
- 1 small white onion, peeled and cut in half
- 2 cloves garlic, peeled
Baked Beans
- 6 slices bacon, chopped
- 1 pound pork sausage
- 1 large green bell pepper, chopped
- 1 large white onion, peeled and chopped
- 3 cloves garlic, peeled and minced
- 1 medium jalapeño pepper, sliced (optional)
Dr Pepper BBQ Sauce
- 1 12 ounce can Dr Pepper
- 1 cup ketchup
- 3 tablespoons molasses
- 1/4 cup packed light brown sugar
- 1 tablespoon Meat Spice Blend (link below)
- 1 tablespoon worcestershire sauce
- 1 teaspoon ground mustard
- 1 teaspoon liquid smoke
Instructions
Prepare the Dried Beans
- Place the sorted and rinsed beans into a large bowl and cover the beans with the cold water. Allow the beans to soak for at least 8 hours, or overnight.
- Pour the beans and their soaking water into a large stockpot. Add more water (if needed) to cover the beans at least 3 inches.
- Add the white onion halves, garlic, and the bay leaf to the pot and simmer the beans for 1-2 hours, or until they are al dente.
- Drain the beans, reserving the cooking liquid for later.*Pour the beans into a lightly-greased roasting pan, then set them to the side while you make the BBQ sauce.
Sauté the Aromatics
- Pre-heat your oven to 350°F.
- Over medium-high heat, brown the bacon and pork sausage in a skillet. Use a slotted spoon to transfer the meat to the roasting pan with the beans. Drain off all but 1 tablespoon of fat from the pan.
- Add the chopped green bell pepper, onion, garlic, and sliced jalapeño to the hot skillet. Sauté these over medium-high heat until they are glossy and translucent, about 5 minutes. Transfer the aromatics to the bean pan as well.
Make the Dr. Pepper BBQ Sauce
- Deglaze the skillet with the Dr. Pepper, using your spoon to scrape up any browned bits of food from the bottom of the pan. Bring the liquid to a boil over medium-high heat, then allow it to reduce by half.
- Once the liquid has reduced, decrease the heat and bring the liquid to simmer. Add the ketchup, molasses, brown sugar, Meat Spice Blend, worcestershire, ground mustard, and liquid smoke to the pan, then use your whisk to mix everything together until smooth.
- Allow the sauce to continue simmering until thickened to the consistency of bottled BBQ sauce. If you find the sauce is too thick, thin it with a cup of the reserved bean liquid.**
Assemble and Bake the Beans
- Once your BBQ sauce has thickened, pour it over the beans in the roasting pan.
- Stir the sauce into the beans, cover the pan with aluminum foil, and bake for 1 hour.
- Remove the pan from the oven and stir the beans well. Return the pan to the oven and continue baking- covered- for an additional 1-2 hours, or until the sauce is very thick and the beans are tender. (If you want a sauce that is extra-thick, cook the beans uncovered for the last half-hour.)
- Serve the beans while hot.



Such a great baked beans recipe, and versatile. We enjoyed it with different pairings for a few days, delicious!
So glad to know you like them!