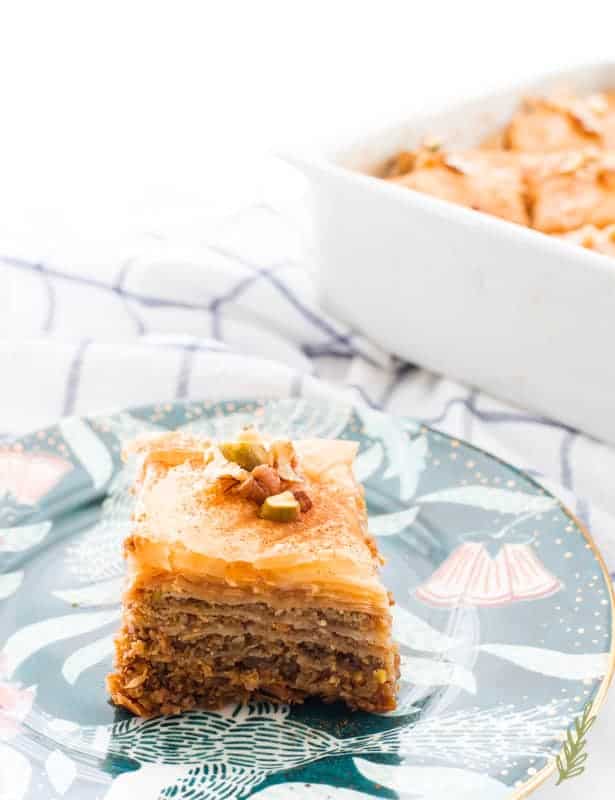
This Autumn version of baklava uses maple syrup instead of the traditional honey. I also use a homemade pumpkin spice mix and a mixture of nuts, as well. If you only have honey- use that. Only one type of nut? Go for it. Just have cinnamon and nutmeg, or store-bought pumpkin pie spice, go with those. Again, my goal is to make this as easy as possible, so I’ve made this recipe versatile.
Baklava that’s Nutty and Spiced
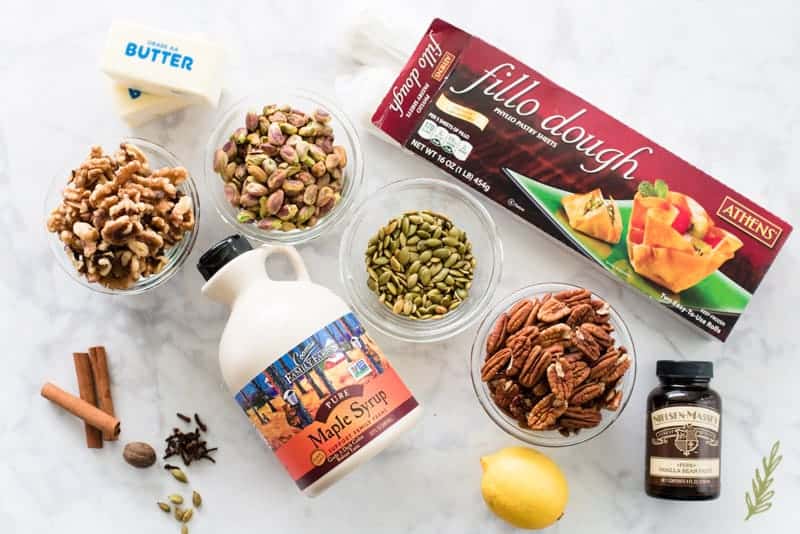
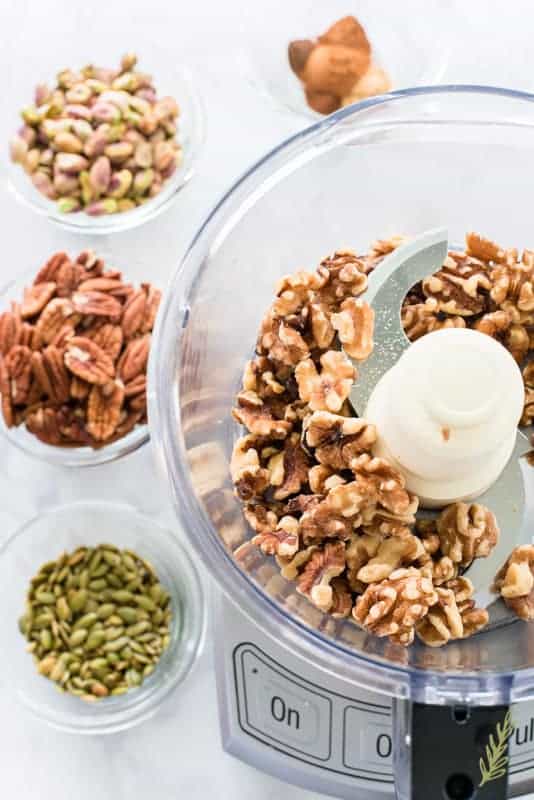
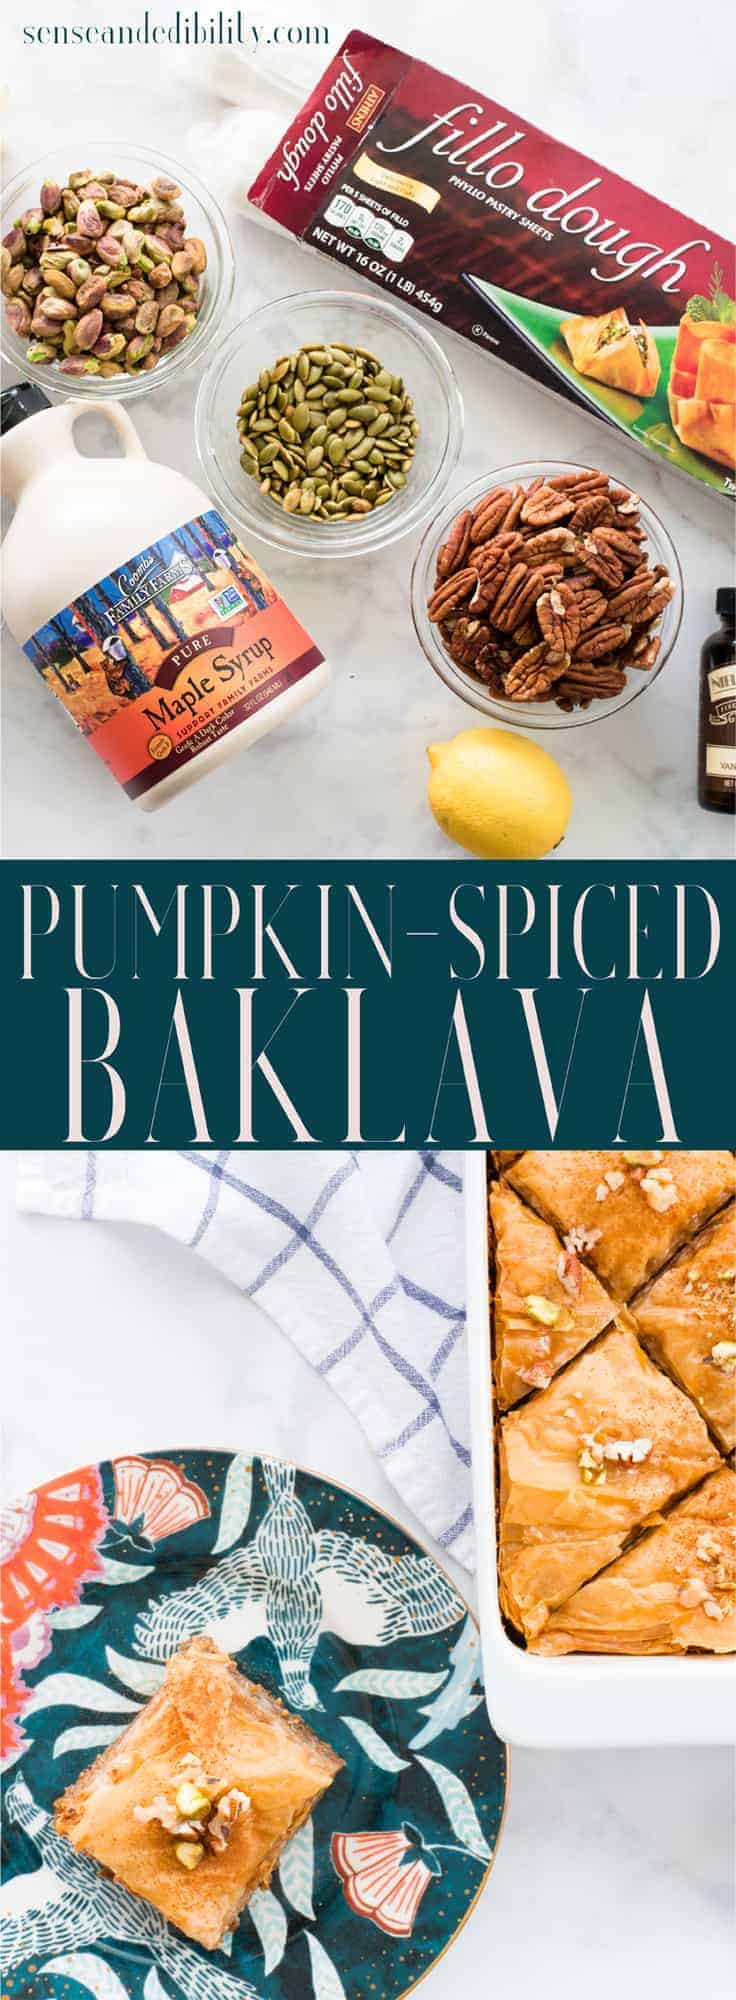
This baklava is unique because of the variety of nuts and spices we’re using. Pecans, walnuts (which is the traditional nut used in baklava), pistachios, and pepitas (small roasted pumpkin seeds) are the ones I recommend. If you have pecans then use only those; the same goes for any of the other nuts. All will work on their own, or with a combination of one (or two) of the other nuts.
The pumpkin pie spice is a combination of ground cinnamon, nutmeg, ginger, cloves, and cardamom. Since most people are buying pumpkin pie spice, I recommend you using that if you don’t always keep the other spices on hand.
Finally, the commonly used honey syrup is made more autumnal with the use of maple syrup. A dose of vanilla and punch of lemon juice balance the syrup tastefully.
Speaking of Syrup
Balancing flavors is important when you have simple desserts like this one. There’s never a need to go above and beyond in the kitchen if you have quality ingredients that are prepared with the balance of flavors in mind.
When it comes to this sweet sauce, you need to cut through that sweetness with something acidic. Freshly squeezed lemon juice does the trick. The subtle hit of kosher salt also lends much in the way of toning down the sweetness to a delightful level.
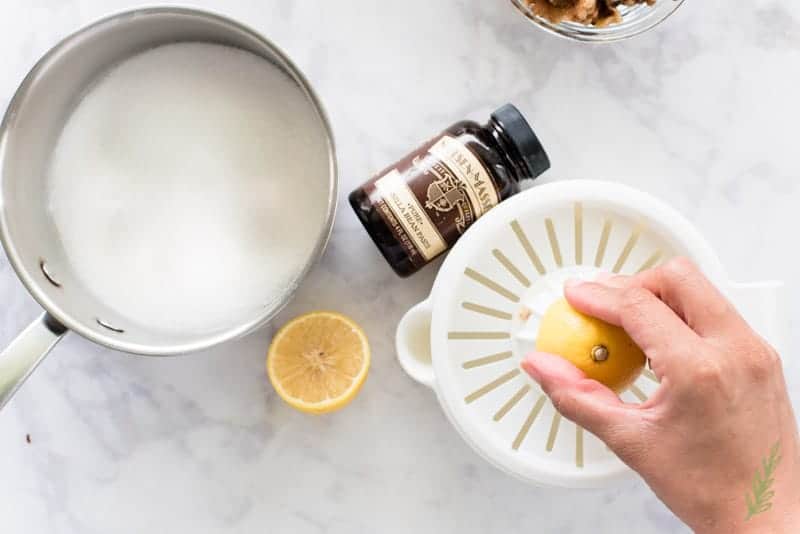
Use your citrus juicer to juice a medium-sized lemon. Generally, you want two tablespoons of lemon juice. Mine just so happened to give me a splash more, but I just poured it all in there.
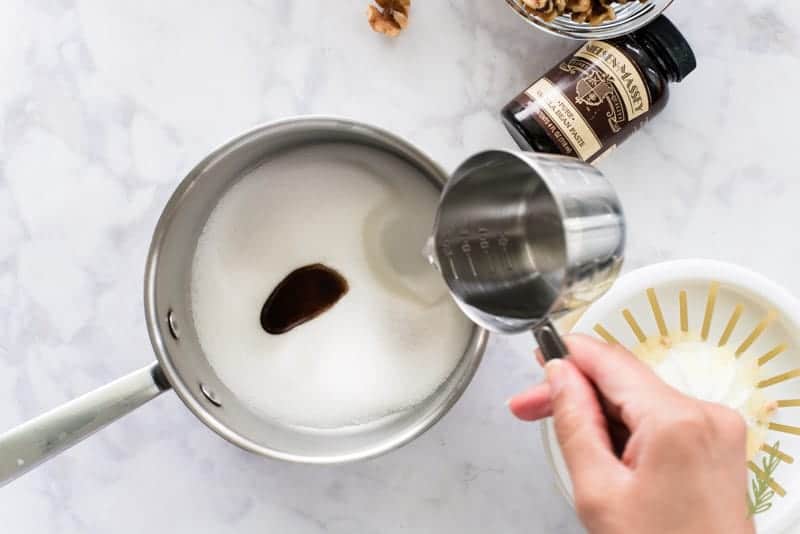
In a small saucepan, combine the granulated sugar, vanilla bean paste (or extract), and the water.
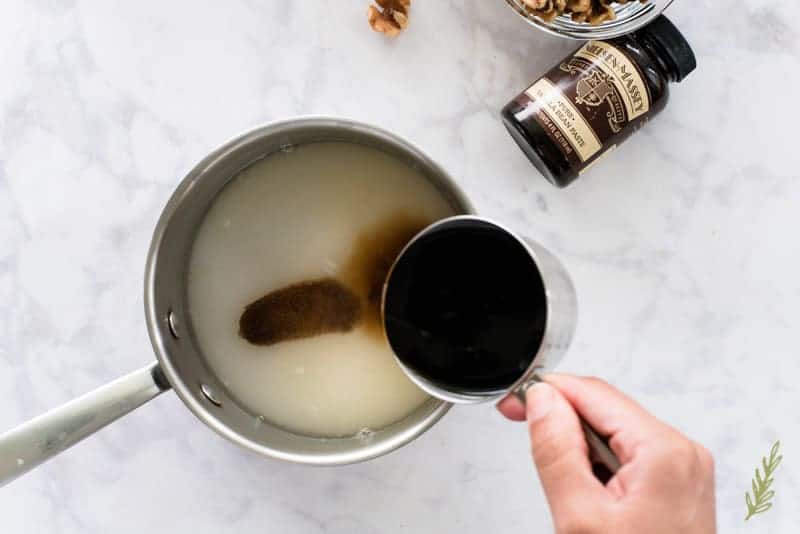
Lastly, add the pure maple syrup. Avoid using anything labeled, “Syrup” or “Pancake Syrup”. These may look like maple syrup, but they’re really just high-fructose corn syrup that’s been colored with an artificial food colorant. They don’t taste like maple syrup because they’re not maple syrup. Pick up a bottle of the real deal and treat yo’self.
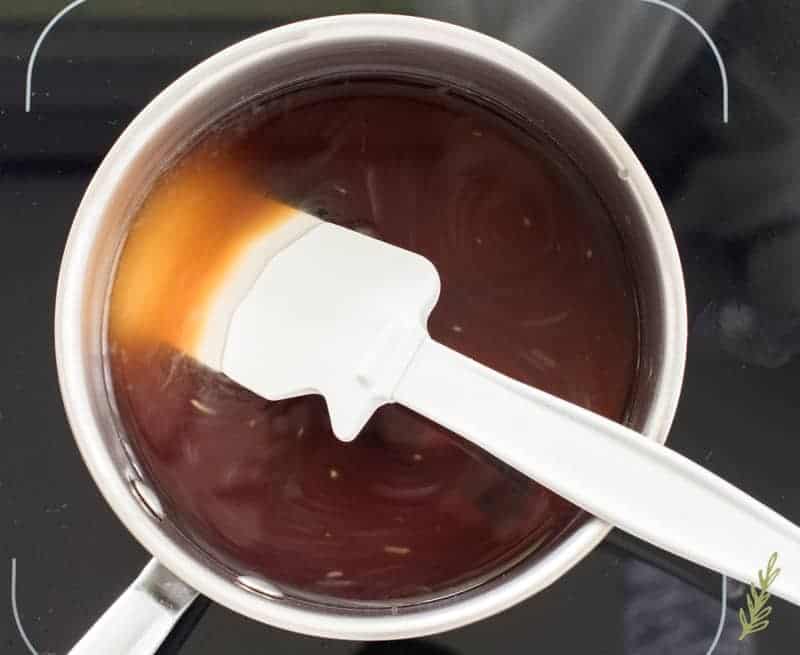
Add the lemon juice and a pinch of salt to the syrup. Stir everything together to combine.
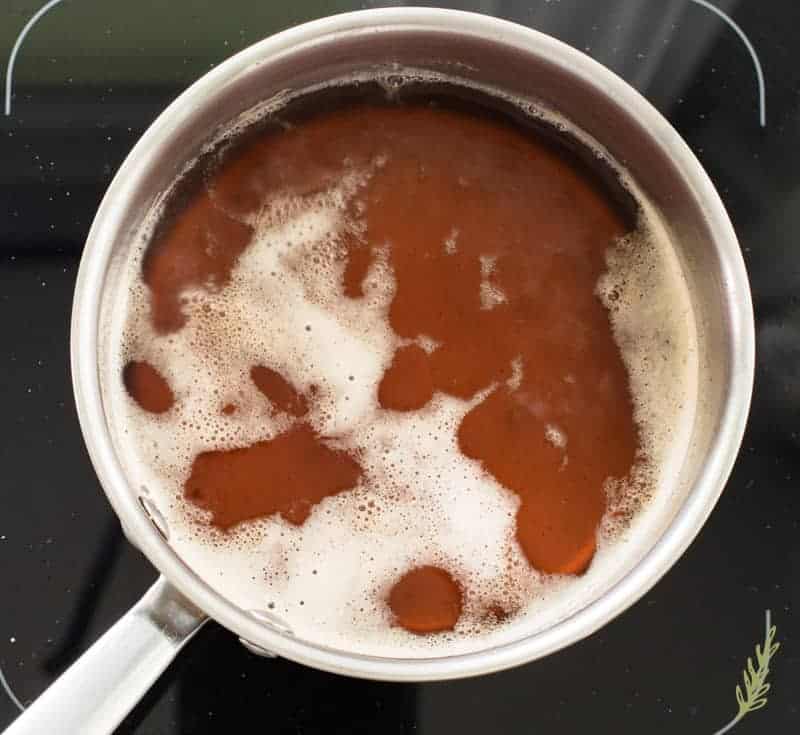
Bring the mixture to a boil over medium-high heat. Once it has boiled for one minute, remove it from the heat and set it aside to cool. Syrup is done!
Going Nuts…In a Good Way
Grab whichever nuts you want to use in your baklava and toss them into your food processor. Typically, I would toast the nuts that I’m using in a recipe, but since these will be baked, I’m skipping that step for efficiency’s sake.
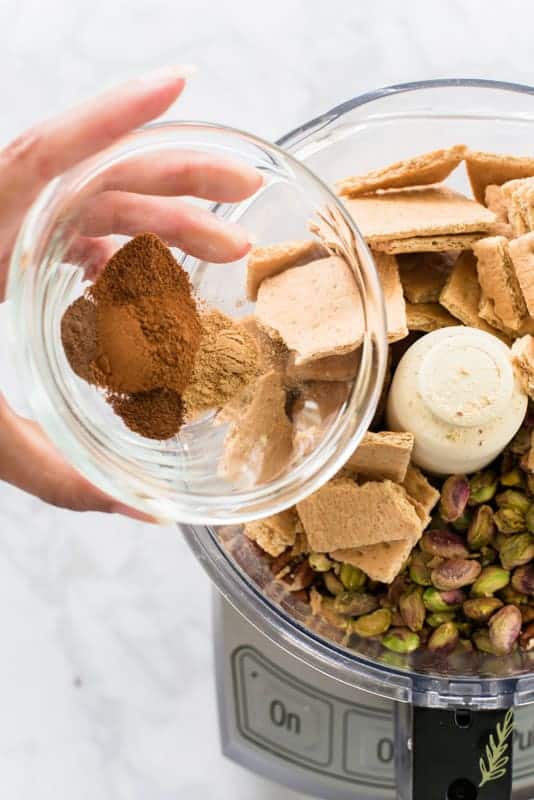
In a small prep bowl, combine the spices. Obviously, if you’re only using pumpkin pie spice, no need to mix. If you don’t care for one spice, just omit it. Well, you can’t omit the cinnamon because that’s a prominent flavor. But the cardamom is completely optional (sorry, cardamom, but it’s true).
While you’re at it break up four honey graham crackers and toss them into the food processor as well. These act as a binder/”soaker-upper” of the syrup (that’s a highly advanced culinary term). It basically prevents the baklava from becoming a soggy piece of dessert garbage.
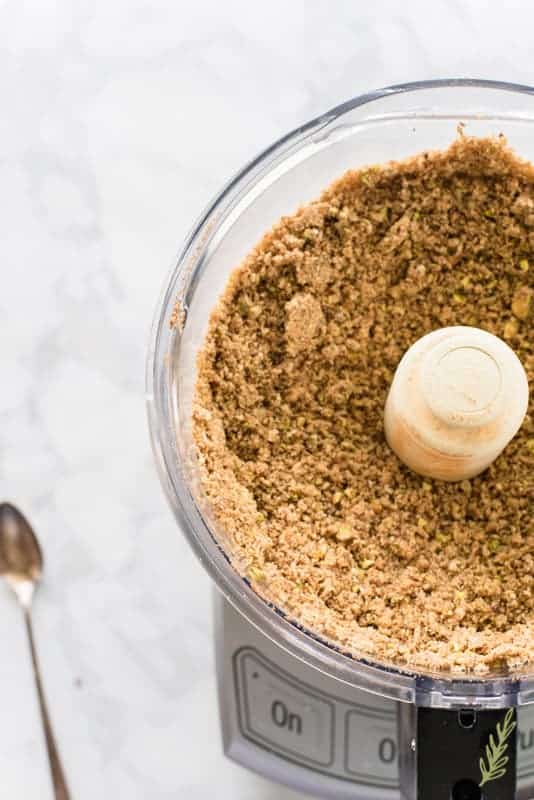
Pulse everything together for two to three minutes, or until the grahams and nuts are very small in size. Like, tiny pebbles, you want them. Transfer this to a bowl, or just remove the food processor’s blade if you don’t care about messes (the nut mix may fall through the hole in the center of the bowl). Set this aside until you’re ready to assemble the baklava.
What is Phyllo Dough?
Phyllo dough is a pain in the tuchus is what it is! From what I remember from my Classical Pastries course, Phyllo dough originated in the Ottoman Empire. It’s unleavened and made by stretching the dough using the back of one’s hand over a floured sheet of linen. You need a big table, or other surface to place the dough on during the stretching. Also, you need a delicate touch (the dough’s stretched so thin you should be able to read newsprint through it); as well as loads of patience. It takes a bit of time to make phyllo dough correctly.
As a result, it’s just not practical to make phyllo dough by hand in most people’s kitchens. Maybe I’ll do a blog post for s&g’s, but don’t hold your breath. Instead, I purchase Athens Phyllo dough from the local grocery store. One you’ve thawed the phyllo dough in the fridge for a few hours, you’ll need to set it on to the counter-top to warm up for fifteen minutes. I usually do this while I’m making the syrup and chopping the nuts. Before you start to assemble the baklava, set the dish you will bake the baklava in over the unrolled package of phyllo. Use the bottom of the dish as a guide to cut the phyllo dough to the same size of the dish. It ensures the sheets of phyllo will fit inside the dish. Be sure to always use a very sharp knife when cutting phyllo.
After you’ve opened the packaging and laid the dough out flat, you need to keep it covered while you’re working with it. I usually cover it with the plastic that it comes wrapped in with a damp kitchen towel over the plastic. When you’re assembling the layers, it’s okay to uncover it, but once you’re done with a batch of layers, make sure it’s protected from drying out. Dried out phyllo dough acts just like brittle papyrus. It’ll crumble, tear, and, generally, be a useless mess. Also, be sure the damp towel or butter doesn’t drip onto the phyllo dough- this could cause the sheets to stick together.
Assembling the Baklava
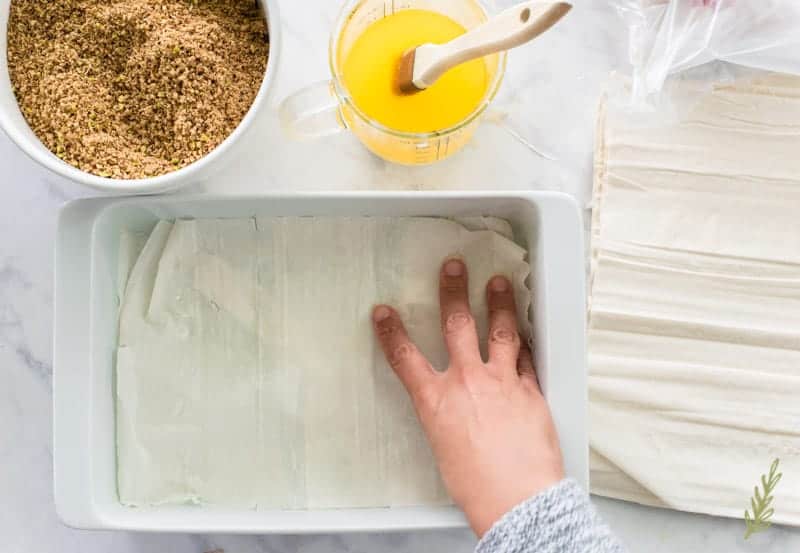
One of the reasons we prepare all the components of the baklava in advance is because the assembly of the phyllo dough needs to go fast to avoid that drying out I just spoke about. Just before you get started, set your melted butter, phyllo dough, and nut mixture on your counter around your nine-by-thirteen inch baking dish. The order will be phyllo dough, butter, and nuts.
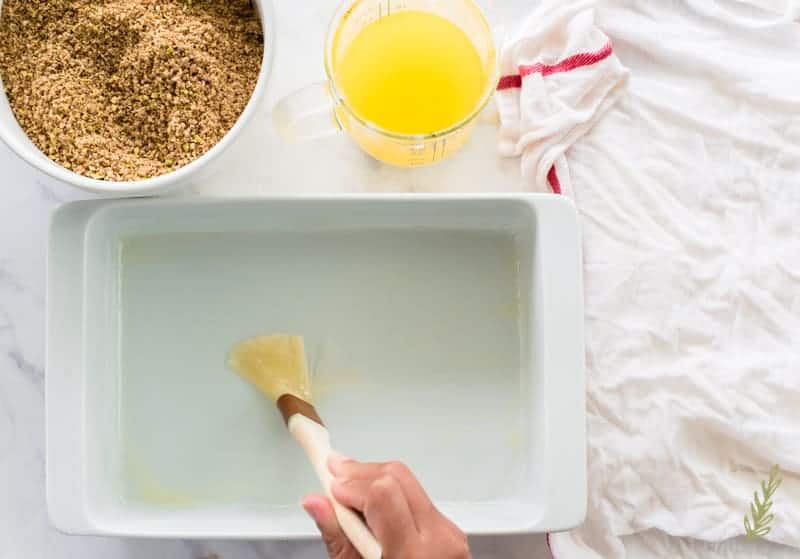
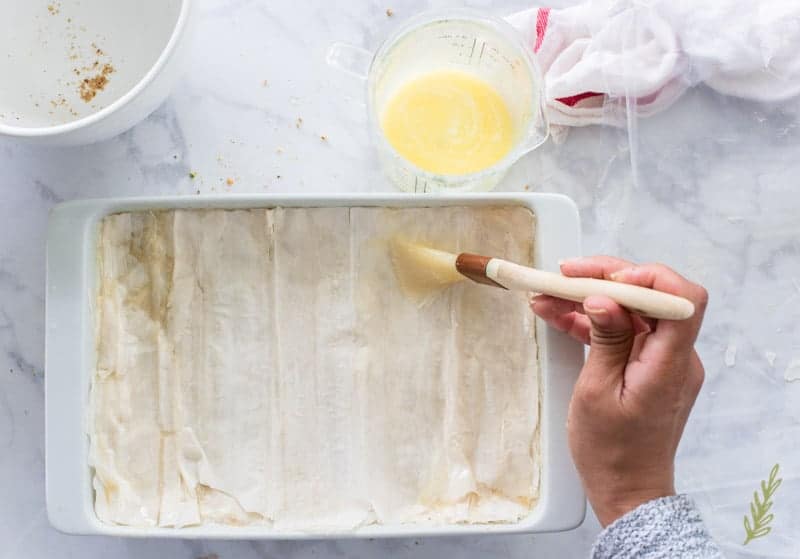
Grab a pastry brush and grease the inside of your baking dish with a bit of the melted butter. Lay the first cut sheet of phyllo dough into the baking dish. Brush a thin layer of butter onto the sheet of phyllo and cover that sheet with another sheet of phyllo. It may tear until you get the hang of its delicacy, just try to be light with your touch. Place another sheet of phyllo on top of this buttered sheet.
Continue this buttering of sheets until you have ten sheets of phyllo, each separated by a thin layer of melted butter.
Be sure to re-cover your unused sheets of phyllo dough with the plastic and damp towel when you’ve completed your first set of layers.
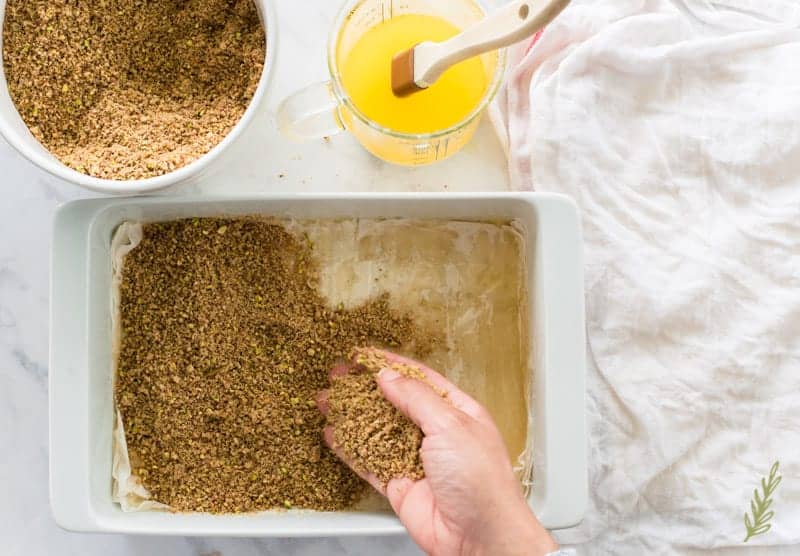
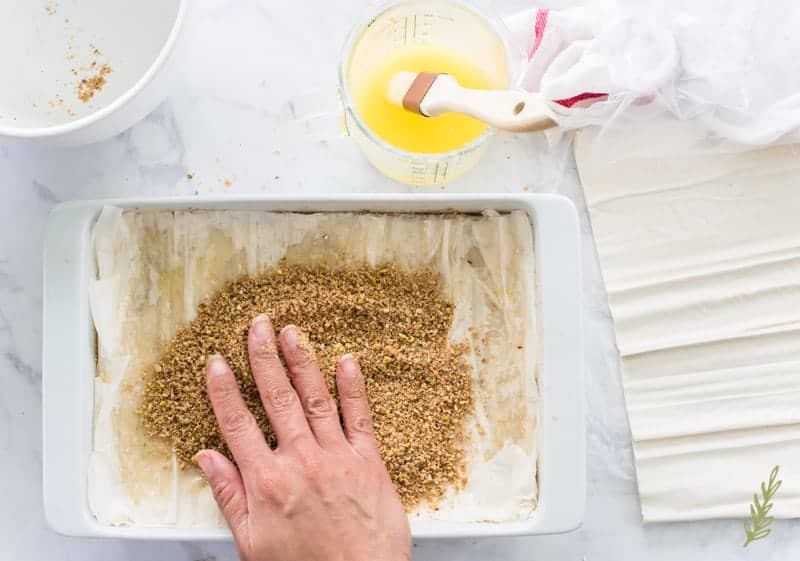
Sprinkle a handful (about a three-quarters of a cup) of the ground nuts onto the surface of the phyllo. Spread out the nuts into an even layer using your fingers.
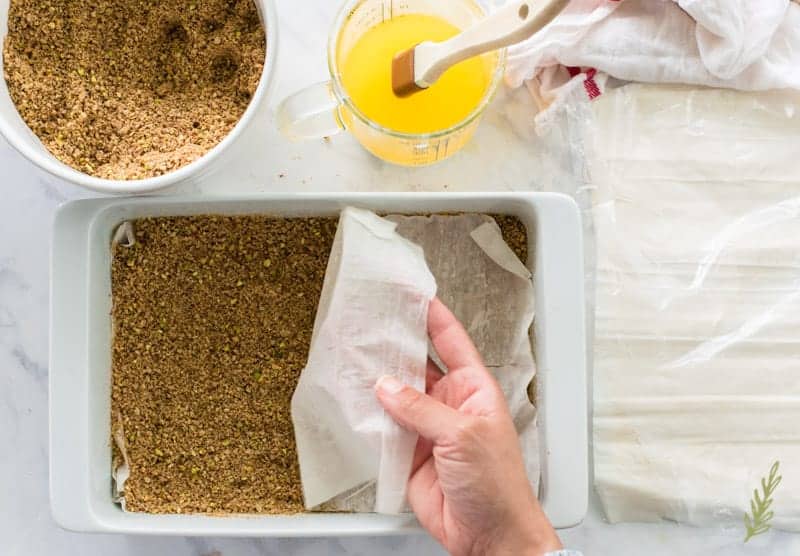
Repeat the process of assembling the layers once again by placing a sheet of phyllo on to the ground nut mixture.
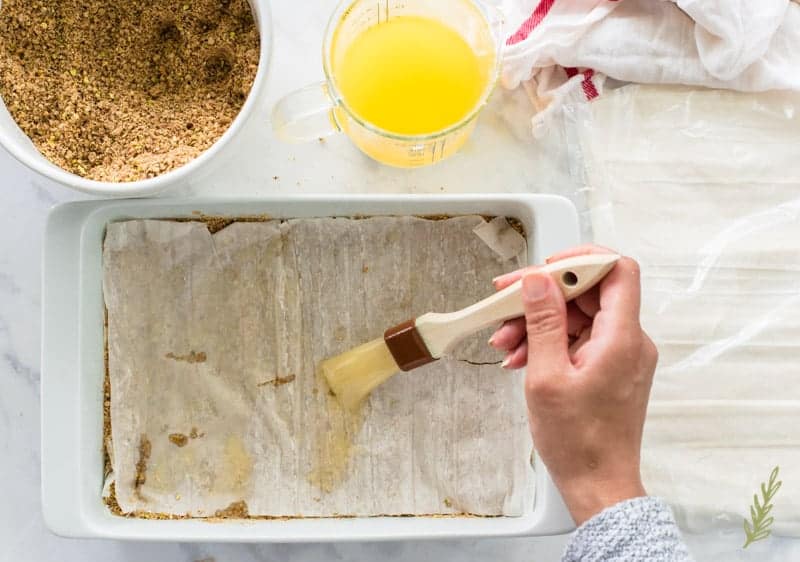
Lightly brush it with melted butter. This sheet may shift a bit more than the ones before since it’s sitting on a layer of loose nuts. Just plow through. Place another sheet of phyllo on top of the butter sheet. Repeat the buttering/layering until you have five sheets of phyllo this time.
Sprinkle with another handful of the nuts, and begin the layering process over again (five buttered sheets between each handful of nuts).
After you’ve run out of the nut mixture, begin the ten sheet layer (or the top layer) of phyllo dough. In other words, you’re using up the last sheets of phyllo for the top part of the baklava. Stick to ten sheets. If you have any more than that, just discard them.
You should have six layers of phyllo when the baklava is fully assembled. Ten phyllo sheets>nuts>five sheets>nuts>five sheets>nuts>five sheets>nuts>five sheets>nuts>ten sheets.
Brush the top sheet of phyllo with the remaining melted butter.
Cut and Bake
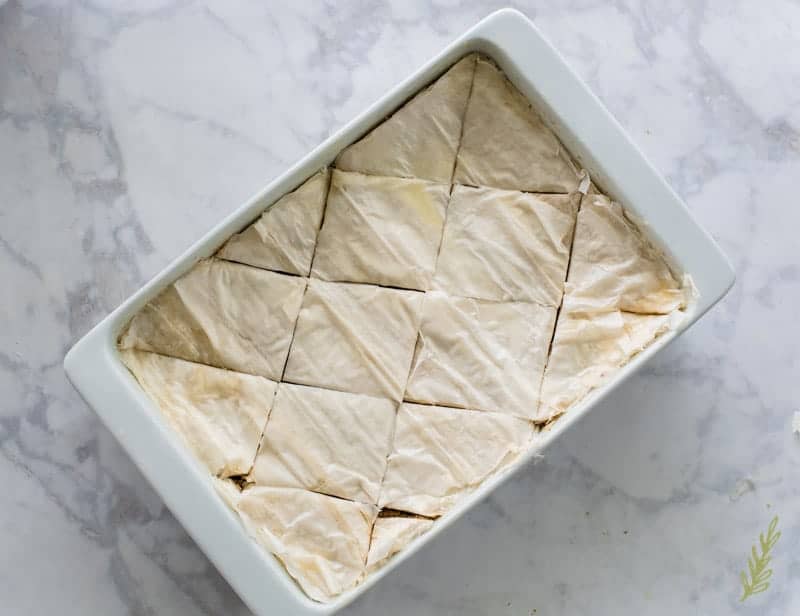
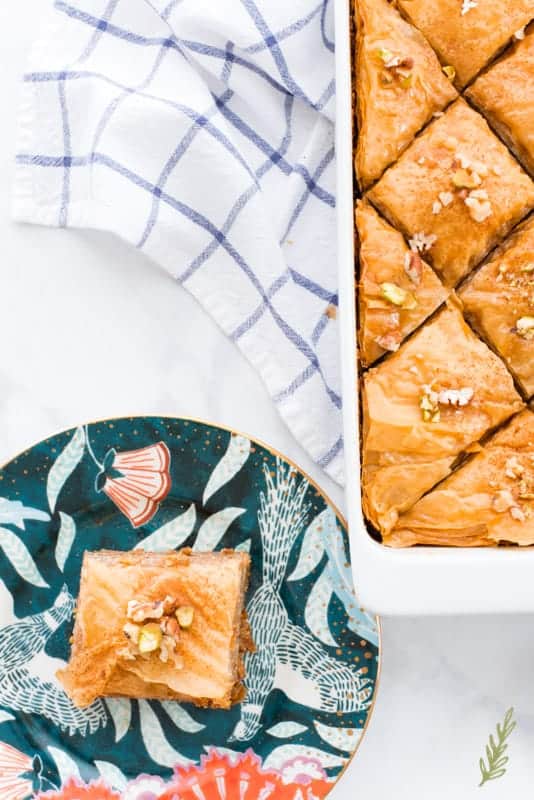
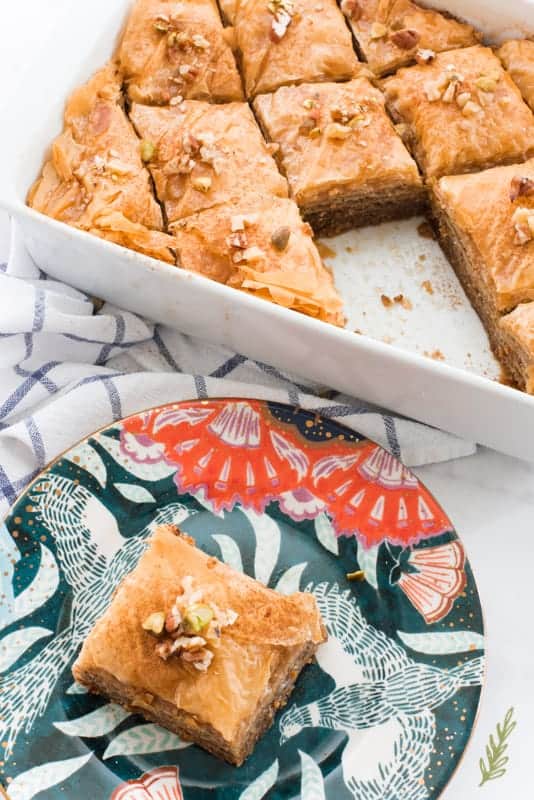
Baklava is known by its diamond shape. I’m not a fan of the standard one inch pieces. If I went through the trouble of making it, I’m not about to ration it out like a miser. Now, if you have weaklings who can’t (or shouldn’t) handle a burst of sugar to their system, by all means, cut the pieces small. Mine are more of the two inch variety, though.
No matter how big or small you cut them, you’ll need to use a very sharp knife to avoid tearing the delicate sheets of phyllo. Once you’ve cut the baklava, bake it in your preheated oven for an hour to an hour and fifteen minutes. You want the top of the baklava to be a deep golden brown.
Overnight Soak
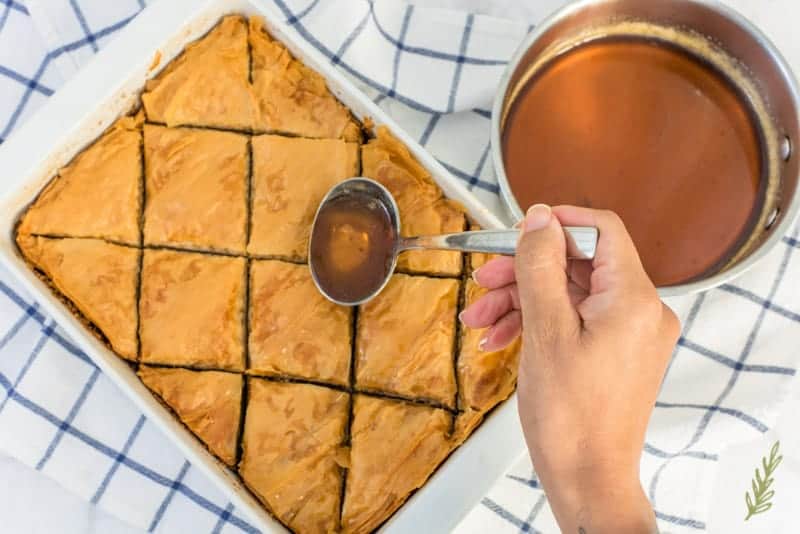
Immediately after removing the fully baked baklava from the oven, use a small ladle to bathe the baklava in the maple syrup. This is the longest part of the process- the amount of time the baklava needs to soak prior to serving. In order for the baklava to fully absorb the maple syrup mixture, it needs to soak for a minimum of eight hours. I just let it sit overnight to make sure it’s fully soaked.
The best part of making this dessert is hearing that baklava sizzle once the syrup hits it. It’s exciting in a really lame way. Once you’ve spooned all of the syrup over the entire dish of baklava, let it sit, uncovered, or loosely covered if you have sticky-fingered dessert thieves, for eight hours, or over night.
Garnish and Serve
Once the baklava has soaked and you’re ready to serve, you can serve it as is, top each piece with more chopped nuts, a sprinkle of ground cinnamon, or with a drizzle of melted, dark chocolate. The choice is yours. I’m a sprinkle of cinnamon and pinch of chopped nuts girl, myself.
Serve this Baklava at room temperature. It’s good, stored on the counter, for up to a week. I usually cover mine with a tea towel to prevent it from drying out or getting too soggy.
These maple-soaked crispy layers are a great change of pace for your holiday baking. Hopefully, you’ll take time to try it. Pin it so you can find it easily and share it with your world.
**This post contains affiliate links. To find out what that means to you, please read my disclosure page**
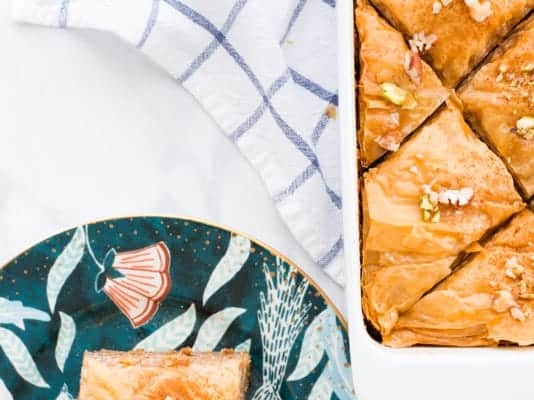
Pumpkin Spiced Baklava
at Sense & EdibilityIngredients
Maplely Syrup
- 1 cup granulated sugar
- 1 teaspoon vanilla bean paste, or 1 teaspoon pure vanilla extract
- 1/2 cup water
- 1 cup maple syrup
- 2 tablespoons lemon juice (1 medium lemon)
- pinch kosher salt
Pumpkin Spiced Nut Mixture
- 4 whole honey graham crackers
- 1 1/2 cup chopped unsalted pecans
- 1 cup chopped unsalted walnuts
- 1 cup chopped shelled unsalted pistachios
- 1/2 cup pepitas (small roasted pumpkin seeds)
- 1 teaspoon ground cinnamon see note
- 3/4 teaspoon ground nutmeg see note
- 1/2 teaspoon ground ginger see note
- 1/4 teaspoon ground cloves see note
- 1/8 teaspoon ground cardamom optional, see note
- 16 ounce package phyllo dough, thawed
- 1 1/2 cups melted unsalted butter
One (or More) of the Following to Garnish, Optional
- 1/2 cup chopped toasted nuts
- 1 tablespoon ground cinnamon
- 1/4 cup melted dark chocolate
Instructions
- Preheat your oven to 350°F.
Prepare the Maple Syrup Mixture
- In a small saucepan, combine the granulated sugar, vanilla paste (or extract), water, maple syrup, lemon juice, and salt; stir everything together to combine.
- Bring the mixture to a boil over medium-high heat. Boil the syrup for 1 minute, then remove it from the heat and set the pan aside to cool.
Chop the Nut Filling
- Add the graham crackers, nuts, and all of the spices to your food processor. Pulse everything together for 2-3 minutes, or until the grahams and nuts are very small in size.
- Transfer this to a bowl. Set this aside until you're ready to assemble the baklava.
Assemble the Baklava
- Before you begin assembling the baklava, trim the phyllo dough to the same size as your baking dish using a very sharp knife.
- When not assembling the phyllo, be sure to keep it covered in plastic film with a damp towel over the plastic wrap to keep the dough from drying out. Also, be sure the damp towel or butter doesn't drip onto the phyllo dough- this could cause the sheets to stick together.
- Use a pastry brush to grease the inside of your baking dish with a small amount of the melted butter.
- Lay the first cut sheet of phyllo dough into the baking dish. Brush a thin layer of butter onto the sheet of phyllo and cover that sheet with a second sheet of phyllo. It may tear until you get the hang of its delicacy, just try to be light with your touch. Place a third sheet of phyllo on top of this buttered sheet.Continue this buttering of sheets until you have 10 sheets of phyllo, each separated by a thin layer of melted butter.
- Sprinkle a handful (3/4 cup) of the ground nuts onto the surface of the phyllo. Spread out the nuts into an even layer using your fingers.
- Repeat the process of assembling the layers by placing a sheet of phyllo onto the ground nut mixture. Lightly brush the phyllo with melted butter. Place another sheet of phyllo on top of the butter sheet. Repeat the buttering/layering until you have 5 sheets of phyllo this time.
- Sprinkle another 3/4 cup of nuts, and begin the layering process over again (5 buttered sheets between each measurement of nuts).
- After you've run out of the nut mixture, begin the final (10 sheet) layer of phyllo dough. If you have remaining sheets after you've placed the tenth sheet, save them for another recipe or discard them.
- When fully assembled, you should have 6 layers of phyllo: 10 phyllo sheets>nuts>5 sheets>nuts>5 sheets>nuts>5 sheets>nuts>5 sheets>nuts>10 sheets.Brush the top sheet of phyllo with the remaining melted butter.
Cut and Bake
- Use a very sharp knife to cut the baklava into 1-2" diamonds.
- Bake the baklava in the preheated oven for 1 hour, or until the top of the baklava is a deep golden brown.
Soak and Serve
- Remove the fully baked baklava from the oven and, using a small ladle, immediately spoon the cooled the maple syrup mixture onto the surface of the hot baklava.
- Allow the baklava to fully absorb the maple syrup mixture for a minimum of 8 hours (preferably overnight) prior to serving. Cover lightly with a tea towel or foil while it soaks.
- Once the baklava has soaked and you're ready to serve, garnish it with or without the suggested garnishes.
- Serve this baklava at room temperature.
Notes
- Use 1 tablespoon of pumpkin pie spice instead of the other spices, if you prefer.
- Any combination of unsalted nuts may be used.
- If you prefer, honey may be substituted in place of the maple syrup.
- Baklava is good, stored on the counter, for up to 1 week.
- Cover the dessert with a tea towel to prevent it from drying out or getting too soggy.


This sounds like an amazing recipe! I love the twist with the pumpkin spice flavoring!
Thank you, Emily! I’m always trying to think of new ways to switch up our favorite desserts.
Omg no way!! Is it really that easy!? I’m so excited! Haven’t had baklava in years because we moved and I have never thought to make it. I assumed it would be really difficult haha. I will definitely be trying this and will write back when I do!
It’s totally that easy! I hope you do give it a go!
Wow, what a thorough recipe. I love anything with nuts and I love all these healthy ingredients. I’ve not made Baklava before, but now I’m intrigued. Thank you.
Have fun with it, Kim! It’s great that you can adjust the nuts to what you like or what you have on hand.
I have never baked baklava before but have enjoyed tasting it at a local Mediterranean restaurant. Yours looks amazing with those light and crispy layers! I got a food processor for Christmas and have been looking for a way to break it out of the box…you may have given me an idea with this delicious recipe.
Awesome! Have fun breaking in that new food processor, Lori!
I live in the Balkans, so Baklavas are common around here. I always thought they were hard to make, so I never thought of making them myself. Now that I see it’s fairly easy I’ll give them a shot! 🙂
Not hard at all, are they, Constanza? I think you find that taking your time is the most important thing to remember.
This looks so amazingly delicious! I really appreciate that you include so many photos of the process. It encourages me to try new recipes! Thank you!
Thanks, Christa! I try to make it as simple and straightforward as possible. I’m glad the images help.