Just watch.
Homemade Banana Pudding: What It Is and What It Isn’t
What is Homemade Banana Pudding? Thank you for asking, because I’ve been dying to tell you! Banana pudding is a stirred custard-based dessert that is made with milk and eggs: thickened with starch (flour). It’s assembled (lasagna-style) with fresh banana slices and cookies. In days past, it was made with chess cookies. Today it’s most commonly made with vanilla wafers.
Homemade Banana Pudding should not be made with boxed pudding mix. Nor should this dessert have whipped “vegetable shortening” from a tub that’s trying to pass as whipped cream. All that said, banana pudding doesn’t have to be made with freshly baked cookies. That’s a bit too extra, even for me.
Recently, I participated in a Facebook discussion where multiple people agreed that banana pudding shouldn’t have bananas. After reading that, I, legit, stared at the computer screen trying to figure out my life. How does one come to believe that there shouldn’t be bananas in this recipe?!? It must have bananas. I mean, when the ingredient is a part of the name, it should be in the dish, no?
We’re going to sort all of this out right here and right now.
Ingredients You Need to Make Homemade Banana Pudding
BANANAS!! The first (and most important) ingredient you need is bananas. Don’t come for me!
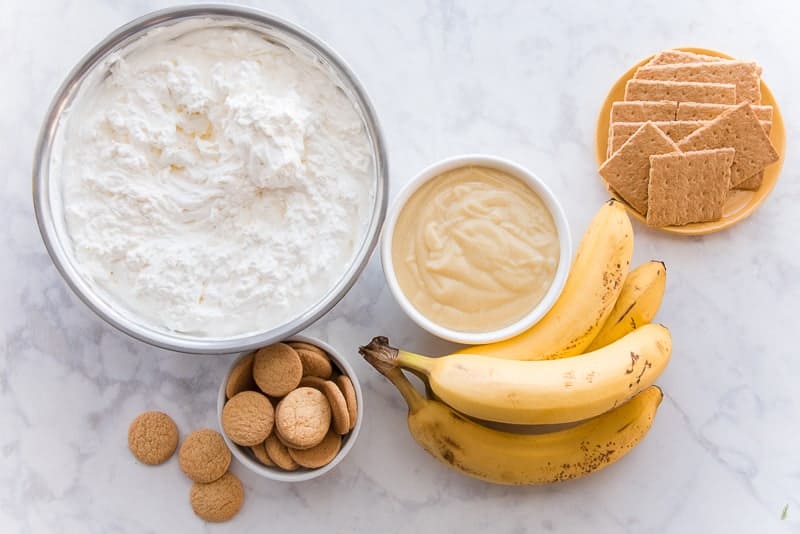
Remember how I said I’m extra? I’m proving my extra-city (not a word) by using two types of cookies in this recipe: graham crackers and vanilla wafer cookies. Chess cookies, gingersnaps, or only one of the two cookies I use can be used instead. You won’t be extra, but I’ll still love you.
The pastry cream will consist of all-purpose flour, sugar, salt, whole milk (you can also use evaporated milk), vanilla bean paste (or extract), and banana extract (optional). Egg yolks finish the custard base, while whipped cream completes the pastry cream.
Since this is a layered dish, I highly recommend a deep casserole dish for assembling it. Three inches is best, but something close to that depth should work fine.
Homemade Banana Pudding Doesn’t Have Boxed Pudding Mix
I have bougie tendencies when it comes to certain things. Because I’m a trained pastry chef, I instinctively poo-poo banana puddings that are made with a boxed pudding mix. I can spot those puddings a mile away. But, in all fairness, the reason why I’m so snobby about it is because of how easy it is to make real pudding from scratch. Not only is it easy, I promise that you already have everything you need to make it.
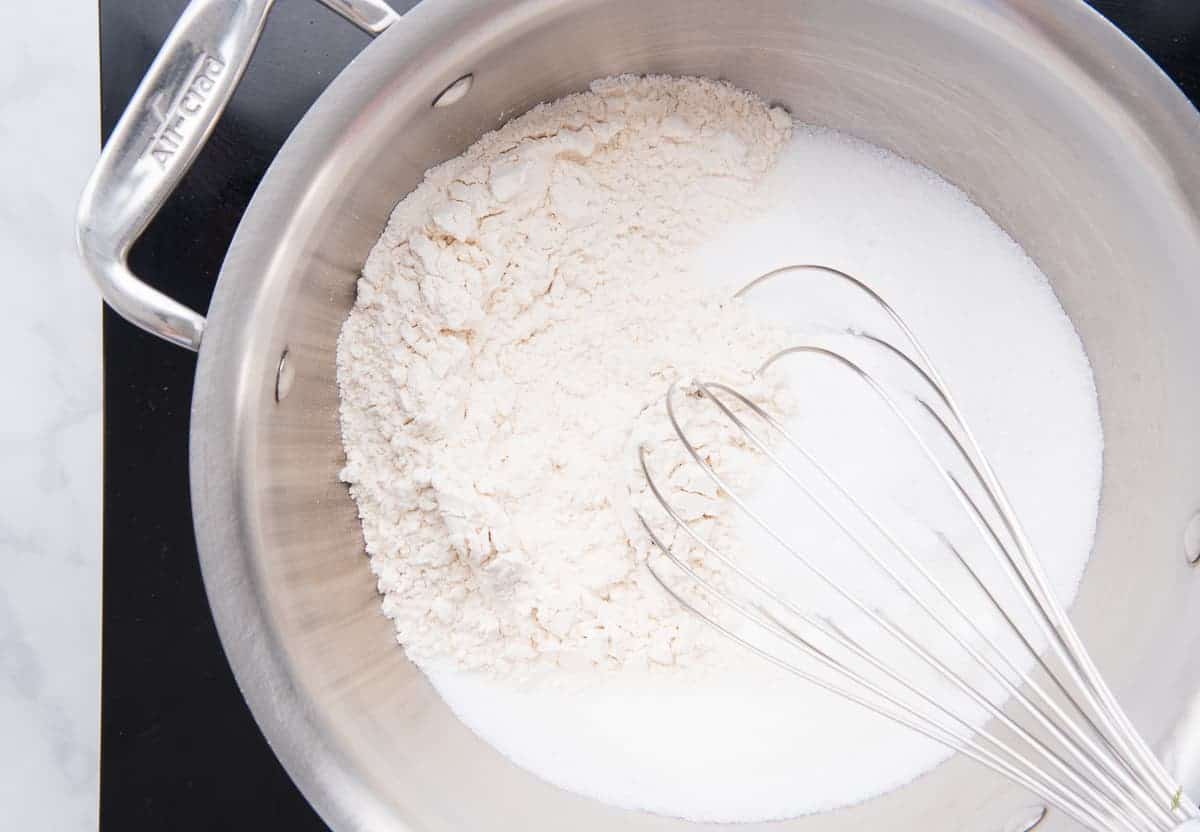
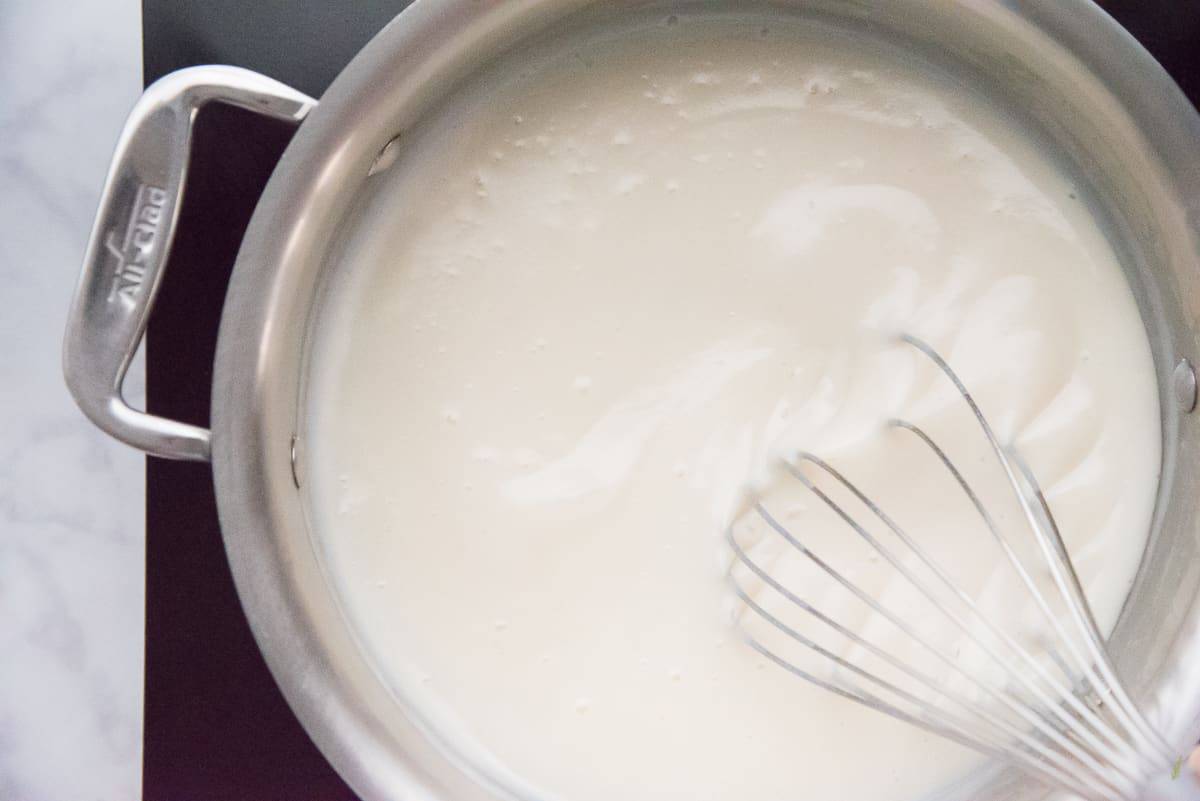
In a saucier (or similar pot with sloped sides), whisk together all-purpose flour, granulated sugar, and a pinch of salt. This dry mixture is what initially thickens the custard. After you’ve blended this mixture together, whisk in a quarter of the whole milk. By gradually adding the milk to the dry ingredients, you eliminate the production of any lumps.
After you’ve formed a lump-free paste with that quarter of the milk, slowly whisk in the remaining milk to create a smooth liquid.
Bring this mixture up to a gentle simmer over medium heat. Whisk constantly to avoid scorching the bottom of the thickened milk mixture. After about 10 minutes of simmering, the whisk will begin to leave behind ribbons in the custard. Simmer just one minute longer and remove the milk mixture from the heat.
Temper the Eggs to Avoid a Scramble
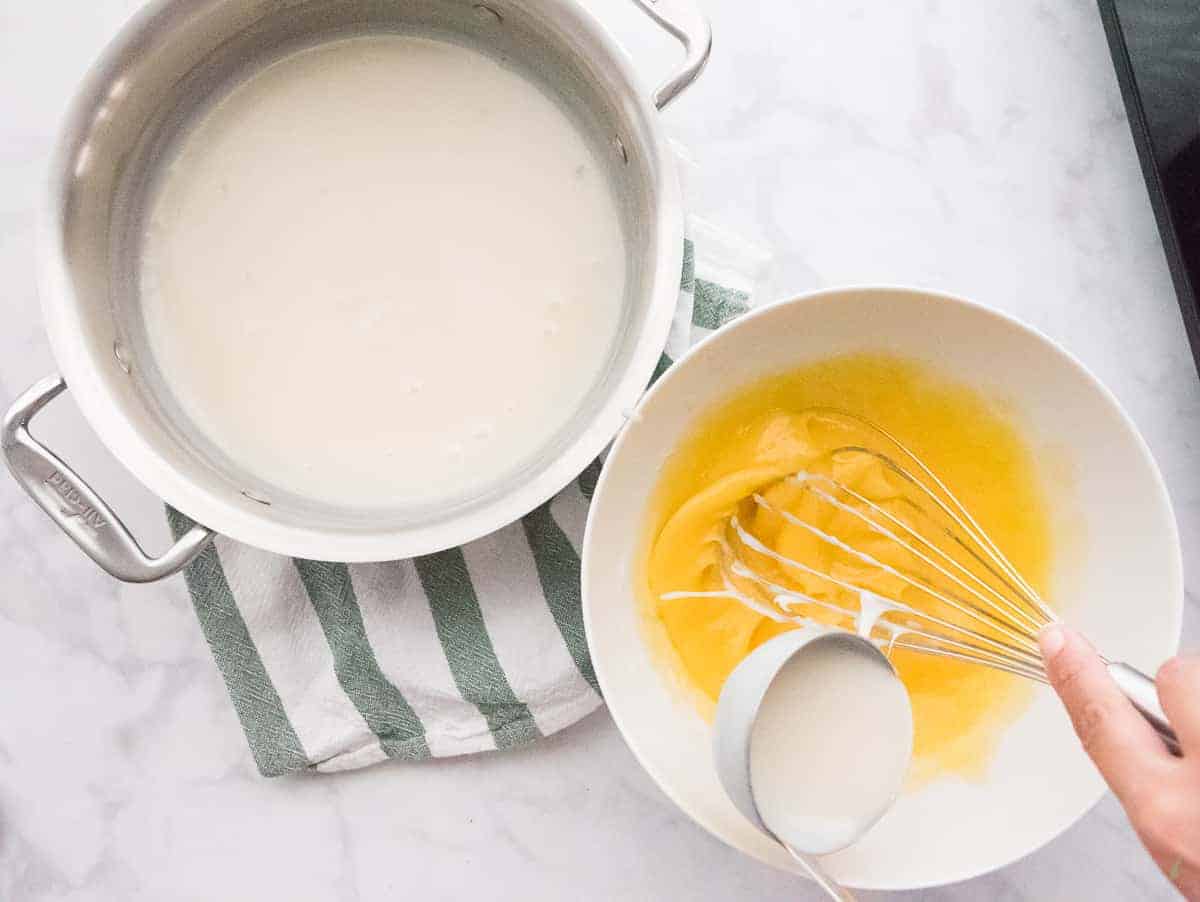
The addition of eggs yolks is what thickens the custard the rest of the way. In order to avoid scrambling the eggs, however, you must add them to the hot milk mixture slowly. Tempering- the technical name for this method- is the slow acclimation of eggs to the hot liquid they’re going to be added to. To do this, you ladle a cup of the hot milk mixture into the beaten egg yolks in a slow, steady stream: whisking constantly. Slowly stream the tempered eggs back into the hot milk mixture in the pot.
Return the pot to the stove and, over low heat, bring the mixture up to steaming, while constantly whisking.
Testing Your Homemade Pudding’s Thickness
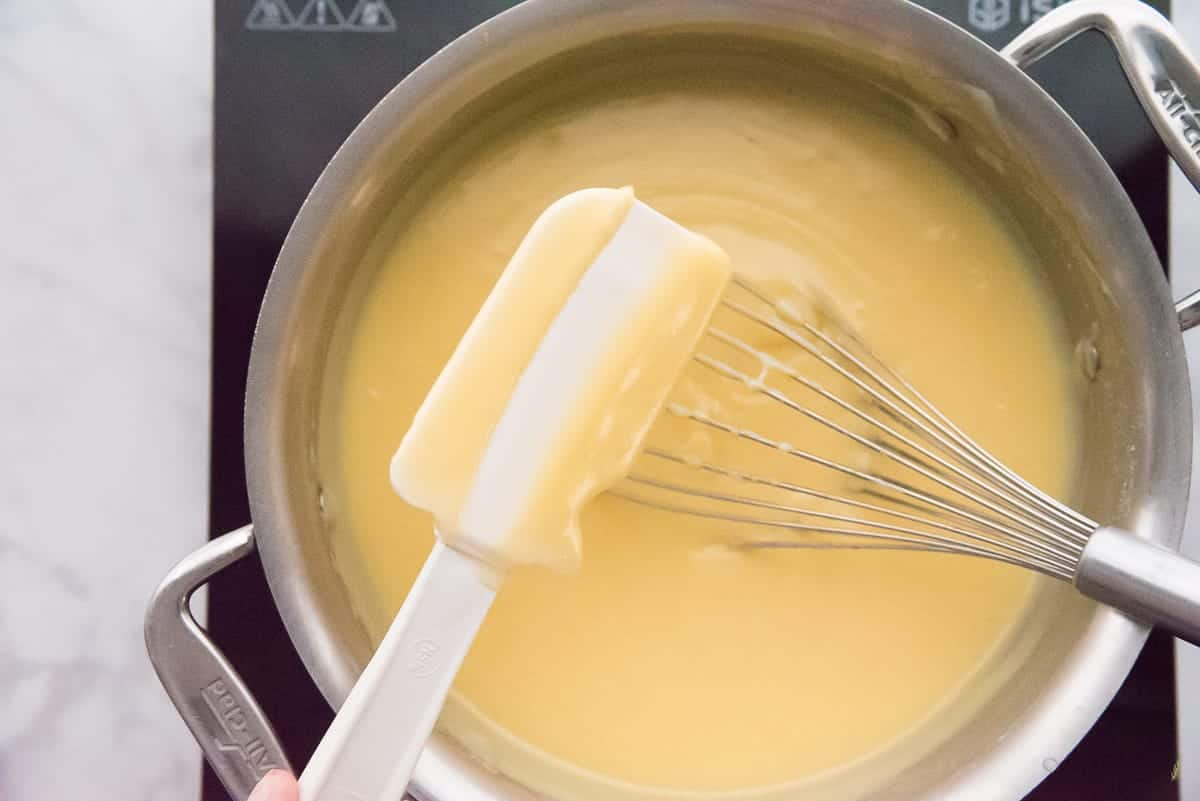
After about 2-3 minutes of heating, the mixture will become very thick- it will resemble pudding. To test that the consistency is what you want it to be, dip a rubber spatula into the custard. Run your forefinger down the middle of that layer of custard on the spatula. The custard is properly thickened when the edges hold. A runny custard will not hold its edges and must cook a little longer. If you find it’s too thick, you can thin by whisking in a tablespoon or two of milk.
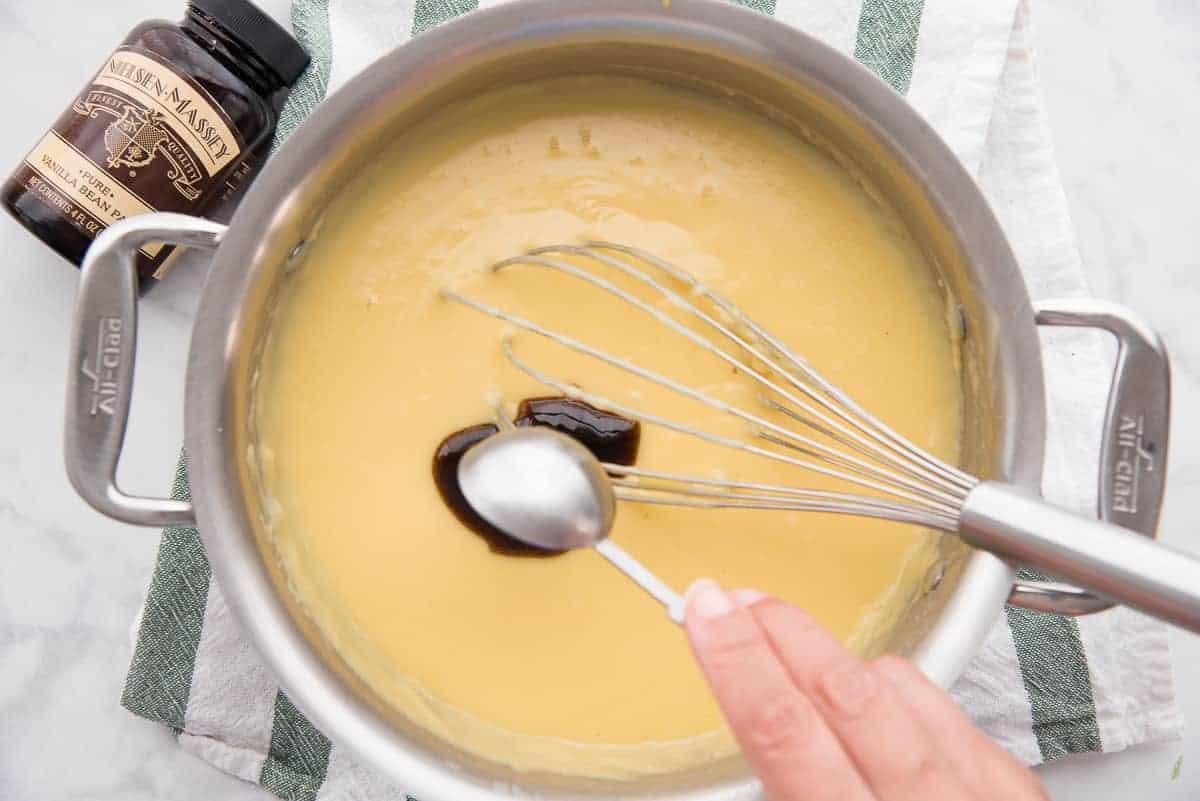
The punch of flavor in this pudding, which will later become pastry cream, is the addition of pure vanilla bean paste. While it may seem like a lot, once you add the whipped cream and the rest of the banana pudding’s ingredients, it’ll mellow out. To amplify the banana flavor, I go a step further and add a little banana extract. This is totally optional, however.
You Just Made Pudding!
So, this was the hardest part of the recipe. You didn’t die, did you? The rest of the recipe- with the exception of whipping the cream- is assembly. This custard base is all you need to do to make a bomb homemade banana pudding. All it is is vanilla pudding right now. Did you ever think you’d make vanilla pudding from scratch? Well, I knew you would.
Cool the pudding until it’s ice cold. Lightly spray a piece of plastic wrap and press the greased side against the surface of the pudding. This prevents a skin from forming on the surface of the pudding as it cools down. Place the pudding in the fridge for 2-3 hours, or until really cold. You can leave it in the pot or transfer it to a shallow dish to speed the chilling up. If you’re in a rush, placing the pot in an ice bath will cool it down much quicker.
Because hot pudding melts the whipped cream, you must give it time to cool. Impatience will be your banana pudding’s downfall here.
Homemade Banana Pudding Deserves Real Whipped Cream
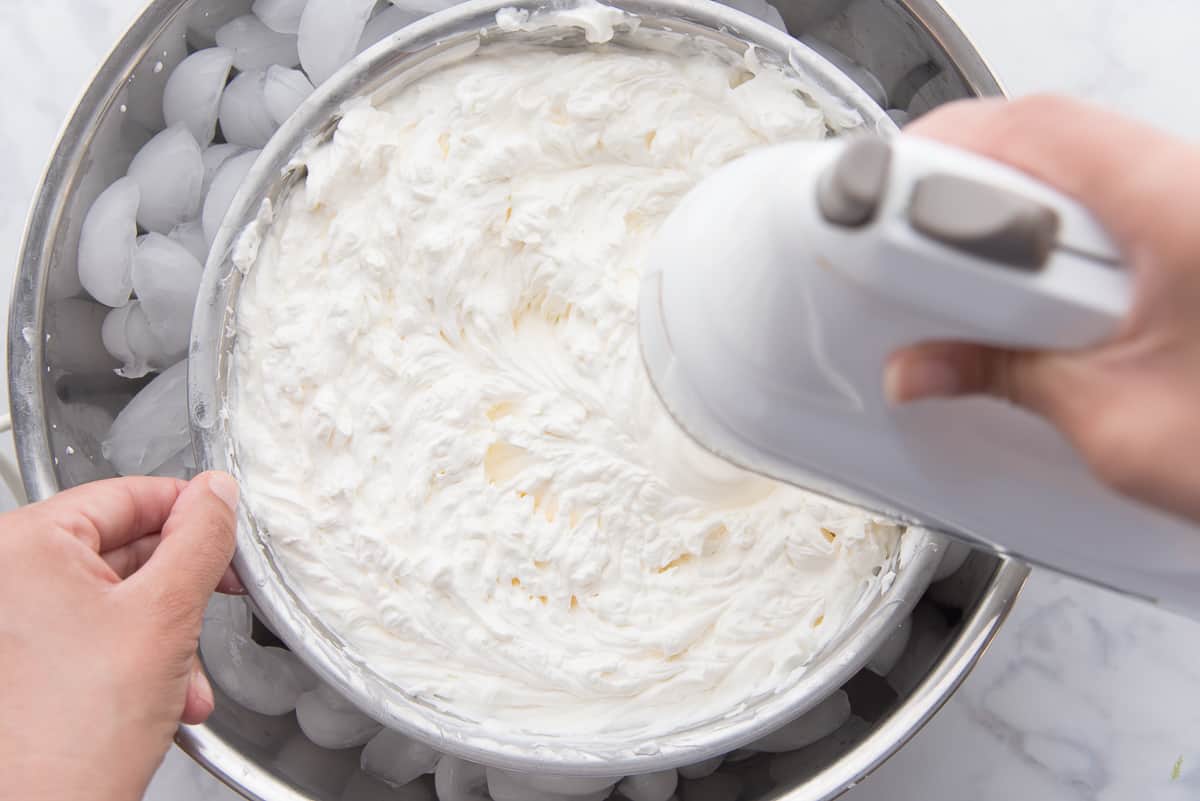
After a couple of hours, use an electric hand mixer to whip the heavy cream until ribbons begin to streak the surface. Add the sugar to the cream to sweeten it, and continue beating (on high) until stiff peaks form in the cream. If you taste the cream now, you’ll find that it isn’t super sweet. However, when the banana pudding is fully assembled, you’ll see it’s sweet enough to accomplish the mission.
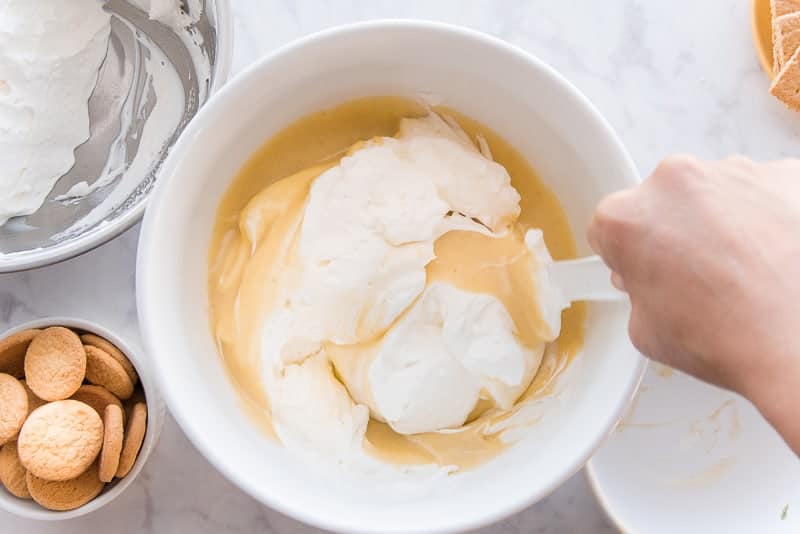
Scoop half of the whipped cream into the cold vanilla pudding. Be sure to fold it into the pudding gently, but thoroughly, since you want to maintain the volume of the cream. The remaining whipped cream is what you’ll top the assembled homemade banana pudding with.
You, my friend, have just turned your vanilla pudding into vanilla pastry cream. Use this pastry cream to fill all sorts of desserts: cream puffs, eclairs, doughnuts- even pies or trifles! Basically, you might as well open up your own pastry shop because you’re unstoppable. You’ve just earned another notch in your dessert belt, Homie. High-five!
Assemble the Banana Pudding
You are going to see that putting the rest of the banana pudding together is a breeze. The key is to set out all of the components in their order of use: graham crackers, the pastry cream, bananas, vanilla wafers, whipped cream, and whatever you’re going to garnish with.
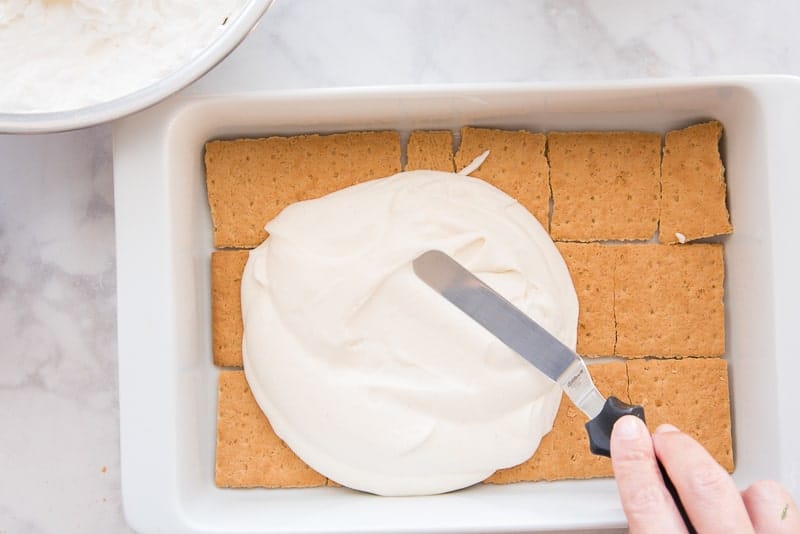
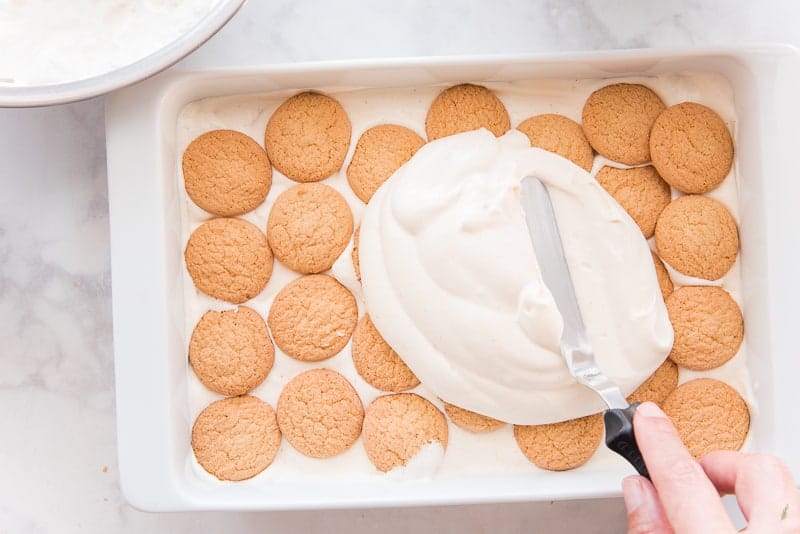
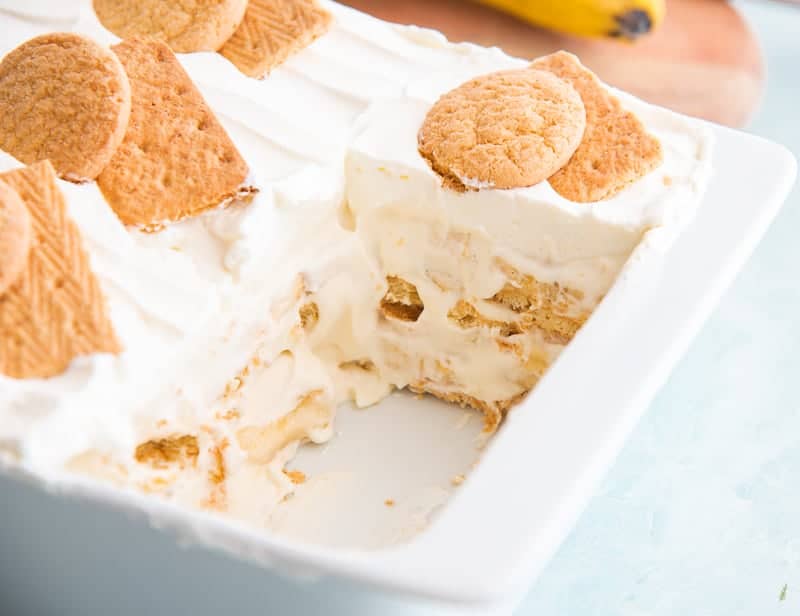
After you’ve arranged everything, create the bottom layer of the graham crackers in a 9″x13″ casserole dish. I used 6 full graham crackers. Alternatively, you can break them up and create an even layer of crushed grahams as the base layer. Use an offset spatula to spread a cup and a half of the pastry cream in an even layer over the crackers.
The Banana Trick
Another key tip in making the best homemade banana pudding is to use slightly ripe bananas. The bananas should be bright yellow with a touch of green on their stems, the least amount of freckles the better. Heavily freckled bananas will be far riper than you want them to be, which means they’ll turn grey or black as the pudding sits. You want to get at least two days out of your assembled pudding, so using slightly ripe bananas is the way to go.
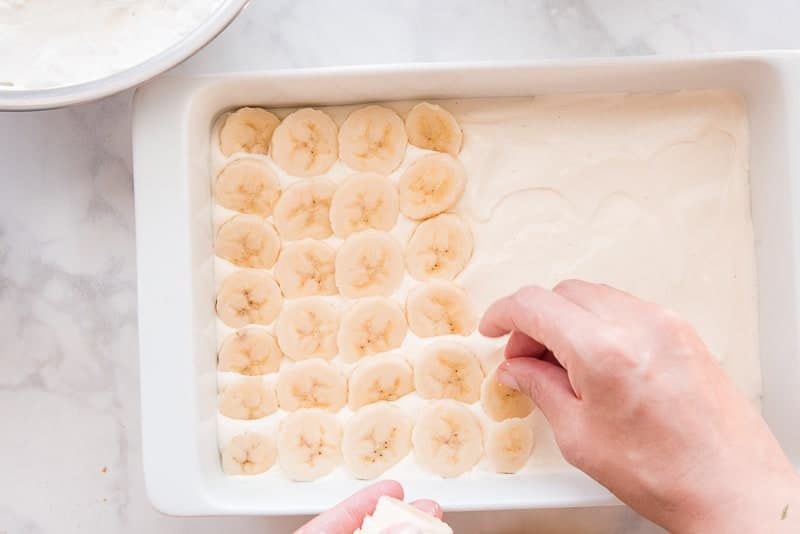
After cutting the bananas into 26 slices (each), arrange the slices of one and a half bananas over this pastry cream layer: overlapping the slices slightly. The remaining banana slices will be used later.
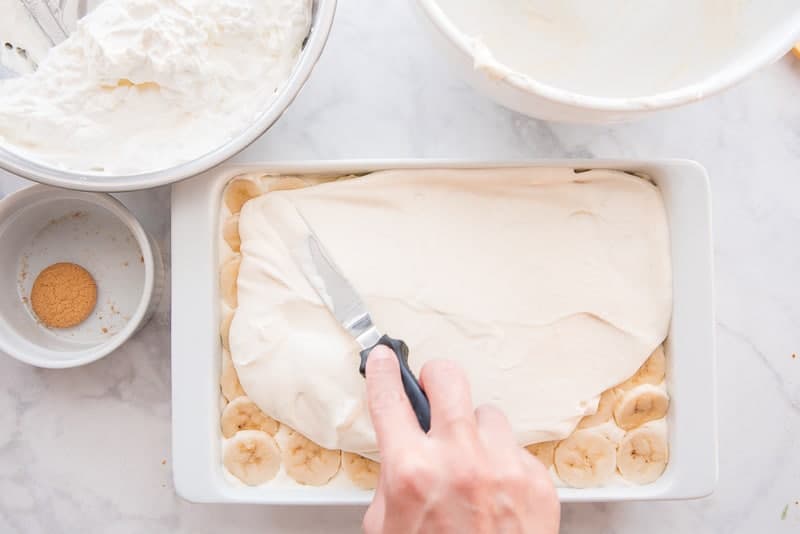
Top the banana slices with another cup and a half of pastry cream- making sure to spread the layer evenly over the bananas to prevent them from browning too much as the dessert sits.
Arrange the vanilla wafers over the second layer of pastry cream before topping with another cup and a half of pastry cream.
Cover this layer of pastry cream with the remaining bananas.
Finally, spread the last of the pastry cream over the bananas.
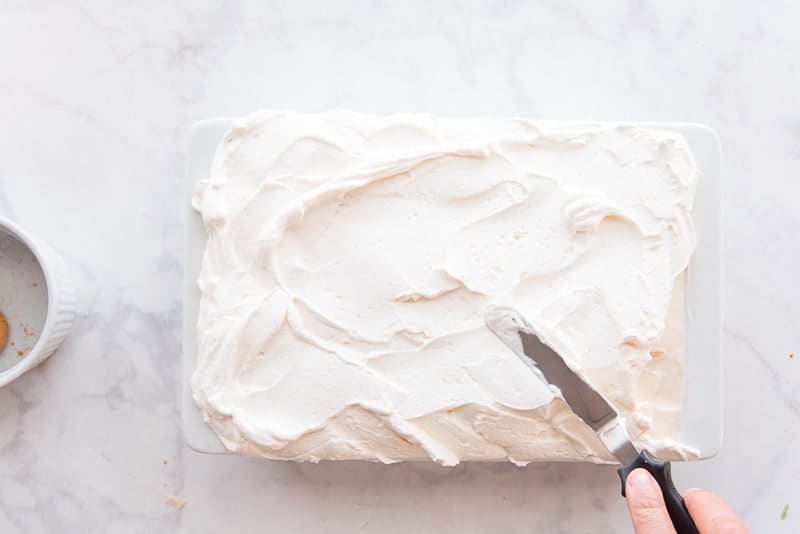
Carefully spread or pipe the reserved whipped cream over the top layer of pastry cream. If you have a dish that’s shallower than 3″, piping is probably the least messy route to take. I made it happen with my spatula, but it did get a little messy.
Garnish the Homemade Banana Pudding or Leave It Plain
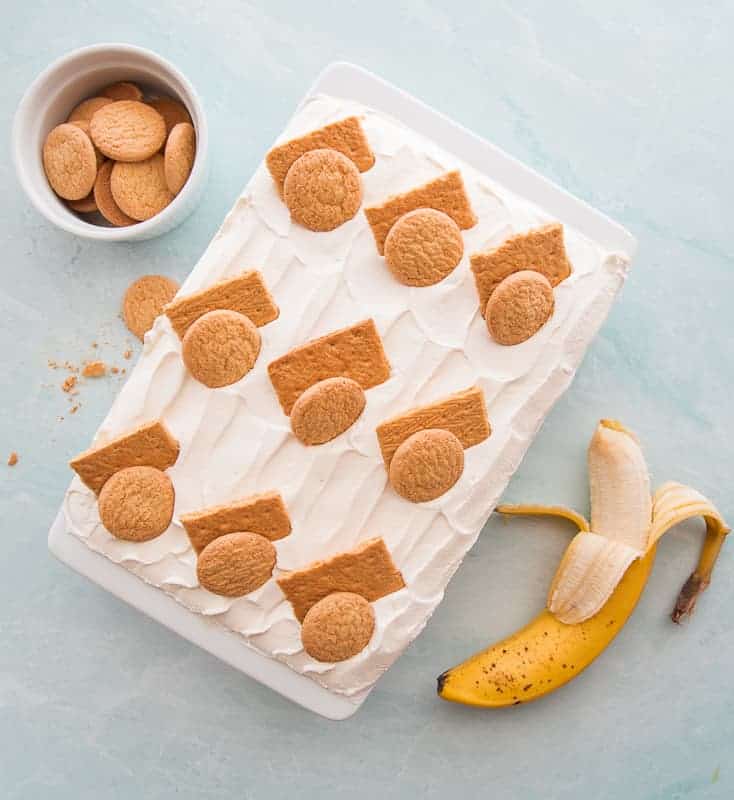
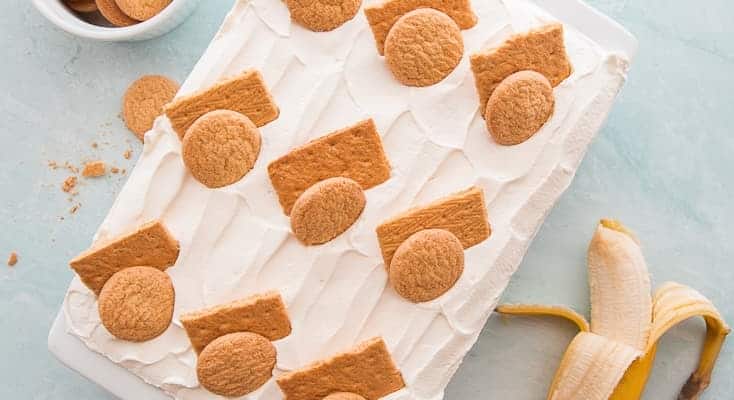
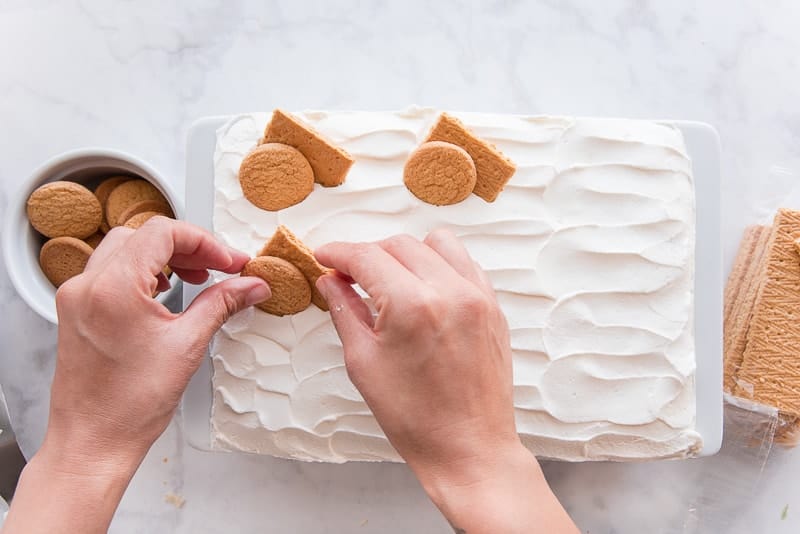
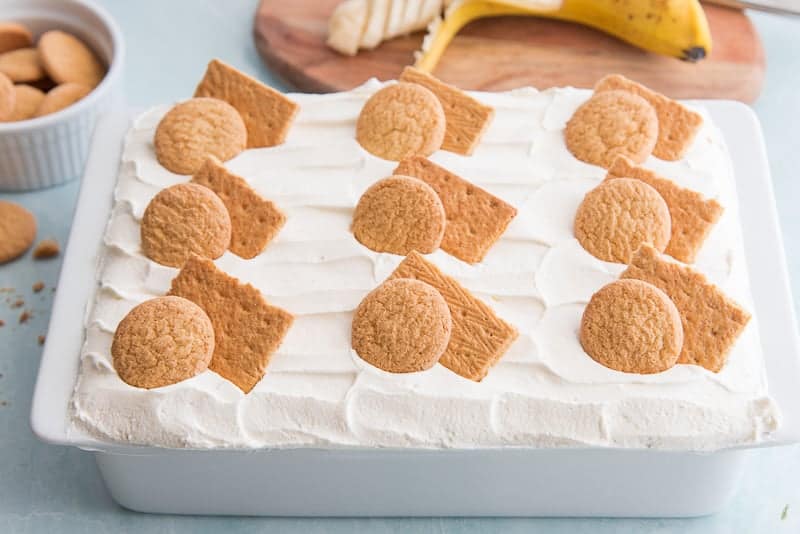
Use the vanilla wafers and graham crackers to garnish the top of the banana pudding.
I like using these two because it tells my diners what to expect inside. Using dehydrated banana slices, in addition to the cookies, is a great idea as well.
How to Store Your Homemade Banana Pudding
Vanilla pastry cream, with its sugar and eggs, has an inherently high-risk for foodborne illness. As a result, you need to be mindful of how you store it. Keep this homemade banana pudding in the refrigerator at all times. Only when you’re ready to serve and enjoy it should you remove it from the fridge.
Enjoy the Banana Pudding
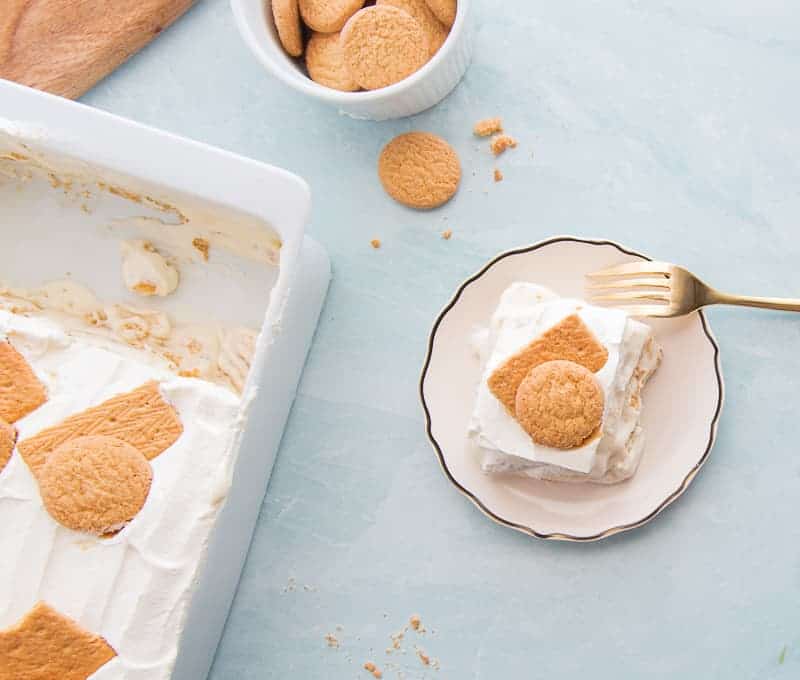
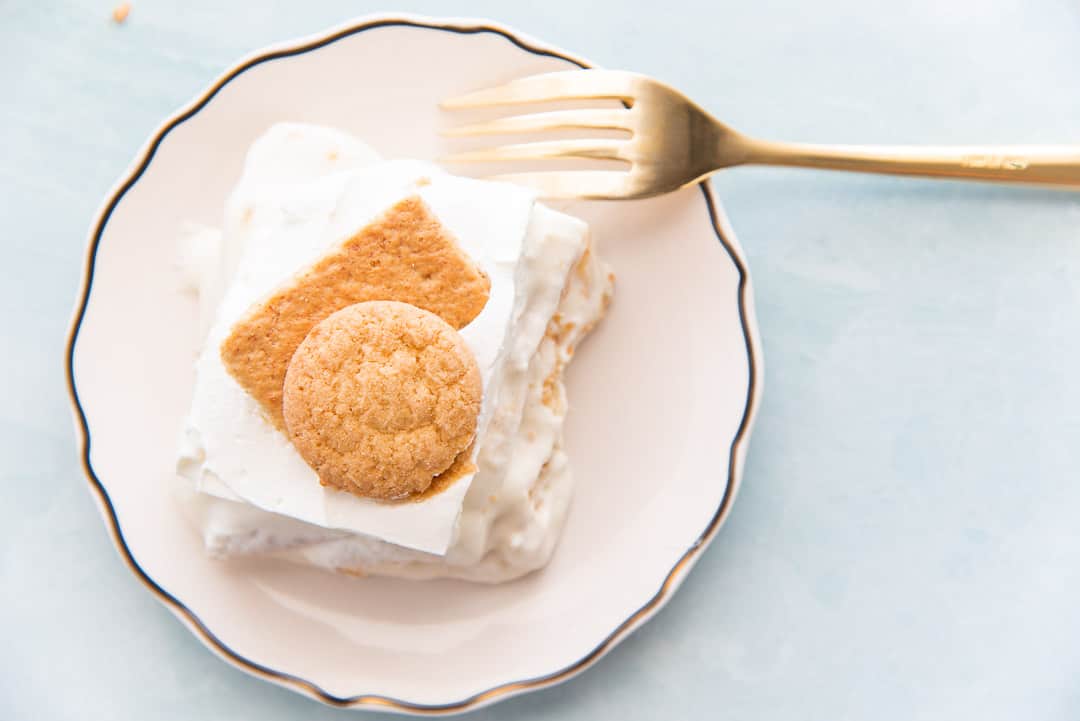
Scoop your banana pudding with a spoon or a spatula, but don’t count on perfect portions. You can’t imagine how hard it was to get out a decent square to photograph! Don’t frustrate yourself, it won’t be pretty, but it will be tasty.
This banana pudding needs to be devoured within two days of making it, so have at it. After you’ve served yourself and your guests, cover it and pop it back into the fridge.
I hope I’ve debunked the myth that homemade banana pudding is too hard to make from scratch. I also hope that nonsense of, “No bananas in banana pudding,” has been laid to rest.
Be sure to pin this recipe to your dessert board and share with all of your banana pudding friends. See if they’re team “no banana” or if they’re normal like me.
Homemade Banana Pudding
at Sense & EdibilityEquipment
- 9"x13"x3" casserole dish
Ingredients
Vanilla Pudding
- 3/4 cup (153g) granulated sugar
- 1/4 cup (35g) all-purpose flour
- 1/4 teaspoon kosher salt
- 1 1/2 cups (350ml) whole milk or evaporated milk
- 6 large (105g) egg yolks lightly beaten
- 1 tablespoon vanilla bean paste (or extract)
- 1 teaspoon banana extract optional
Whipped Cream (will be divided)
- 4 cups (946 ml) heavy cream
- 2 tablespoons (24g) granulated sugar for sweetening the whipped cream
To Assemble
- 6 graham crackers* plus more to garnish
- 4 bananas slightly ripe and peeled, each cut into 26 slices
- 28 vanilla wafer cookies plus more to garnish
Instructions
Make the Vanilla Pudding
- Once you've developed a smooth paste, slowly whisk in the remaining milk to create a smooth liquid.
- Place the pot on the stove over medium heat and bring the mixture up to a gentle simmer. Whisk constantly to avoid scorching the bottom of the thickened milk mixture. After about 10 minutes of cooking, the whisk should begin to leave behind ribbons in the custard. Simmer one minute longer and remove the milk mixture from the heat.
- Ladle a cup of the hot milk mixture into the beaten egg yolks in a slow, steady stream: whisking constantly. Slowly stream the tempered eggs back into the hot milk mixture in the pot. This tempering of the eggs prevents them from scrambling when they're added to the hot milk.
- Return the pot to the stove and, over low heat, bring the mixture up to steaming, while constantly whisking.After about 2-3 minutes of heating, the mixture will become very thick- it should resemble pudding. To test for the proper consistency: dip a rubber spatula into the custard. Run your forefinger down the middle of the custard on the spatula. The custard's edges should hold. A runny custard will not hold its edges and must cook a little longer. If you find it's too thick, you can thin by whisking in a tablespoon or two of milk.
- Remove the pot from the stove and whisk in the vanilla bean paste and banana extract (if using).
Cool the Pudding Before Adding the Cream
- Lightly spray a piece of plastic wrap and press the greased side against the surface of the pudding. This will prevent a skin from forming on the surface of the pudding. Chill the pudding in the fridge for 2-3 hours, or until really cold. If you're in a rush, placing the pot in an ice bath will cool it down much quicker.
- Towards the end of the chilling period, use an electric hand mixer to whip the heavy cream until ribbons begin to streak the surface. Add the sugar to the cream to sweeten it, and continue beating (on high) until stiff peaks form in the cream.
- Scoop half of the whipped cream into the cold vanilla pudding. Fold the whipped cream into the pudding gently, to maintain the volume of the cream. The remaining whipped cream will be used to top the assembled homemade banana pudding later.
Assemble the Banana Pudding
- Assemble the graham crackers in the bottom of a 9"x13" casserole dish in an even layer. Your dish may require more or less graham crackers, just use however many are needed to cover the bottom of the dish.Use an offset spatula to spread an even layer of the pastry cream (approx. 1- 1 1/2 cups) in an even layer over the crackers.
- Layer 2 of the sliced bananas over the pastry cream: overlapping the slices slightly. Top the banana slices with another even layer of pastry cream- make sure to spread the layer evenly over the bananas to prevent them from browning too much as the dessert sits.
- Arrange the vanilla wafers over the second layer of pastry cream in an even layer before topping with another layer of pastry cream.
- Cover this layer of pastry cream with the remaining bananas. Finally, spread the last of the pastry cream over the bananas.
- Carefully spread or pipe the reserved whipped cream over the top layer of pastry cream. Use the vanilla wafers and graham crackers to garnish the top of the banana pudding.
- Store the homemade banana pudding in the refrigerator at all times. The banana pudding should be enjoyed within two days of making it. Return any leftovers to the fridge soon after serving. Be sure to keep it covered to avoid too much browning on the bananas.


This recipe takes me right back to Thanksgivings at my grandma’s house — banana pudding is a classic dessert in our family and you’re right, boxed pudding mix is a dirty word!!! Thanks for this recipe; it looks amazing!
Lol!!! I know! I think it tastes so gross.
My mom has been begging me to make her Banana Pudding all year. Looks so good, definitely making for her.
That’s so sweet of you to make it for your mom. She’s going to love it
Marta!!! You outdid yourself with this recipe girl! My husband wants it again for Father’s Day! Thank you so much for sharing.
Awesome! So glad to hear that!
This has to be one of the best banana pudding i’ve seen. Yum!!
It tastes so much better, doesn’t it!
It’s insane to even think a banana pudding shouldn’t have bananas! I loooove your recipe and the storage tips are perfectly handy too!
Right?!? I thought so too! Always bananas!
This looks absolutely amazing Marta!!! I will definitely try the graham crackers!!!
Awesome. The grahams are a fun little twist.