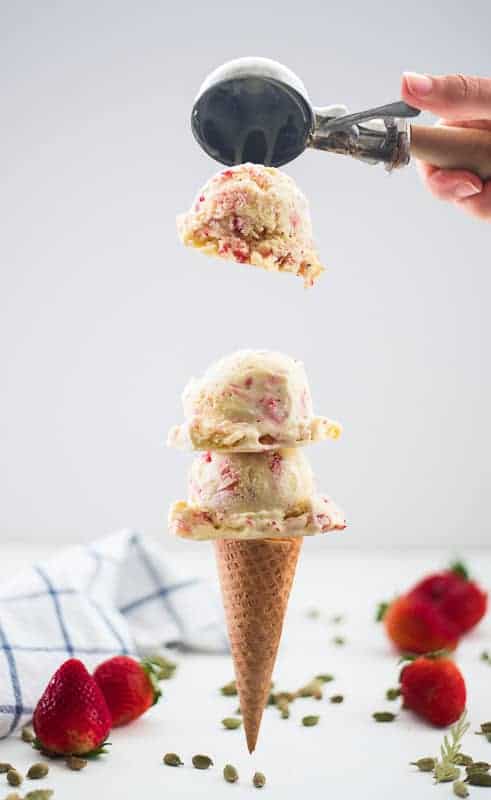
Now, I’m not trying to start no beef, but have you taken the time to read the ingredients list on your ice cream? I’m not being messy. Promise. It’s not always good. See if you can pronounce half of the stuff on that carton of ice cream. If you can, you’re probably shelling out more than a quarter an ounce because it’s a “gourmet” ice cream. Of course I know what you’re thinking, “A quarter an ounce isn’t going to break the bank, Marta.” You’re obviously not a military spouse if you think that. LOL! I jest! I kid. (Not really) While a quarter an ounce may not be an exorbitant amount for a PINT of ice cream, imagine for a quart…or a gallon.
Personally, I not only love the money I save by making my own frozen desserts; I love the freedom I have to create my own flavors. I wouldn’t say my frozen custards and sorbet flavors are weird- they’re…eclectic. This Grilled Peach and Buttermilk version was one of my proudest moments. My Gin Rickey Sorbet was a close second…that is- until this Cardamom-Strawberry number sashayed into my brain. I take ice creams and sorbets very seriously. Like, seriously serious. I dedicated a whole post to different popsicle creations, type of serious.
What birthed this ice cream passion? I used to make ice cream to put myself through culinary school, is what. I’ll concede that it’s not as exciting as other things college kids did for money, but it was mine. Moxley’s Ice Cream Parlor in Towson, MD was a hour and a half bus ride from my tenement apartment. That’s after a ten minute walk through the ‘hood. A bus ride through the parts of Baltimore they don’t bother to put on postcards. The part of Baltimore that ended up on The Wire. THAT part of Baltimore is where I lived. Where I worked? That was like someone had opened up a J. Crew catalog and shook the models out. I totally stuck out. But, I loved my job.
I was hired to bake all of the desserts: pies, cookies and cakes. It just so happened, I was promoted to store manager within a month. Occasionally, Tom, the owner and an investment banker who was hipster before hipster became cool, would let me make the ice cream. While we did cheat with a pre-mixed, bagged ice cream base; the flavor combinations were all our ideas. White Chocolate Chip (instead of the regular version) and Coffee Cookies and Cream were my babies. Flavors like jalapeño and Old Bay® weirded people out…until they tried them; then they were hooked. This life as an ice cream maker spawned a love for quality, handmade ice cream that I now use in my kitchen on a regular basis.
**moment in character building: there were plenty of times kids from the universities (Towson, Loyola, and John’s Hopkins were all nearby) would come in and talk down to me. I guess they felt sorry for me because I was “relegated” to working in an ice cream shop. What they had no idea about was that I was actually the store manager in charge of the entire staff (8 people) and responsible for a lucrative start-up. And that I was only nineteen.
A few years after I’d moved on from that job, I went back for a visit. I saw one of my “regulars”, a kid who always made it a point to let me know that she was “pre-med”. What that had to do with her single scoop of cinnamon ice cream was beyond my brain capacity, but I digress. She was now slicing cold cuts at the deli on the corner. Of course, I had to ask why she wasn’t a doctor. Turns out, alcohol and residency don’t mix. I wished her well and told her it was good seeing her. So, the lesson in this? Don’t be a jerkwad.**
Back to Cardamom-Strawberry Frozen Custard.
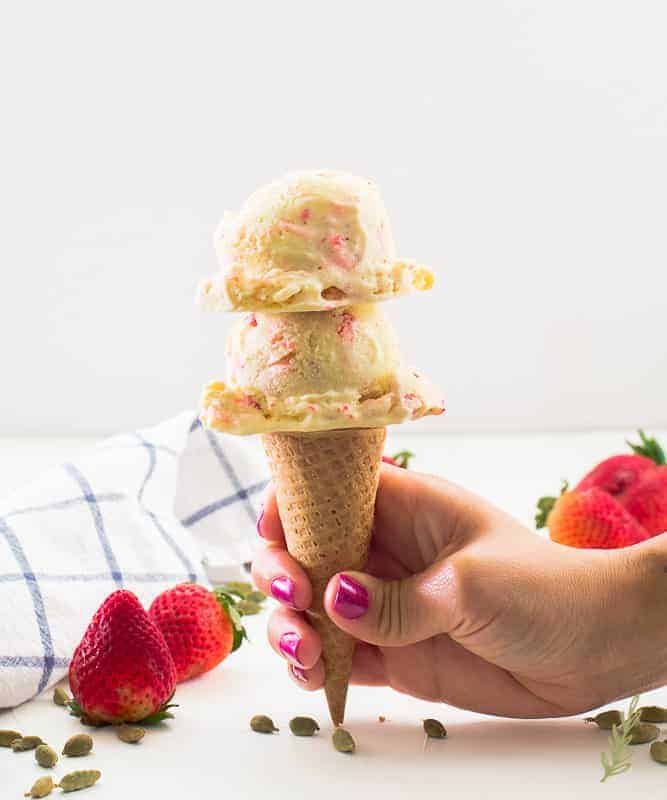
My first taste of cardamom ice cream was in an Afghani restaurant in Springfield, VA. The Afghan Bistro is a must if you’re in the DC Metropolitan area. I loved the idea behind the dessert, but thought it fell flat in that it was just vanilla ice cream with cardamom sprinkled on top. More was needed- for me, at least. Infusing cardamom into the custard base AND adding ground cardamom. Overkill? I think not. The infusing would cut down on the amount of cardamom speckled throughout the base, while not compromising that prominent flavor I wanted in the finished dessert. It would also stand up to the sweet strawberries I wanted to fold into the custard.
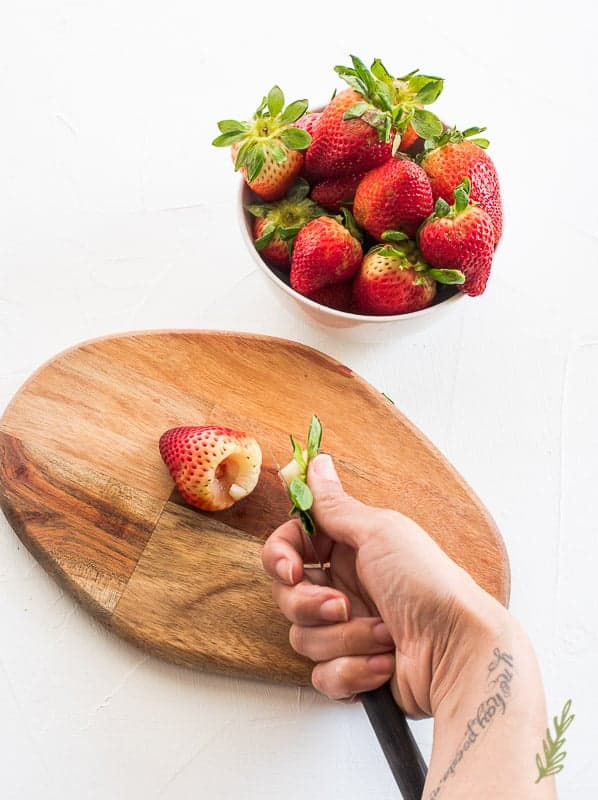
Discard all of your stems.
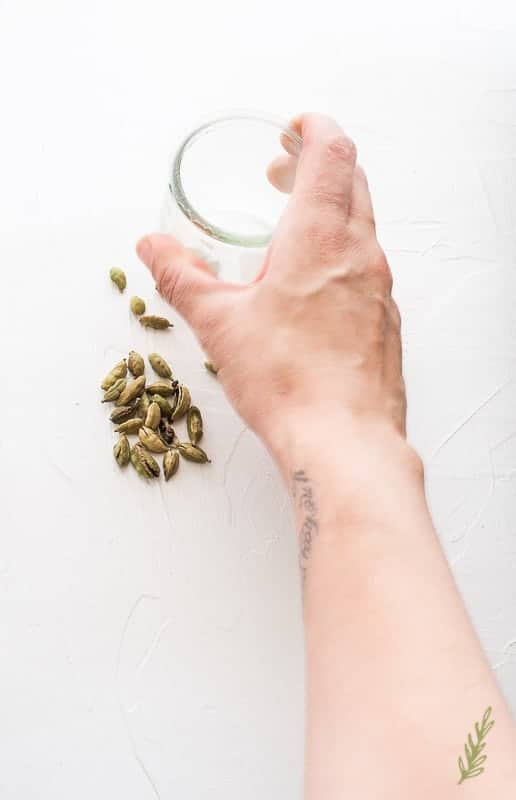
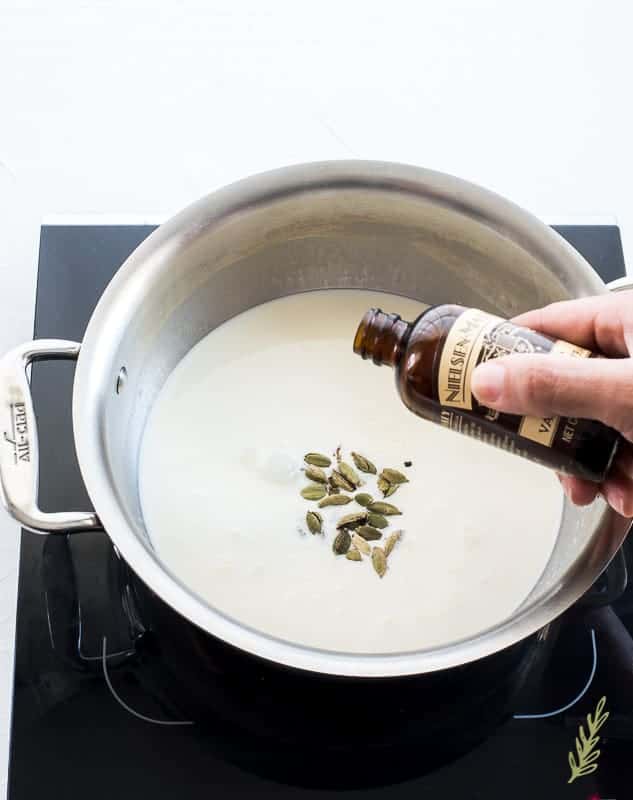
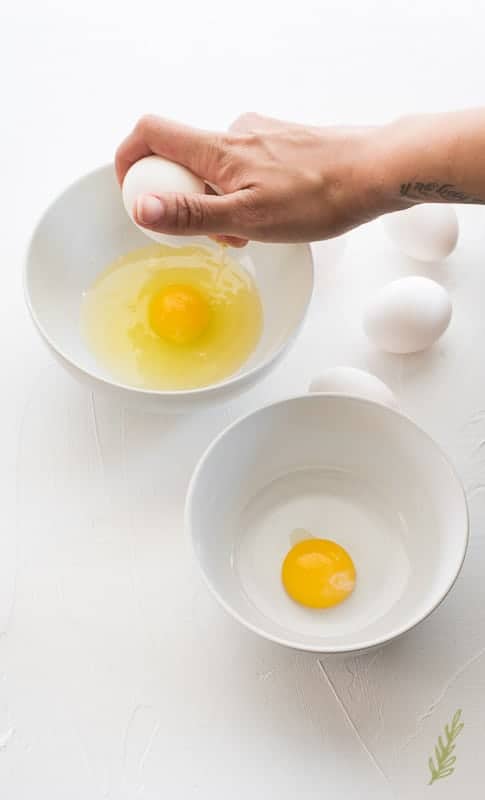
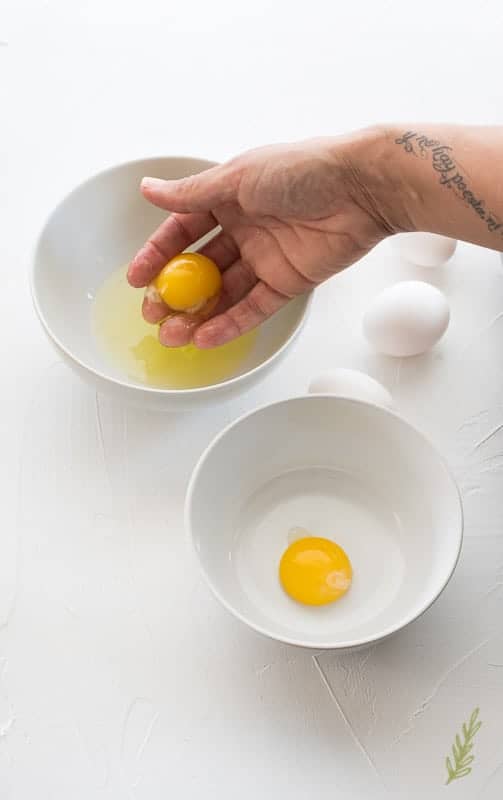
Stir all of this together and allow the milk to come to a steam while you separate your eggs.
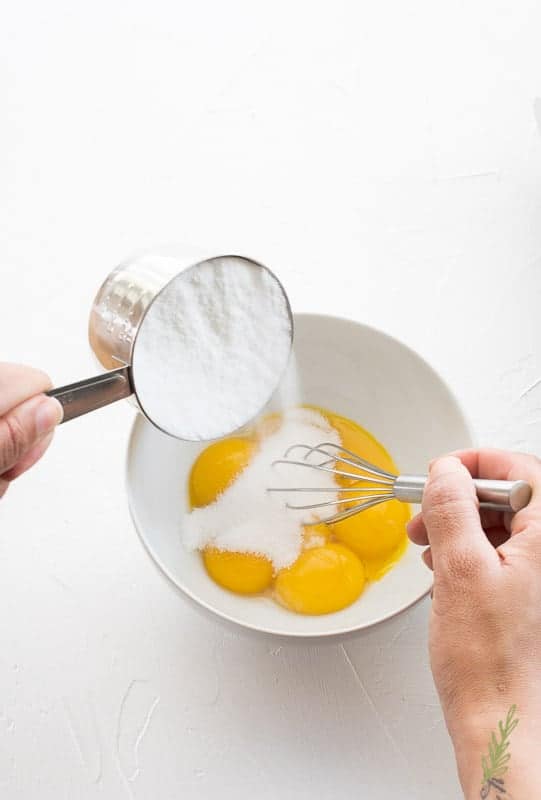
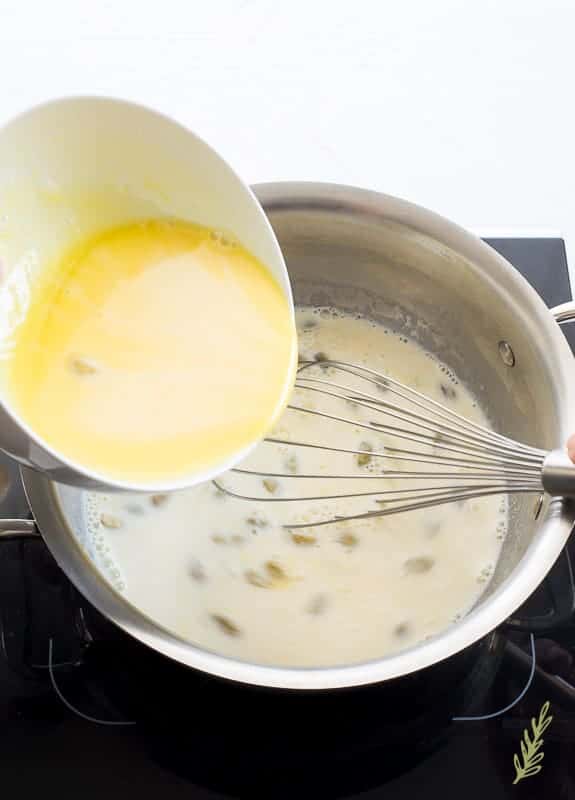
To do this, use the same measuring cup you used for the sugar. Scoop out about a cup of the hot milk mixture and, in a slow, steady stream, add it to the mixed egg yolks, whisking continuously. (you can see it in action here) If your eggs start looking extremely “chunky” you added the milk too fast and you’ll need to start over again. If it’s just a little clumpy, strain the mixture. It’s always better to go too slow than too fast when adding the hot milk.
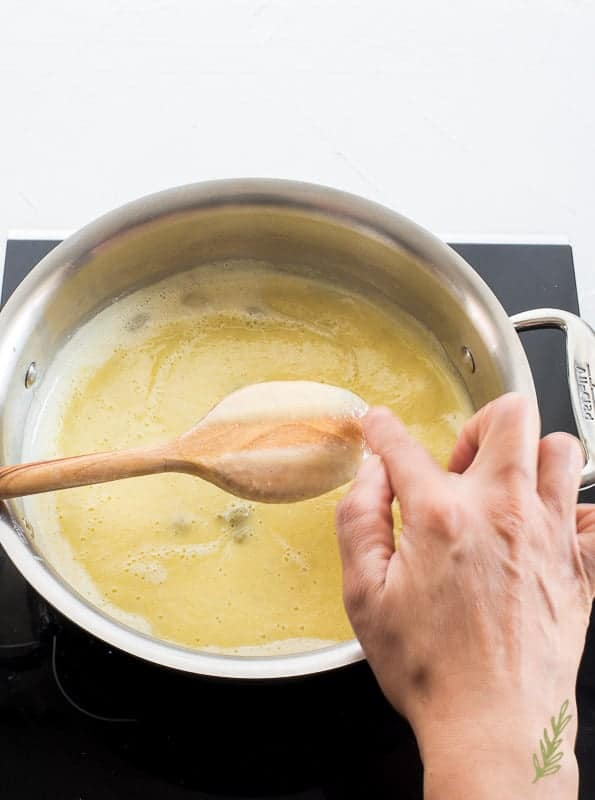
Nappe is what we’re looking to achieve in this custard. This is a French culinary term meaning to “lightly coat”, or “enrobe”, in a sauce. In this case the “sauce” is the custard base. The thing we are looking to coat is the back of our wooden spoon. Why a wooden spoon? Well, because it actually allows things to coat it. The slick metal of a stainless steel spoon would work, but it’s not ideal. Dip your spoon into the thickened mixture and quickly run a finger down the middle. The custard should hold its place and the mark left by your finger should be quite apparent. Don’t get all gung-ho and do it straight out of the pot like I did, though. I burned the crap out of the finger on my one good hand.
If the custard runs, just continue to cook a little while longer before testing it again. Once you have achieved a proper nappe, pull the custard off of the heat and allow it to come to room temperature.
Now we’ve come to the point where your patience will be tested.
Have you ever had ice cream that tasted “thin”, for lack of a better word? How about an ice cream that tasted almost fluffy in your mouth?
The difference between the two was patience on the part of the ice cream maker. Aging an ice cream or custard base allows the emulsifiers in the base to get nice and fat. This, literally, churns out a smoother, creamier frozen custard. Not only does the fat help, the cooling time helps avoid a longer churn time and rids the base of any pesky water droplets. Those water droplets turn into ice crystals, which is just whack. Do you have to age your base? No. But, do you have to eat crappy frozen custard? Also no.
Strain your room-temperature custard into a glass or plastic container to remove the cardamom pods. Discard the pods and cover the container with a lid or plastic wrap. Age it in the fridge for eight to twenty-four hours.
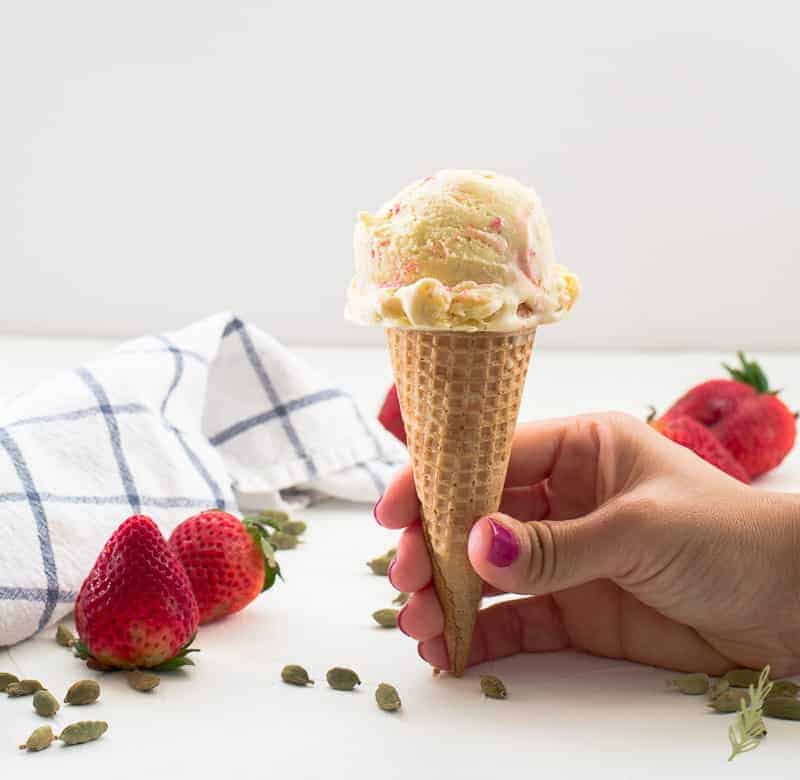
THAT’S more like it! You can enjoy this for up to two months…but, there’s no way it’ll last that long.
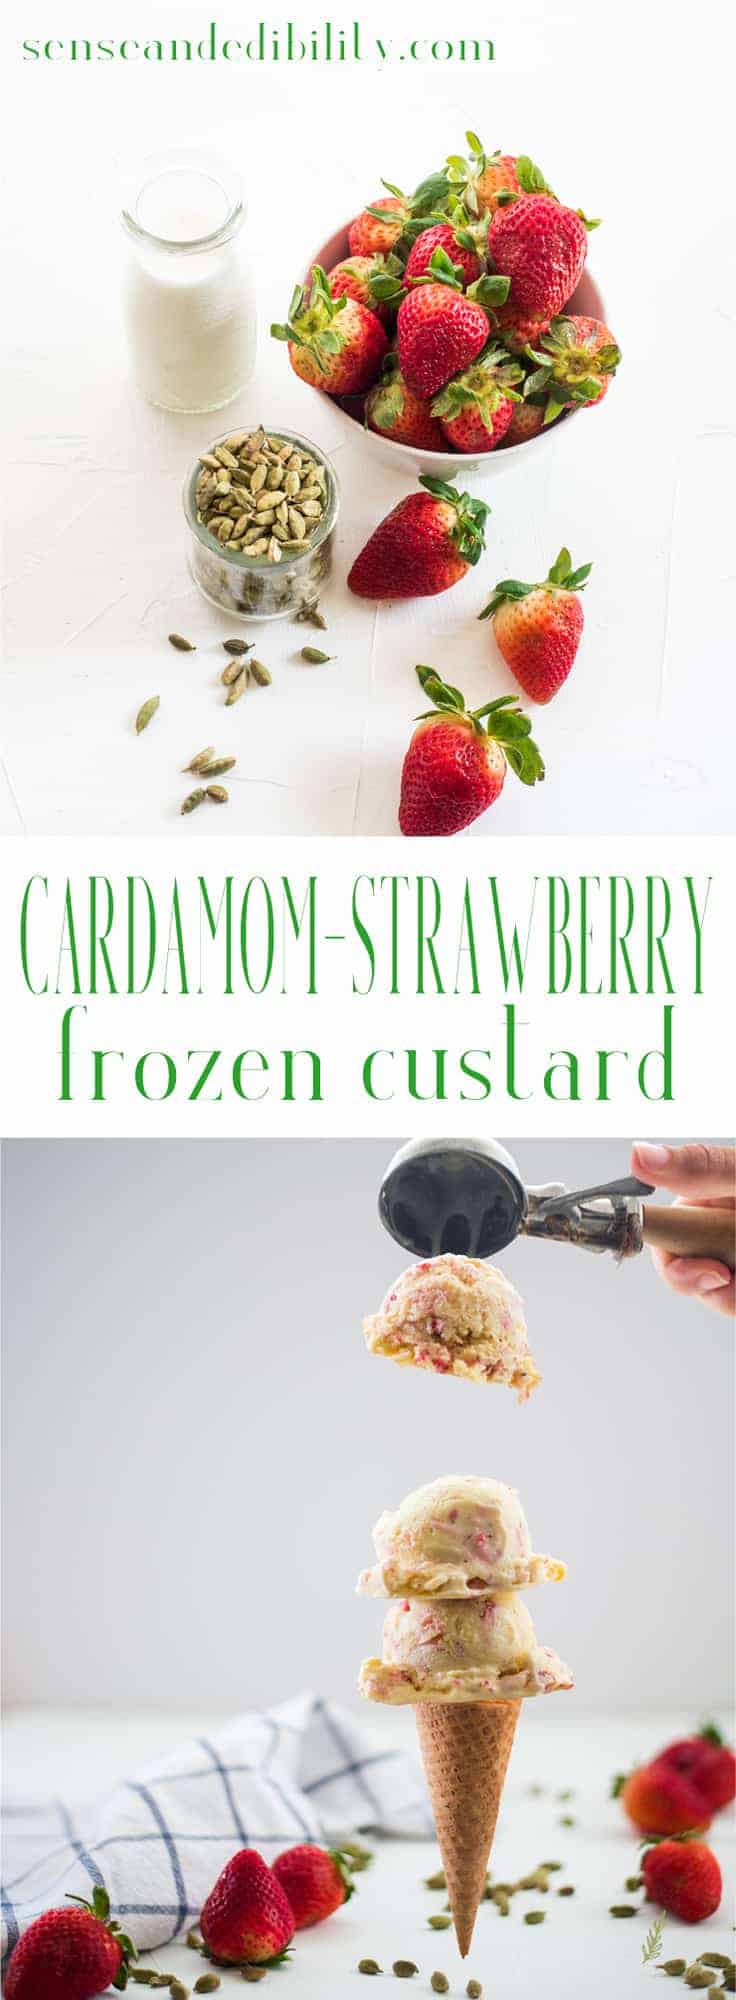
Pin this recipe for later and tell me in the comments: What’s the craziest ice cream flavor you’ve ever tasted?

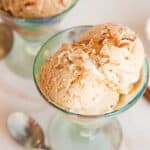
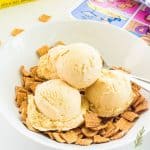
Cardamom-Strawberry Frozen Custard
at Sense & EdibilityIngredients
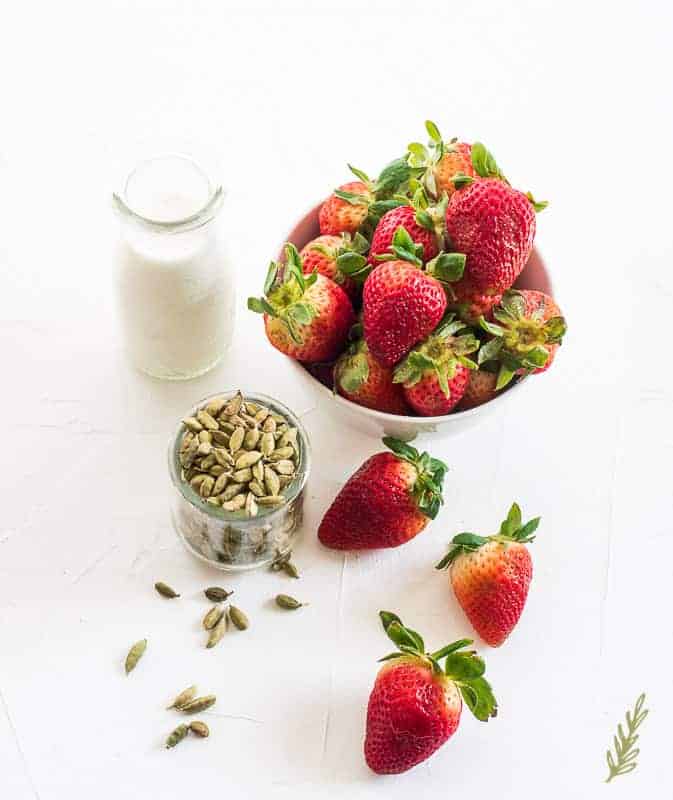
- 4 cups half and half or two cups whole milk and two cups heavy cream
- 1/2 tsp kosher salt
- 1 tbsp green cardamom pods crushed
- 1 tsp vanilla extract
- 12 large egg yolks
- 1 1/4 cup granulated sugar
- 1 tsp ground cardamom 2 tsp if you're not using cardamom pods
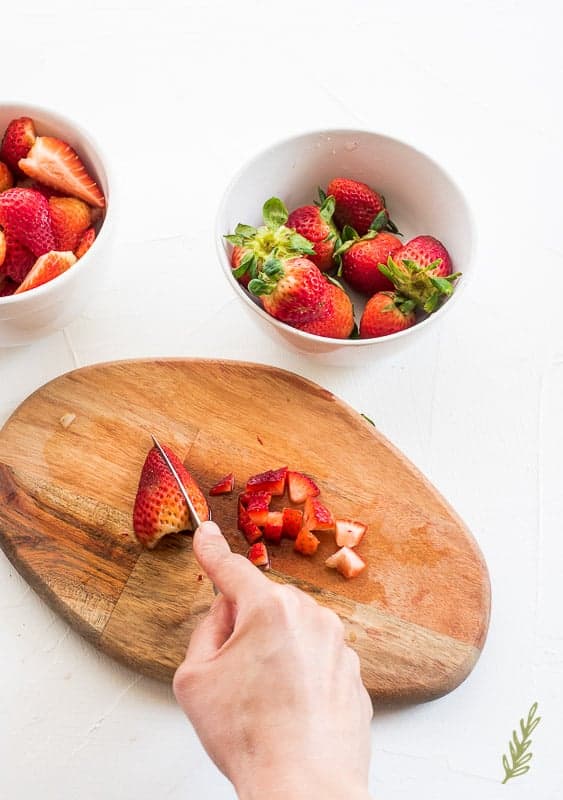
- 1 dry pint overripe strawberries hulled and small diced
Instructions
- In a heavy-bottomed stock pot, heat the half and half over medium heat. Stir in the salt, cardamom pods, and vanilla extract. Allow the milk to come to a steam.
- In a medium size bowl, whisk together the eggs and sugar until you have a runny mixture. Scoop out a cup of the hot milk mixture and, in a slow, steady stream, add it to the yolks, whisking continuously. See note in post in the event of curdling.
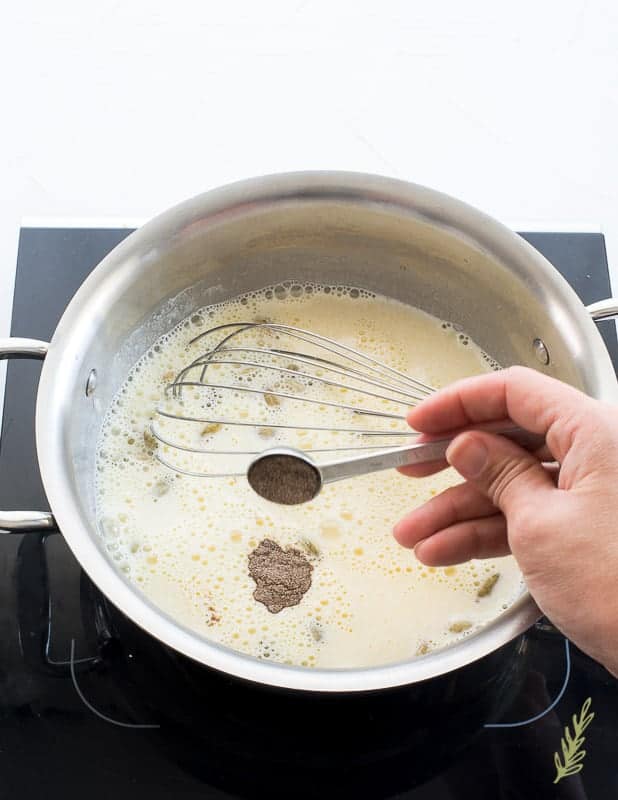
- Once the eggs have been tempered, pour the mixture slowly into the warm milk base, whisking constantly. Add the ground cardamom. Bring the mixture up to a gentle simmer and allow the mixture to thicken. The bubbles should barely break the surface.
- Once the mixture has thickened, dip your spoon into the mixture and quickly run a finger down the middle. The custard should hold its place and the mark left by your finger should be quite apparent. If it doesn't, allow it cook a few minutes longer before testing again. Once you have achieve a proper nappe, pull the custard off of the heat and allow it to come to room temperature.
- Strain custard into a clean container- removing the cardamom pods, discard the pods. Cover the container with a lid or plastic wrap. Cool it in the fridge for eight to twenty-four hours.
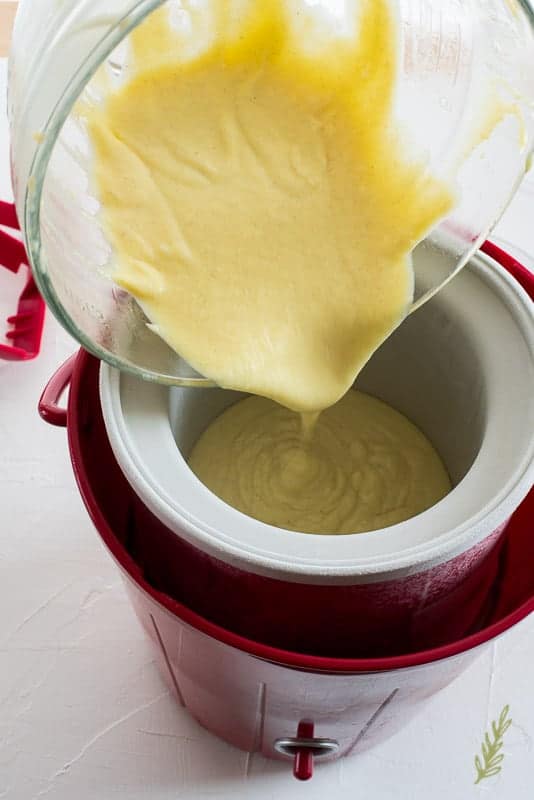
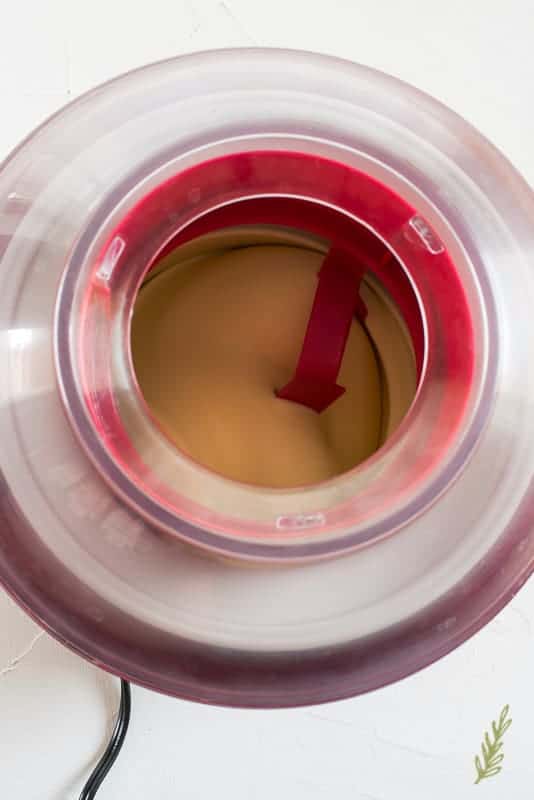
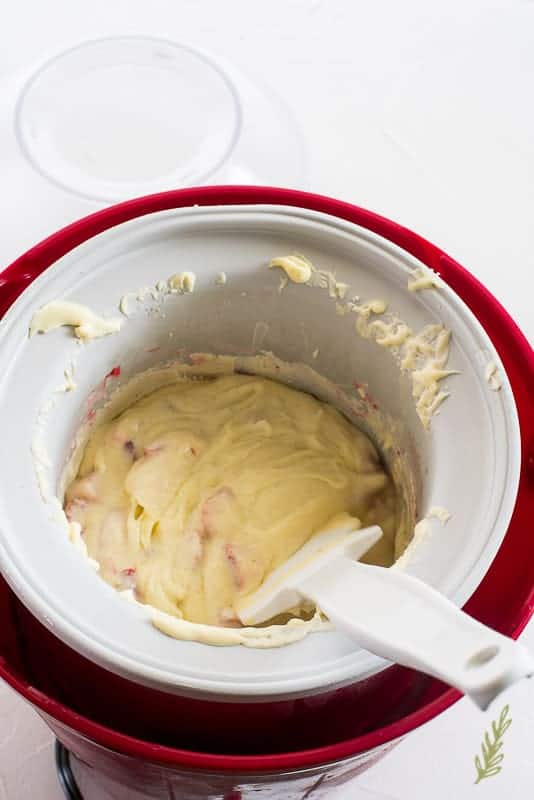
- Pour the custard into an ice cream maker. Churn your custard to soft serve ice cream/yogurt consistency. Once it's reached this stage, turn off the machine and remove the top and churning blade.
- Stir in your chopped berries and transfer it to an ice cream container. Freeze upside down (to eliminate any air pockets) for at least four hours.
- When ready to serve, remove from the freezer and allow to warm for ten-fifteen minutes on your countertop, then enjoy.
Notes
**THIS POST CONTAINS AFFILIATE LINKS. PLEASE SEE MY DISCLOSURE PAGE FOR MORE DETAILS.
Need more frozen treats? Check these out:
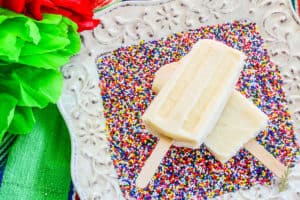
Tres Leches Paletas
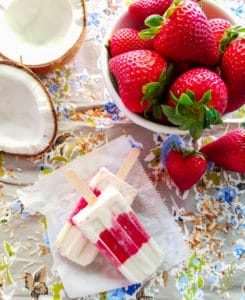
Strawberry-Coconut Popsicles




Cardamom is one of my favorite flavors in sweets. It isn’t as common, but it makes desserts extraordinary. I loved your step by step photos.
Thank you, Amanda! I think I have a slight addiction to cardamom. I love adding it to a lot of things!
Sounds like a lovely combination. I haven’t tried to make frozen custard, but I have made several of my own ice cream creations!
You should definitely give frozen custard a go, Tabbie. It’s so much richer than regular ice cream.
Oh my wow! This looks delicious! You are right, it is so much cheaper to make our own delicious treats. I am all about saving money where ever possible. I can not wait to make this for my girls! I’m sure they will love it.
Oh, I know they will. It’s always a treat for the kiddos when Mommy makes something special. Enjoy it, Brittney!
Marta! I am completely impressed! Love the ingredients you’ve chosen and how gorgeous the photos and “the end product look”! Well Well done!! My mailing address is….. 🙂
LOL!!! Only if I can share it with you, my friend!! Thanks so much!
This looks delicious! I would love to try a vegan alternative.
Thanks, Gemille! I don’t think a vegan alternative would be quite as rich, but a good starting point would be to sub out the half-and-half for full fat coconut milk, omit the eggs and their tempering. If you give it a go please let me know how it turn out.