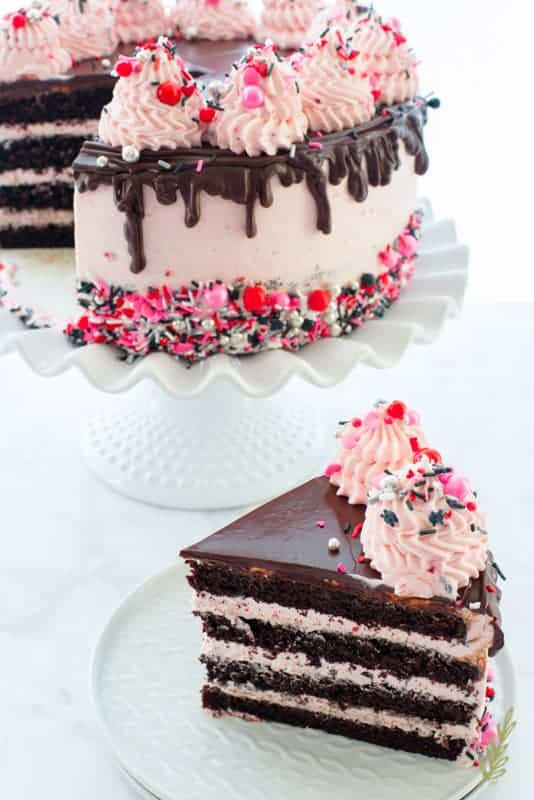
Part 1: The Chocolate Cake
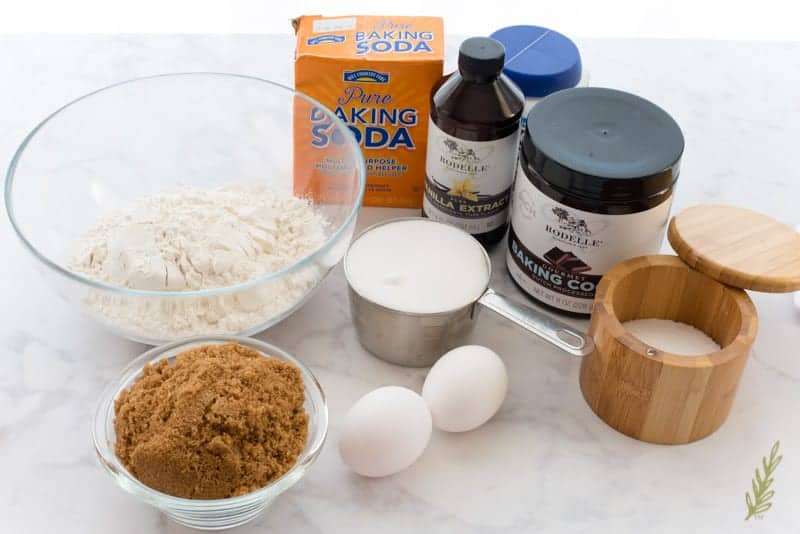
The cake part needs to be started a day ahead. I don’t make cakes the same day I want to slice and serve them- ever. In my past life I was a cake decorator who used to make big event cakes. You only need to watch one of your cakes go wonky to learn the lesson that cakes need time to develop their structure. Now, if you plan to not go all out and decorate with a purpose, i.e. you’re just gonna slap some icing on there- ignore me. But, if you’re attempting to impress someone, bake the cake the day before you plan to decorate it.
A good quality cocoa powder, white and dark brown (whaaaa??!?!?! trust me, I’m a professional) sugars, all-purpose flour (structure), salt, leavening agents, eggs, buttermilk (tender crumb), and vanilla extract are what you’ll need for this round.
My PSA About Temps
One of the biggest rookie mistakes I see when people bake is the failure to respect temperatures.
First things first, you need to pre-heat your oven now. Don’t get duped into ever thinking that your oven is ready to rock when that little beep-beep-beep sounds. It’s not. It’s just hovering at the proper temperature, but even when you hear that temperature indicator, your oven still needs a good ten to fifteen minutes to be at the proper proper temp. The sooner you begin heating your oven, the better. Oh! Put the rack in the center of the oven, too.
The same holds true for ingredient temperatures. Cake batters need to be made with room temperature ingredients. Any fluctuation will require you to mix your batter for a longer amount of time than you should.
Prevent Sticking!
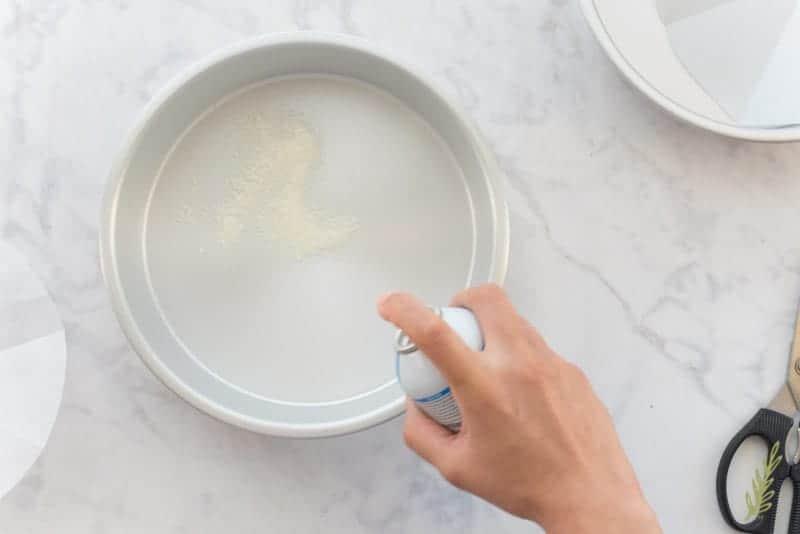
I make this cake in my eight inch cake pans, which are three inches deep. I want to have good layers and the deeper the pan, the higher the layers will be. To prevent the cake from sticking to the pan, I just use a baking spray. Unlike food spray, this version has flour and fat mixed together to allow the cake to release from the pan. If you don’t like using aerosol sprays just use a paper towel to wipe a thin layer of shortening inside the cake pans. Dust the pans with cocoa powder- not white flour- afterwards to prevent the cake from sticking.
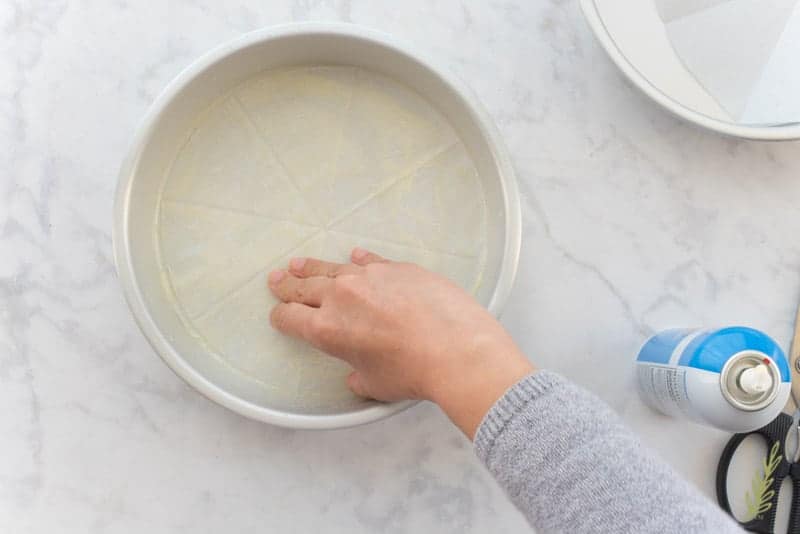
I use a parchment paper circle to eliminate any chance of the cake sticking to the pan. Just cut out a circle (use the bottom of the pan to create an outline) of the parchment and lay it into the pan. Get one side of the paper gooped up with the non-stick spray, then flip it over to the other side. This will prevent the paper from sticking to the cake, and the cake from sticking to the pan. Done!
Just set your cake pans to the side until you’re ready to fill them.
A Tip Fo’ Yo’ Life!
I can’t remember the last time I bought buttermilk. Buttermilk is a popular ingredient in my kitchen, but I don’t buy it because I don’t need it. If you have two percent milk and vinegar (or lemon juice) you have all you need to make buttermilk.
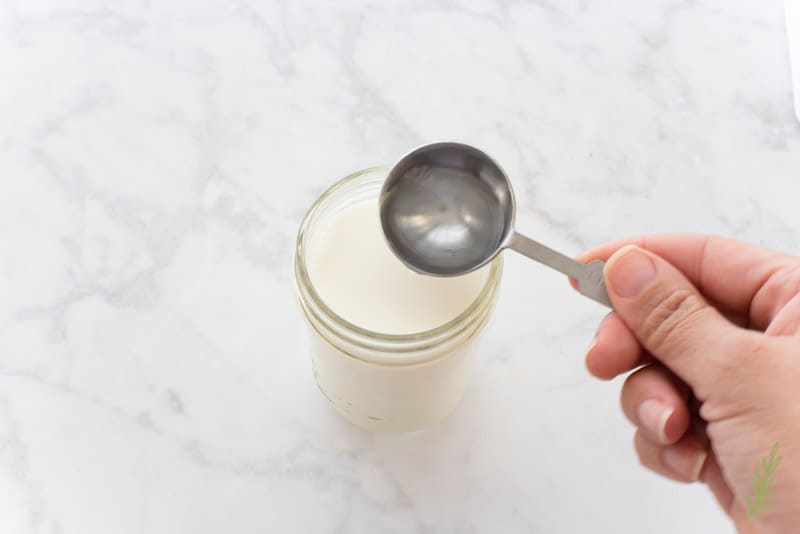
To make your own buttermilk (for this and any other recipes you need to use it in), grab a mason jar– or any jar with a lid you can screw on and shake- and pour in a cup of two percent milk. Whole milk won’t work when making buttermilk and neither will skim. Two percent has the right amount of fat in it to accomplish this. Add one tablespoon of white distilled vinegar (or lemon juice) to the milk and screw the top on and shake it up a bit. Let the buttermilk sit for fifteen minutes- just prep/measure the rest of your ingredients while it brews. Of course, if you just so happen to keep buttermilk on hand, use that instead.
Combine the Cake’s Drys
The key to the perfect cake is making a well-mixed batter without mixing it to kingdom come and making it tough and chewy. The only way to do that is to combine the dry ingredients and wet ingredients separately (and thoroughly) before combining them together for the final mix.
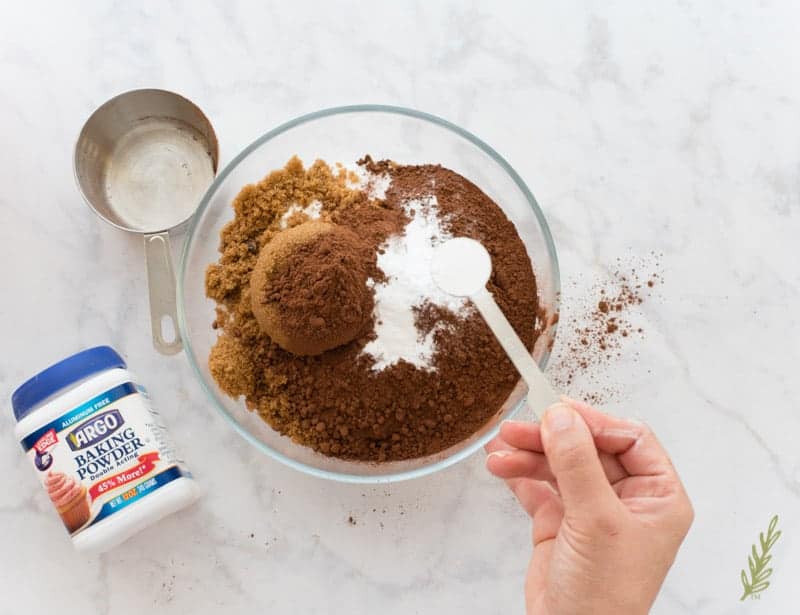
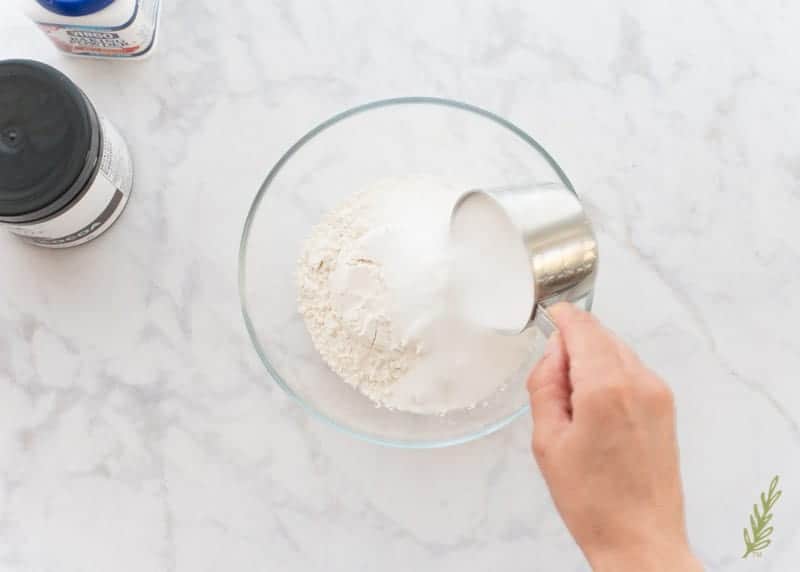
To do that I combine the flour, sugars, and the cocoa powder in a large mixing bowl. The reason I use brown sugar in this particular recipe is because it gives the cake a malty flavor and also keeps the cake moist. Yeah, I said it.
On to the Wet Ingredients
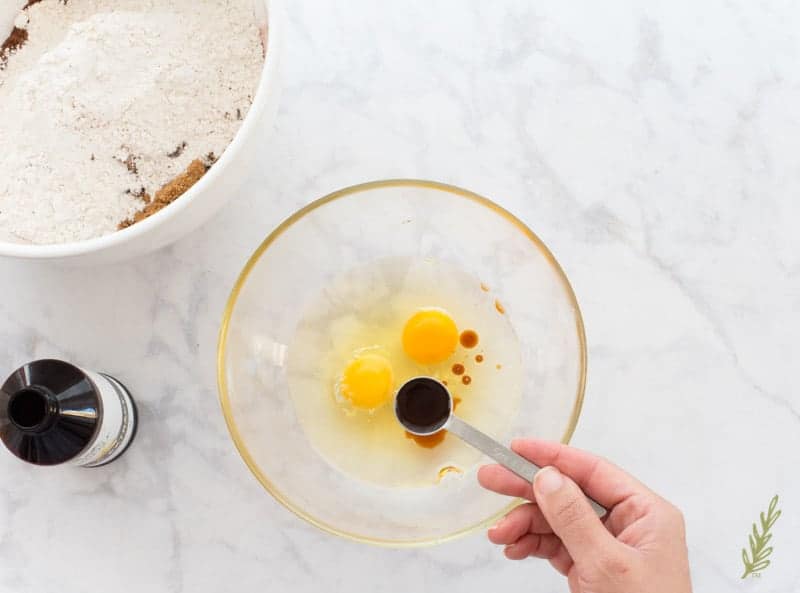
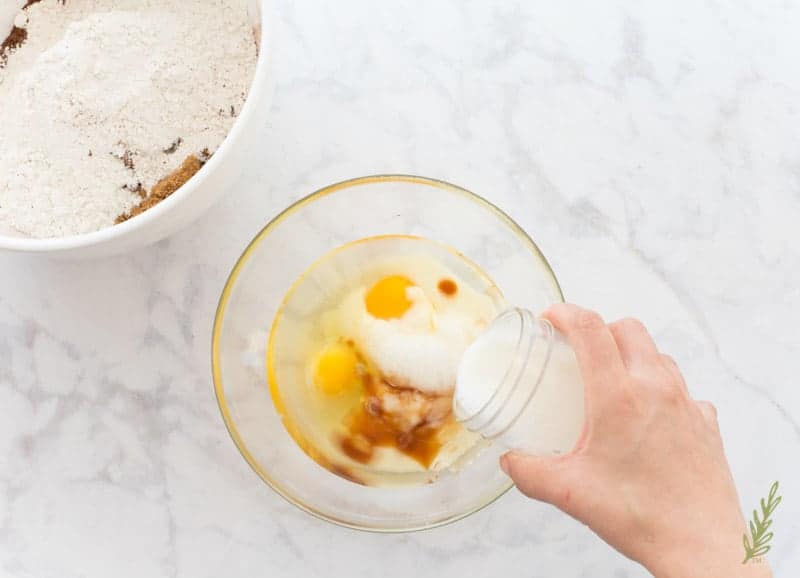
By now your buttermilk should be fully brewed (or really close to it). Add it to the egg mixture.
Once again, we want to mix the two parts of the batter well prior to adding them together. Once the flour is wet and mixed, the gluten will begin to develop. The more it develops, the tougher your finished cake will be.
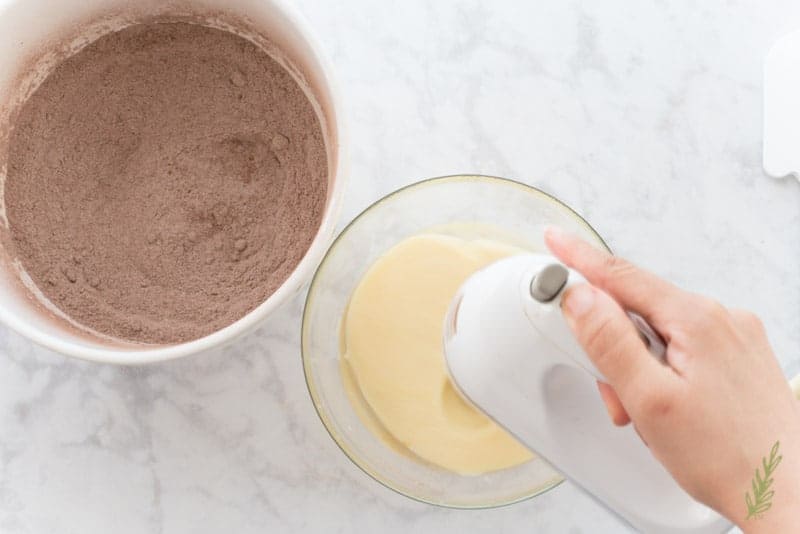
Use your hand mixer (on low) to combine the dry ingredients. It should look like brown sand when you’re done. Pay close attention to the brown sugar- you know how it likes to clump up. Now, pick up the beaters and put them right into the wet mixture. Blend that on low as well until the oil and the rest of the liquids are one cohesive mixture.
Mix the Cake Batter
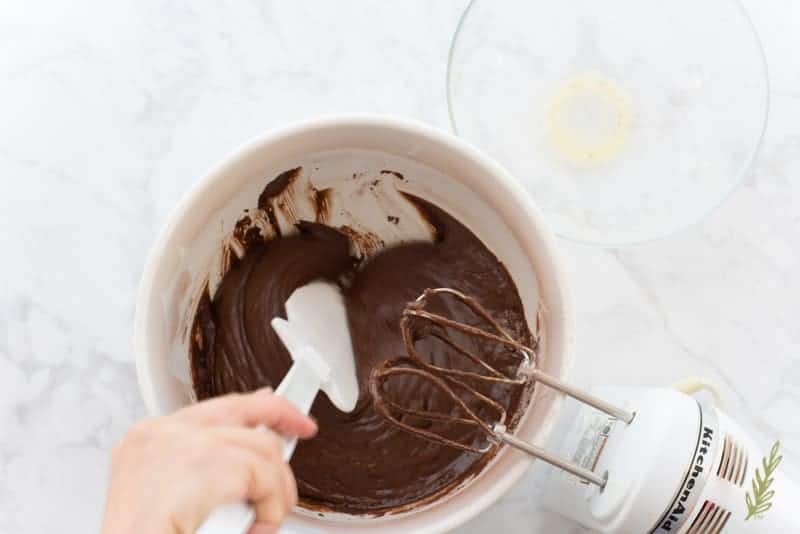
Now all you need to do is add the dry mixture to the wet mixture and blend on low. Always on low- gluten is NOT our friend! Use a rubber spatula– just after the dry mixture is moistened- to scrape down the sides of the bowl. This will ensure the cake batter is mixed well; no chunks of flour over here and bits of eggs over there.
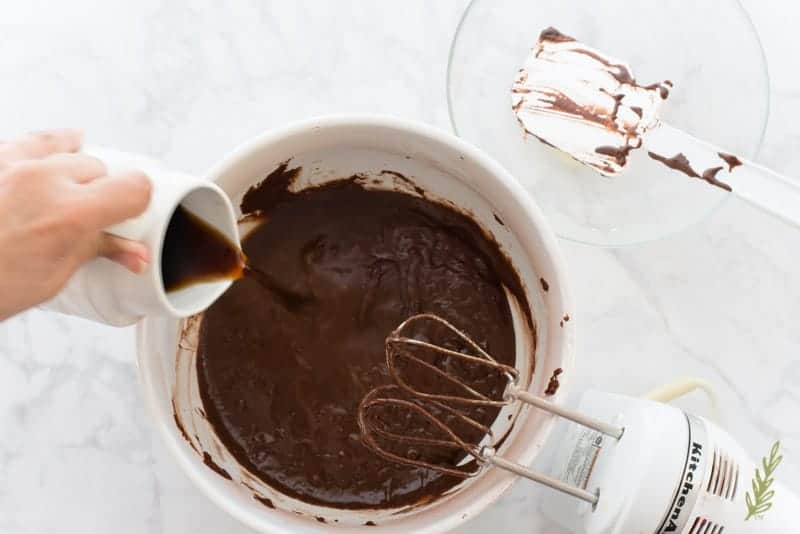
Now for the final boost of malty, rich flavor, add HOT brewed coffee. This is one of those ingredients that, when you taste the baked cake, you’ll say, “Mmmmmm…that tastes so luxurious!!” If you can’t do too much caffeine, just use hot water, instead. Add the coffee to the batter and blend for one more minute.
Panning the Cake
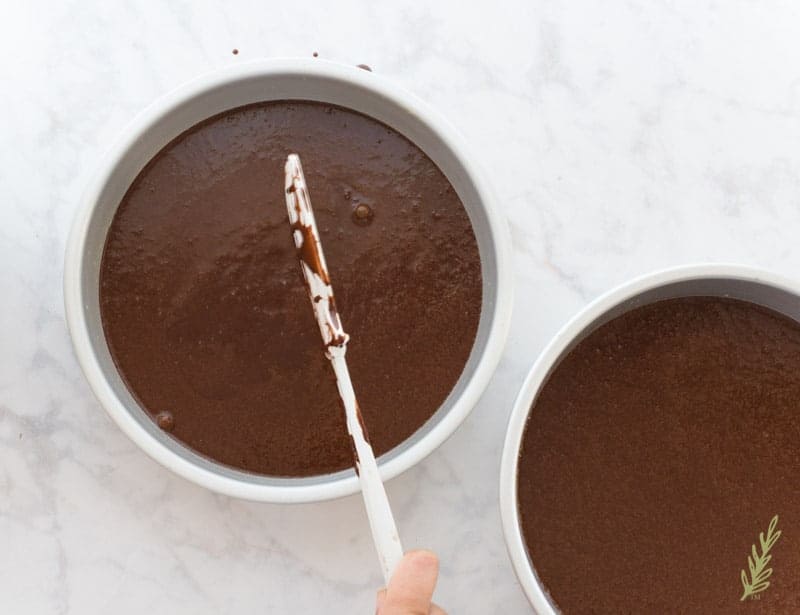
Divide the batter equally between the two pans. Use your rubber spatula to rapidly tap the sides of the cake pans to release any air bubbles that may be caught up in the batter. Now just pop the pans into the oven and bake them for thirty minutes, or until a toothpick inserted into the center of the cakes comes out clean. If you have asbestos fingers like me, lightly press the surface- right in the center- if it springs back, it’s probably done. Also, the sides of the cake will pull away from the pan.
Once the cakes are done, pull the pans from the oven and allow them to cool on the counter for five minutes. Don’t turn them out of the pan right away because they’re more than likely going to fall apart because they’re weak at this point.
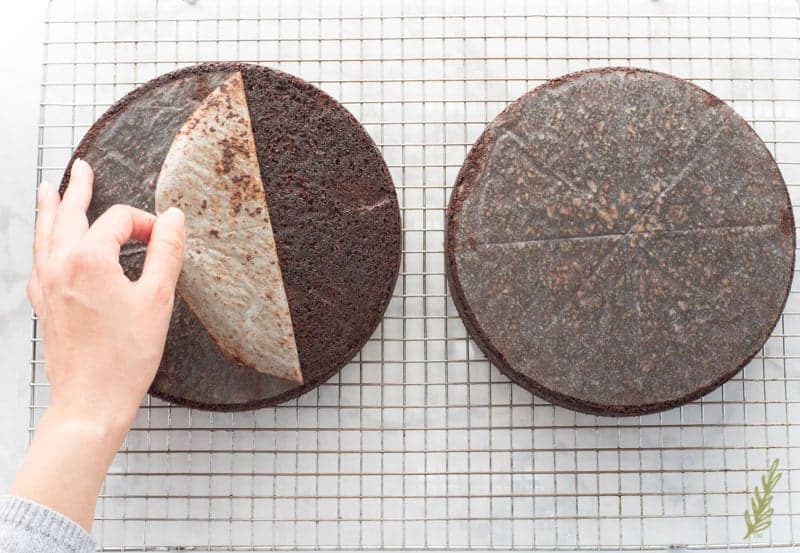
After five minutes, turn the cakes out onto a cooling rack. You can peel the parchment off now, or just wait until they cool completely. Let them cool fully on the counter. Once they’re completely cold, wrap them well in plastic wrap and let them sit until tomorrow- decorating day.
Raspberry Buttercream
Now, most people from the States will swear they don’t like artificial or “unhealthy” ingredients, but feed them some French or Italian buttercream and they’ll turn their noses up at it. That said, I’m going to teach you how to make “American” buttercream.
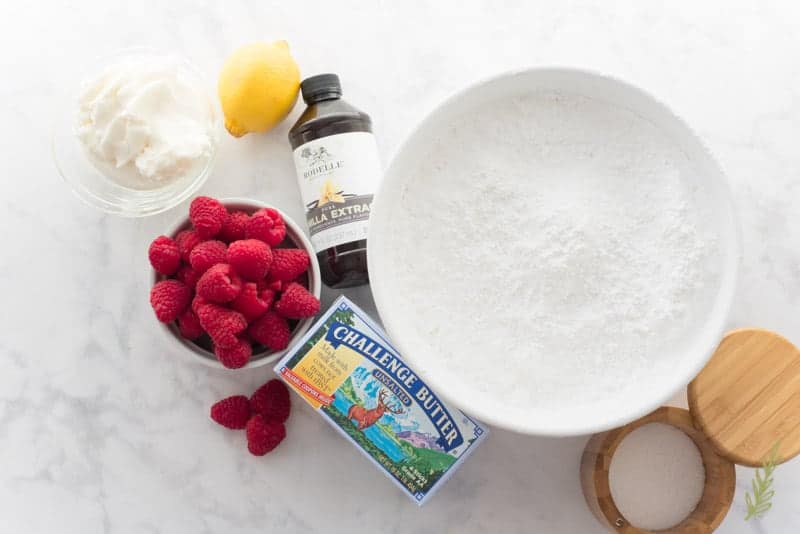
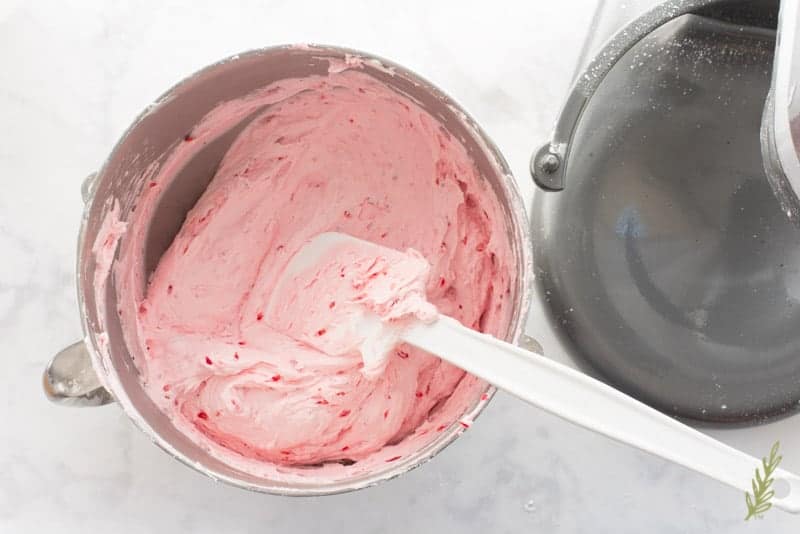
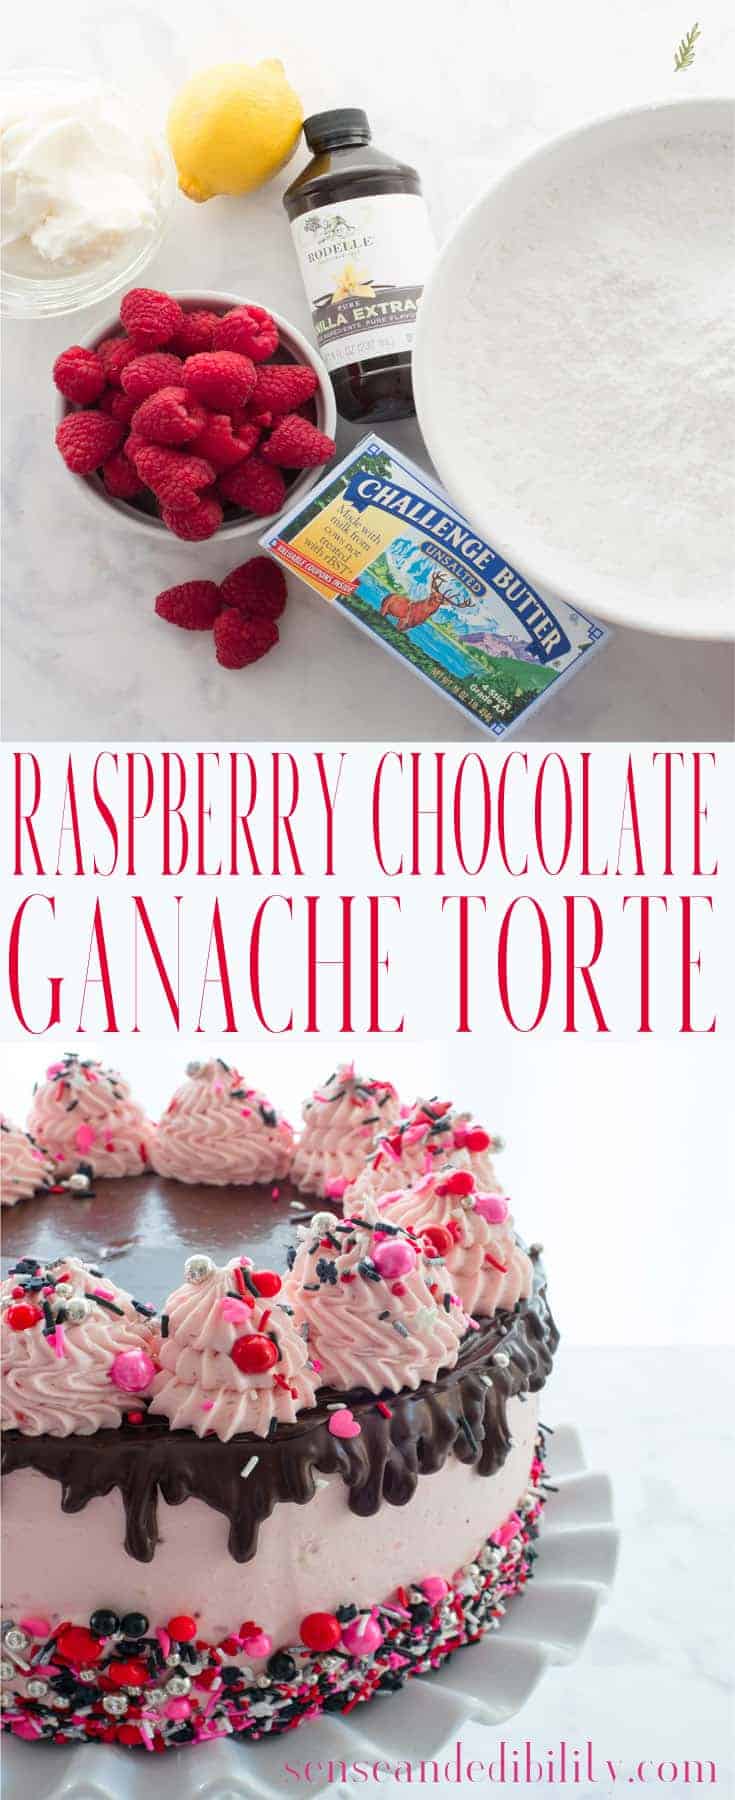
The base for this buttercream is universal and can be adapted to suit your flavor desires. I’m doing a raspberry flavor, obviously. The image is a bit misleading because I’m not using fresh raspberries- I’m using raspberry preserves (jam will work, too). Fresh raspberries won’t do because they have too much liquid, which will separate from the fat in the final icing and cause the buttercream to curdle.
Cream the Fats Together
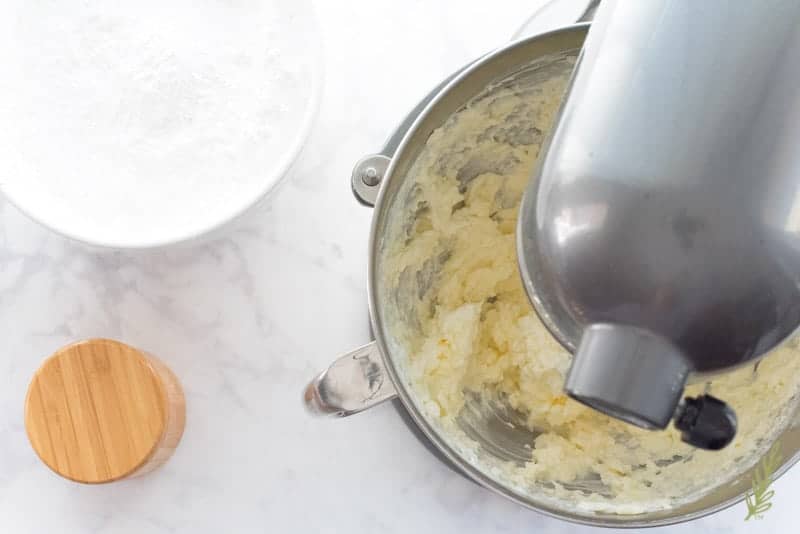
Cream (beat) the butter and the shortening together on medium-high (five on a KitchenAid) in a stand mixer. Mix these together until they are smooth- usually about four to five minutes. Scrape the sides of the bowl down a couple of time while you’re mixing.
Careful with the Sugar!
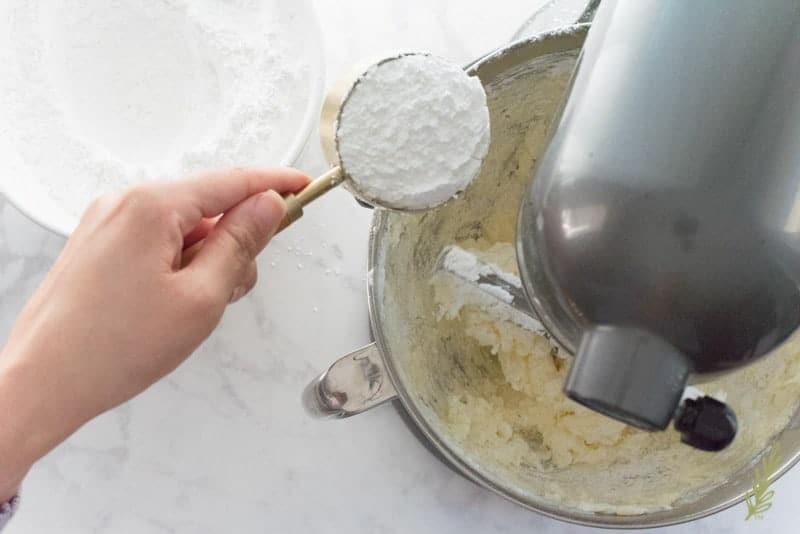
Lower the speed to “Stir” or one and add the salt and the sugar, one cup at a time. Don’t mix it on high, or- POOF!!
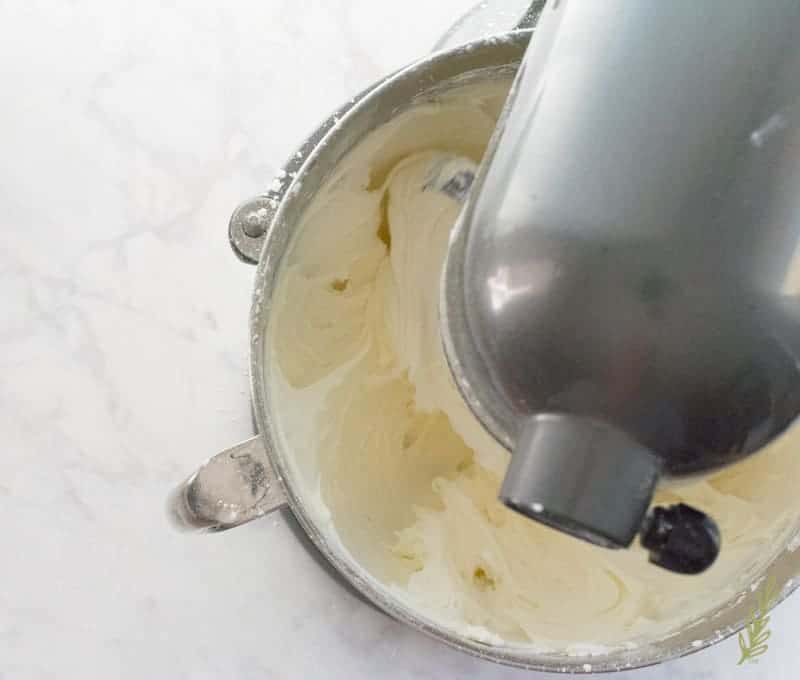
Increase the speed to medium-high and mix together for five minutes. This makes the buttercream light and fluffy, or until the buttercream is an ivory- almost white- color.
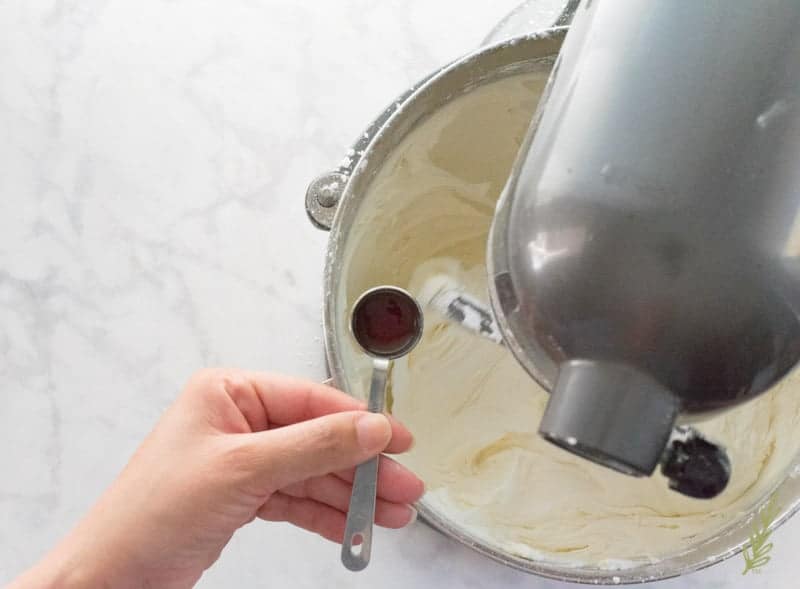
Lower the speed, once again, then add the flavorings, vanilla extract and lemon juice, to the mixer. Increase the speed once more (to medium-high) and whip for four more minutes.
Lower the speed and stir in the raspberry preserves. Scrape it down again and mix some more on low. Mix until you don’t see patches of white or red; the buttercream should be a uniform color.
Set this aside, or, if you’re making this in advance, cover the bowl and put it in the refrigerator. If you do refrigerate it, you’ll need to pull it from the fridge an hour, or two, ahead to let it warm up and make it soft enough to re-whip.
Make the Ganache
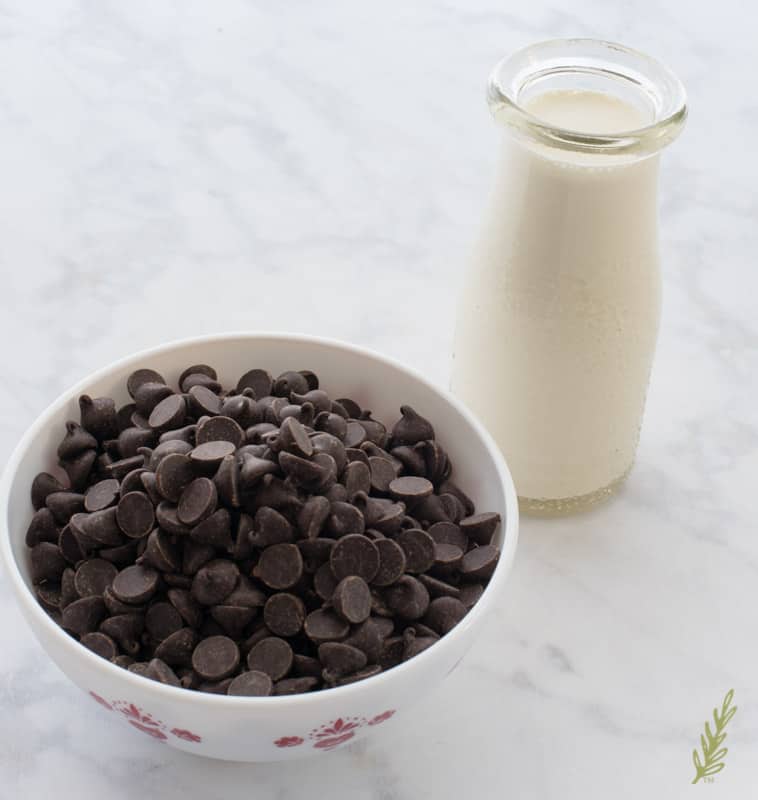
Chocolate ganache is super-easy to make. It’s freaking amazing too! All you need is semi-sweet (or darker) chocolate chips and heavy cream.
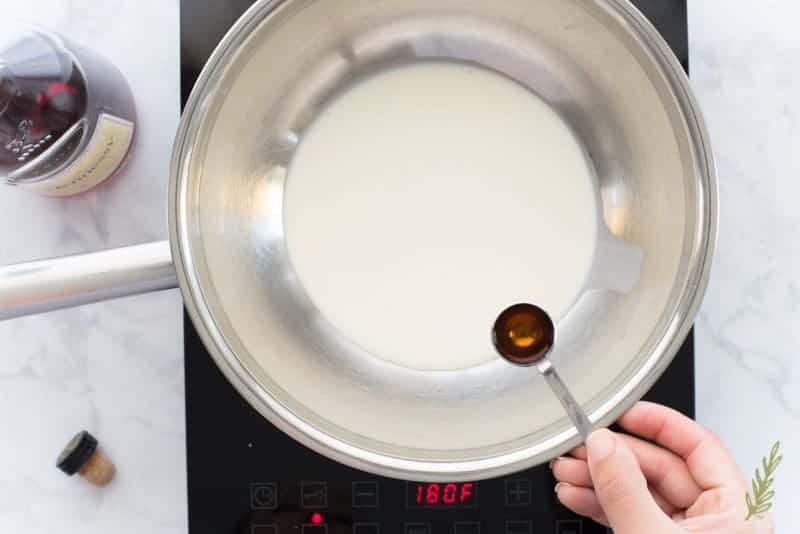
You’ll also need a double boiler or a metal or glass bowl that you can set over a sauce-pan. Pour a couple of inches of water into the bottom pan and bring the water to a simmer.
In the top bowl, begin heating the heavy cream and a teaspoon of cognac (optional- you can use vanilla extract, instead).
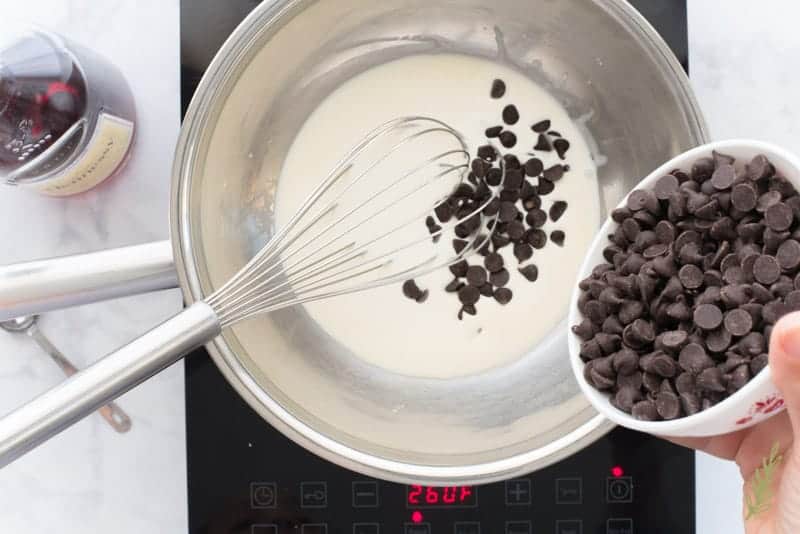
Once the cream begins to steam, add the chocolate chips and turn the heat off. Let the cream begin to melt the chocolate- it’ll begin to look glossy and will swirl in the cream.
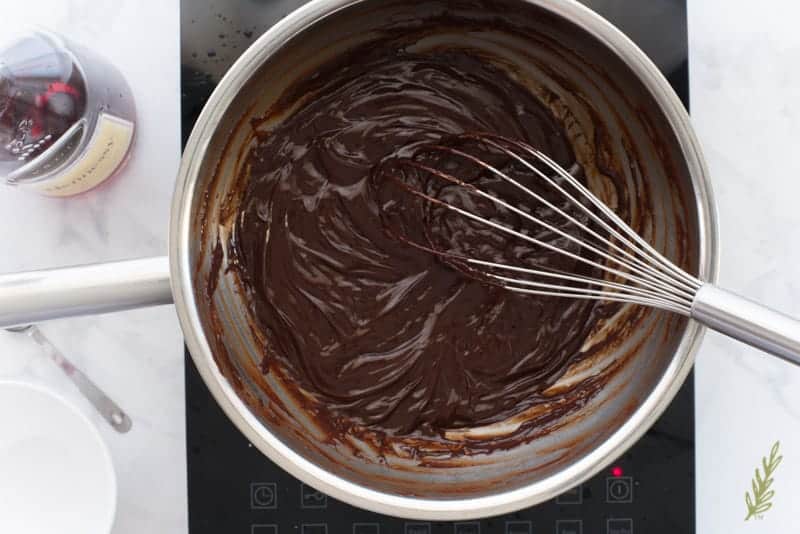
Start to whisk the cream and the chocolate together until you have a thick, glossy sauce. Remove it from the heat and let it set up for ten to fifteen minutes.
The Cake Decorating Process
As a professional cake decorator, the one thing I used to be paranoid about was a bulging cake. You know, when you see the filling of the cake busting through the outer icing? That would drive me bananas. What I learned was that it was the result of impatience. Rushing through the filling and icing of a cake is what causes that filling in between the cakes layers to smoosh outwards and ruin your smooth exterior.
Torte (Cut) the Cake
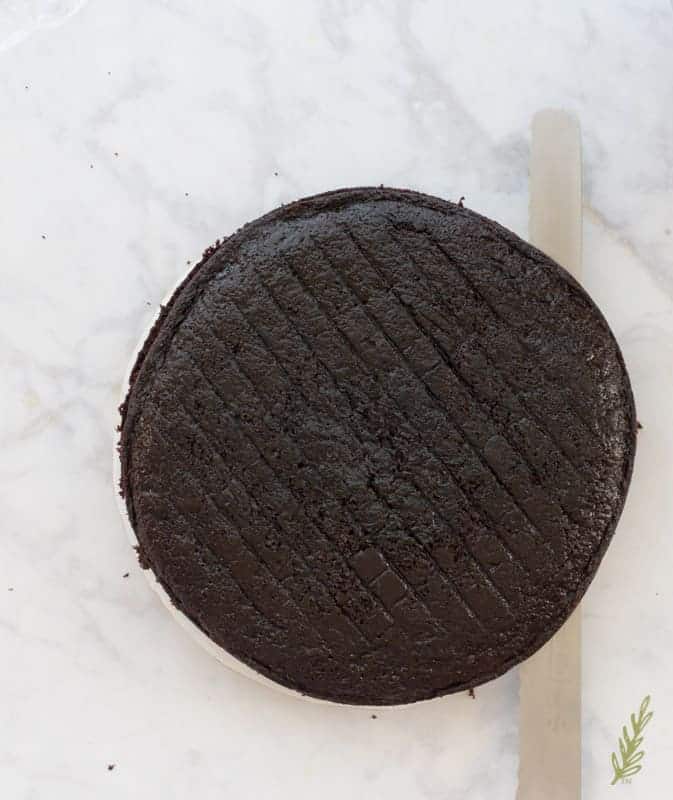
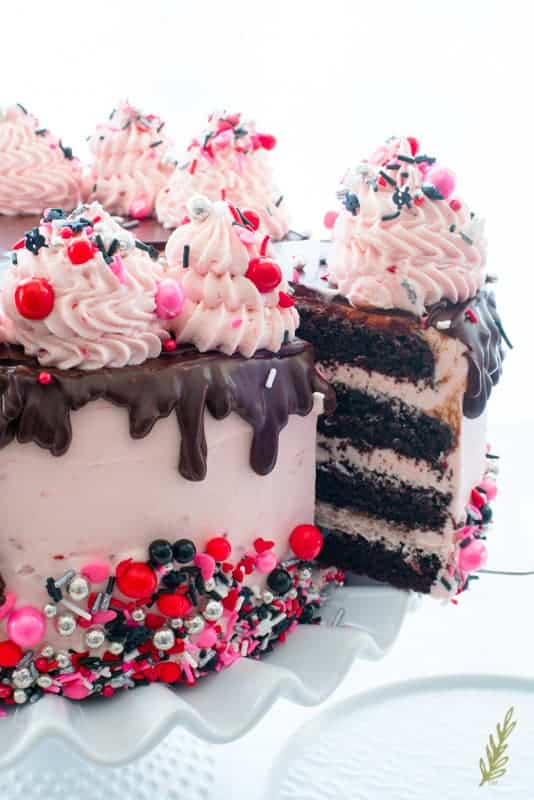
To get to the icing part, though, we must first cut or torte the cake’s layers. Place a small amount of icing onto a nine inch cardboard cake board. This acts as glue to hold the cake in place. Now you know where the name Raspberry-Chocolate Ganache Torte came from. Grab your serrated cake knife and one of the cake layers. Using a turntable for this process is really helpful. Position your knife dead center in the middle of your cake layer. You’re going to slice it in half by, first, scoring the cake to get a cutting guideline. Just spin the turntable with the cake on it to make a cutting template. Try to keep your knife level to avoid giving yourself an uneven guide.
Once you’ve made your guideline the circumference of the cake, begin to cut the cake by pressing the knife against (and eventually into) the cake harder. As you press the knife, rotate the turntable so you are, in fact, sawing the cake. As you complete your three hundred sixty degree turn, you’ll find that your knife is in the center, or, in some cases, completely cut through to the other side. Designate one of the bottom’s of the cakes to use as your final top layer.
Filling with the Raspberry Buttercream
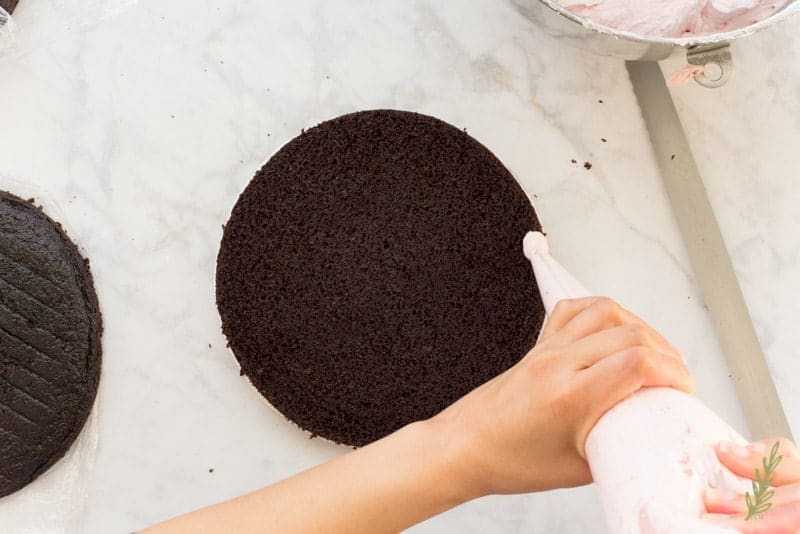
Fill a twelve inch (or larger) piping bag with the raspberry buttercream. If you find it’s a little on the thick side, that’s actually great for this step. A thick buttercream provides a nice, firm dam to prevent the filling from bulging out in our final cake. Cut about an inch off of the tip of the piping bag (or use a one inch round tip). Using your non-dominant hand as the guide, squeeze the top of the bag with your dominant hand and outline the cake with a line of buttercream. Meet the buttercream where you began to create an unbroken ring.
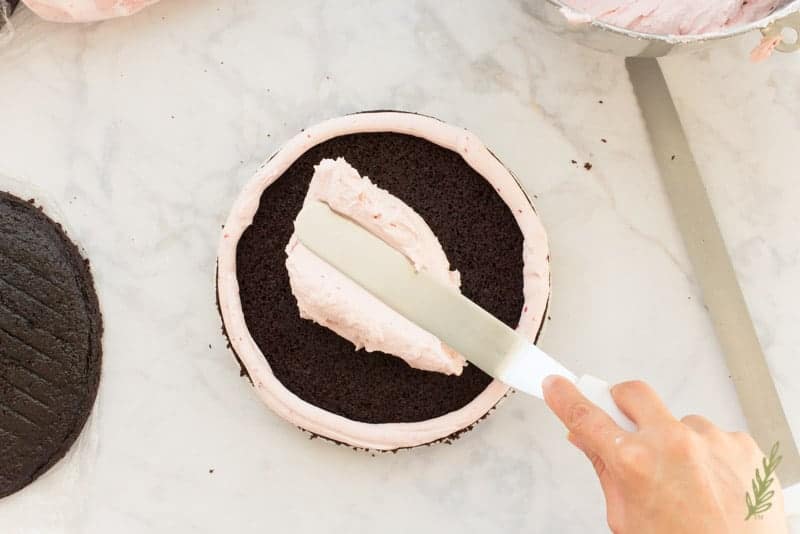
Take about a cup and a half of the buttercream and plop it into the center of your raspberry buttercream ring.
Use a nine to ten inch offset spatula to spread the buttercream into an even layer about three-quarters to one inch thick. Place your next layer of cake on top of the layer of icing and use any icing that has seeped out from in between the layers to seal the new layer to the one you’ve just iced.
Repeat the icing and sealing process again. Do this once more after topping with the third layer. For the fourth, and final layer, flip it so the bottom of the cake layer (the part that baked on the bottom of the cake pan) is facing up- the one you designated earlier. Using this as your top gives you the flattest surface for your decorated cake.
Dirty Icing and Final Ice
Spread a very thin layer of icing all around the cake and on the top of the cake. Don’t use a lot of icing to create this “dirty ice”. The goal is to trap any crumbs with this thin layer of icing. The final layer of buttercream will be thicker. Now, put the cake into the refrigerator and allow this buttercream to get firm. This will take a minimum of one hour. Yes, it’s a wait, but the end result will make it worth your while.
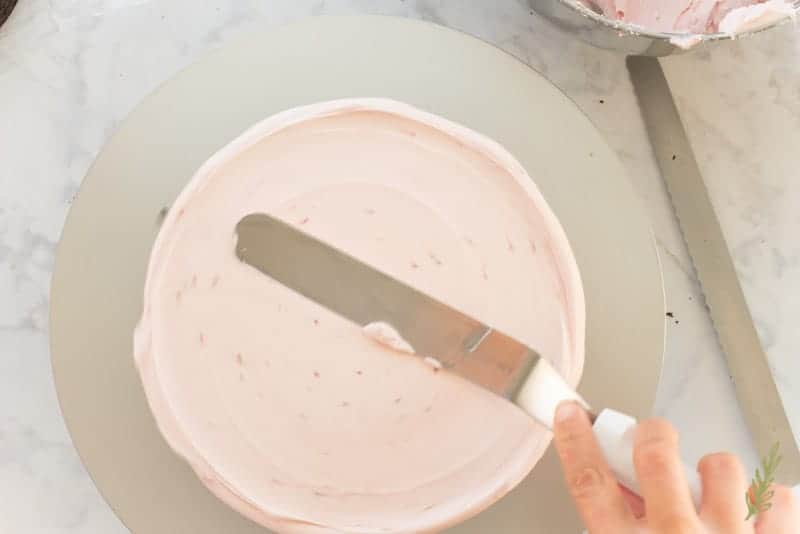
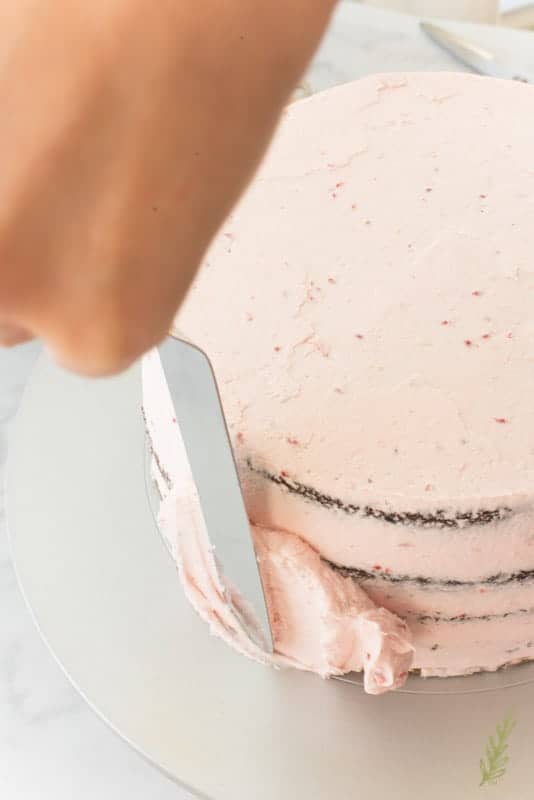
Pull the cake from the fridge and spread a thick layer of buttercream around the sides and top of the cake.
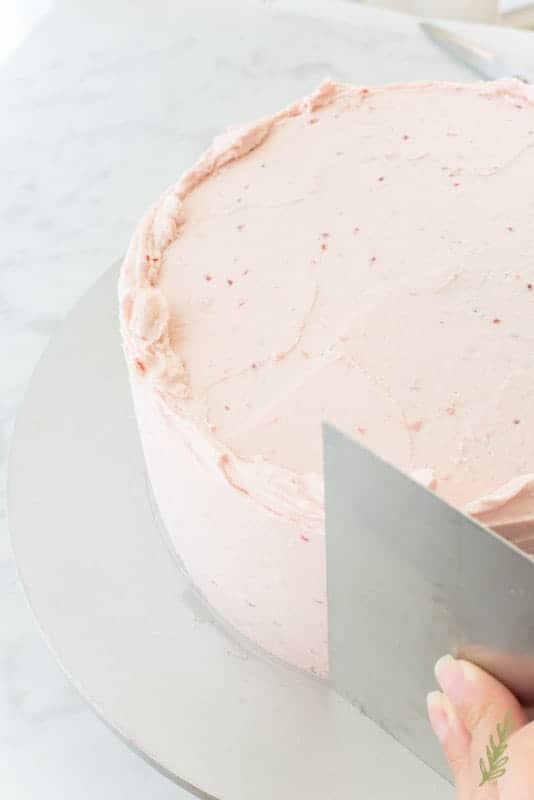
Use a bench scraper or icing spatula that has been dipped in hot water to smooth out the final coat of buttercream.
SPRINKLES!!!
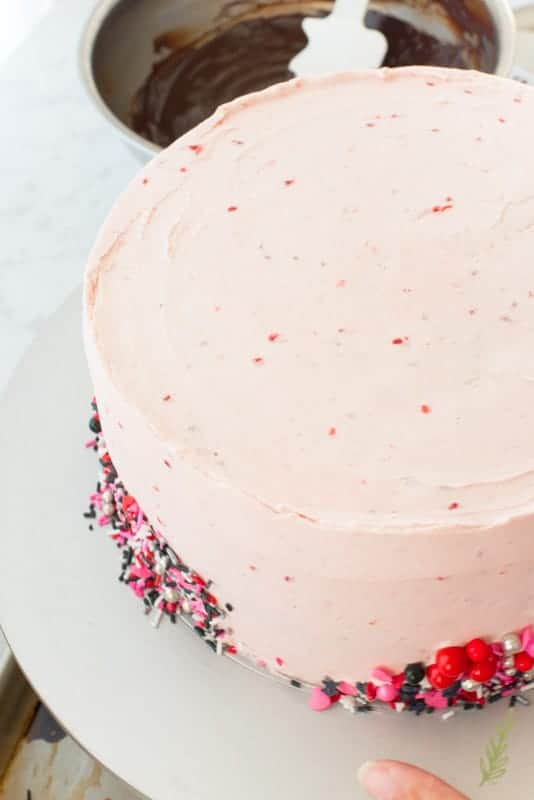
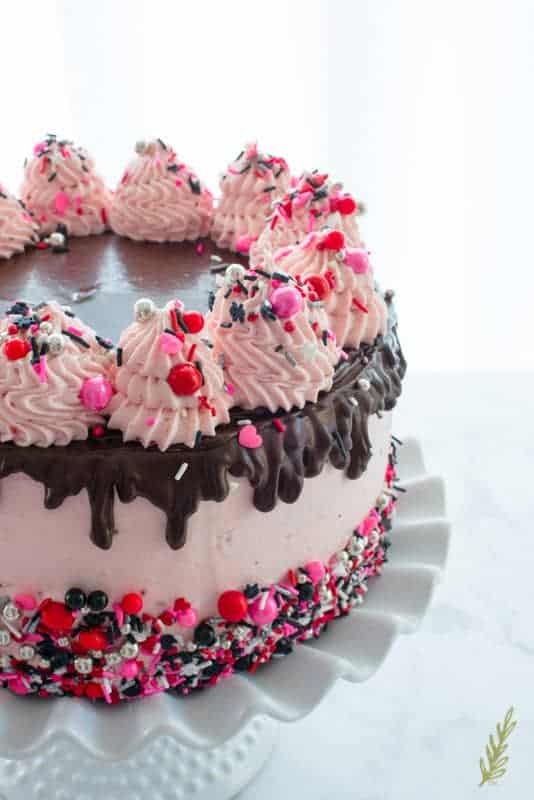
Now, for my favorite part of this cake! Sprinkles!!! I love these Valentine’s Day themed sprinkles! As you press the border of sprinkles against the cake, be sure to have a dish or pan underneath your turntable to catch fall out. Sprinkles can get messy! Don’t forget to leave a gap in the sprinkles. This will give you space to transfer the cake from the turntable to your cake display dish without ruining the sprinkles. Once you’ve transferred the cake, just press the sprinkles into cover the gap.
Dripping the Ganache
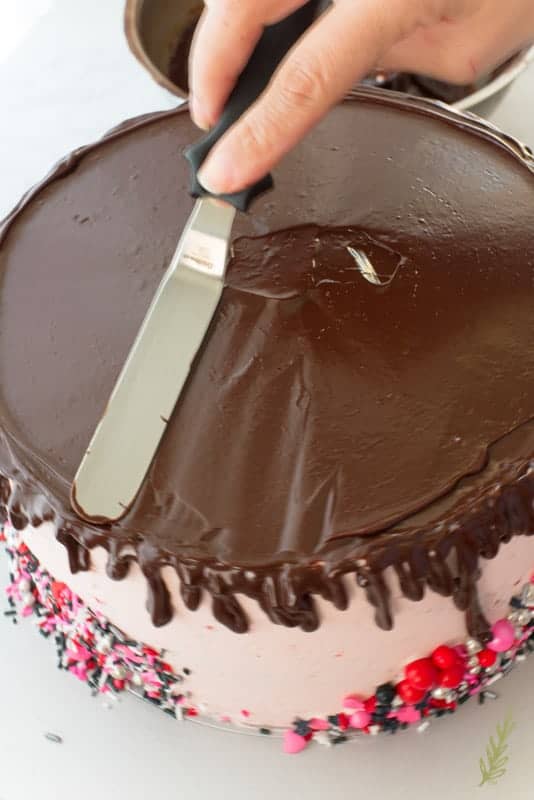
Do you have to drip the ganache? No. You could just smooth it on. Does it looks cook with the drip? Yes, yes it does. Your ganache needs to be runny, but not extremely hot. If it’s too hot it will cause the butter in the buttercream to melt and ooze down the sides of the cake. What does that do? Ruins all of your hard work. What I do to cover all of my bases is put my cake in the freezer for thirty minutes to get the outside really cold and really hard. Then, I nuke the ganache for thirty seconds to get it runny, but not too hot.
After removing the cake from the freezer, I pour the ganache onto the center of the top of the cake and use a small offset spatula to spread it over the surface and coax it over the sides in little drips. You could also use a squeeze bottle to squeeze the drizzle onto the sides and fill in the center afterwards- whatever you feel most comfortable doing, do it.
Oooh, then Aaah, then enjoy!
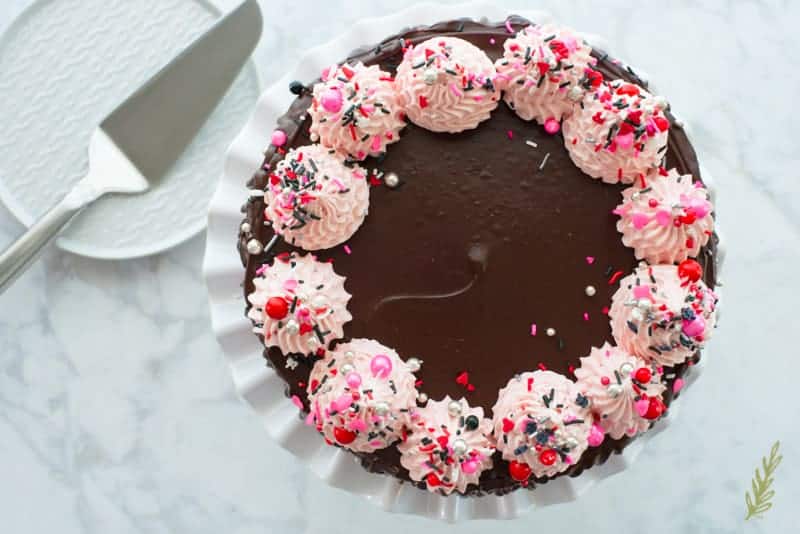
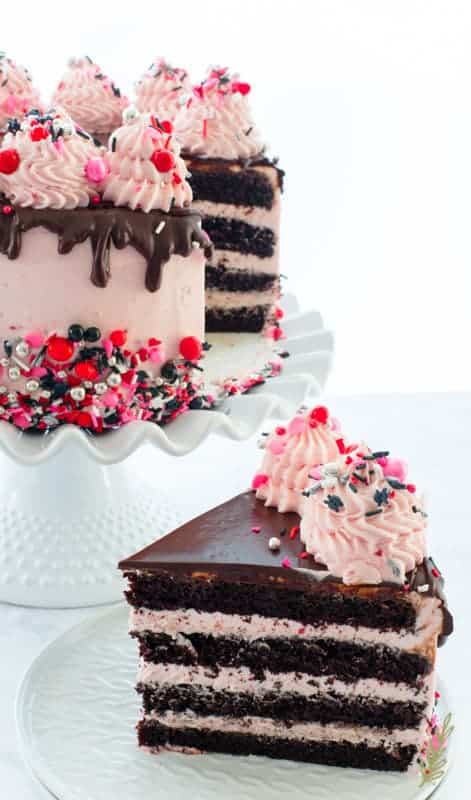
Your Raspberry-Chocolate Ganache Torte is not only GORG, it’s ready to be devoured!
The amount of sugar that’s in the icing makes it’s shelf-stable for up to forty-eight hours, but I like to keep mine in the fridge anyway. Truth be told, it never lasts longer than forty-eight hours with my crew.
If you have leftovers and want to keep the cake from going stale quickly, just press a piece of plastic wrap up against the exposed cake. It’ll keep it nice and soft.
Cut you a big ol’ slice of this Raspberry-Chocolate Ganache Torte (and maybe one for your Valentine) and enjoy every single bite of it. Pin it for later and share with the world.
**This post contains affiliate links. To find out what that means to you, please read my disclosure page**
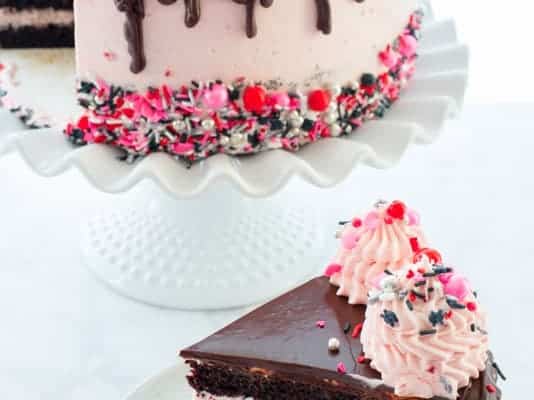
Raspberry-Chocolate Ganache Torte
at Sense & EdibilityIngredients
Buttermilk
- 1 cup 2% milk, at room temperature
- 1 tablespoon white vinegar
Chocolate Cake
- 1 3/4 cup all-purpose flour
- 1 cup granulated sugar
- 1 cup packed dark brown sugar
- 3/4 cup dutch-processed cocoa powder
- 2 teaspoons baking soda
- 1 teaspoon baking powder
- 1 teaspoon kosher salt
- 1/2 cup vegetable oil
- 2 large eggs, at room temperature
- 1 teaspoon vanilla extract
- 1 cup brewed coffee, hot
Raspberry American Buttercream
- 1 pound unsalted butter, softened
- 1 cup vegetable shortening
- 1 teaspoon lemon juice
- 1/2 teaspoon vanilla extract
- pinch kosher salt
- 2 pounds powdered sugar, sifted
- 1 cup raspberry preserves or jam
Chocolate Ganache
- 12 oz dark, semi-sweet chocolate chips
- 3/4 cup heavy cream
- 1 teaspoon cognac, optional
To Garnish
- sprinkles or chocolate shavings optional
Instructions
- Pre-heat your oven to 350°F. Grease two 8"x3" cake pans with baking spray, or with a thin layer of shortening and a light dusting of cocoa powder. For added measure, line the pans with a piece of parchment paper cut to fit the bottom of the cake pan.
Make the Buttermilk
- In a jar or bowl, stir the milk and vinegar. Let this mixture sit for 15 minutes, or until curdled.
Make the Cake Batter
- Mix the flour, both sugars, cocoa powder, baking soda and powder, and the salt together in a large mixing bowl until well-blended.
- In a separate bowl, combine the oil, eggs, vanilla extract, and the buttermilk. Use a hand mixer to blend everything together, on low speed, for 2 minutes.
- Add the dry mixture to the wet mixture and blend on low speed until the flour is moistened. Scrape down the sides of the bowl with a rubber spatula. Blend for 30 seconds on low speed.
- Add the coffee, then blend on low speed for 1 minute.
- Divide the batter equally between the two pans. Use your rubber spatula to rapidly tap the sides of the cake pans to release any air bubbles within in the batter.
- Bake the cakes for 30 minutes, or until a toothpick inserted into the center of the cakes comes out clean, and the sides of the cake pull away from the pans.
- Allow the cakes to cool in the pans for 5 minutes before turning them out onto a cooling rack and letting them cool completely.
- Wrap the cakes in plastic wrap once they've cooled, and let them rest overnight to develop their structure.
Make the Raspberry Buttercream
- Using a stand mixer fitted the paddle attachment, beat the butter and the shortening together on medium-high for 4-5 minutes, or until smooth. Scrape the sides of the bowl down a couple of time while you're mixing.
- Reduce the speed to low, and add the lemon juice, vanilla, and salt, followed by the sugar, one cup at a time.
- Once all of the sugar has been added, increase the speed to medium-high and beat for 5 minutes, or until light and airy and ivory in color.
- Lower the speed and slowly mix in the raspberry preserves. Scrape down the buttercream again and mix until well blended on low.
- Cover until ready to use.
Prepare the Chocolate Ganache
- Pour a couple of inches of water into the bottom pan of a double boiler and bring the water to a simmer over low heat.
- Add heavy cream and chocolate chips to the top bowl, along with the cognac (optional- you can use vanilla extract, instead).
- Allow the simmering cream to begin melting the chocolate- it will begin to look glossy and will swirl in the cream.
- Whisk together the cream and the chocolate until you have a thick, glossy sauce. Remove it from the heat and let it set up for 10-15 minutes.
Decorate the Cake
- Cut each cake into two layers. Reserve the bottom portion of one of the cakes to use as the top of the decorated cake.
- Fill a piping bag with the raspberry buttercream. Cut 1" off of the tip of the piping bag (or use a 1" round tip). Using your non-dominant hand as the guide, squeeze the top of the bag with your dominant hand and outline the cake with a line of buttercream. End the buttercream where you began to create an unbroken ring.
- Scoop 1 1/2 cups of the buttercream into the center of your raspberry buttercream ring.
- Use large offset spatula to spread the buttercream into an even layer about 3/4"- 1" thick. Place your next layer of cake on top of the layer of icing and use any icing that has seeped out from in between the layers to seal the new layer to the one you've just iced.
- Repeat these steps again until you've iced three layers of cake. For the fourth, and final layer, place the bottom of the cake layer face up.
- Spread a very thin, even layer of icing all around and on the top of the cake. Refrigerate the cake for 1 hour to allow the icing to become firm.
- Once the icing is firm, ice the cake in a thick layer of buttercream. Use a bench scraper or icing spatula that has been dipped in hot water to smooth out the final coat of buttercream.
Add Embellishments
- Press a 1 1/2"-2" border of sprinkles against the bottom of the cake, be sure to have a dish or pan underneath your turntable to catch fall out.
- Leave a 2" gap in the sprinkle border to allow for space to transfer the cake from the turntable to your cake display dish with your spatula. This will prevent ruining the sprinkles. Once you've transferred the cake, just press the sprinkles into cover the gap.
- Place the cake in the freezer after transferring it to the cake stand. Allow the icing to harden for thirty minutes.
- Heat the ganache for 30 seconds-1 minute to get it runny, but not too hot.
- Remove the cake from the freezer and pour the ganache on top of the cake, right in the center. Use a small offset spatula to spread it over the surface and coax it over the sides in little drips.
- Allow the ganache to set up for 5 minutes before slicing with a thin, clean knife. Enjoy!
Notes

That cake looks absolutely beautiful and would be perfect for a Valentine’s Day party.
Yes! It’s so perfect to serve at parties!
Whew this is a long process! But I love the end result! Beautiful.
It’s actually a short process for a scratch made cake. Anything worth having takes time, like they say.
This looks so good. I have never successfully made a cake and not used a mix.
I want this to be your first, scratch-made cake, Rachel!!
I am drooling just looking at this cake! Great for Valentines day!
It is perfect for Valentine’s!
Saved and printed this recipe! It’s my hubby’s birthday next week and I would love to prepare this for him!
What a sweet wife you are, Krizzia!!!
This looks incredible! I’m sure that it won’t last more than a couple of days in my fridge!
Yeah, this one lasted two days and it was finished.