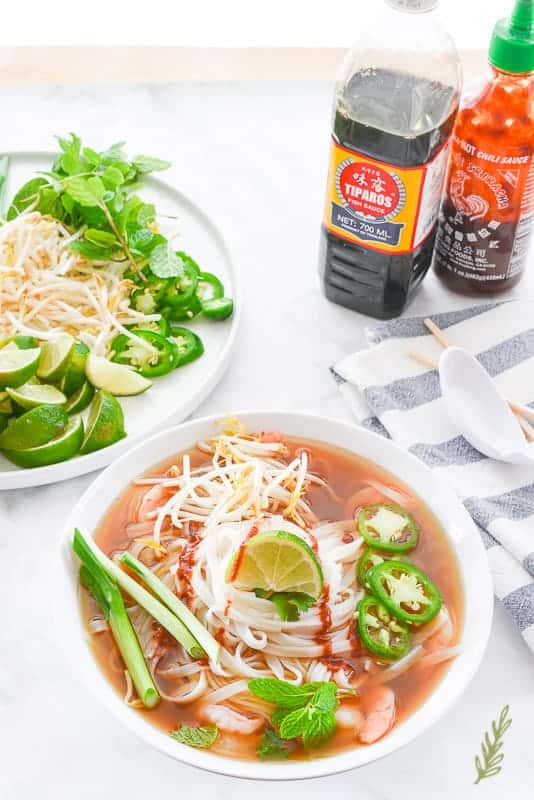
 It’s freezing here in Central Texas. Okay, okay, it’s 54°F…but I’ve acclimated to the region’s climate and I’m cold. A few days ago, I introduced the Soldier to a Vietnamese joint that serves the best pho in our little military community. I make it a point to be supportive of our towns; sometimes it’s difficult, though. Military cities aren’t known to be tourist destinations, so we tend to lack in certain amenities. Great culinary establishments top the list of, “Ways Military Personnel Must Suffer”. But, we make do, and this Vietnamese joint helps a bit. The issue is, sometimes you want more than “okay”. So it was this week for me. I wanted a Vietnamese Pho with a hearty, long-simmered, broth.
I told Hector that I was, “SOooooooo tired of having to go without just because we can’t ever be stationed in a big city.” He reminded me that we just left Northern Virginia, which is right next to Washington, DC.
“Consecutively. Stationed in big cities, consecutively, I mean!”
“Yeah, because that crazy thing called ‘Needs of the Army’ means just that- station the Riveras where Marta wants to be,” he scoffed.
“Don’t be a smartass. No one likes that.”
“You’re a chef.”
“Duh, I know.”
“…and a food blogger.”
“Really?!? You don’t say. Thanks for the clarity and insight, Highspeed. What does that have to do with that fact that there’s no real pho here?”
“Make it yourself!”
Oh. Well, yeah. I could totally do that. So, do it I did. My English teachers are cringing right now.
Now, first, let’s get a clear understanding about one thing. Pho is pronounced, “Fuh,” not, “FOE”. That’s important, in my humble opinion. While I understand that not everyone who eats, and loves, pho is Vietnamese; that doesn’t mean we shouldn’t ask for it properly. Linguistics aside, this popular Vietnamese soup is made, typically, of beef and/or chicken bone broth. I say, “typically,” because nothing I cook is by the book. Now, I’m a rule-follower in most other aspects of my life, but cooking is the exception. I make mine with a combination of beef and pork bones. We’ll talk more about that later.
Most of us in the States know that there’s been some tension between us and the Vietnamese in the past. I grew up hearing about my father’s three combat tours to Vietnam. Oddly enough, he would comment about how beautiful the country was- even though he was MEDEVAC-ing fellow military personnel from the front lines. He always said he wanted to return to Vietnam to see it beyond the confines of war. I believe it was the war, and its aftermath, that blessed those of us outside of Vietnam with the privilege of pho. Because of the Vietnamese who were relocated, we now have the pungent soup that has been listed as one of the most delicious foods in the world. I can’t disagree with that honor, at all.
From my limited knowledge, pho was a popular dish in the North of Vietnam before being carried to the South. The only major difference in pho from either region is found the width of the noodle. My pho finds a comfortable spot in the middle of both North and South with a medium noodle.
Maybe I should stop jabbing about it, so we can get to making, and eating, it.
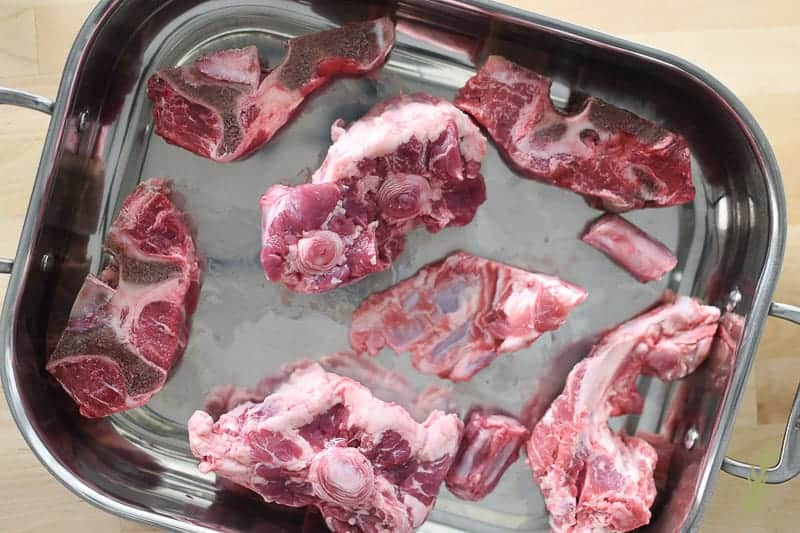
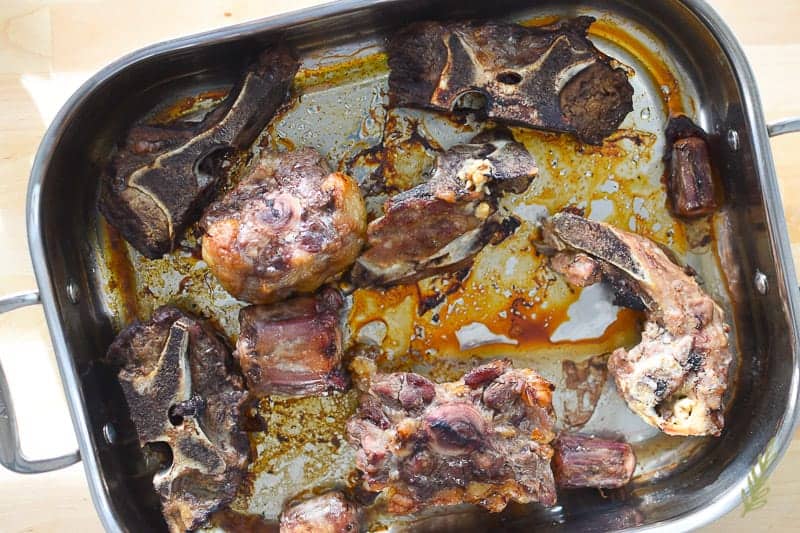
Because I first caramelize my bones, I don’t want to waste any of that rich flavor I’ve worked so hard to get by blanching anything. Remember, I’ve already purified the bones and removed a lot of those impurities with the roasting.
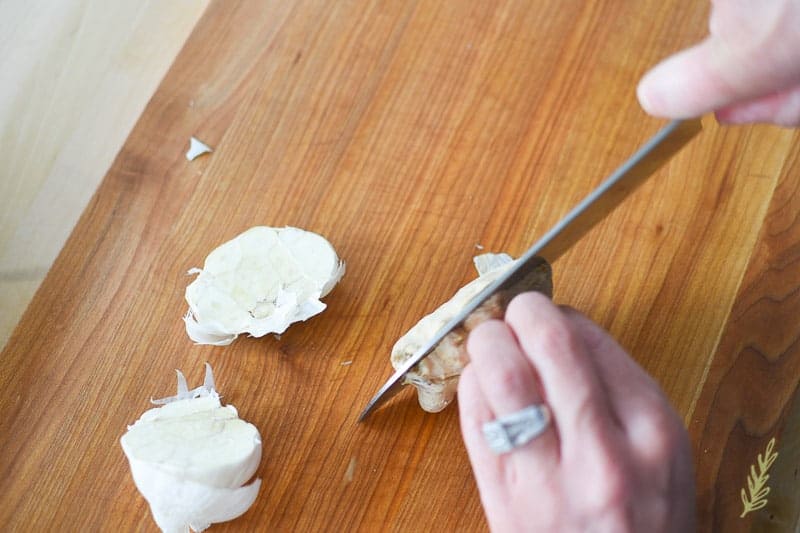
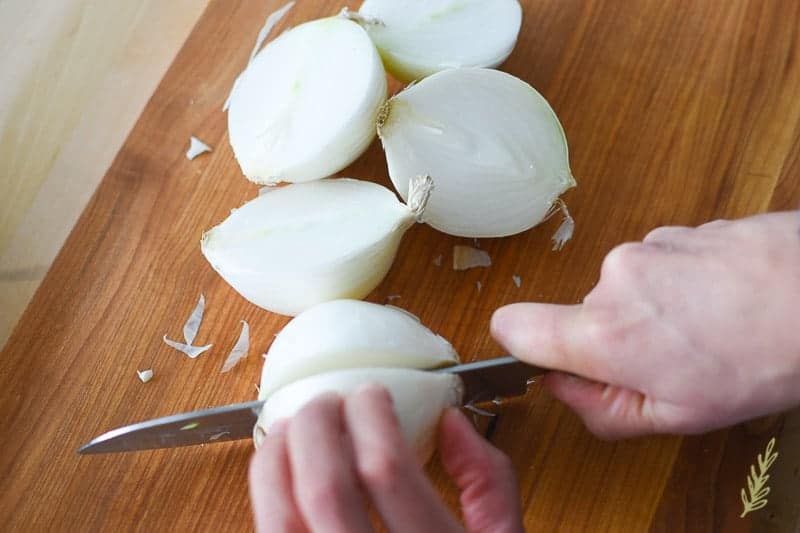
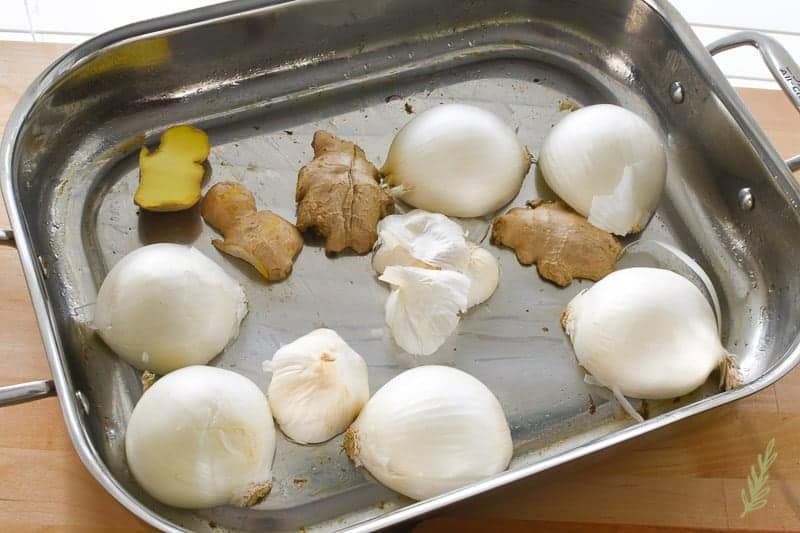
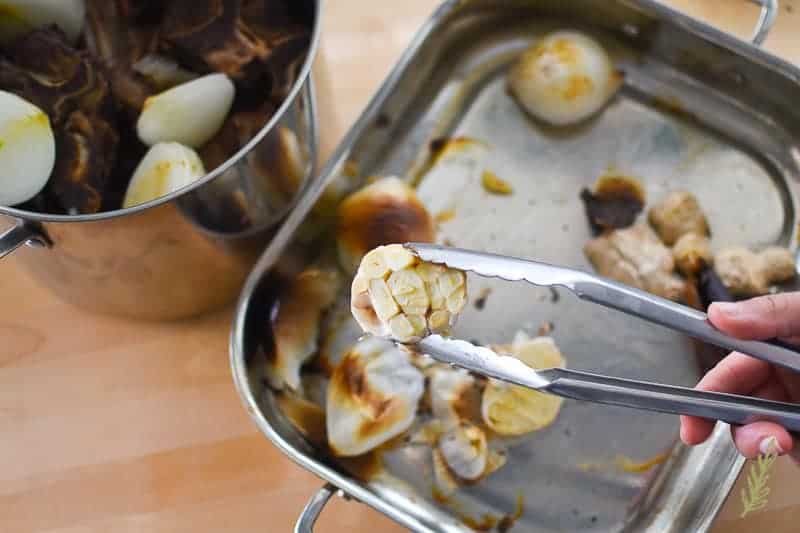
One great tip I took away from my time being a peon in the kitchen is this- if you’re going to strain a stock, don’t worry about peels. Truly. It stands to reason that if you are going to char, boil the crap out of, and strain a vegetable that’s in a stock- you’re most likely going to get rid of anything that’s going to harm you. Dirt, especially. So, I don’t waste time peeling the garlic, onion, or the ginger in this recipe. Simply cut your heads of garlic in half (across the width of the bulb).
Alternatively, you can char them over an open flame for 10 minutes. Hold each over the medium flame using tongs. Slowly rotate so to char the entire piece. Make sure you have the exhaust fan over your stovetop running on high and open a window to allow the smoke to escape. This method is the most traditional way to char the aromatics, but I find my way of broiling requires less babysitting and less stress over setting off fire detectors. The key is to stay vigilant about the broiling time. If you find the aromatics are burning, flip them over to the other side and broil a bit longer. You want the flesh of each to give way when you press it- they shouldn’t be firm (or rock hard).
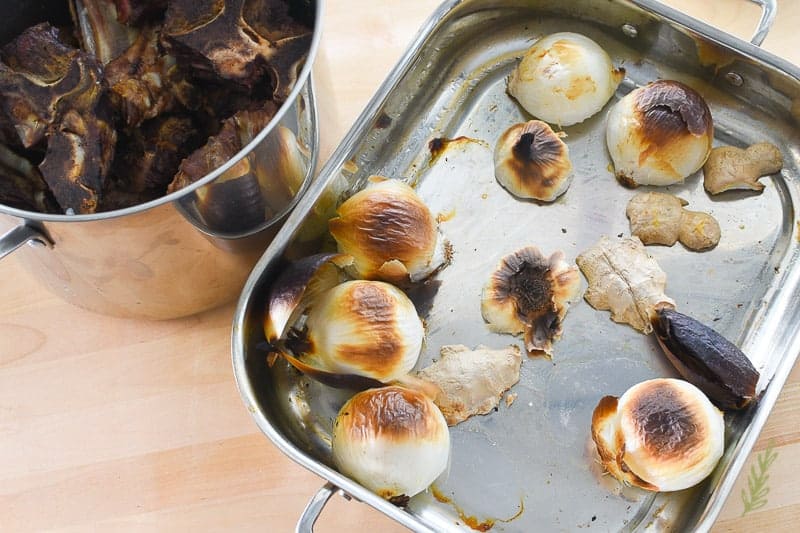
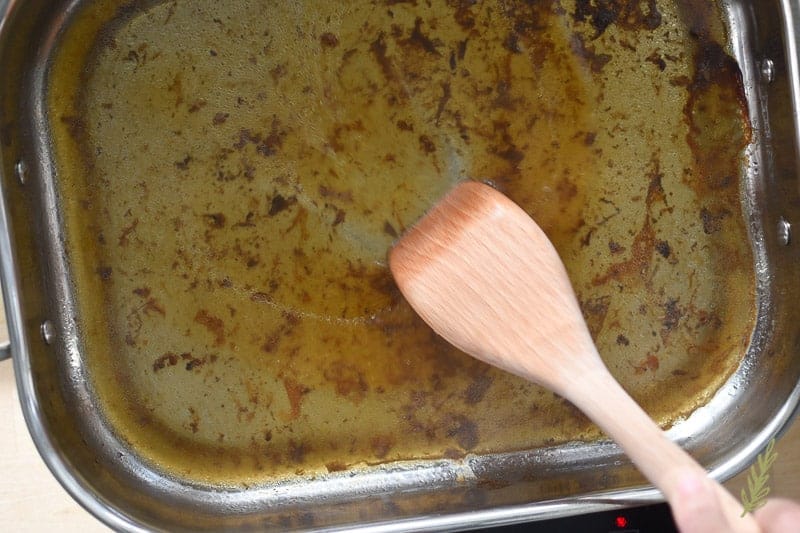
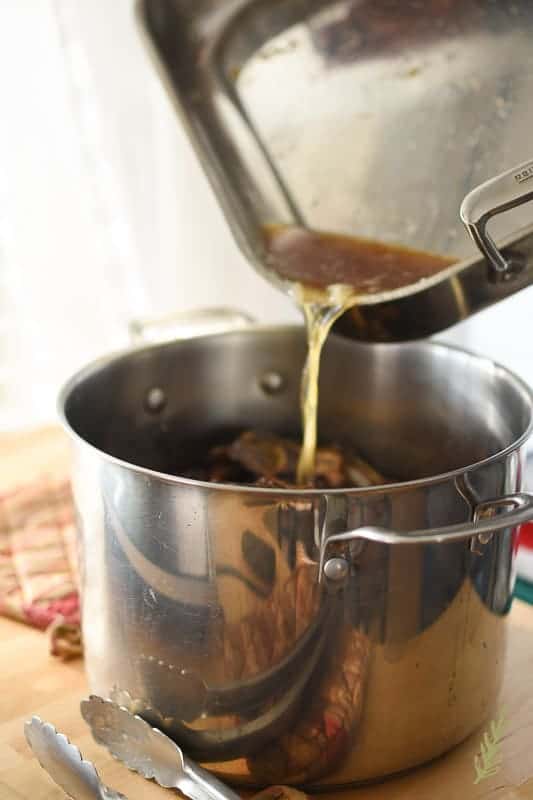
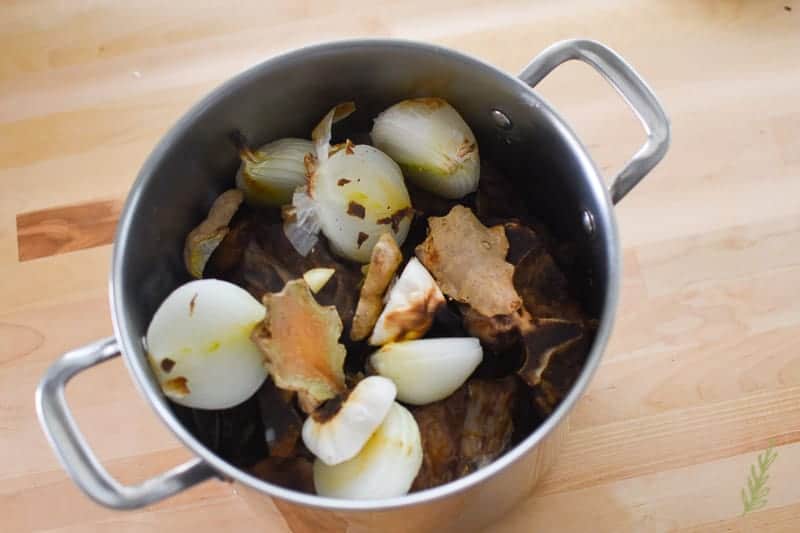
Remove these from the pan, once you’ve peeled them, and add to the stock pot, or slow cooker, with the bones. Repeat the deglazing process if you have any bits of aromatics stuck on, and pour that liquid into the pot, as well.
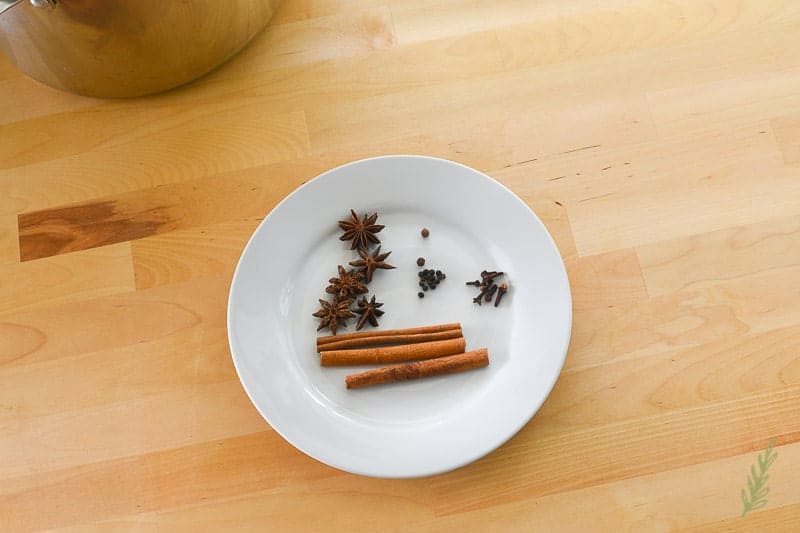
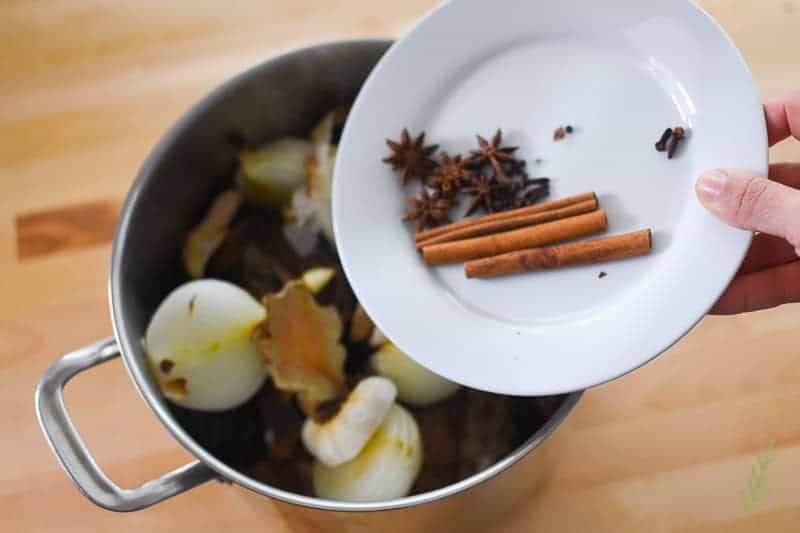
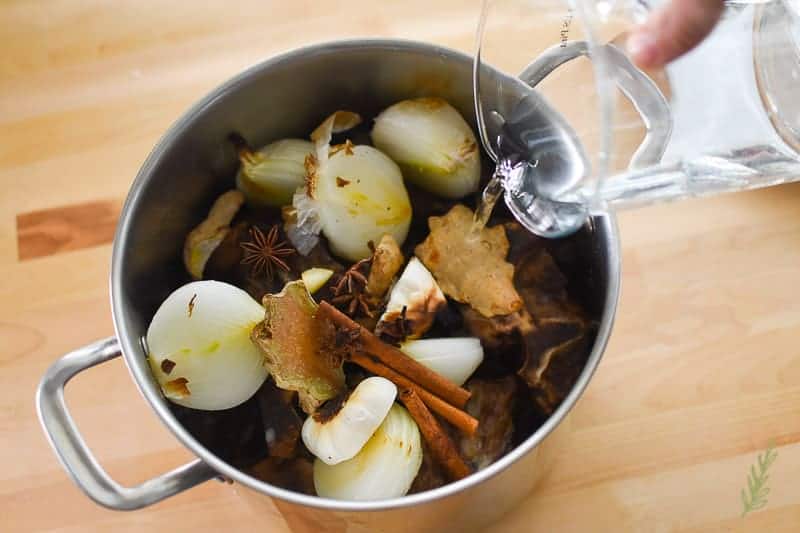
Now add cold water to the stock pot/slow cooker. So, why cold water? Well, why it may seem that adding hot water to something which will, eventually, become soup will cut down on the amount of time it takes the soup to come to a boil, this is actually counterintuitive to creating a clear, flavorful stock. I like to explain it like this. If you enter a room after coming in from the cold, you need a minute to warm up. You start to shed layers of your clothing until you are comfortable. If you walk into a furnace after coming in from a blizzard, however, you won’t have time to become comfortable…because you’ll be burned alive. See?
Well, I’m a chef not an orator, for crying out loud!!
Bringing a stock to a boil, gradually, allows the individual flavors of the ingredients to be extracted at the right time for those particular ingredients. A clove, for example, doesn’t need to sit in hot water as long as a beef bone does to have its flavor extracted. On the contrary, dumping a clove into a boiling pot of water will shock the crap out of it and it lock in most of those flavors.
The other issue with starting stocks with hot water is found in the chemical break down of the water itself. Think I’m trippin’? Taste a glass of cold tap water, then compare it to a glass of hot water from the same tap. Now, I’m no chemical engineer, but I do know that water treatment facilities treat our water with a mix of chemicals that are broken down when exposed to heat. When those chemicals escape they leave us with water that tastes almost metallic. Using cold water leaves you with not only a clearer broth, but a better tasting one, as well.
Add the cold water to the pot, along with fish sauce, brown sugar, and a handful of salt, and bring the soup to a boil. Reduce the heat to low and simmer for 8-24 hours.
Plot twist!!!
The slow cooker option for this recipe comes in handy if you know you won’t have time to babysit this soup. Since I homeschool the Twinks, and blog from home, I can dedicate a day to checking on the soup as it simmers away on the stovetop. I usually pick a day when volunteering won’t take me out of the house, so no big whoop for me. But, if you head out for a full day of work, you can prep everything and start it in the crockpot the night before.
Whichever route you choose to go allow the soup to simmer away over low heat for a minimum of 8 hours. I find that the sweet spot, flavor-wise, is 24 hours; but I know life can get in the way. Just know that the longer you simmer the ingredients together, the deeper the flavor will be.
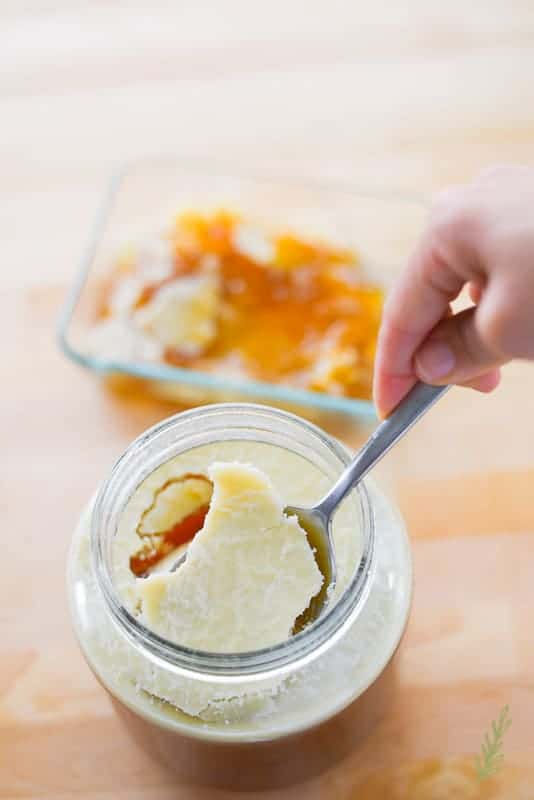
Not for nothing, but this is slightly unappealing to me. Take a large spoon and scrape off that layer of solidified fat. Discard it unless you’re into that type of stuff…
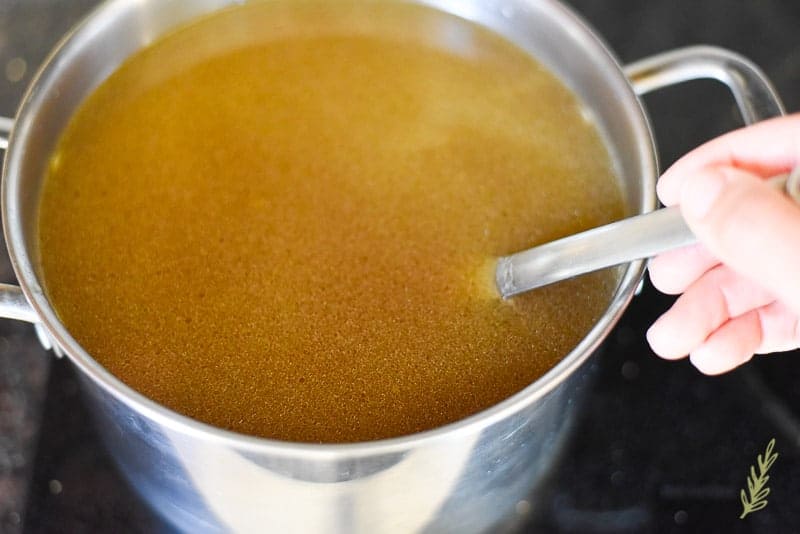
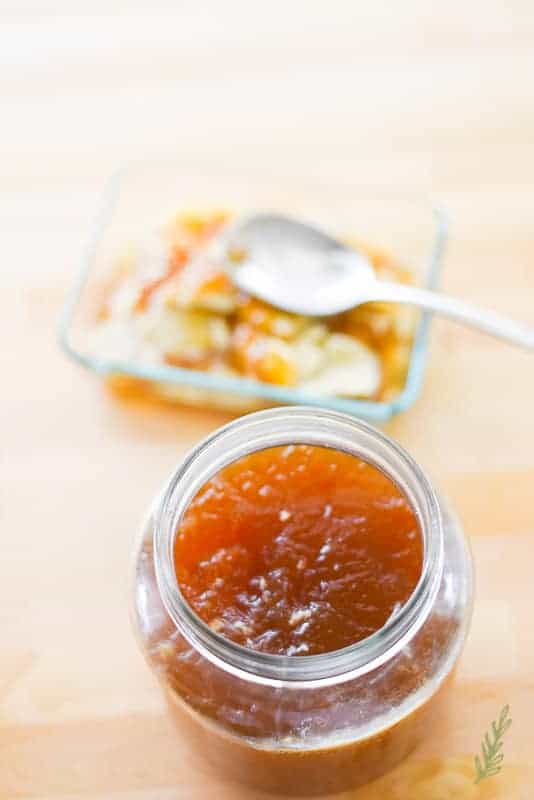
What’s left will be a rich, dreamy, jiggly mass of clear broth. Full of collagen, nutrients, and luuuuuvvvvv. Bring this broth up to a boil over high heat in a stock pot. Like, rapid, Hades-esque, boil.
Coincidentally, we went to an authentic Vietnamese pho house this past weekend in Austin, and everyone of us agreed, mine was the winner by a long shot. Pin this recipe for a day when you’ll have time to spare. Take a few hours to prepare this broth and let me know what you think.
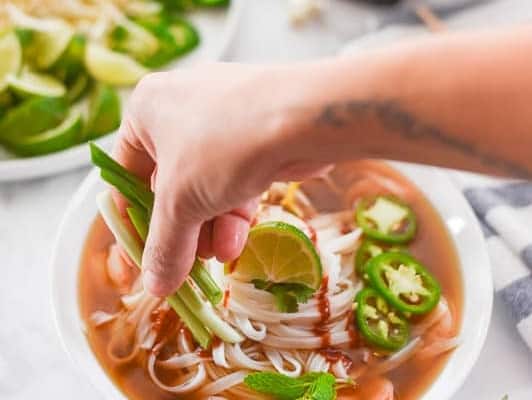
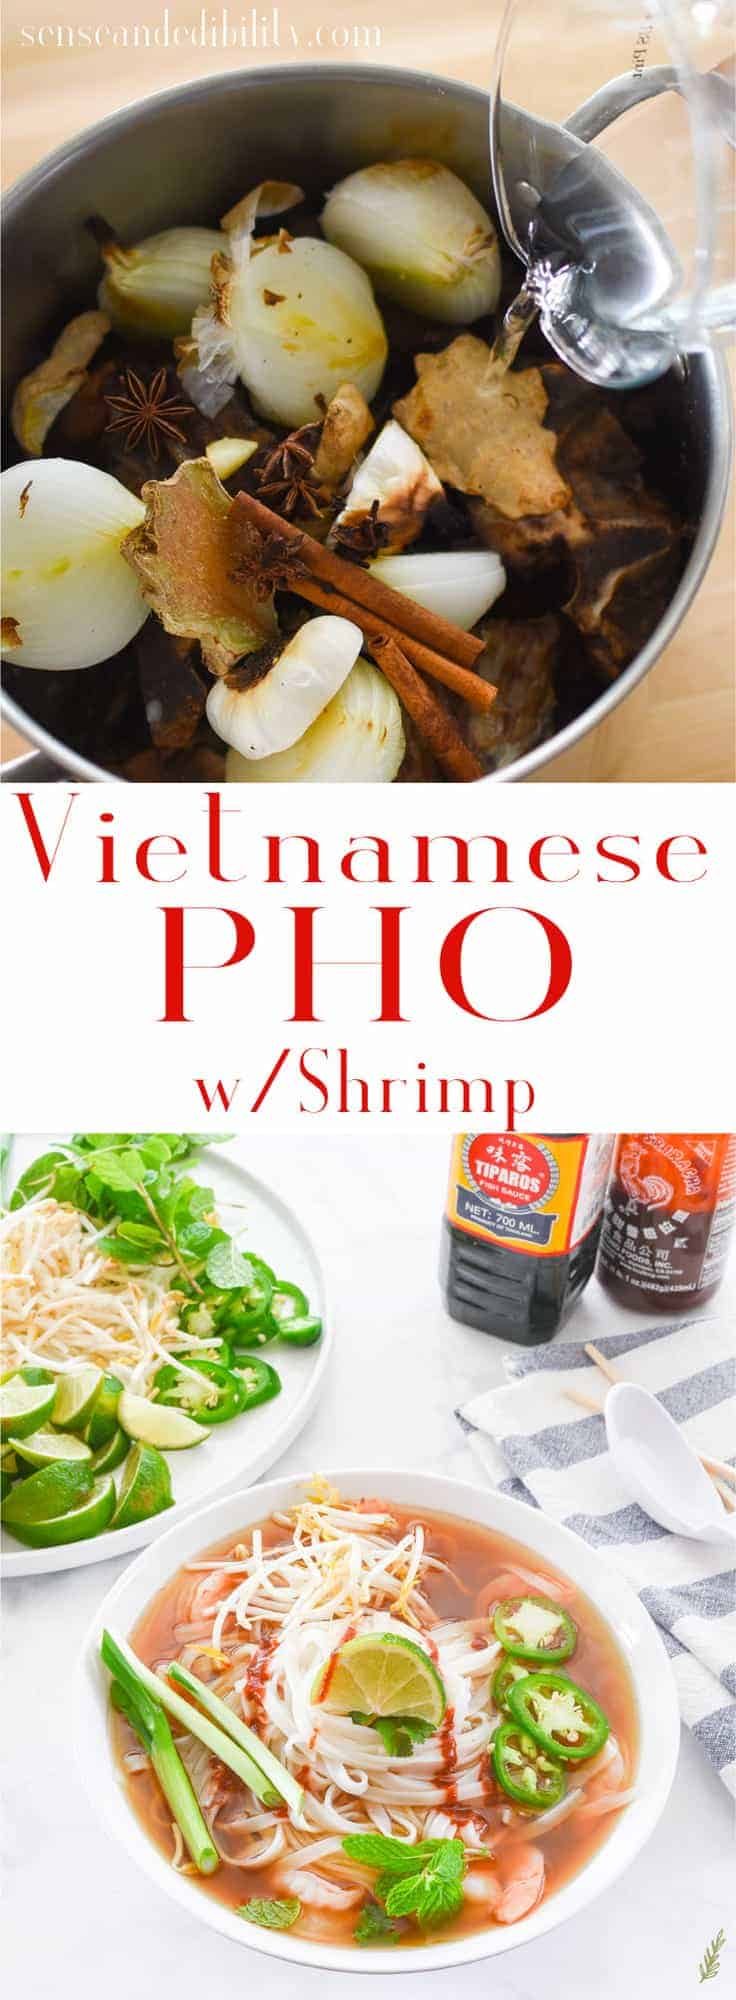
Vietnamese Shrimp Pho
at Sense & Edibility- large roasting pan
- a large stock pot or slow cooker (at least 8 qt)
- fine mesh colander or chinoise
- spider or slotted spoon
- tea towel or cheesecloth
Ingredients
- 3-4 lbs bones mix of beef and pork neck bones is recommended
- 2 lbs oxtails
- 7 quarts cold water divided
- 3 bulbs of garlic sliced in half across the diameter
- 4 onions sliced in half length-wise
- 1 3 " piece of ginger sliced in half length-wise
- 5 star anise pods
- 2 4 " cinnamon sticks
- 6 whole cloves
- 2 whole allspice berries
- 1 tsp black peppercorns
- 2 tbsp fish sauce
- 1/4 cup dark brown sugar or piloncillo
- 2 tbsp kosher salt
- 1 lb large shrimp peeled and deveined (or thinly sliced top sirloin or sliced, cooked chicken breast)
- 16 oz pho noodles small or medium size
Condiments:
- mung bean sprouts
- lime wedges
- sliced jalapeño
- cilantro leaves
- thai basil leaves
- mint leaves
- sliced green onions
- fish sauce
- sriracha sauce
Instructions
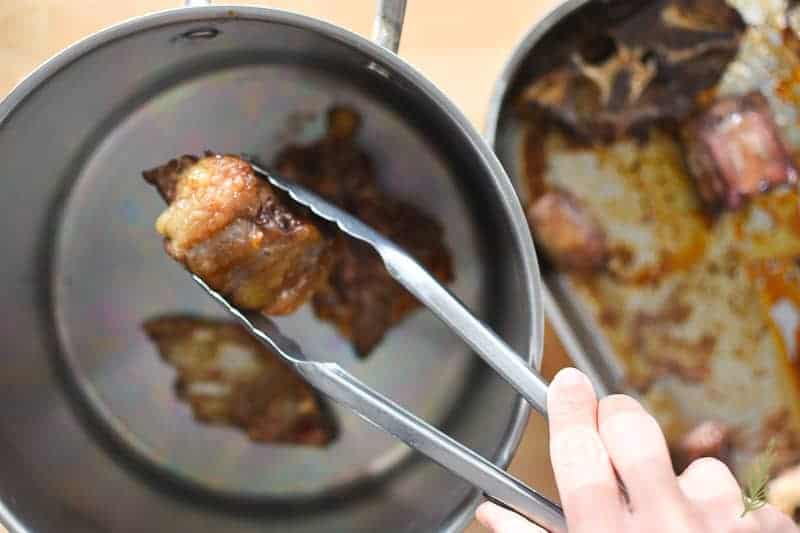
- Preheat your oven to 375°F. Place the bones and oxtails into a roasting pan in a single layer and roast for 2 hours, flipping the bones once during the roasting process. Remove the pan from the oven and transfer the meat to a 8 qt (or larger) stock pot, or slow cooker.
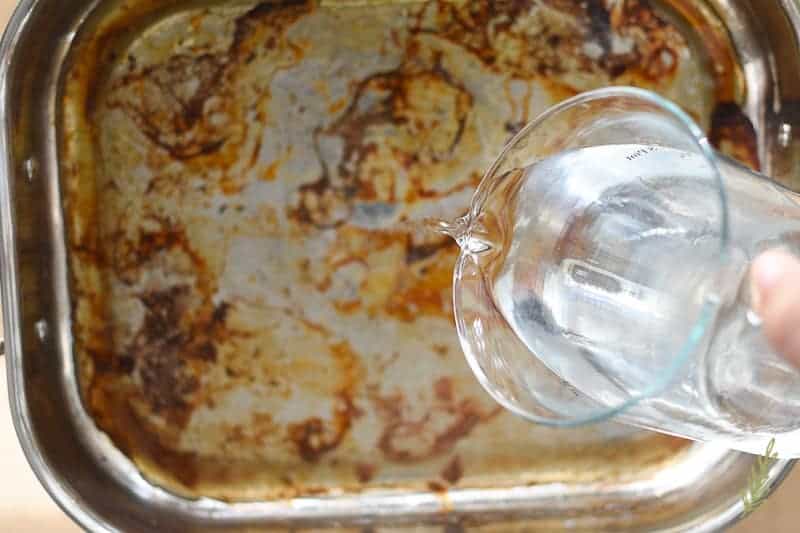
- Place the roasting pan onto the stove. Heat the pan over medium high-heat and pour in one cup of cold water. Using a wooden spoon, scrape up any bits of stuck-on meat from the bottom of the pan. Pour the juices from the roasting pan into the cooking pot/slow cooker with the bones.
- Place the garlic, onion, and ginger into the deglazed pan, cut side down. Put the pan into your oven with the broiler set on low. Broil the aromatics for 5 minutes, or until the skin begins to char, and the flesh is slightly softened. Alternatively, you can char them over an open flame for 10 minutes: hold each over a medium flame using tongs with a rubber grip. Slowly rotate so the flame chars the entire piece. Make sure you have the exhaust fan over your stovetop running on high, and you open a window to allow the smoke to escape.
- Peel any blackened skin off of the aromatics and discard. Add the ginger, onions, and garlic to the stock pot, or slow cooker, along with the bones. Repeat the deglazing process with another cup of water if you have any bits of aromatics stuck on, and pour that liquid into the pot, as well.
- Add the wholes spices to the pot/slow cooker, followed by the remaining cold water, the fish sauce, brown sugar, and the salt. Bring the water to a boil over high heat. Reduce the heat to low, cover, and allow to simmer for 8-24 hours. Slow cooker instruction: skip bringing the soup to a boil. Allow the soup to simmer, covered, on low for a minimum of 8 hours, or, preferably, up to 24 hours.
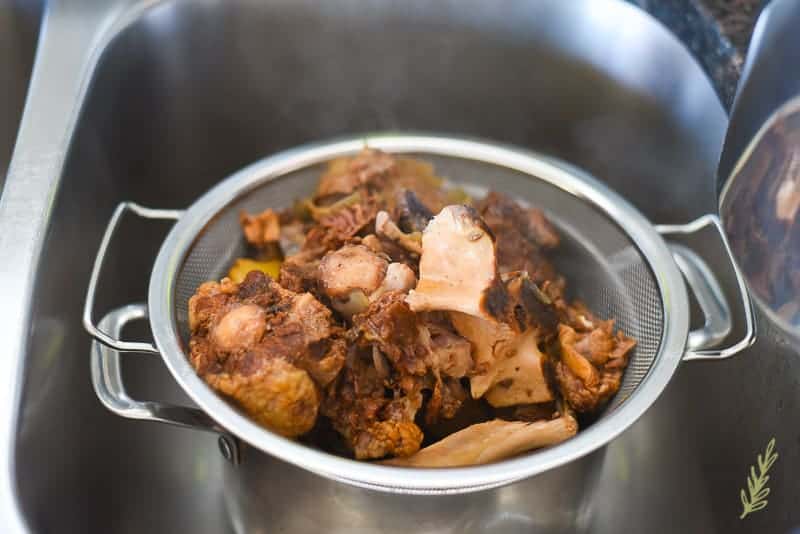
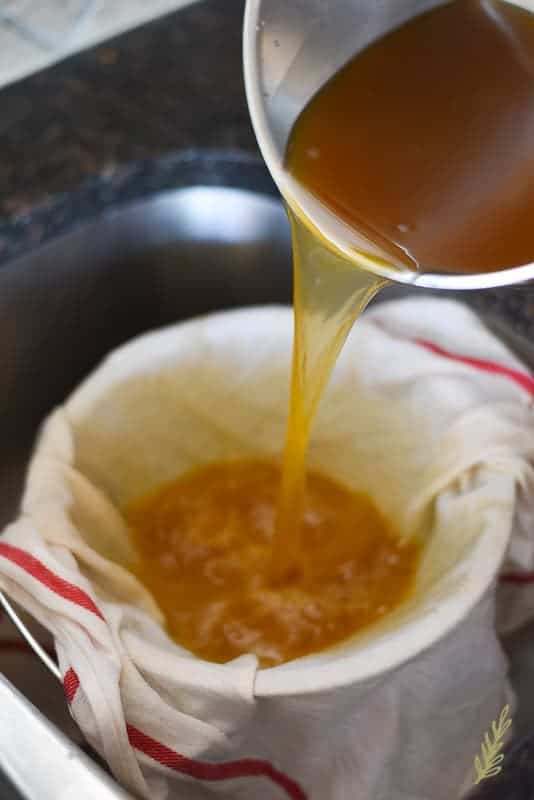
- Place a fine mesh colander, or chinoise, over a clean soup pot. Using a spider, or a slotted spoon, transfer the larger chunks of food from the pot into the colander to strain, then discard. Rinse out your colander and return to the pot. Line the colander with a clean tea towel, or piece of cheesecloth. Carefully, pour the soup into the pot into the colander to strain away the rest of the impurities.
- Optional: Place the soup into a container and refrigerate it for 12-24 hours. During this time the fat will rise to the surface of the container and solidify. Once it has, take a large spoon and scrape off the layer of solidified fat and discard.
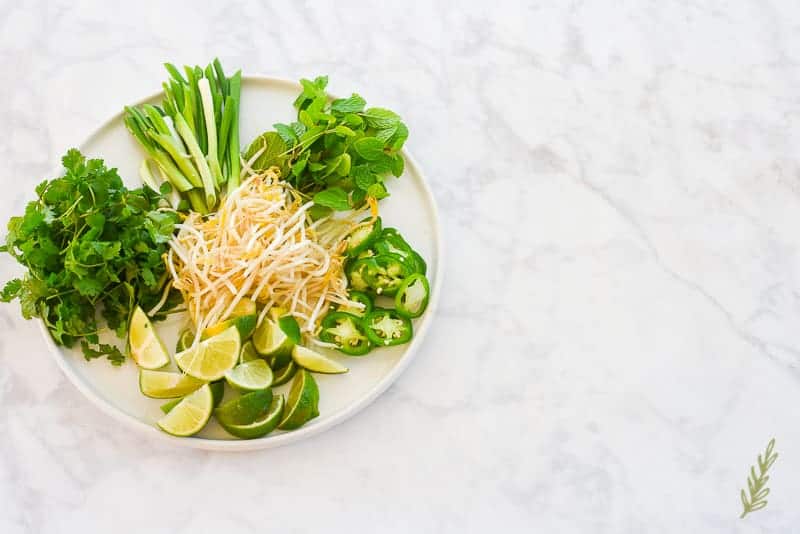
- When you're to serve, bring the broth to a rapid boil over high heat in a stock pot. While you're waiting for your broth to come to a boil, prepare and plate your condiments, then set aside.
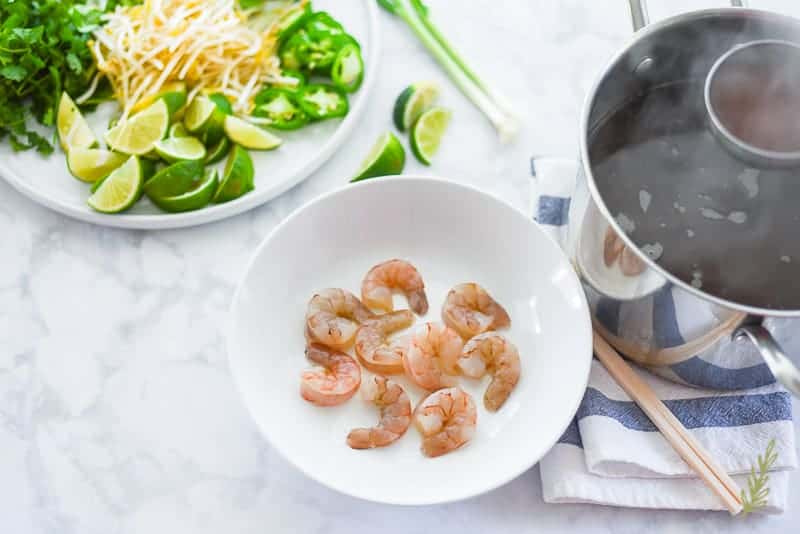
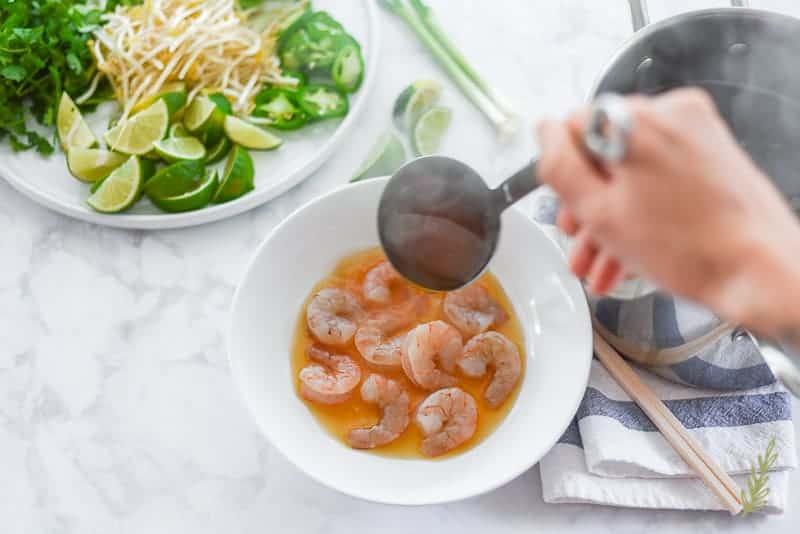
- Place your shrimp, beef or cooked chicken, into your serving bowl in one layer. Avoid piling up the raw shrimp or beef slices, as it will prevent them from being cooked by the boiling soup. Allow the soup to cook the shrimp for at least three minutes.
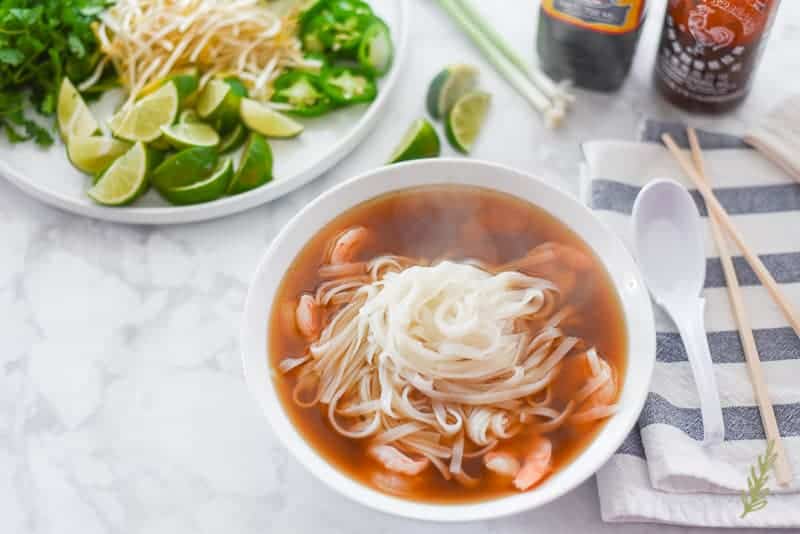
- Meanwhile, add your thin rice noodles to the hot soup in the pot. Allow the noodles to soften slightly. Transfer the softened noodles to your bowl with a pair of tongs. Serve while the soup is still hot.
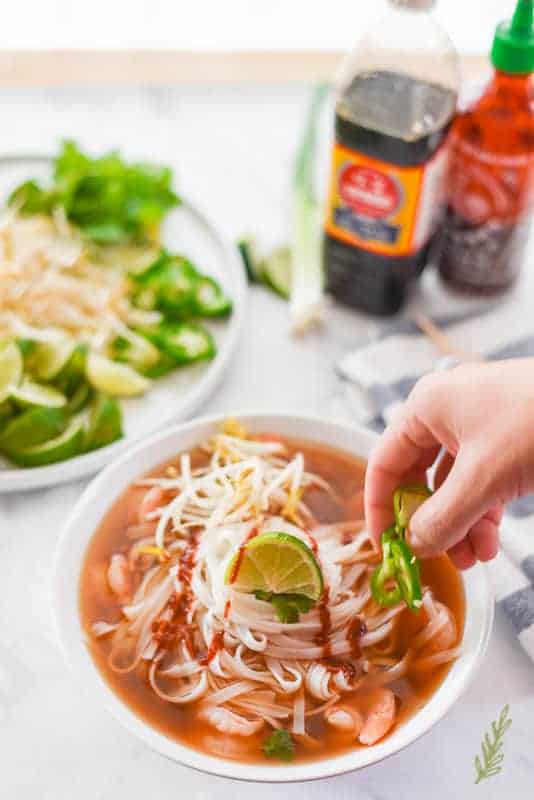
- Customize your pho with the condiments as desired.
- Any remaining pho broth can be refrigerated for later enjoyment and is also perfect for freezing. Simply pour the cooled broth into a freezer-safe storage container (or bag) and freeze for up to two months.
Notes
- An additional chilling time of 12-24 hours is needed if you decide to skim the fat from the broth.
Try out these other cold weather recipes:
 Harvest Pork Stew w/
Butternut Squash & Pumpkin
Pumpkin Spice Chai Latte
**This post contains affiliate links. To find out what that means to you, please read my disclosure page**





This shrimp pho was amazing and worth the patience! The house smelled incredible all day and the pho was the best we’ve ever eaten. This recipe is a keeper!
That’s such an awesome thing to read! I’m really glad you enjoyed the pho as much as we do.