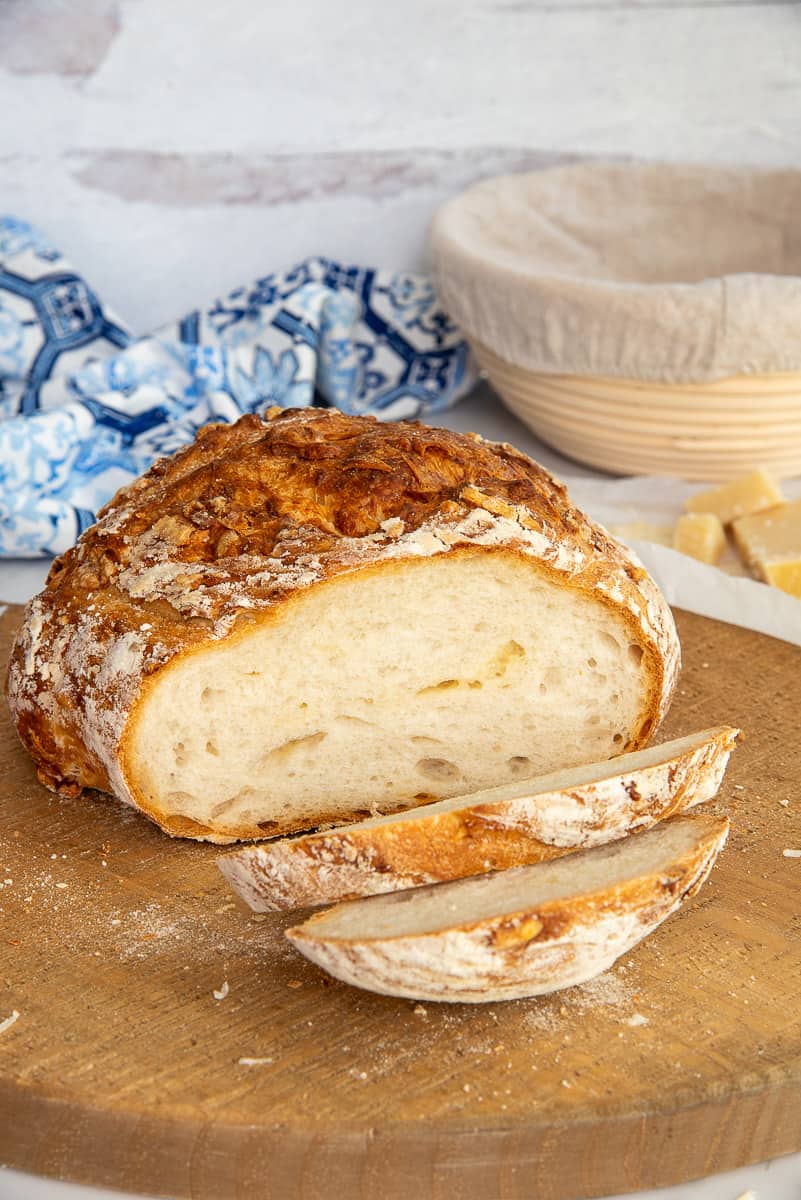
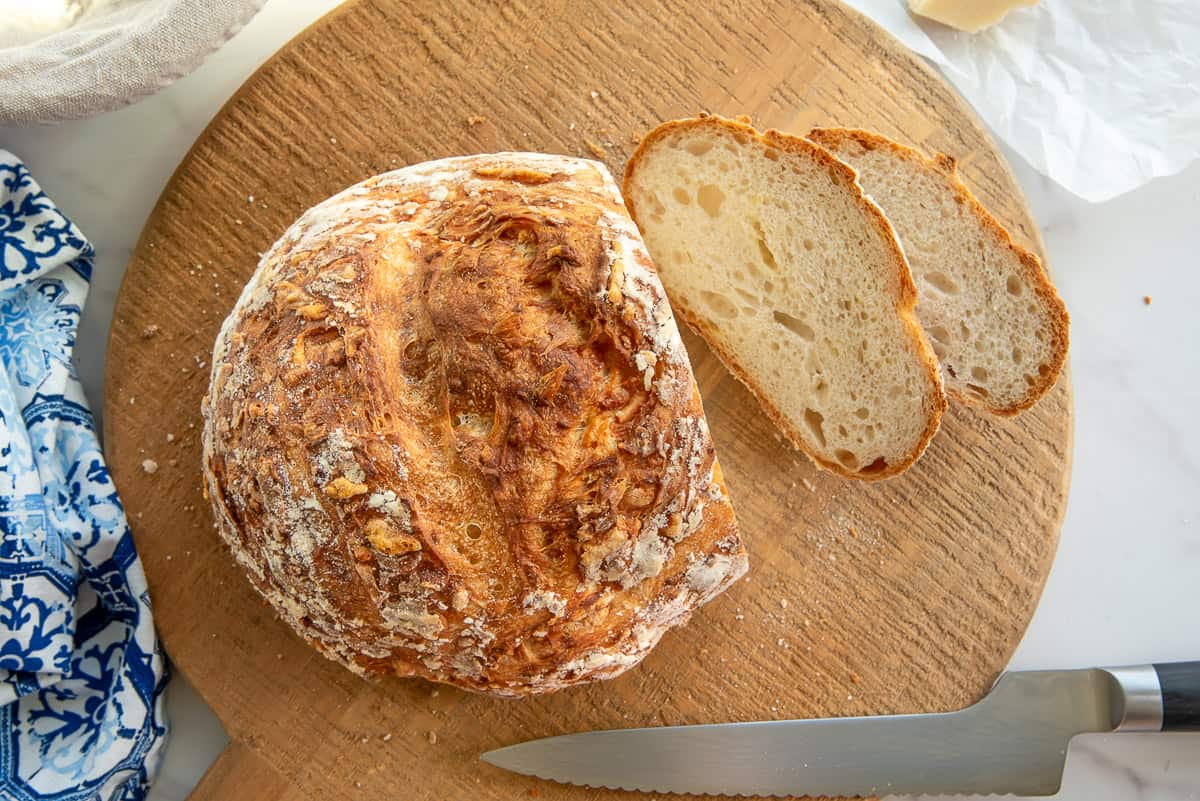
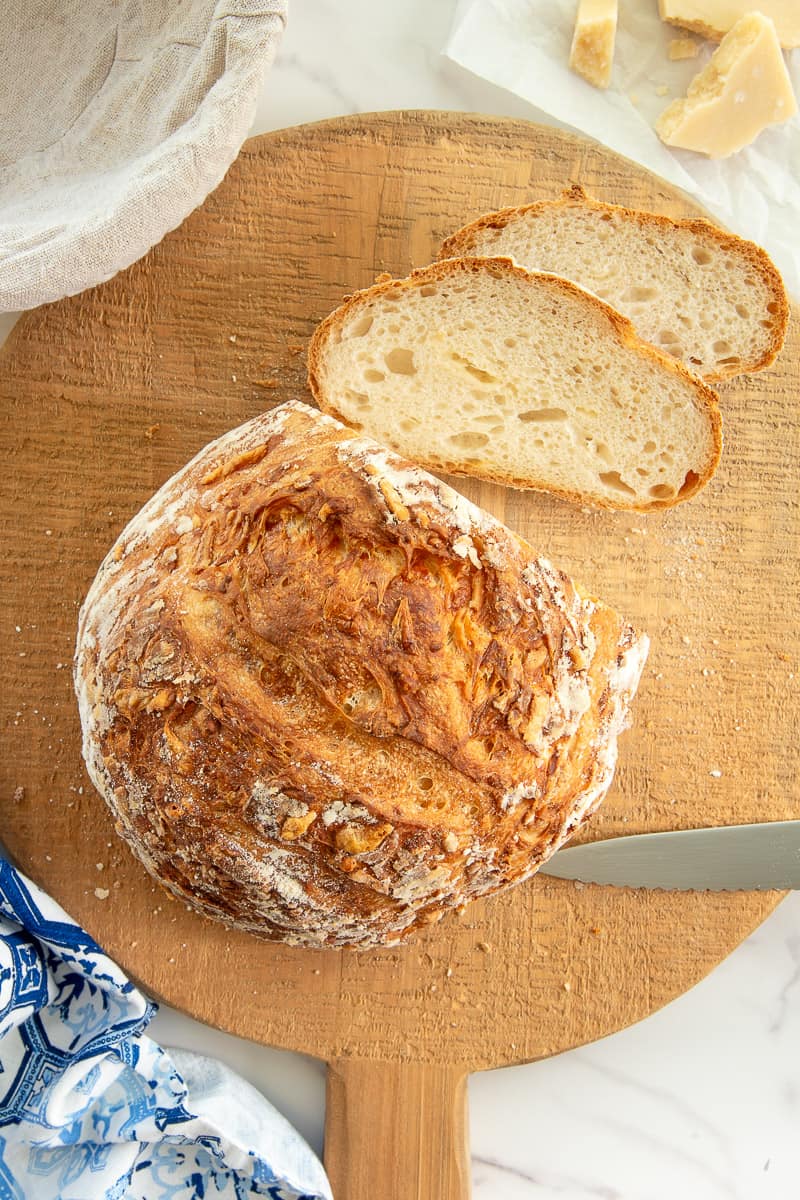
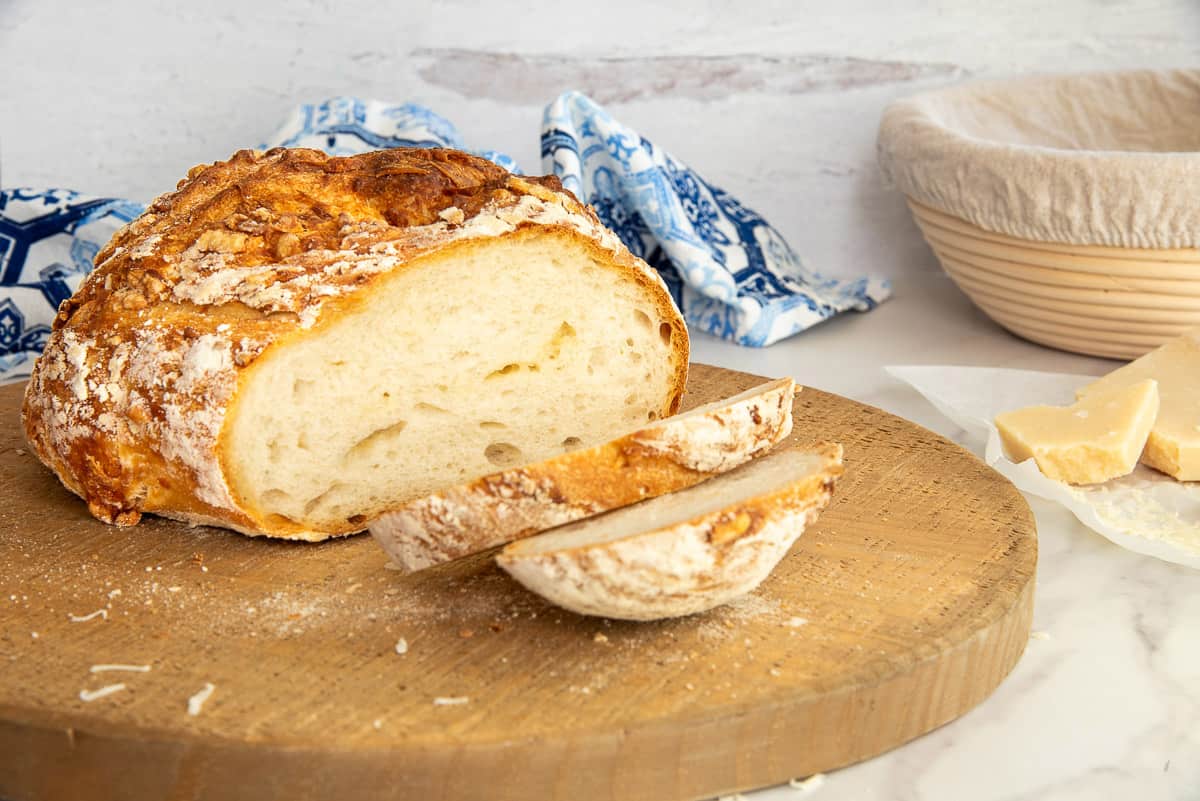
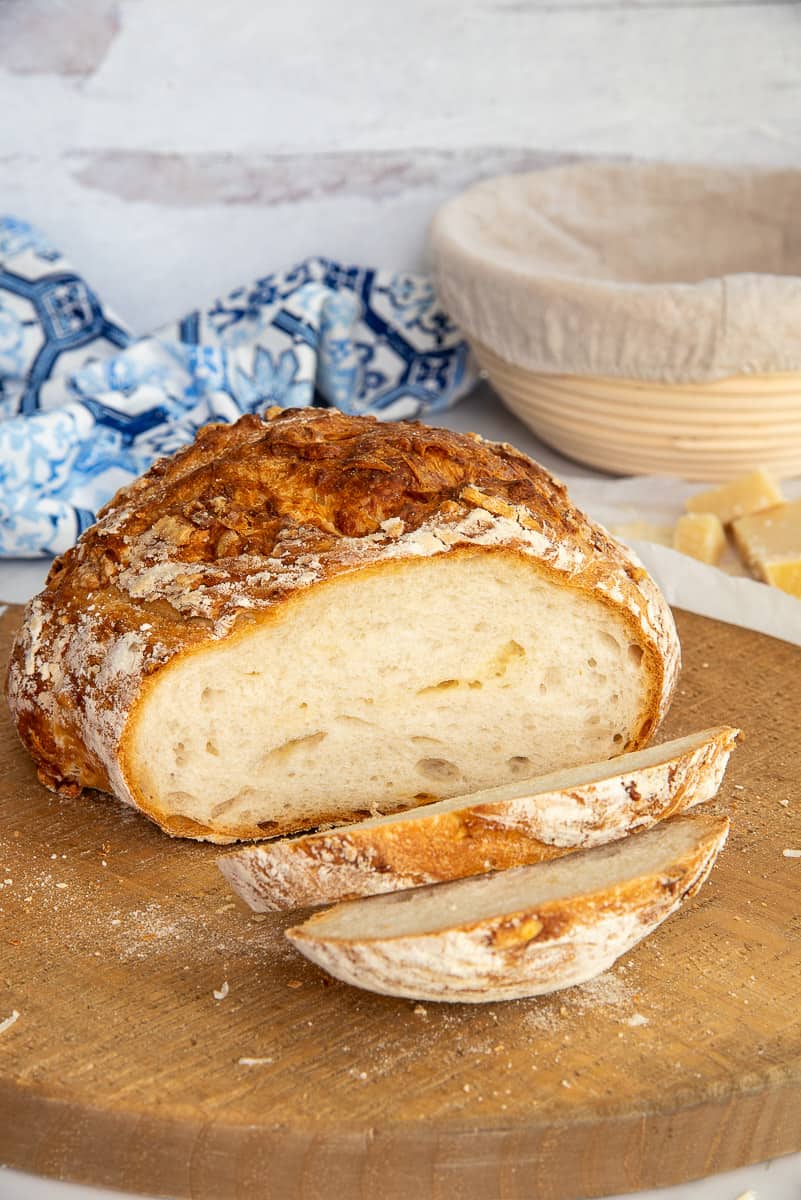
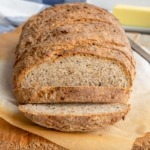
Asiago Sourdough Bread is a homemade bread flecked with nutty, creamy shreds of Asiago cheese, baked until crisp outside and fluffy inside. This crusty bread makes a fantastic sandwich bread, bread bowls, or toast for a change of pace in the morning. The best part of this easy recipe is that you can make it with just a few ingredients, which you probably have in the kitchen.
What Is Sourdough Bread?
Before grocery stores sold little packets of yeast, breads were leavened with wild yeasts. In the old days, sourdough bread was leavened with starters of flour and a liquid- water or milk were most common- mixed together and left to trap wild yeasts floating around in the kitchen. The resulting mixture fermented and developed a tangy, or sour, flavor, which also leavened the bread dough. Today’s sourdough bread often depends on commercial yeast since waiting for wild yeasts takes too long. Despite getting help from commercial yeasts, sourdough starters still rely heavily on flour and water.
Sourdough bread dough is tangy, which is where the “sour” in the name comes from. The flavor of your asiago sourdough bread will taste different than mine (unless you live in San Antonio). Wild yeasts produce tastes that are characteristic of their environments. The wild yeasts in San Antonio will taste different than that in New York City. Often, sourdoughs have a crispy crust with a pillowy interior, making it one of the most beloved bread recipes.
What Is Asiago Cheese?
Asiago cheese is a cow’s milk cheese from northeast Italy that tastes similar to parmesan. Fresh asiago tastes creamy and nutty, and its texture is semi-soft and mild in flavor. The longer the asiago ages, the sharper the flavor and drier and firmer the cheese is. Aged asiago is a great addition to salads, pasta, or homemade bread.
You can find asiago in the specialty cheese section of your grocery store.
What Do I Need To Make Asiago Sourdough Sponge?
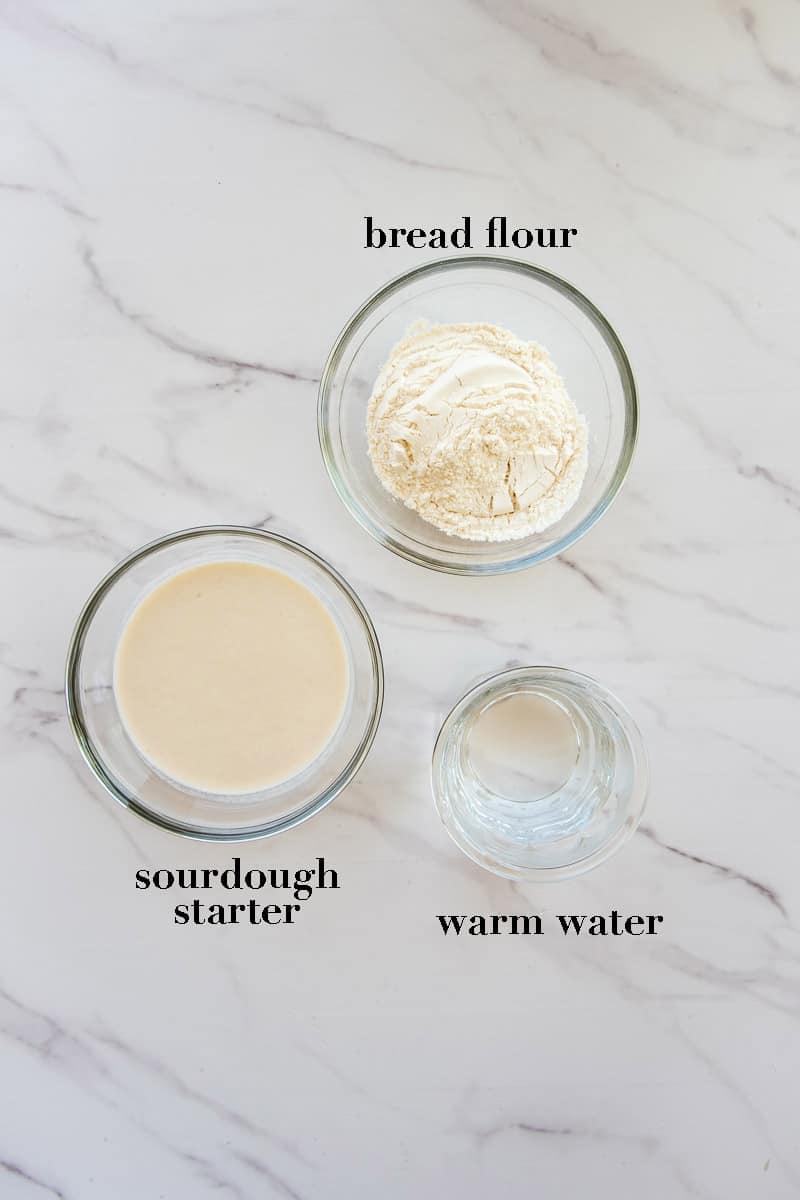
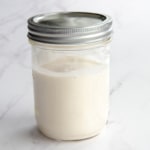
This asiago bread begins with a sourdough sponge, which requires a sourdough starter, bread flour, and warm water.
Begin this recipe stage 12-24 hours before baking the bread. The sourdough starter must come back to life before adding it to the rest of the dough.
Can I Make This Bread Without The Sourdough Starter?
You can make this recipe without the sourdough starter, but it will just be asiago cheese bread. The bread’s flavor won’t be as profound as when you make it with the starter; however, it’ll still taste pretty good.
Whisk together the room-temperature sourdough starter, bread flour, and warm water in a large bowl, preferably a clear bowl. Feeding the starter in a clear container is helpful because it lets you see if it is alive. As the starter feeds on the flour mixture, it bubbles and rises, which is the sign you need to know it’s active. If you don’t see any movement in the jar after an hour, your starter is dead, and you’ll need to start with a live starter.
You feed the starter for 12-24 hours to develop more yeast, which will flavor the bread and give it more lift. You can decrease this time to just 2 hours, but again, the flavor won’t be as spectacular.
What Are The Other Ingredients In This Asiago Sourdough Bread?
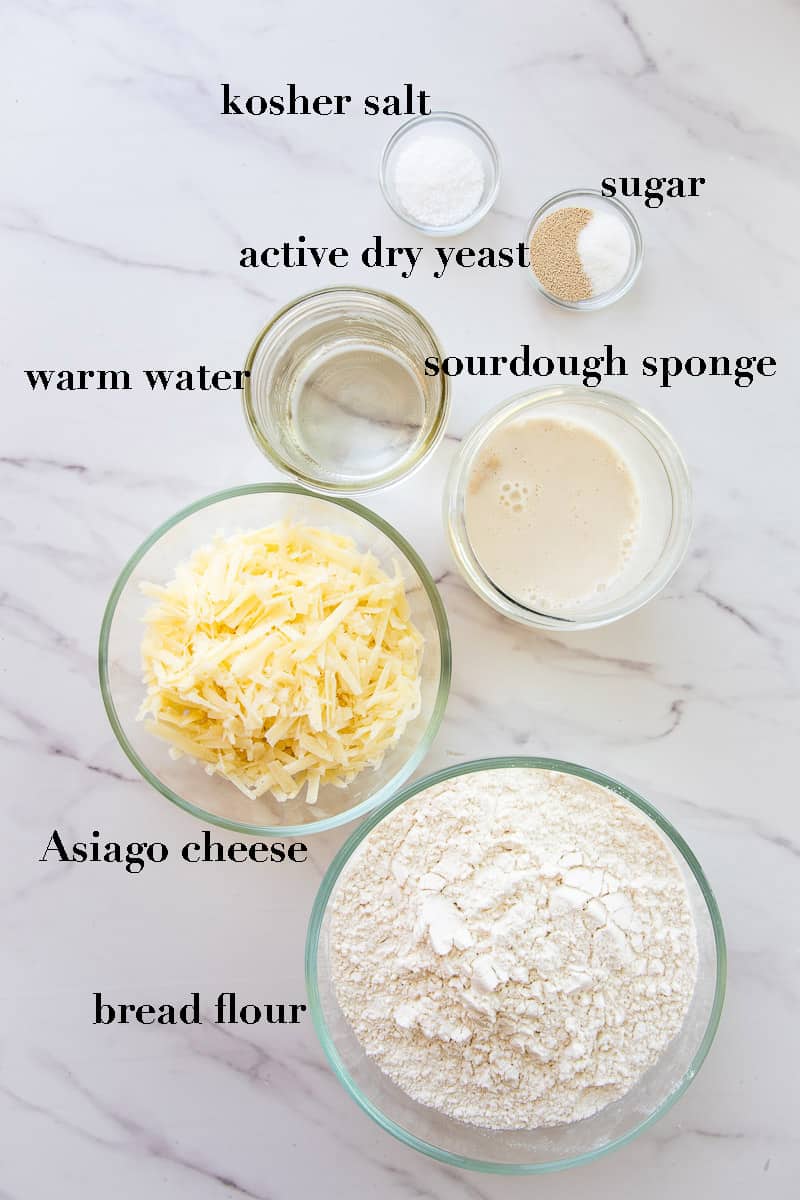
The ingredients you need to make the asiago sourdough bread are bread flour, the sourdough sponge mixture, warm water, active dry yeast, granulated sugar, kosher salt, and aged asiago cheese.
I mix the sourdough bread in a stand mixer with a dough hook, but you can mix it without one if you like to knead bread by hand. It also helps if you have a proofing basket or a dutch oven to shape the dough as it rises. This recipe makes two 1-pound loaves, which, after tasting it, you’ll be glad for.
Why Do I Have To Bloom The Yeast?
Whenever a recipe tells you to bloom the yeast, it saves you the heartache of ending up with a flat loaf of bread. Blooming yeast lets you know if the yeast in your recipe is alive. Without live yeast, the bread won’t rise as high. The wild yeasts in the sourdough starter will help your asiago bread rise some, but this added yeast will give your bread a lovely volume.
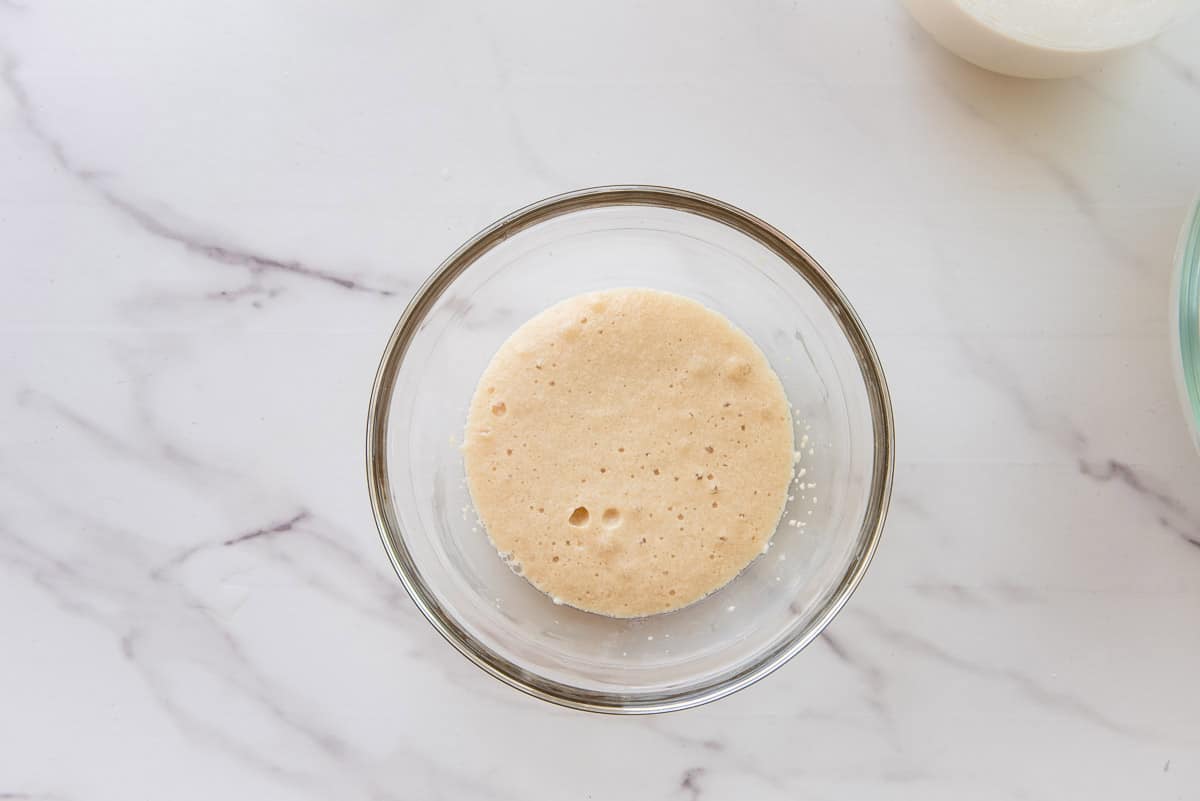
Add warm water from the recipe to a small bowl with the yeast and sugar. Stir these ingredients until combined and allow the yeast to bloom for 5-10 minutes. Check the mixture after 5 minutes. It should look foamy and smell like beer or bread. If there’s no movement or aroma, the yeast is dead, and you’ll need to grab a new jar or packet and start again.
Why Is My Dough Sticky?
Stir the sourdough starter to mix the hooch (or liquid on top) into the rest of the mixture. Next, add the sourdough starter, the yeast mixture, and the bread flour to the bowl of a stand mixer. I don’t recommend making this bread dough with an electric mixer because it’s not powerful enough to knead it. You can do this by hand, but it will take some elbow grease.
Add the warm water and, lastly, the kosher salt to the bowl. Adding the kosher salt last ensures it doesn’t come into contact with the yeast, which it will kill.
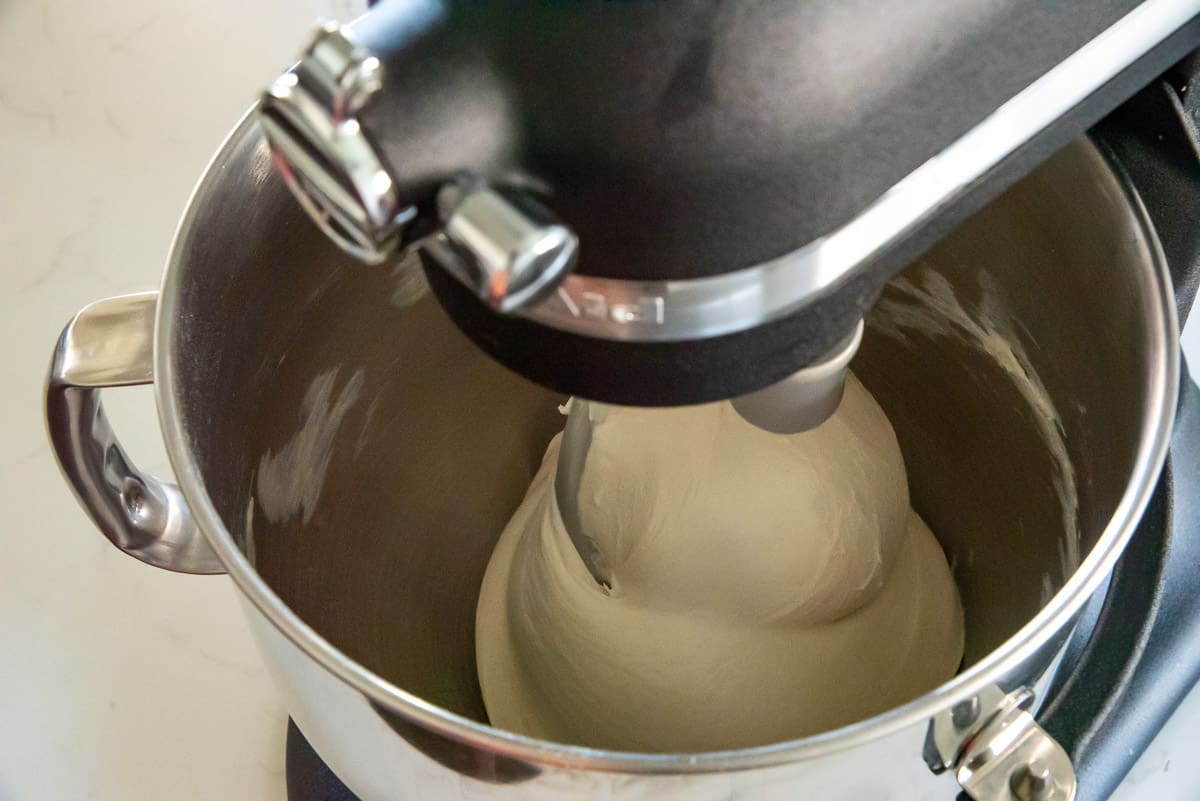
Begin kneading the mixture together at 2nd speed on the mixer. Once the mixture forms a thick batter, increase the mixing speed to 4 or medium speed. Most mixers recommend only mixing on 2nd speed, but the gluten strands develop best at speed 4.
Knead the dough for 10 minutes until a smooth dough forms. You might notice the dough sticking to the bottom of the bowl. Sticky dough is often the result of humidity in the environment you’re working in. You can add a 1/2 cup of bread flour, but I recommend kneading for 10 minutes and allowing your dough to be more hydrated than dry. The more hydration a bread dough has, the wider the crumb inside.
How Long Do I Have To Let The Dough Rise?
After 10 minutes of kneading, remove the dough from the bowl with a flexible bench scraper. You should grease your hands with a bit of olive oil or vegetable oil before handling the dough since it can be a bit sticky.
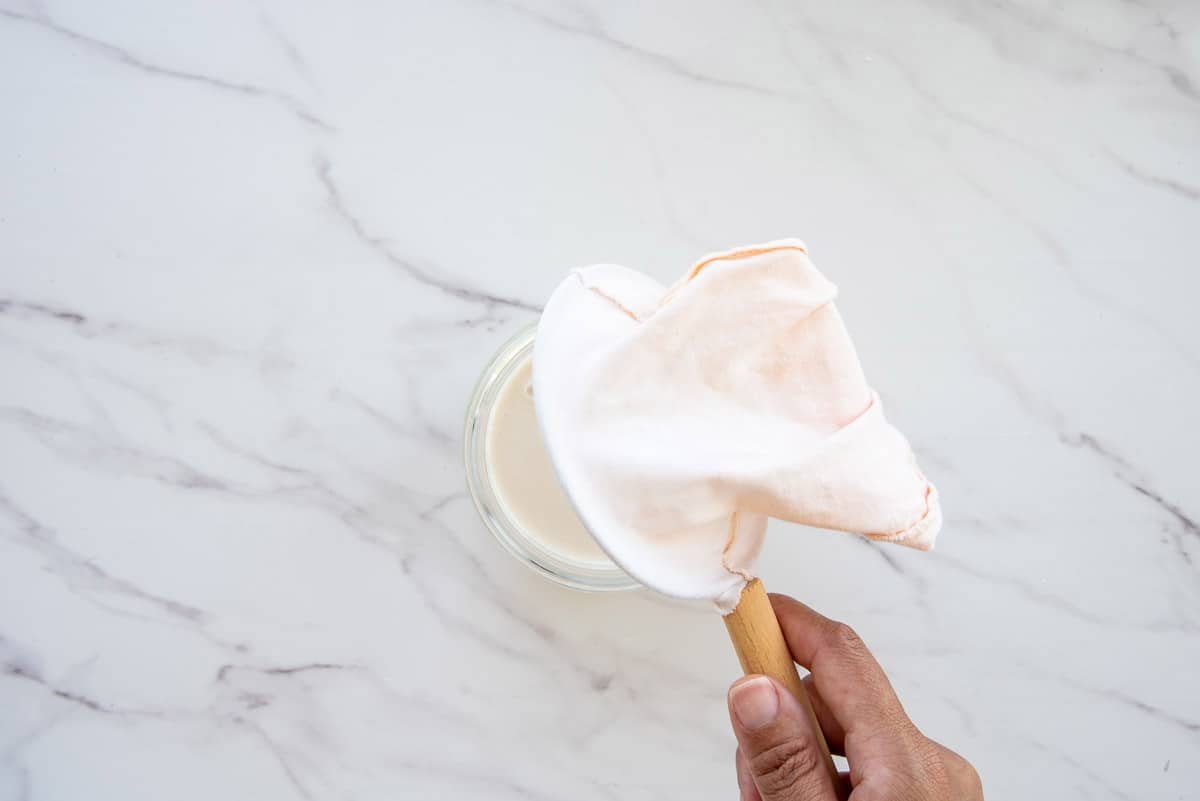
Grease the bowl inside and return the dough. Turn the dough over so the surface is coated in a thin layer of oil. Cover the mixing bowl with a clean tea towel or plastic wrap and place it in a warm, draft-free area of the kitchen. Allow the asiago sourdough to rise for 1 hour, undisturbed.
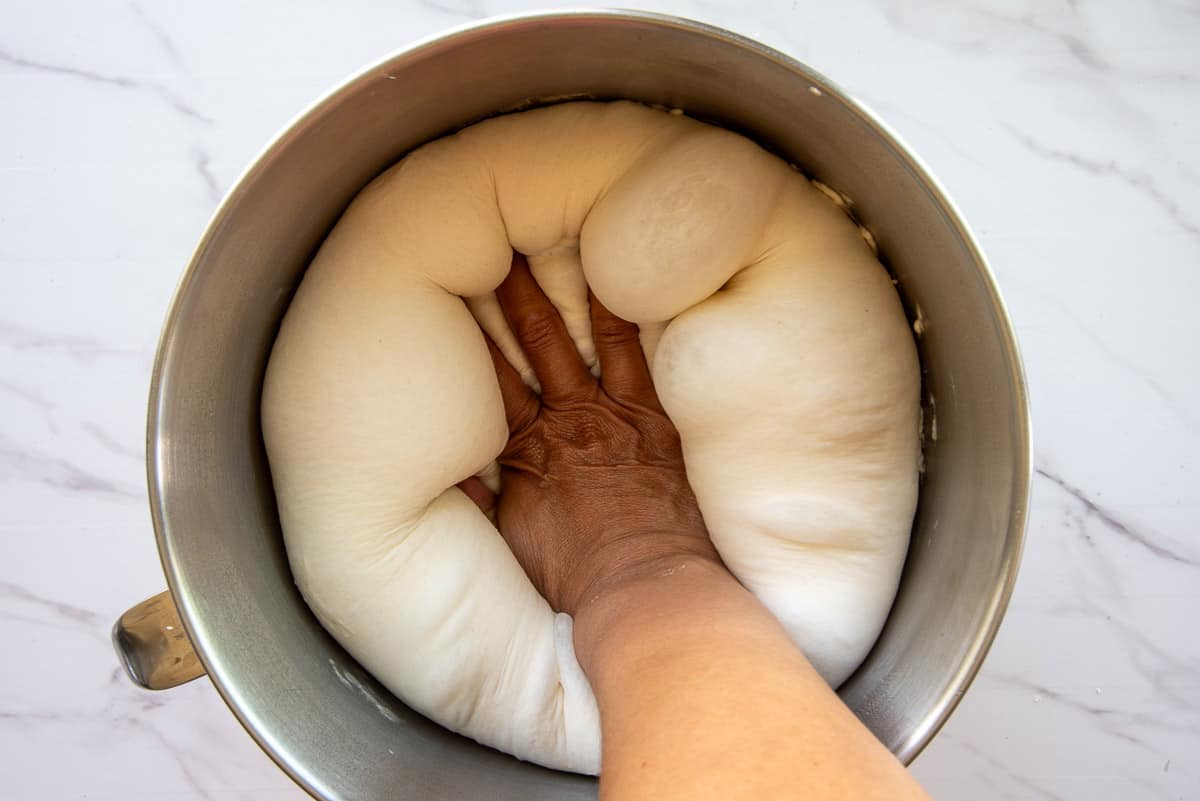
After the rise time has elapsed, push down the dough to dispel the gases that have built up in it. Remove the dough from the bowl and rest it for 15 minutes on a lightly floured surface under the inverted bowl.
What’s The Best Way To Shape The Asiago Sourdough?
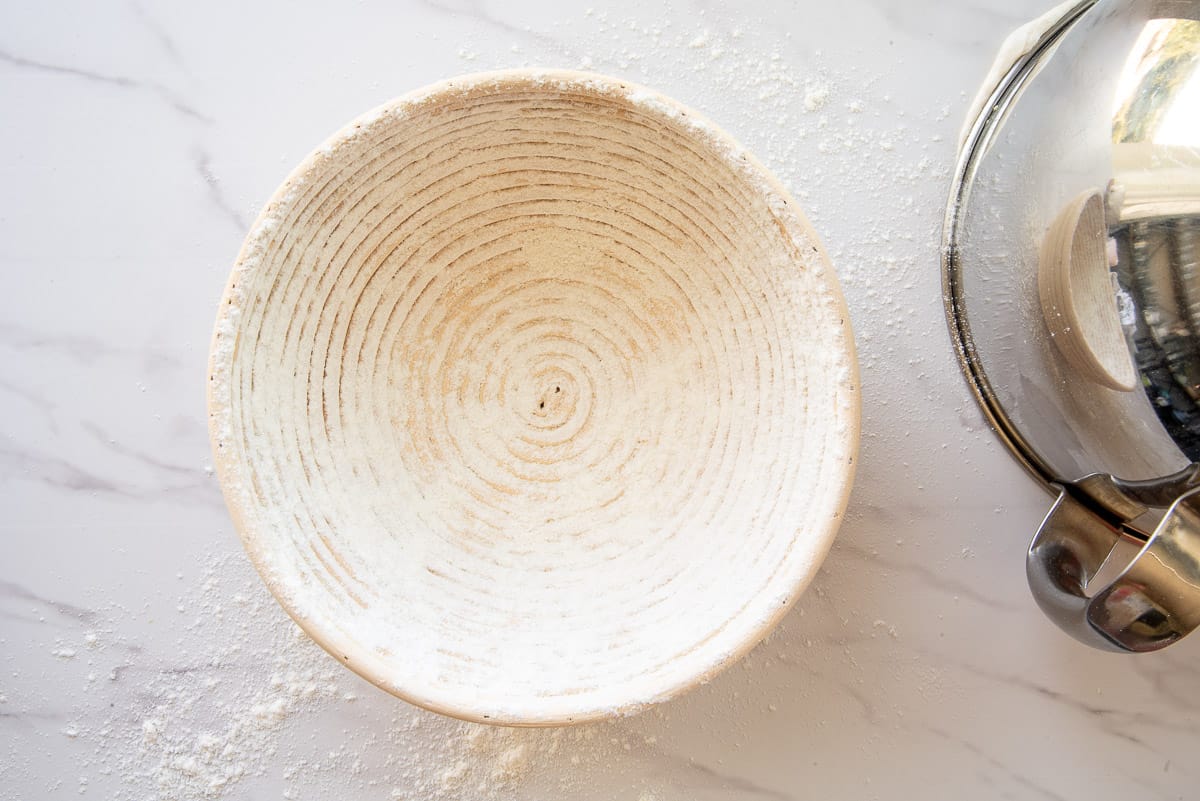
While the dough is resting, dust 2 bannetons with bread flour.
Bannetons are proofing baskets used to hold shaped bread dough as it rises. Bread, like this asiago sourdough, which is sticky because of its high hydration, benefits from rising in a banneton because, without it, the loaf will spread and fall flat. Instead of spreading, the dough rises upwards, giving it that classic bread shape.
Dusting the bannetons allows you to remove the shaped loaf without it sticking or deflating. You don’t bake in a banneton; instead, you only use it to proof the shaped bread dough. You can also accomplish this objective by proofing your bread dough in a parchment-lined dutch oven.
Can I Use A Different Cheese?
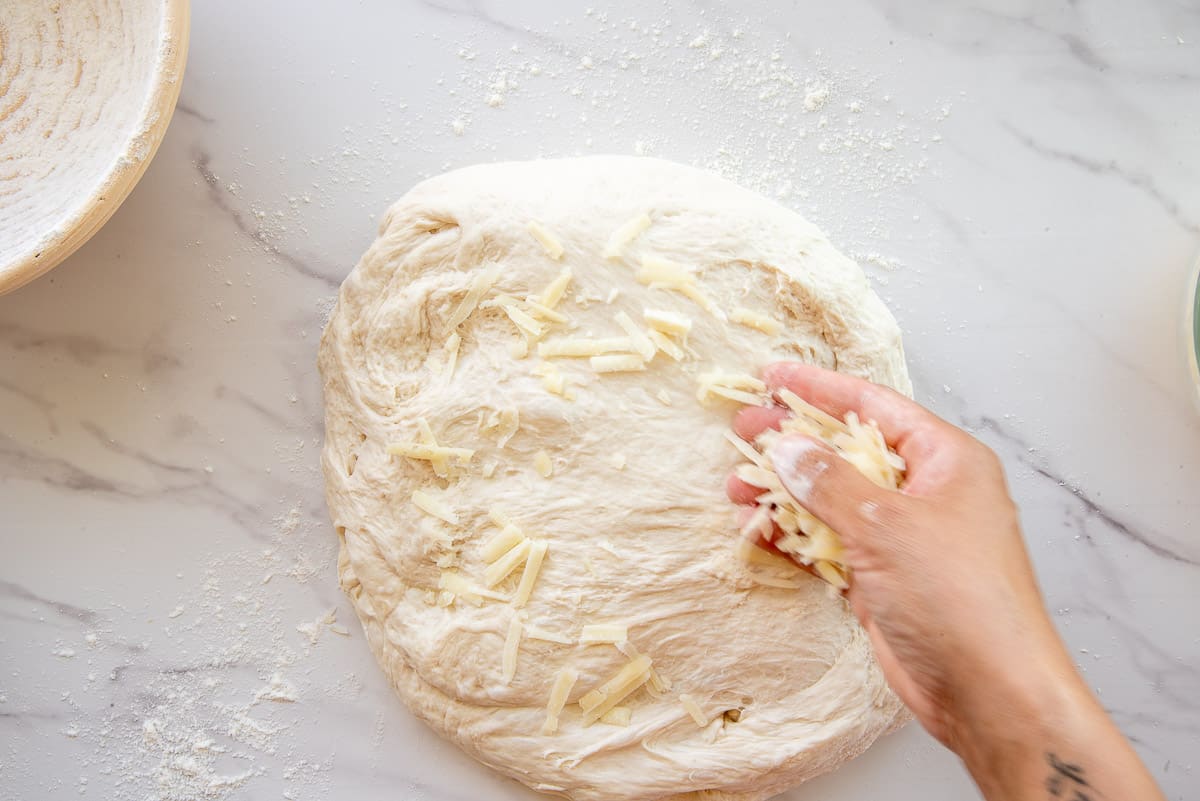
Use your hands to flatten the dough into a crude oval shape. Try to flatten it to a 1/2-inch thickness. Sprinkle a handful of the shredded asiago cheese onto the surface of the dough. Fold the dough over to encase the cheese and flatten it out again. Sprinkle another handful of the cheese, fold over the dough, and flatten it out. Continue adding the asiago cheese shreds until it’s all folded into the dough.
You can replace the asiago in this recipe with a similar cheese. Parmesan cheese, Romano cheeses, or even white cheddar are great replacements for the asiago in this sourdough bread recipe.
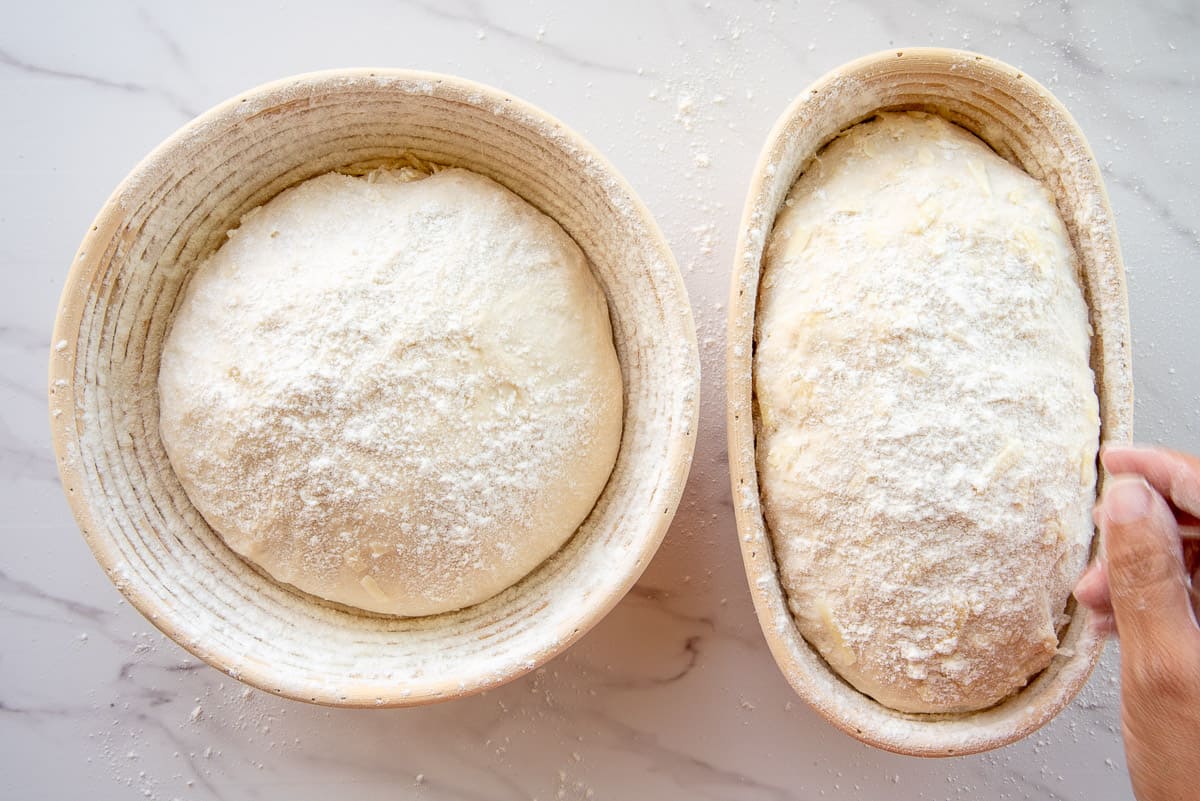
Use the bench scraper to cut the dough into two equal halves. Form the dough into two dough balls or a ball and a football-shaped loaf. I do this when I want to use the baked bread for different purposes.
Can I Freeze The Dough Before Baking It?
You can freeze this asiago sourdough before baking it. Instead of allowing it to rise a second time, place the dough balls into an oiled gallon-size freezer storage bag and freeze them for 2 months. Remove the dough balls from the bag and let them thaw in the fridge overnight. After they’re thawed, allow them to rise a second time for 1 1/2 hours to account for their colder temperature.
Carefully place the shaped balls of dough into the floured bannetons. Cover both with a clean kitchen towel and allow the dough to rise for 45 minutes to 1 hour in a warm place in the kitchen. While waiting for the dough to rise, heat an oven to 400°F (200°C). Fill a shallow baking dish with warm water and slide it onto the bottom rack of the oven.
Sprinkle the surface of the dough with a generous amount of bread flour and turn them over onto the bottom of an inverted sheetpan. I don’t own a baking stone, so this is the next best surface to bake bread on. If you have a baking stone, you’ll need to preheat it with the oven and carefully transfer the bread dough to it.
How Do I Bake A Crusty Asiago Sourdough Bread?
Use a bread lame or a clean razor blade to make a 2-inch-deep slash in the surfaces of the bread dough. This prevents the dough from bursting in the oven as it bakes and creates a pretty design on the surface of the dough.
Bake the bread in the preheated oven for 40-45 minutes. After 10 minutes of baking, carefully remove the pan of water from the oven. This creates steam in the oven, which coagulates the starch on the surface of the bread dough and creates that characteristic crisp crust. You only need 10 minutes of steam at the beginning of baking because the crust has hardened and no longer benefits from the steam.
How Long Does It Have To Cool?
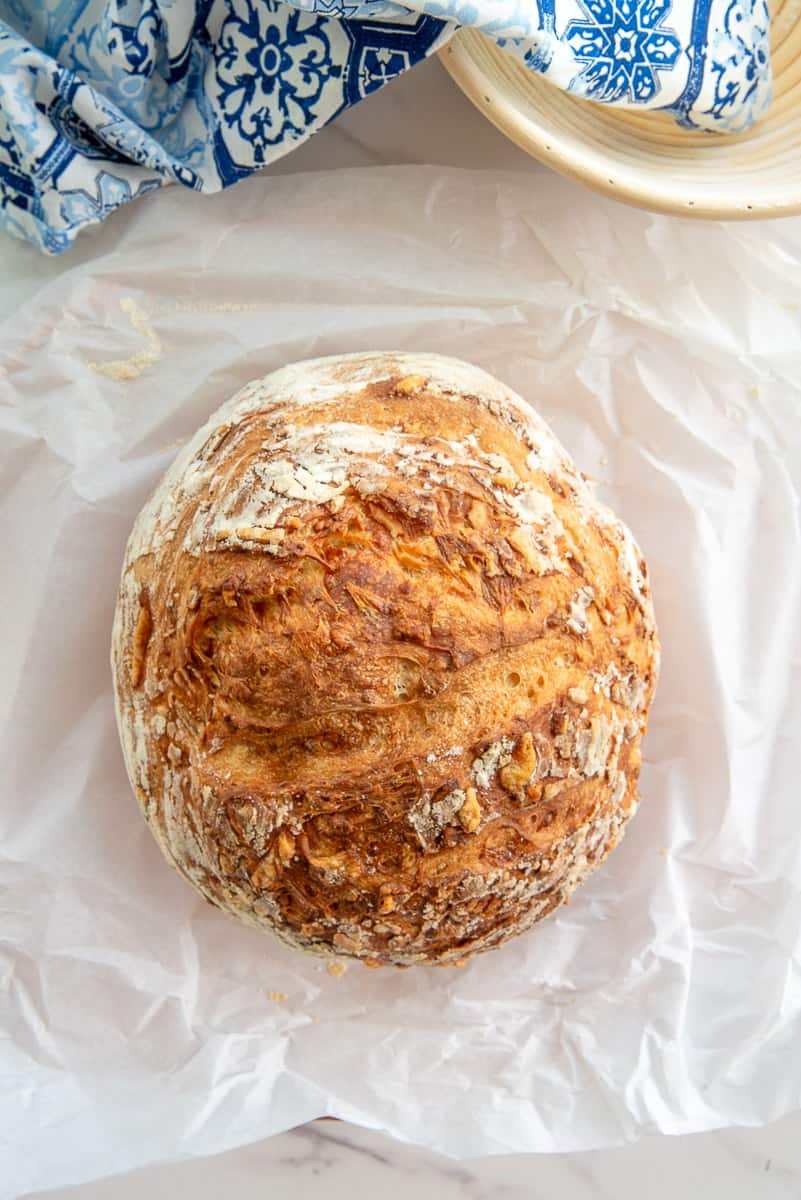
Remove the bread from the oven once it’s golden brown and sounds hollow when you thump it. Allow the bread to cool on a wire rack for at least 20 minutes before slicing it. Cutting it any sooner will leave you with gooey dough instead of a pillowy interior.
Always use a serrated knife to slice your bread loaves. Serrated bread knives prevent tearing or smashing the dough’s beautiful crumb (interior).
How Do I Serve it?
You can serve asiago sourdough bread toasted with butter or cream cheese or as the base for a sandwich. My favorite way to serve this bread is with my Avocado Chicken Salad.
You can cut stale asiago sourdough into cubes to make croutons. Why you would have stale asiago sourdough is a mystery to me, though.
How Do I Store Leftovers?
Store leftover asiago sourdough in an airtight container at room temperature for 3-4 days. I leave the bread loaf whole instead of slicing it to keep it as fresh-tasting as possible.
Reheat leftover asiago sourdough by toasting it in the toaster, air fryer, or oven.
Can I Freeze Asiago Sourdough After I Bake It?
I always freeze a loaf when I make this recipe. To freeze baked asiago sourdough:
- Cool it completely and wrap it in a double layer of plastic wrap.
- Put the wrapped loaf (or loaves) into a plastic freezer bag or wrap it in a layer of heavy-duty aluminum foil and freeze it for up to 2 months.
- Thaw frozen asiago sourdough at room temperature before enjoying it.
My Asiago Sourdough Bread is a more flavorful take on Italian bread and one that my entire family loves. This is one of my best bread recipes because it’s easily adaptable and serves many purposes. I’ve included different ways to change up this recipe in the recipe card notes section. The effort it takes to make is worth it when you take just one bite.
Pin this recipe to your bread boards, and let me know what you think of it in the comments.
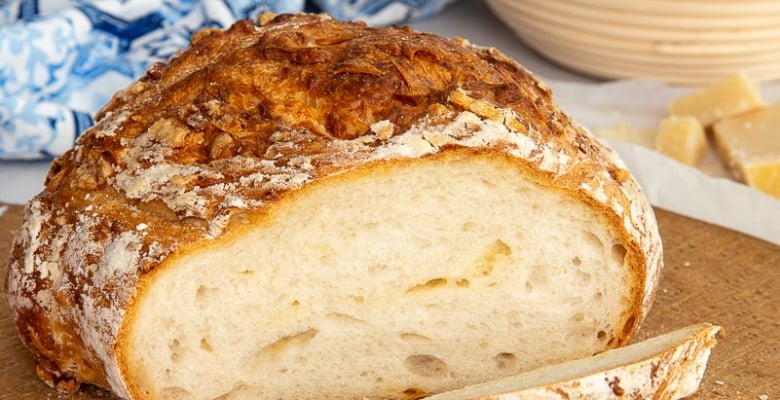
Asiago Sourdough Bread
at Sense & EdibilityEquipment
- stand mixer with a dough hook
- bannetons or a dutch oven
- lame or a razor blade
Ingredients
For the Sourdough Sponge (Begin At Least 12 Hours Ahead)
- 1/2 cup (125 grams) sourdough starter at room temperature
- 1/2 cup (65 grams) bread flour
- 3/4 cup (180 milliliters) warm water (110°F or 40°C)
For the Asiago Sourdough Bread
- 2 1/4 teaspoons (7 grams) active dry yeast
- 1 teaspoon (5 grams) granulated sugar or honey
- 1 1/2 cups (375 milliliters) warm water (110°F or 40°C), separated
- sourdough sponge
- 5 cups (660 grams) bread flour
- 1 1/2 teaspoons (11 grams) kosher salt or to taste
- 5 1/2 ounces (2 cups or 160 grams) asiago cheese shredded
Instructions
Feed the Sourdough Starter (At Least 12 Hours Ahead)
- Whisk together the sourdough starter, bread flour, and warm water in a large bowl, preferably a clear bowl. As the starter feeds on the flour mixture, it bubbles and rises, which is the sign you need to know it's active. If you don't see any movement in the jar after an hour, your starter is dead, and you'll need to start with a live starter.
Bloom the Yeast
- Add 2 tablespoons (30 milliliters) of the warm water from the recipe to a small bowl with the yeast and sugar. Stir these until combined and allow the yeast to bloom for 5-10 minutes.
- Check the mixture after 5 minutes. It should look foamy and smell like beer or bread. If there's no movement or aroma, the yeast is dead, and you'll need to grab a new jar or packet and start again.
Mix the Sourdough (Stand Mixer)
- Stir the sourdough starter to mix the hooch (or liquid on top) into the rest of the mixture and add the sourdough starter, the yeast mixture, and the bread flour to the bowl of a stand mixer.Add the remaining warm water and, lastly, the kosher salt to the bowl.
- Begin kneading the mixture together at 2nd speed on the mixer. Once the mixture forms a thick batter, increase the mixing speed to 4 or medium speed.
- Knead the dough for 10 minutes until a smooth dough forms. You might notice the dough sticking to the bottom of the bowl, this is fine.After 10 minutes of kneading, lightly grease your hands with olive or vegetable oil and remove the dough from the bowl with a lightly greased, flexible bench scraper.
Allow the Dough To Rise
- Grease the bowl inside with a small amount of oil and return the dough to the bowl. Turn the dough over so the surface is coated in a thin layer of oil. Cover the mixing bowl with a clean tea towel or plastic wrap and place it in a warm, draft-free area of the kitchen. Allow the asiago sourdough to rise for 1 hour, undisturbed.
Punch Down, Rest, Then Shape the Dough For A Second Rise
- After the rise time has elapsed, push down the dough to dispel the gases that have built up in it. Remove the dough from the bowl and rest it for 15 minutes on a lightly floured surface under the inverted bowl.
- While the dough is resting, dust 2 bannetons with bread flour. If you don't have bannetons, line a dutch oven with two 3-inch strips of parchment paper crossed in the center of the pot.
- Use your hands to flatten the dough into a crude oval shape about 1/2-inch thick. Sprinkle a handful of the shredded asiago cheese onto the surface of the dough. Fold the dough over to encase the cheese and flatten it out again.
- Sprinkle another handful of the cheese, fold over the dough, and flatten it out. Continue adding the asiago cheese shreds until it's all folded into the dough.
- Use the bench scraper to cut the dough into two equal halves. Form the dough into two dough balls or a ball and a football-shaped loaf.Carefully place the shaped balls of dough into the floured bannetons.
- Cover both with a clean kitchen towel and allow the dough to rise for 45 minutes to 1 hour in a warm place in the kitchen.
Bake the Asiago Sourdough Bread
- While waiting for the dough to rise, heat the oven to 400°F (200°C). Fill a shallow baking dish with warm water and slide it onto the bottom rack of the oven.
- Sprinkle the surface of the risen dough with a generous amount of bread flour and turn them over onto the bottom of an inverted sheetpan. You can also use a baking stone; however you'll need to preheat it with the oven and carefully transfer the bread dough to it.
- Use a bread lame or a clean razor blade to make a 2-inch-deep slash in the surfaces of the bread dough. Bake the bread in the preheated oven for 40-45 minutes carefully removing the pan of water from the oven after 10 minutes of baking.
- Remove the bread from the oven once it's golden brown and sounds hollow when you thump it.
Cool the Bread Before Enjoying
- Allow the bread to cool on a wire rack for at least 20 minutes before slicing it.
- You can serve asiago sourdough bread toasted with butter or cream cheese or as the base for a sandwich. Reheat leftover asiago sourdough by toasting it in the toaster, air fryer, or oven.
Notes
Swaps and Substitutions:
- Omit the sourdough sponge to make regular Asiago Bread.
- Add 1 teaspoon (2 grams) granulated garlic with the bread flour to the stand mixer to make Garlic Asiago Sourdough Bread.
- Add 1 teaspoon (1 gram) of Italian Herb Blend with the bread flour to the stand mixer to make Italian Herb Asiago Sourdough Bread.
- Replace the asiago in this recipe with Parmesan, Romano, or white cheddar cheese.
To Mix the Dough By Hand:
- Bloom the yeast as instructed and add it to a large mixing bowl with the sourdough starter and the bread flour.
- Stir these together with your hand while adding the the remaining warm water and the kosher salt.
- Once a thick dough forms, turn the dough out onto a floured surface.
- Knead the dough for 10 minutes by hand.
- Proceed with the recipe as instructed.
Tips and Techniques:
- Feeding the starter for 12-24 hours develops more yeast, which will flavor the bread and give it more lift. You can decrease this time to just 2 hours, but you'll sacrifice some of the flavor.
- Adding the kosher salt last ensures it doesn't come into contact with the yeast, which it will kill.
- Most mixers recommend only mixing on 2nd speed, but the gluten strands develop best at speed 4.
- You can add an additional 1/2 cup of bread flour if you think your dough is sticking or too loose, but I recommend kneading for 10 minutes and allowing your dough to be more hydrated than dry.
- You don't bake in a banneton; instead, only use it to proof the shaped bread dough.
- Slashing the dough before baking prevents it from bursting in the oven as it bakes and creates a pretty design on the surface of the dough.
- Creating steam in the oven coagulates the starch on the surface of the bread dough and creates that characteristic crisp crust.
- Cutting the bread without cooling it will leave you with gooey dough instead of a pillowy interior.
Storage Instructions:
- Store leftover asiago sourdough in an airtight container at room temperature for 3-4 days. I leave the bread loaf whole instead of slicing it to keep it as fresh-tasting as possible.
Freezing Instructions:
- To freeze unbaked Asiago Sourdough:
- After punching down and resting the dough, place the balls into an oiled gallon-size freezer storage bag.
- Freeze the dough for 2 months.
- Remove one or both of the dough balls from the bag and let them thaw in the fridge overnight.
- After thawing, allow them to rise a second time for 1 1/2 hours to account for their colder temperature.
- To freeze baked Asiago Sourdough Bread:
- Cool the baked loaves completely and wrap it in a double layer of plastic wrap.
- Put the wrapped loaf (or loaves) into a plastic freezer bag or wrap it in a layer of heavy-duty aluminum foil and freeze it for up to 2 months.
- Thaw frozen asiago sourdough at room temperature before enjoying it.



I have always seen asiago cheese in the supermarket and never knew how to use it. But after I saw this recipe, I bought some and went to work! The bread was one of the most delicious I have ever had! I am excited about making yet another batch!
It adds such a great flavor to breads, Kaluhi. Enjoy!
A cheesy twist on a classic! The sharp Asiago flavor combined with the tangy sourdough created a savory and irresistible bread that’s perfect for sandwiches or as a snack. I’ll be making a double batch this weekend!
Enjoy Sophie!
This is a great recipe, thank you for showing me how to make a sourdough starter. I have been trying for a while to get it together and make sourdough bread but never was successful. But I never had such a clear guide as yours. Thanks again, I will keep you updated on my success!
I love reading comments like this, Jenny. Thank you for the compliment!
I am still pretty new to making sourdough bread. Your pictures in the post were very helpful. Thanks for the recipe share!
Im glad it worked out, Ann. Keep baking!
This looks really good! I’m such a huge fan of homemade bread. I saved this recipe for later, but couldn’t wait to make it. It was delicious. Thanks for sharing!
You’re welcome, Valentina.
I actually live in North East Italya, not so far from Asiago (the town). We eat this cheese a lot. It’s fabulous grilled too! I’ve never added it to sourdough bread but now I have and I absolutely love it!
I would love to visit Italy again, Jacqueline!