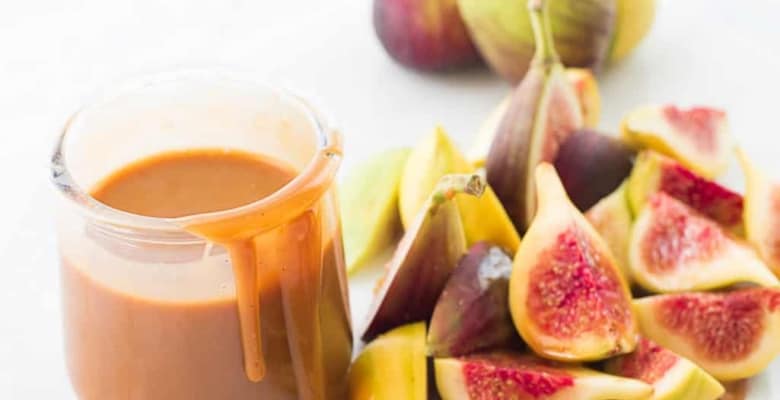
I’m sharing my unique recipe for this creamy, sweet-tart caramel known as Cajeta because my love for you is deep. Not only is this goat’s milk caramel a fantastic way to top your next scoop of ice cream, but it is also completely suitable for eating on its own. Instead of making a “regular” cajeta, try this version, which is a great alternative to the original, tasty recipe.
I wrote this post back in September 2018 but have since updated the recipe to streamline the cooking process.
What is Cajeta?
Simply, cajeta is a goat’s milk caramel, which is similar to dulce de leche. Typically, dulce de leche is evaporated milk that’s been cooked down to a thick caramel-like consistency. With Mexican cajeta, ultra-pasteurized goat’s milk is simmered down to create a sweet, thick sauce with a tangy finish. My version, however, is slightly different. This cajeta is more like caramel.
Caramel is sugar boiled to a certain temperature before butter and, either heavy cream or half-and-half is added to create a sauce.
Why isn’t your Cajeta recipe the same as everyone else’s?
For one, I’m not about doing what everyone else is doing. While I appreciate and respect Mexican culture and how this recipe has been prepared, I wanted to try something different. My recipe is not authentic, but after years of making cajeta the “original” way, I realized that I just didn’t enjoy the process. That doesn’t mean the original recipe was wrong or needed improvement, though. It was the chemistry behind making cajeta that I wasn’t a fan of. Having to boil down the milk for upwards of an hour was another. If I didn’t pay close attention to the cooking process, I’d often end up with gritty or snotty-like cajeta. That alone is frustrating enough. In addition to the laborious prep, I didn’t always have pasteurized, refrigerated goat’s milk on hand.
I always have canned, evaporated goat’s milk. It’s a staple in my pantry, so one day, I decided to break with tradition. Instead of spending an hour (often more) over the stove cooking down the goat’s milk, I decided to work backward. I made a toffee/caramel base with brown sugar and butter, then stirred in the concentrated goat’s milk. The result was better than any cajeta I, my family, or my friends had tasted. And, remember, I live in Texas. So, I mean, they know Mexican cajeta.
Let’s be honest, most store-bought cajeta is packed with glucose and any number of things. This unconventional version is better than that. I encourage you to try this recipe out and see what you think.
What do I need to make this Cajeta recipe?
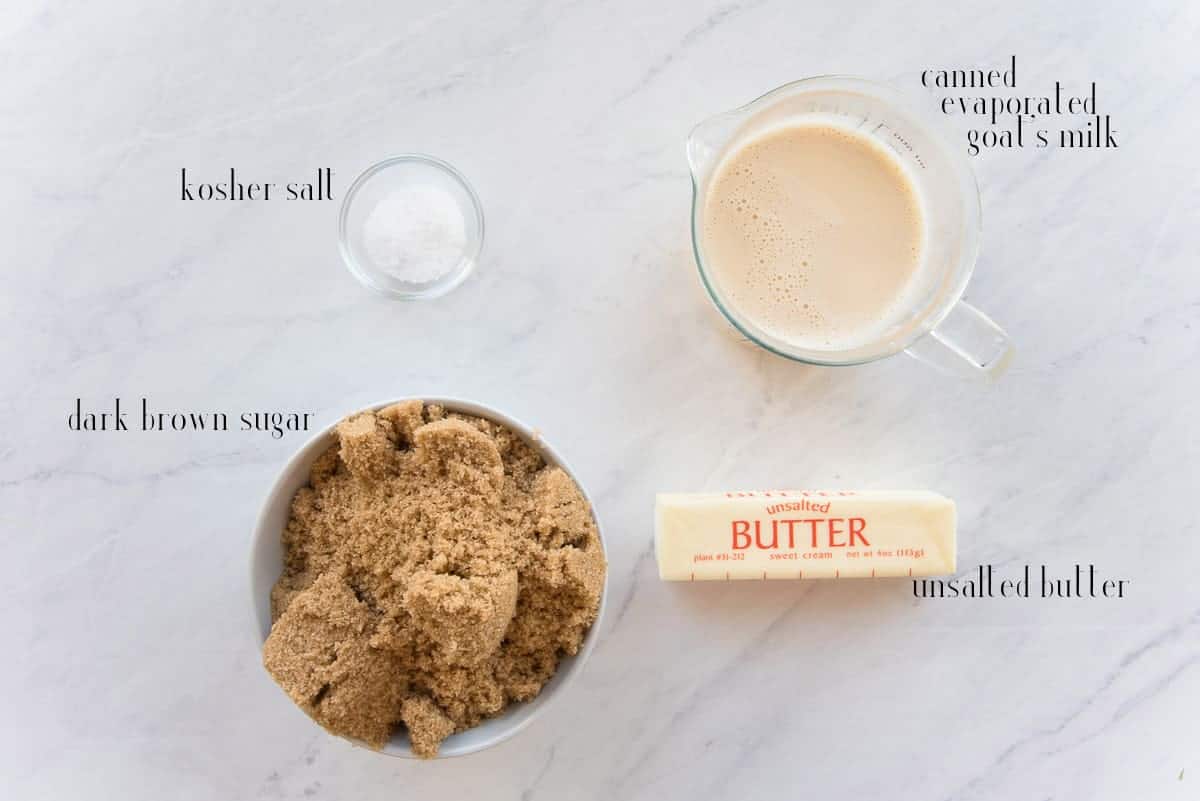
To make my version of cajeta, you need brown sugar (light or dark brown will work here), kosher salt, unsalted butter, and a can of evaporated goat’s milk. As written, this recipe makes two pints of cajeta. If you don’t think you need two pints *haha!!!*, you can cut the recipe in half. You’ll regret it, but you’re free to do what you want.
In addition to the foodstuffs, grab a 5-quart (or larger) pot. Though there’s a small number of ingredients, the reaction in the pot after you add the goat’s milk will cause them to expand violently. You don’t want to overflow a smaller pot.
Why goat’s milk and what kind?
Goat’s milk is actually very popular in Hispanic cuisine. In fact, Hector’s grandmother bought a goat and made him milk it every day if he wanted to drink milk. The amount of money she was spending on cow’s milk for him was insane. Goats are easy to keep in the yard, and they provide milk, cheese, maybe even meat if they get ornery enough. So, for many people, they’re a lot more practical than cows are. Goat milk has a tangy, creamy flavor. Some folks argue that goat milk is too “goaty,” which, I’m sorry (not really), is probably one of the dumbest things I’ve ever heard. It’s not “goaty” because there’s no such thing. It is different than cow’s milk. And not in a bad way.
Think of milk that tastes like a cross between whole milk and buttermilk, and you get an idea of what goat milk tastes like. Canned evaporated goat’s milk is the best one to use in this recipe. Why? Because it’s essentially what you’d end up with when making authentic cajeta: concentrated goat’s milk. We finish it off by sweetening it and thickening it up. Avoid goat’s milk from the refrigerator. To me, it’s not concentrated enough to give this recipe the flavor it needs.
Can I flavor the Cajeta?
If you want to experiment with flavors, infuse the goat milk. I prefer a pure cajeta flavor, so I don’t add any other flavors. But, when you heat the goat’s milk before adding it to the caramel, you can infuse vanilla, herbs, or other ingredients into it. Split a vanilla bean and add it to the warmed goat milk for 15 minutes. You can also add vanilla extract or vanilla bean paste. If you want to go a step farther, infuse culinary lavender, sage, thyme, lemon peel, or orange peel in the milk. Additionally, extracts, emulsions, coffee, or tea are other ways to flavor your cajeta. Here, though, I’m keeping it plain.
How do I start the cajeta?
Remember, we’re working backward, so you, first, need to make the caramel base.
In a 5-quart saucepot, preferably one with sloped sides, melt the unsalted butter over medium-low heat. You don’t want to melt the butter too fast, or the fat solids will begin to brown. That won’t taste bad, but it will force you to rush the process to avoid a burnt caramel flavor later.
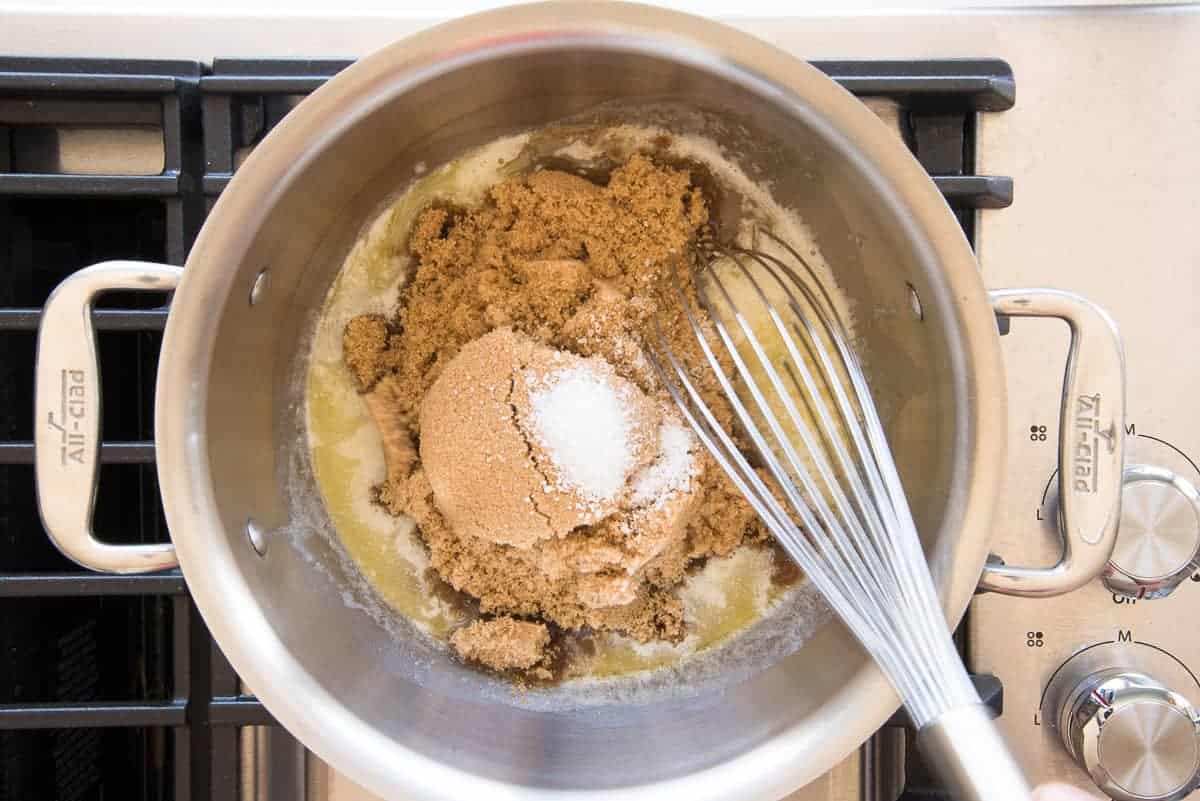
Once the butter is completely melted, stir in the brown sugar and the salt with a long-handled whisk.
How do I heat the milk?
While the sugar is dissolving into the butter, begin heating the goat’s milk. I just heat the milk in the microwave for 1 minute on high. Make sure to heat the milk in a tall pitcher to avoid it boiling over. If you plan to infuse your milk with any other flavors, add those items to the milk before you put it in the microwave. Allow them to sit in there and infuse once the milk is hot and up until you add it to the caramel in the pot.
You can also heat the milk in a pot on the stove. Just bring it to the steaming point (usually 4-5 minutes) over medium heat. Be sure not to let it boil over.
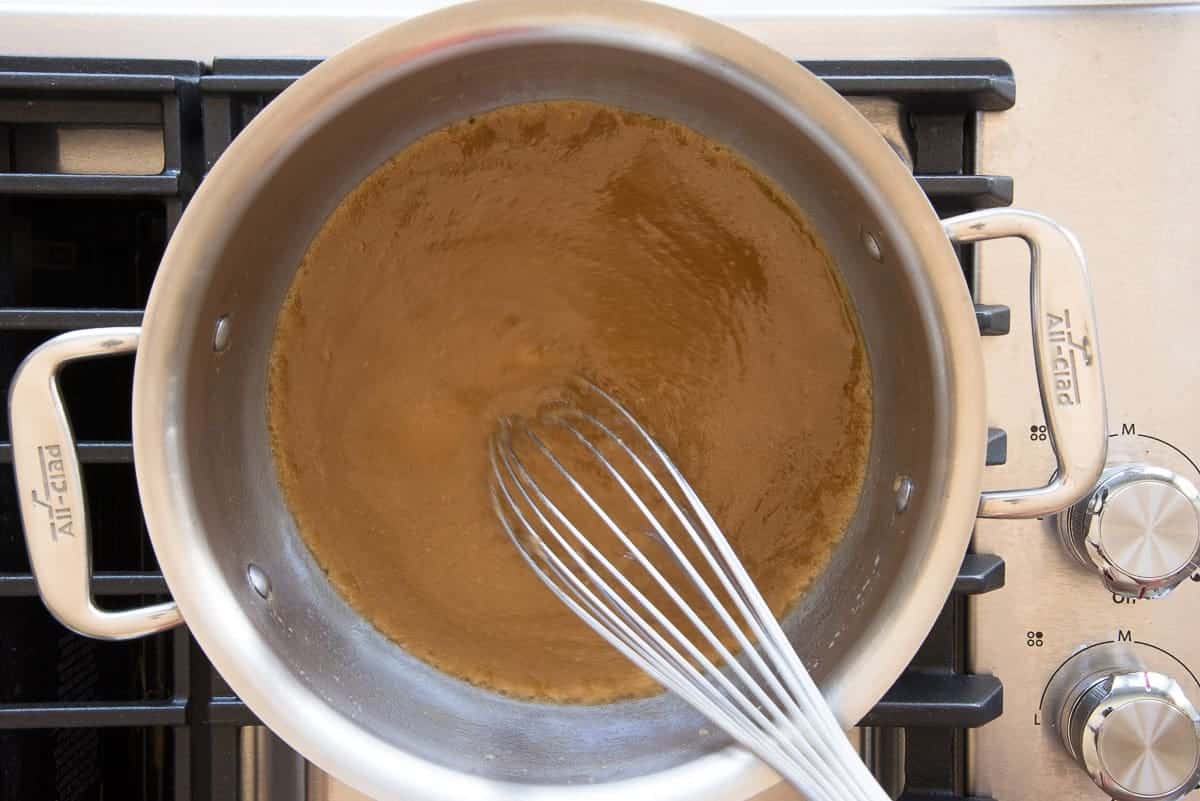
Once the milk is hot, set it aside while you finish the caramel. After the sugar is added to the butter, you’re going to whisk the two together until combined. Stir the mixture in small, concentric circles around the pot. That means to make little circles inside of the larger circle that is the pot. It usually takes 1 1/2 minutes before the sugar and butter combine. You shouldn’t see any pools of butter at this point, and the mixture will look sludgy or like mud.
Continue cooking over medium-low heat for another minute.
Finish the cajeta base
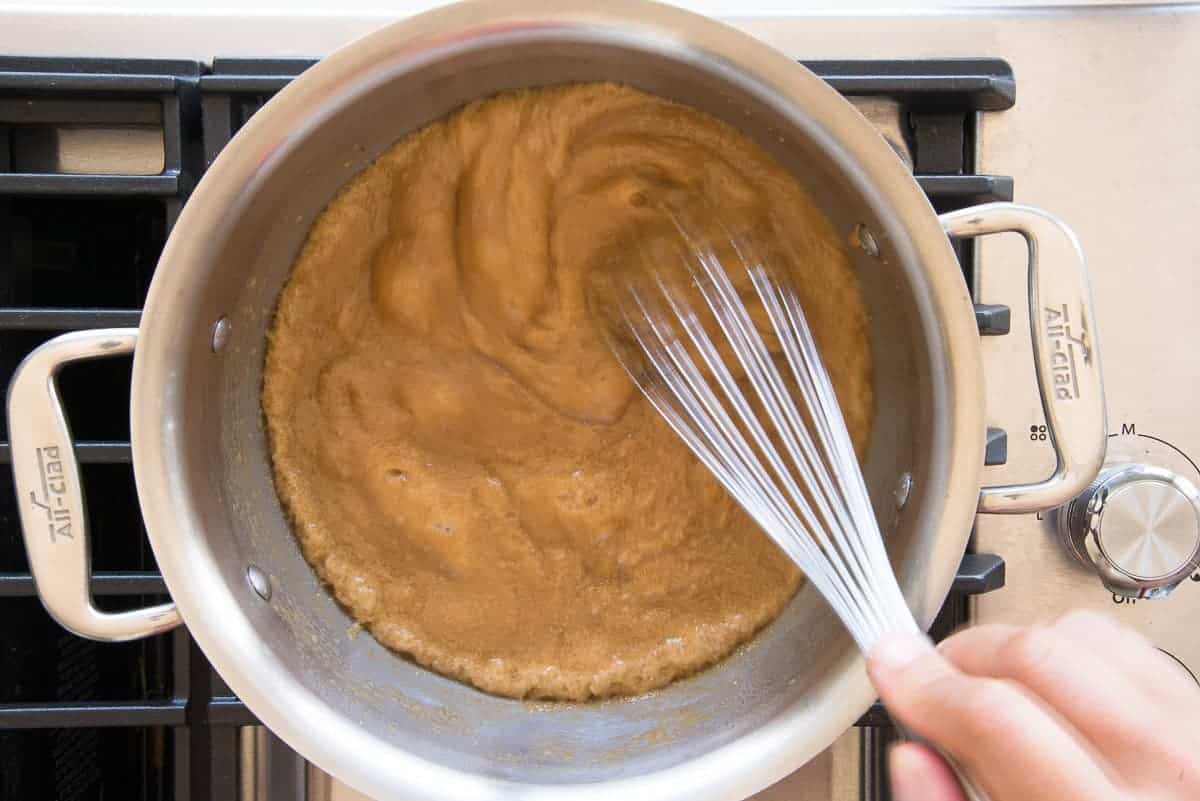
After 2 1/2 minutes, the butter-sugar mixture will appear light brown and foamy. Continue your concentric circle stirring for another 3-4 minutes.
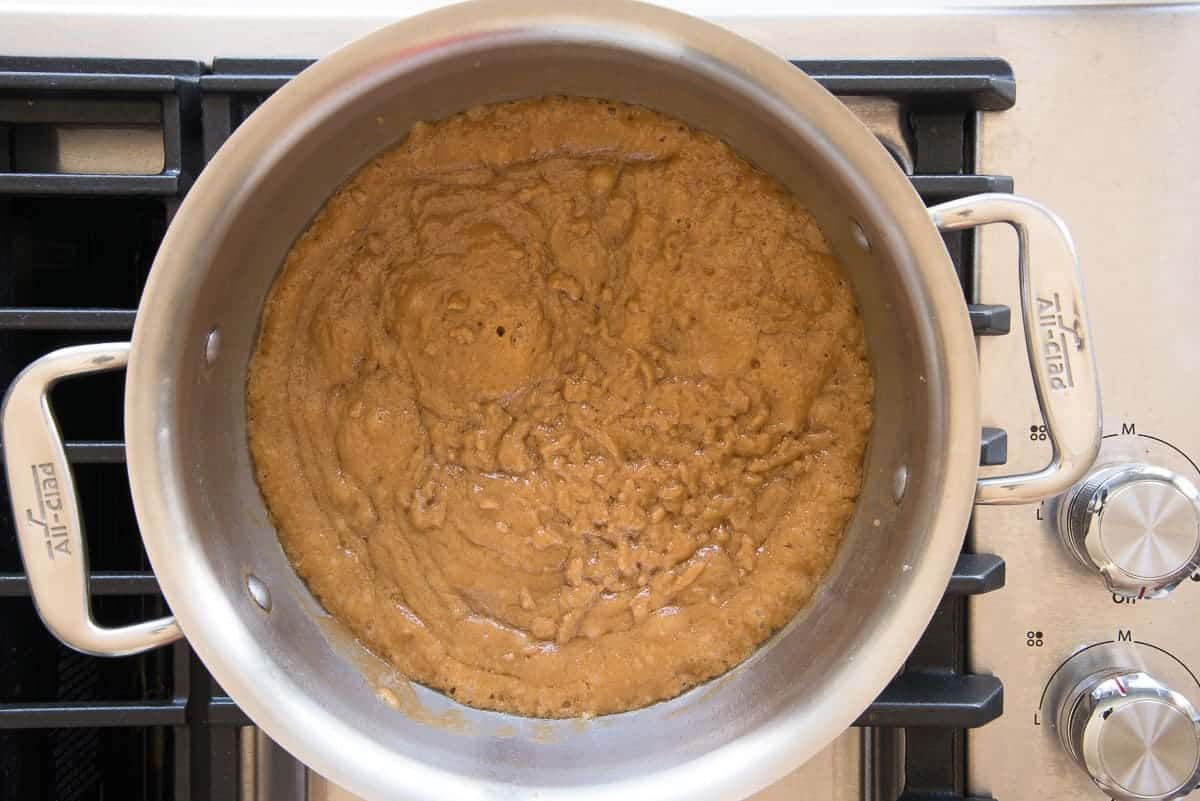
After 4-4 1/2 minutes, the mixture will look curdled. This is the result of the butter separating from the sugar again. Continue cooking for another 7-8 minutes, whisking constantly.
Within that time, the curdled mixture comes together to form a thick caramel-like paste.
Carefully add the warm goat’s milk to the caramel
You heat the goat’s milk before adding it to the sugar to prevent the sugar in the caramel from seizing up and creating clumps when you add it.
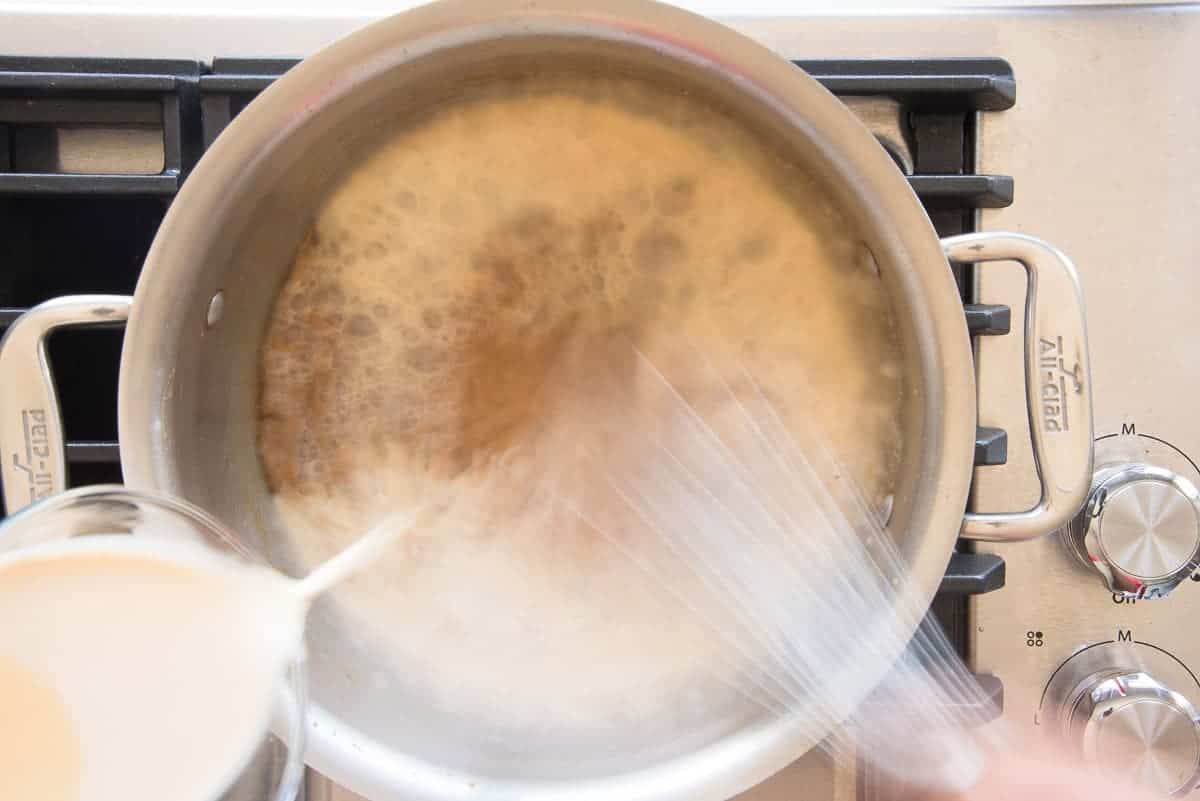
When it comes to adding any liquid to caramel, though, you have to be mindful of the violent steam that it will produce. Keep your hands, arms, and especially your face from above (or to the immediate sides of) the pot. This, again, is the reason for the extra-large pot. As the caramel bubbles and steams, you don’t want it to overflow the pot and cause damages or a mess.
Carefully pour the warm goat’s milk into the pot. I usually pour the milk from a pitcher to keep my hands clear of the pot. That long-handled whisk is also clutch here. As soon as the milk is added to the caramel, it will bubble ferociously and steam like the dickens. Continue to whisk where it’s safe to do so.
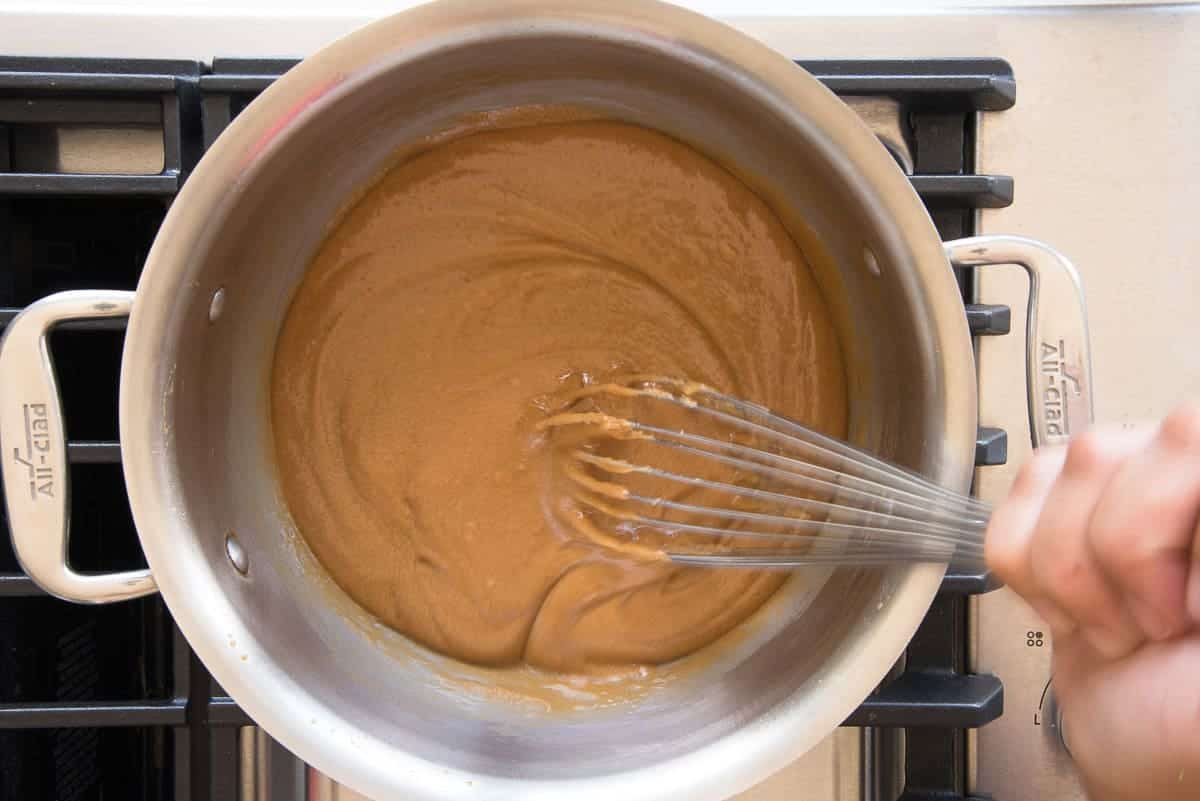
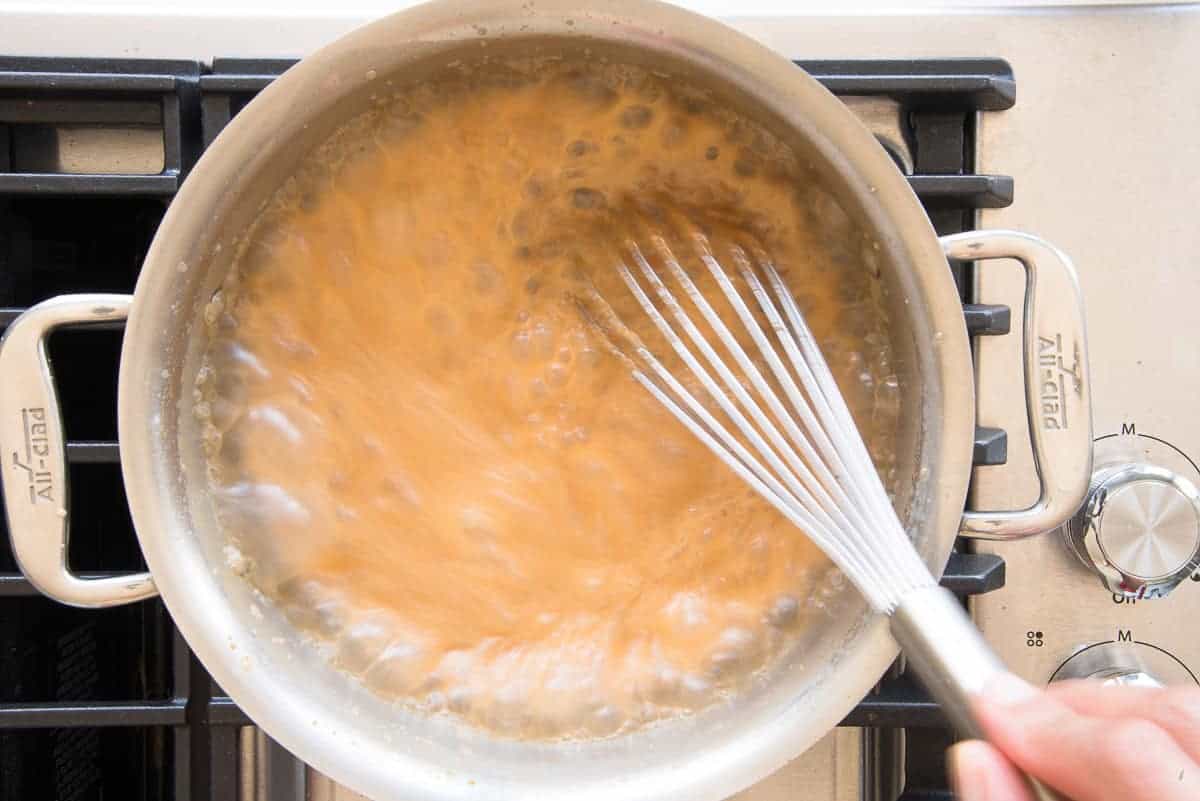
Once all of the goat’s milk is added, continue heating and whisking the cajeta until smooth.
Continue cooking the cajeta for another 2-3 minutes over medium-low heat, frequently whisking to break up any lumps that may have developed.
Cook the cajeta over medium-low until the mixture thickens again and the whisk leaves trails on the surface. The longer you cook it at this point, the thicker the cooled cajeta will be.
Why isn’t the Cajeta thick?
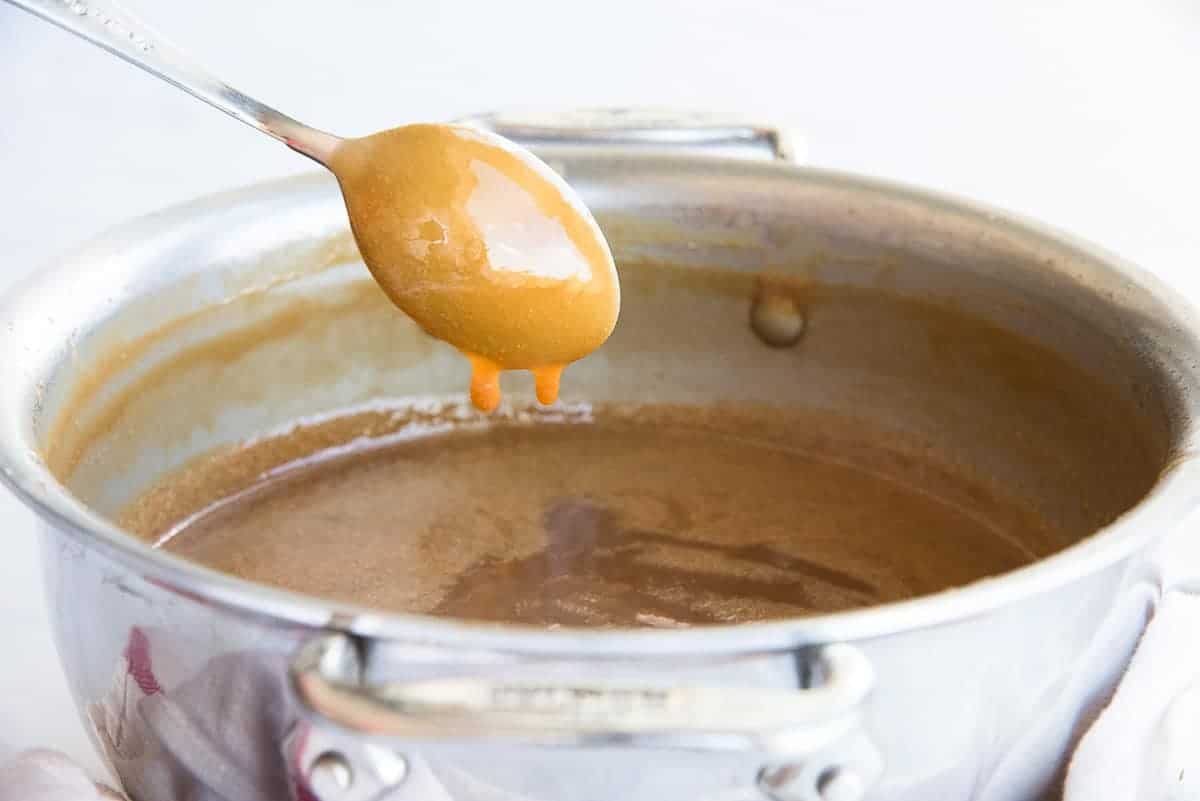
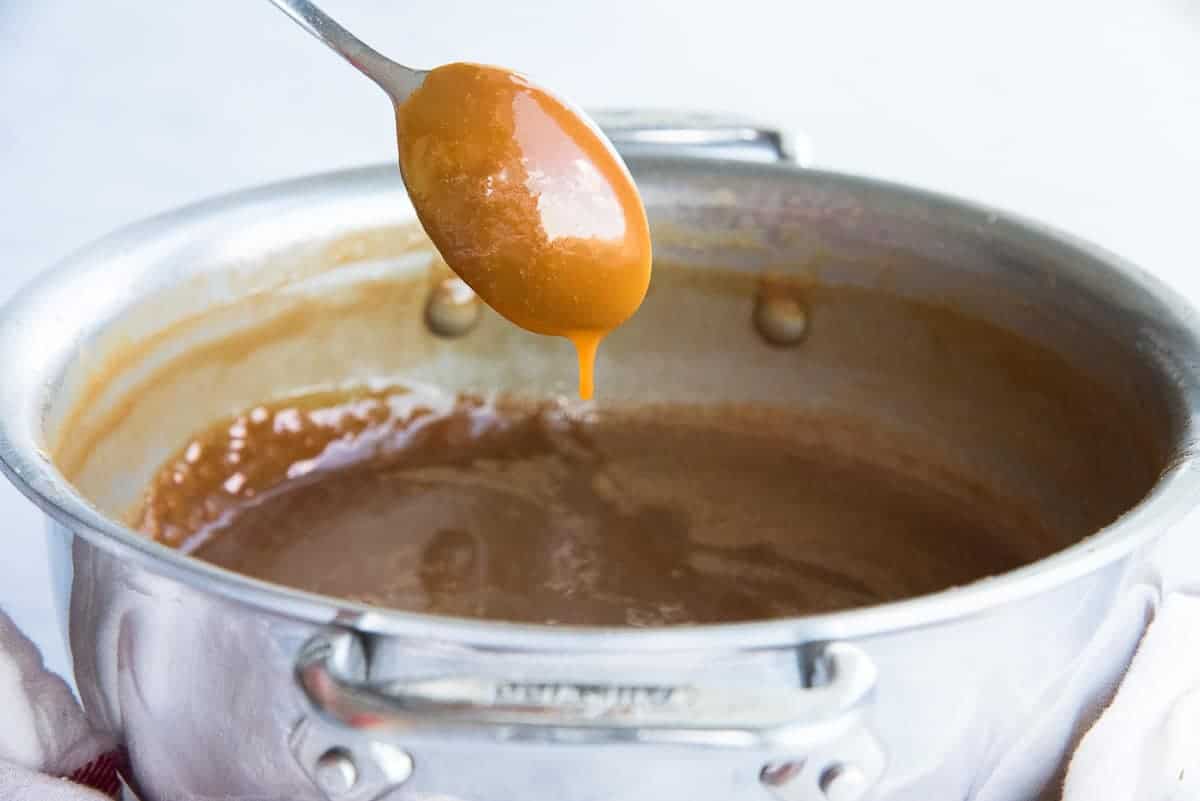
Right after preparing the cajeta, you’ll notice that it’s not thick like what you’re used to seeing. Because the sugar and the butter are still liquified, that’s normal.
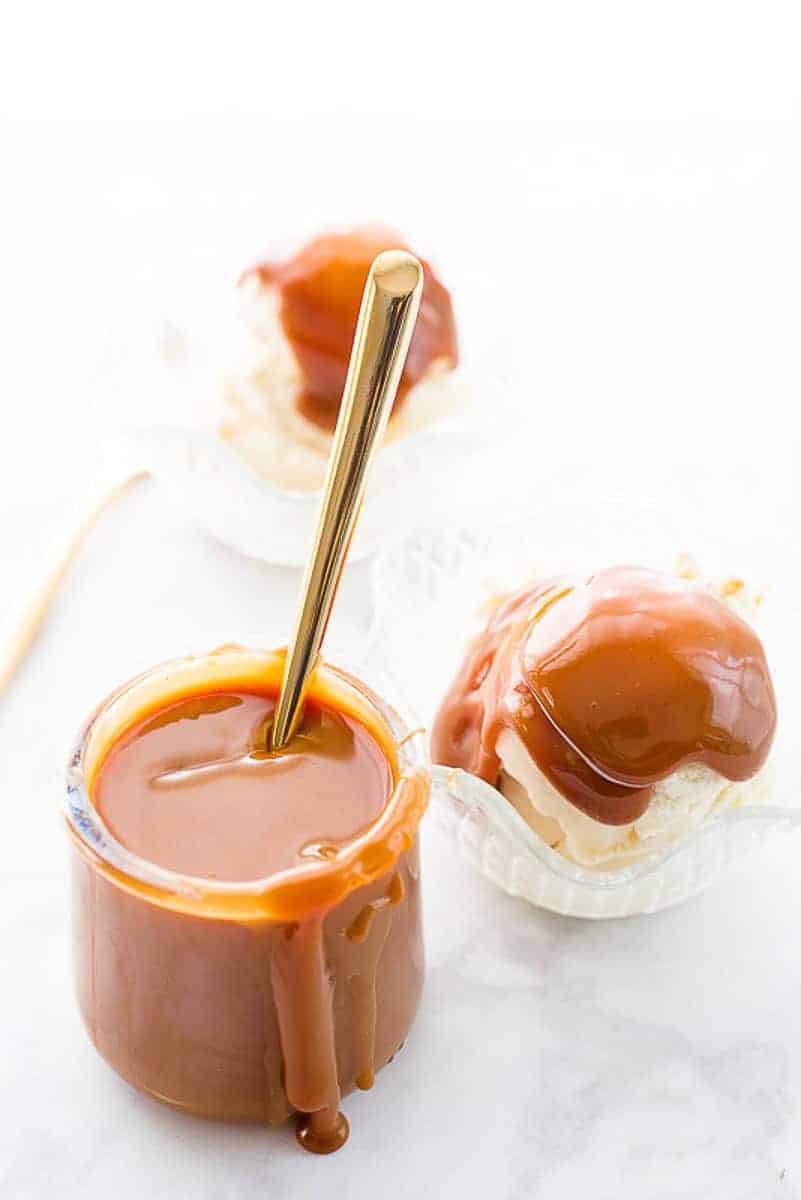
Allow the cajeta to cool for 30 minutes, and you will see a huge difference. The image above is right after making the cajeta.
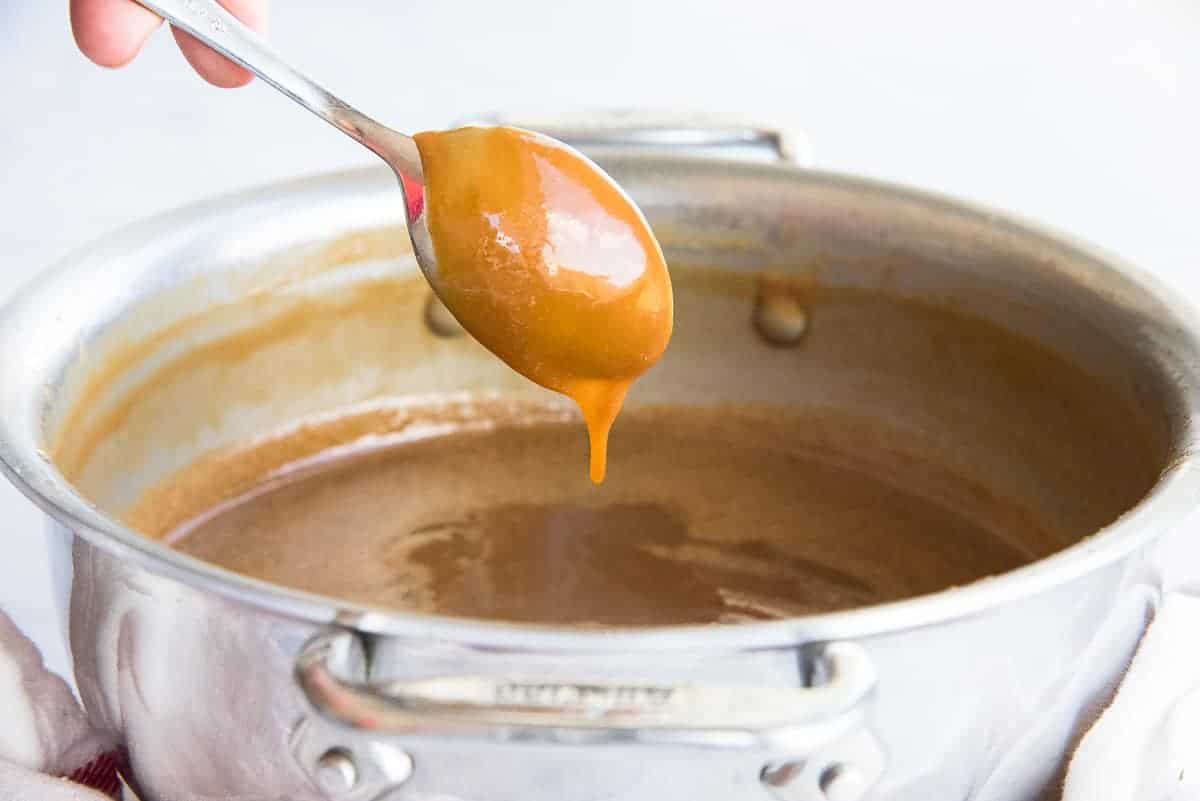
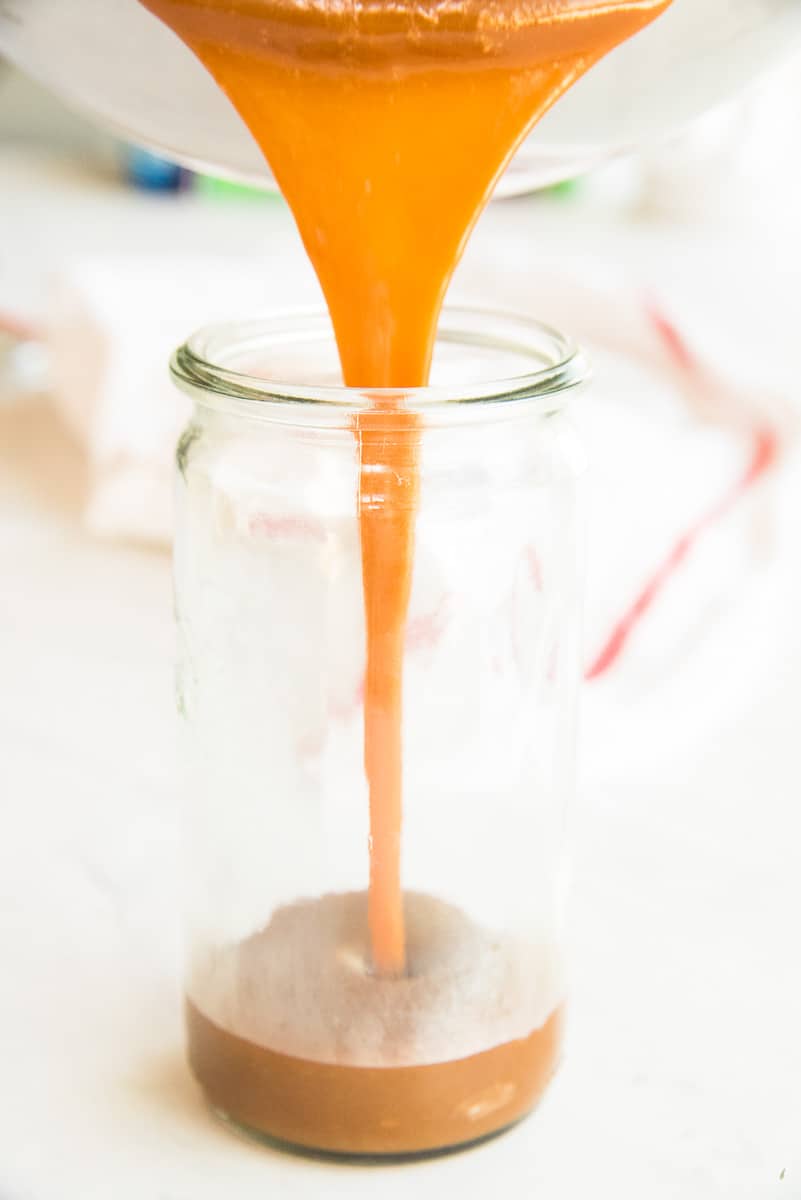
Here is the cajeta 10 minutes into cooling.
This is 20 minutes into cooling. Not only is the sauce dripping slower, but it’s also growing darker.
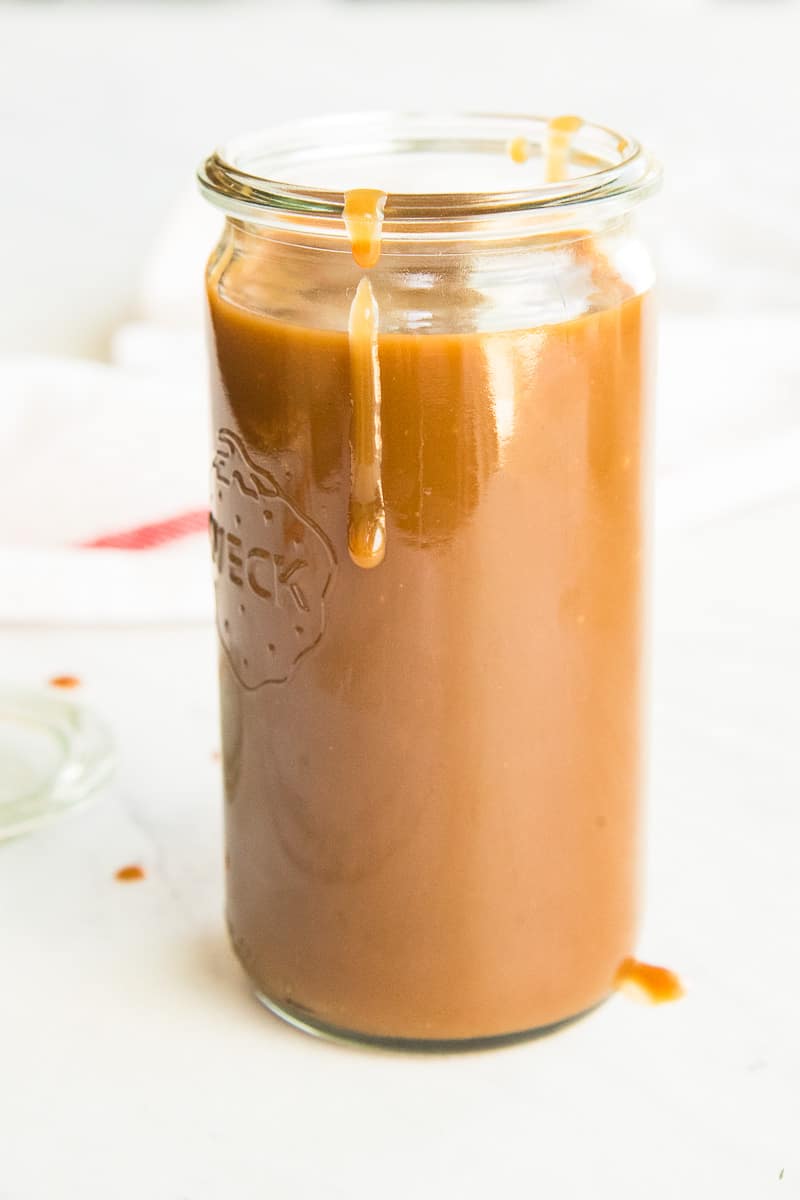
While it’s still fluid, transfer the cajeta to a glass or ceramic jar.
How do I store Cajeta?
Now that the cajeta is contained store it in the refrigerator for up to a month. It’s never hung around our house longer than that.
Can I freeze Cajeta?
Cajeta can be frozen for up to 2 months. I package it into a plastic container or even a plastic storage bag instead of glass if I plan to freeze it, though. I always have an aversion to freezing in glass.
To thaw the cajeta, just place it in the fridge until soft.
How do I serve Cajeta?
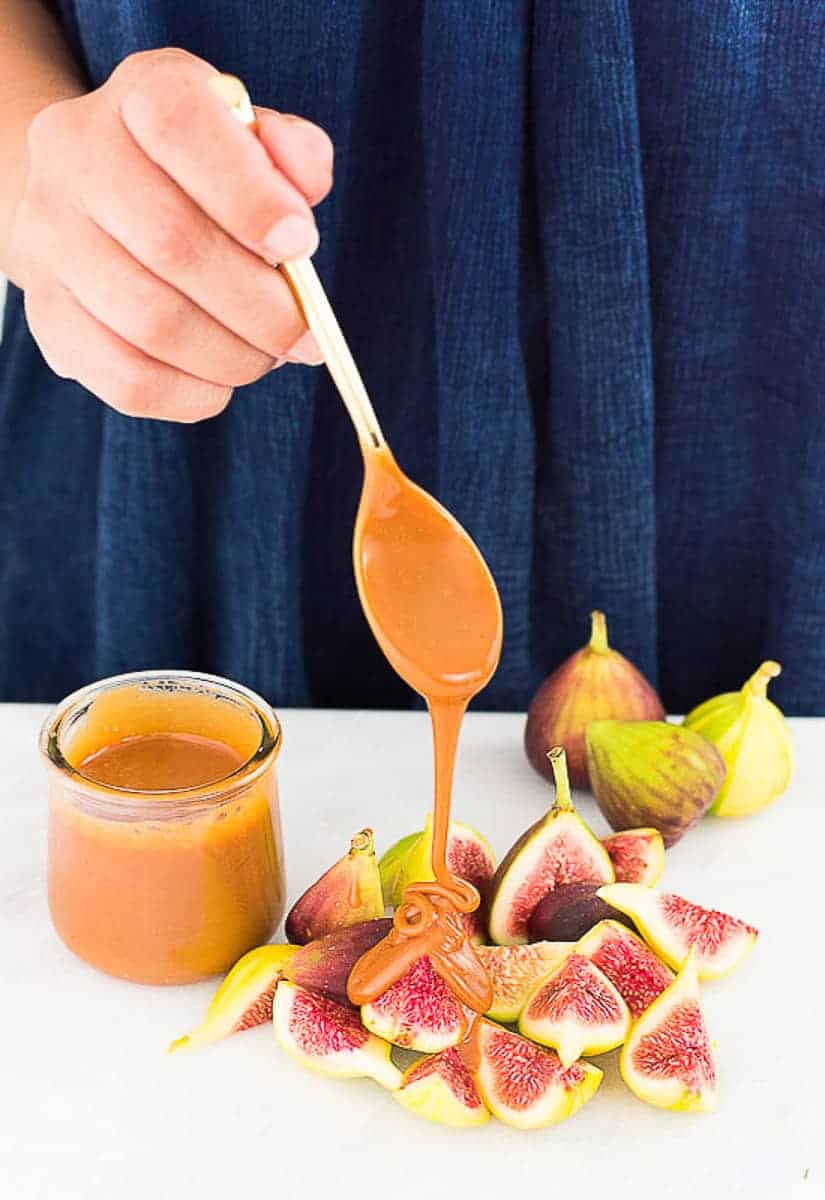
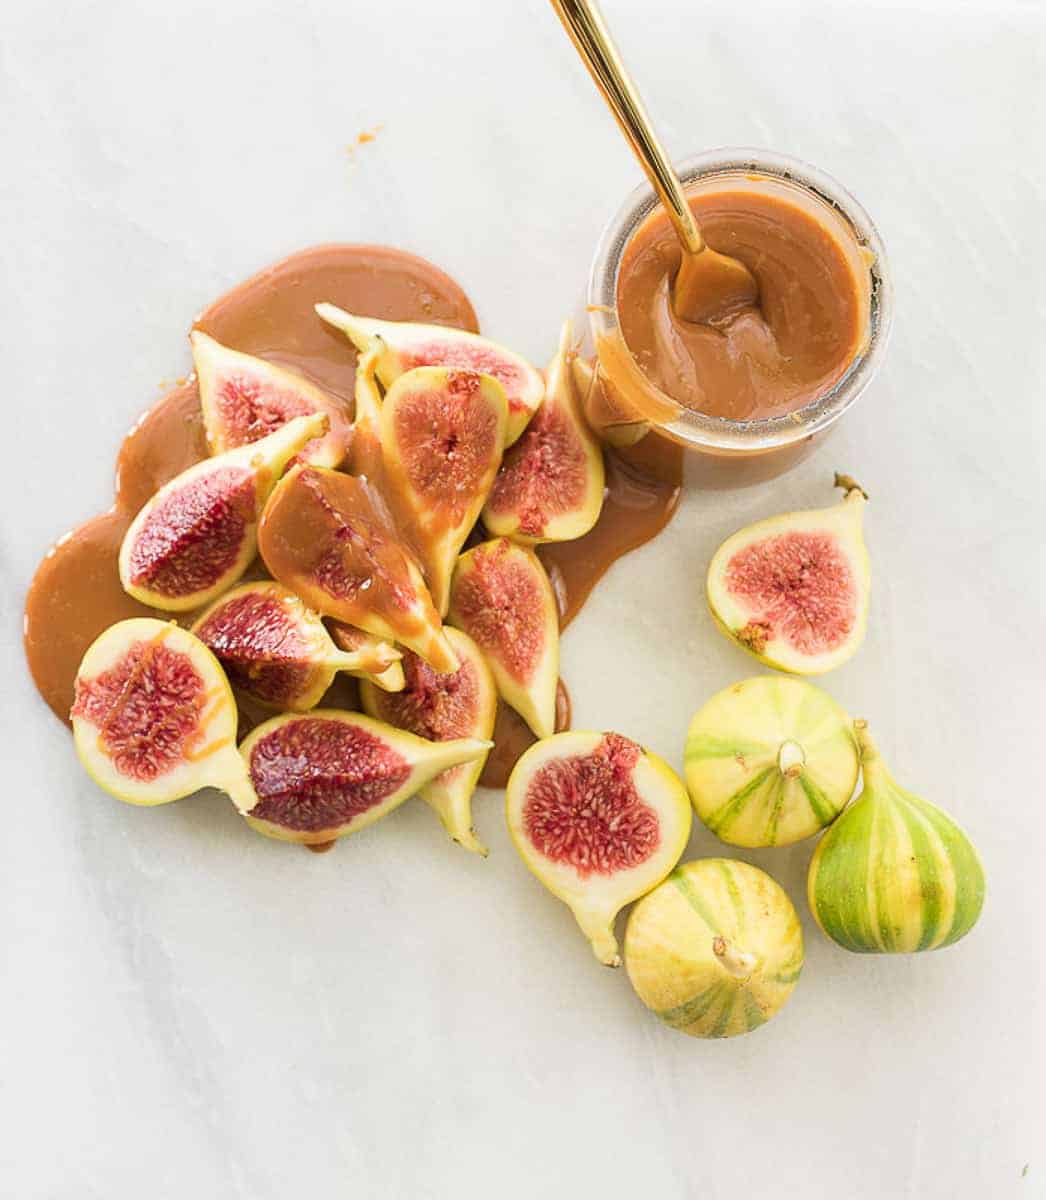
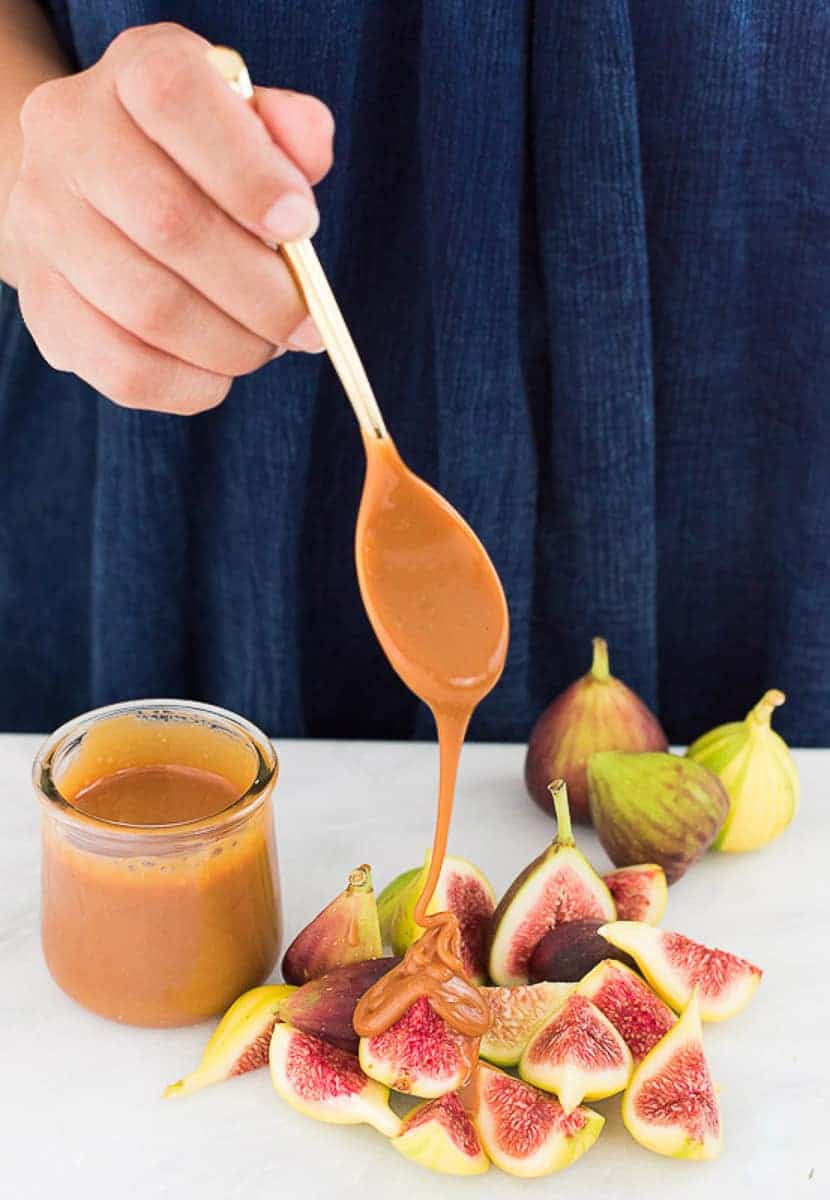
Cajeta is very versatile in that you can use it as a sauce, topping, or filling for darn near anything.
I fill these Cream Puffs with it all the time. Use it as a dipping sauce for your Churros. You can even use it as a topping for your cheesecakes. Of course, topping this Vanilla Frozen Custard with the cajeta is money, too.
Have I caught my kids and husband eating this cajeta straight from the jar with a spoon? Yes. Did I judge them? No. It’s totally acceptable to eat it by itself.
How do I reheat cajeta properly?
The important thing to remember when enjoying your cajeta is reheating it properly. Avoid reheating the entire jar, which you may or may not finish. If you reheat the entire jar, then refrigerate it again, you’re bound to introduce bacteria into the mix.
Instead, just scoop out the amount you need and reheat it in the microwave for 15-20 seconds on high. You can always reheat more, but to waste an excessive amount of cajeta is just heartbreaking.
And, no, you don’t have to reheat it. The colder cajeta is, the thicker it is, which makes it great for eating by the spoonful.
Can I give this Cajeta as a gift?
Cajeta makes a great gift! With the holidays approaching, I highly recommend pouring this cajeta into decorative glass jars and gifting them to those on your gift lists. Make sure to include storage instructions, ingredients list, and reheating instructions. Simply write or print all of that out on hanging tags and attach it with a cute ribbon. Your crew will love receiving a handmade gift.
However you plan to enjoy this unique recipe for cajeta, make sure you share it with your world!
Cajeta (Goat's Milk Caramel)
at Sense & EdibilityEquipment
- long-handled whisk
- 5-quart pot (or larger)
Ingredients
- 2 sticks (1 cup or 226 grams) unsalted butter sliced
- 2 cups, firmly packed (453 grams) brown sugar
- 1 teaspoon (6 grams) kosher salt
- 12 ounce- can (354 milliliters) evaporated goat's milk
Instructions
Dissolve the Sugar in the Butter
- In a 5-quart saucepot, preferably one with sloped sides, melt the unsalted butter over medium-low heat. Once the butter is completely melted, stir in the brown sugar and the salt with a long-handled whisk.
Heat the Goat's Milk While Dissolving the Sugar
- While the sugar is dissolving into the butter, heat the goat's milk in a tall pitcher in the microwave for 1 minute on high*. You can also heat the milk in a pot on the stove. Just bring it to the steaming point (usually 4-5 minutes) over medium heat. Be sure not to let it boil over.
- Once the milk is hot, set it aside while you finish the caramel.
Finish the Caramel
- After the sugar is added to the butter, whisk the two together until combined. Stir the mixture in small, concentric circles around the pot. After 1 1/2 minutes the sugar and butter should combine and no pools of butter will be visible at this point. The mixture will look sludgy or like mud.Continue cooking over medium-low heat for another minute.
- After 2 1/2 minutes, the butter-sugar mixture will appear light brown and foamy. Continue stirring in concentric circles for approximately 4 minutes.
- After 4-4 1/2 minutes, the mixture will look curdled due to the butter separating from the sugar again. Continue cooking for another 7-8 minutes, whisking constantly. Within that time, the curdled mixture will come together to form a thick caramel-like paste.
Add the Goat's Milk
- Carefully pour the warm goat's milk into the pot. As soon as the milk is added to the caramel, it will bubble ferociously and steam. Ensure your body is not above or directly to the sides of the pot when you're adding the milk.Continue to whisk where it's safe to do so.
- Once all of the goat's milk is added, continue heating and whisking the cajeta until smooth. Cooking the cajeta for another 4-5 minutes over medium-low heat, frequently whisking to break up any lumps that may have developed. Cook the cajeta over medium-low until the mixture thickens again and the whisk leaves trails on the surface. The longer you cook it at this point, the thicker the cooled cajeta will be.
Allow the Cajeta to Cool and Thicken
- Remove the pot from the stove and allow the cajeta to cool for 20 minutes. After 20 minutes, the cajeta will be cool enough to enjoy, or still fluid enough to transfer to a glass or ceramic jar.
- Store the cajeta in the refrigerator for up to a month. Use the cajeta as a dipping sauce, dessert topping, to spread over bread, or as a pastry filling.
Notes
Swaps and Substitutions:
- *Experiment with flavors by infusing the goat milk. Simply add one of the following to the goat's milk before heating it and allow the flavor to infuse into the milk while you prepare the caramel:
- vanilla bean or extract
- herbs like sage, lavender, or thyme
- fruit peels like orange, lime, or lemon
- or other ingredients like coffee beans, tea leaves, or nuts
Tips and Techniques:
- Using a larger pot ensures you won't overflow the pot when the goat's milk is added.
- Canned evaporated goat's milk is located next to the evaporated milk and condensed milk in the grocery store.
- Heating the goat's milk prevents lumps from forming in the caramel when it's added.
Storage and Reheating Instructions:
- Cajeta can be frozen for up to 2 months:
- Transfer the cajeta into a plastic container or plastic storage bag.
- Freeze the cajeta for 2 months.
- Thaw the cajeta in the fridge until soft.
- To warm the cajeta: scoop out the amount you need and reheat it in the microwave for 15-20 seconds on high. Stir before serving.
- Cajeta can also be enjoyed cold, straight from the jar.
Gifting Cajeta:
- Pour the cajeta into decorative glass jars.
- Handwrite or print storage instructions, ingredients list, and reheating instructions onto tags.
- Attach the tags to the jar it with a ribbon and gift to your family and friends.




I found Cajeta bottled in the store a few years ago while searching for items Free of Cow and Sheep Dairy items. Love Goats Milk Carmel. I have since made it a few times with Meyenberg whole milk, but would like to try your recipe. Since I can’t tolerate symptoms from Cow and Sheep Milk and goats milk butter isn’t readily available near me, I am wondering what purpose does the butter serve in this recipe? Would Coconut oil or Coconut Milk substitute for the Butter? (Auto-immune disease so I am also Gluten Free). Thank you in advance for your response!
Hi Wendy! Butter rounds out the flavor of the cajeta and makes it taste richer. You can replace the regular butter with vegan butter (I love Miyoko’s because it has the same flavor as regular butter). You could use coconut oil, but I don’t think it will give the cajeta the velvety texture you’re looking to achieve. I would do a trial and see what you think with both. Please let me know how it turns out. I’d love to know.
The butter won’t blend into the brown sugar. It did the first time then separated again like you said but now it won’t make a paste again. I don’t know what I did wrong…
You have to constantly whisk once it becomes curdled to bring it back together. This is the fat from the butter separating, in order to bring it back together, keep whisking. If it didn’t come together after you added the milk, it’s because the milk was cold. I hope this helps.
I grew up eating cajeta so I am happy to finally have a good recipe for it. Scrumptious!
I’m so glad you liked it, Robin!
I made this in much less time than I imagined and served it with a bread pudding. Amazingly delicious and we have about half a jar in the fridge for next time!
I love that I can have enough to enjoy on multiple desserts.