
The great thing about this recipe is how easy it is to prep. You’ll see that I’m using bagged kale, but you can also use pre-peeled garlic. Heck! I’ve even seen chopped butternut squash for sale in the produce section. Since kale is such a hearty green, you can prep the veg and store it in the fridge before heading out for the day. You could even prep it the night before. When you’re ready to bake, sear off the chicken (or not) and throw it all into the oven. Go change out of your work clothes while it’s cooking and dinner is ready in no time at all. My sacrum is so pleased with me right now.
Now what about these 40 Cloves? 40 Clove Chicken is actually a post WWII recipe made popular by one of the gods of American cuisine: James Beard. There are 40 cloves of garlic in this recipe too- I’m not just yanking your chain. You may be freaking out, “Why so much!?!? It’s going to be too garlicky and spicy!” To which I have respond to you, “Calm down. It’s not that serious,” because, really, it’s not. Roasting cloves, like we’re doing, breaks down the allicin in the raw garlic which is the main culprit behind the spiciness and bad-breath side-effects. Slow-roasted garlic produces a mellow, almost sweet jam that is truly heaven on earth. All this is to say, you’ll thank me instead of curse me.
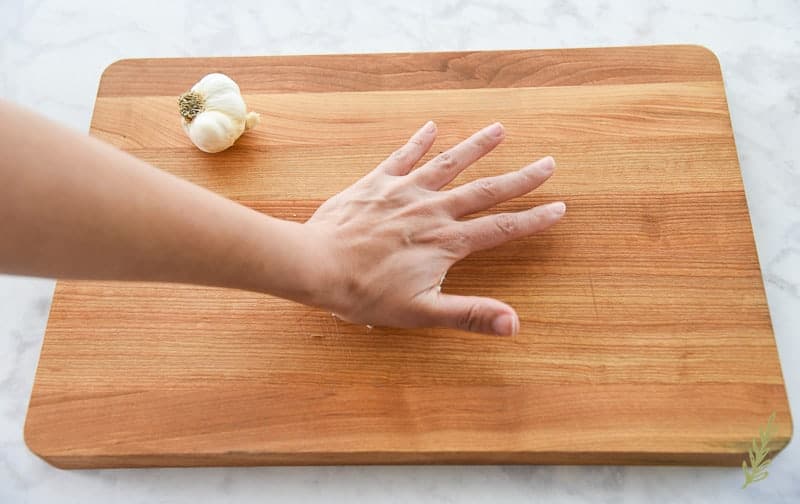
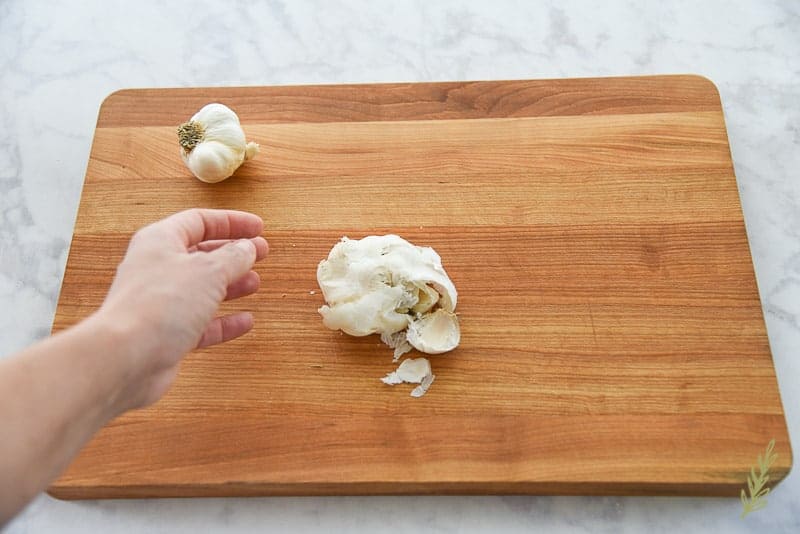
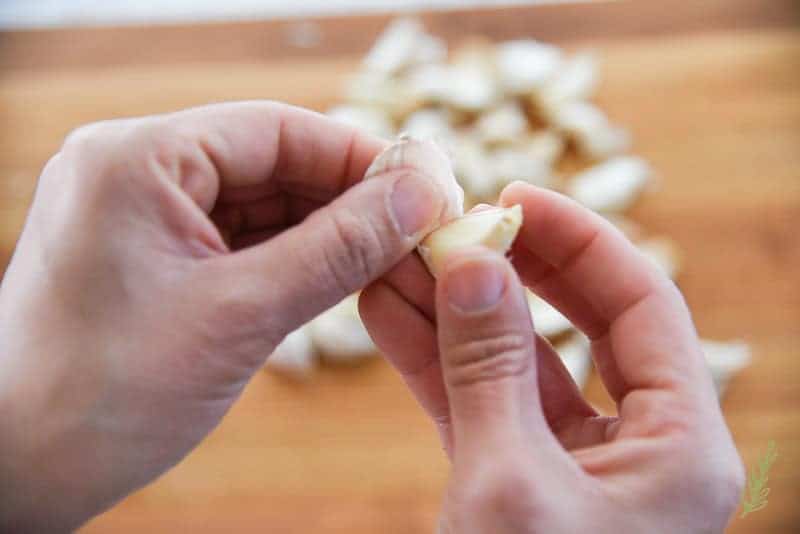
Now, normally I would whack the clove with the flat side of my knife to smash it, which makes peeling it easier. For this recipe, however, we want to keep the cloves whole. To peel it quickly without smashing, I begin under the peel closest to the woody stem end. Since the peel is normally drier there, it flakes off much easier than trying to start anywhere else. Just pull back the peel and discard.
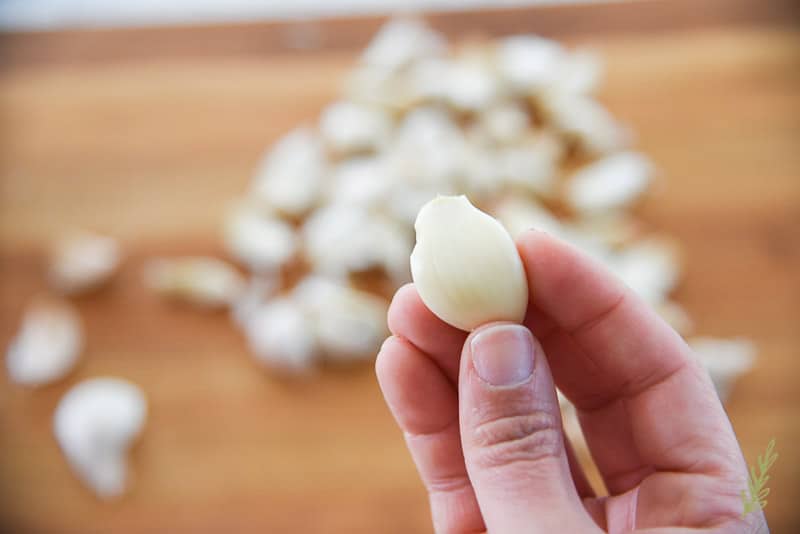
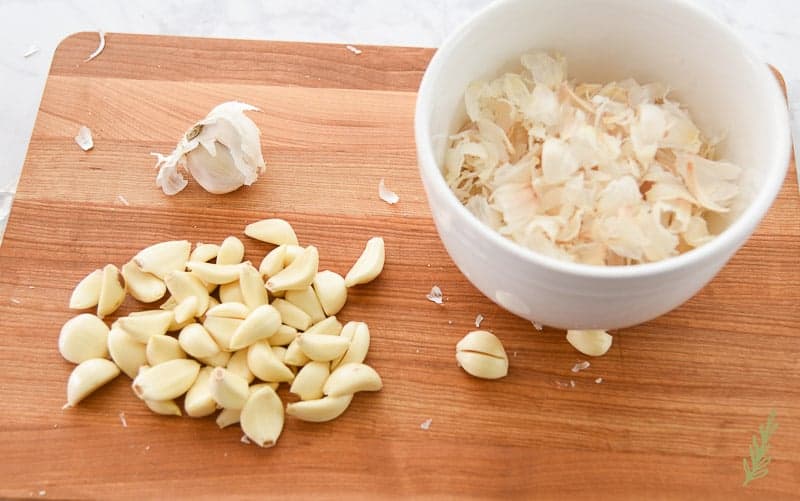
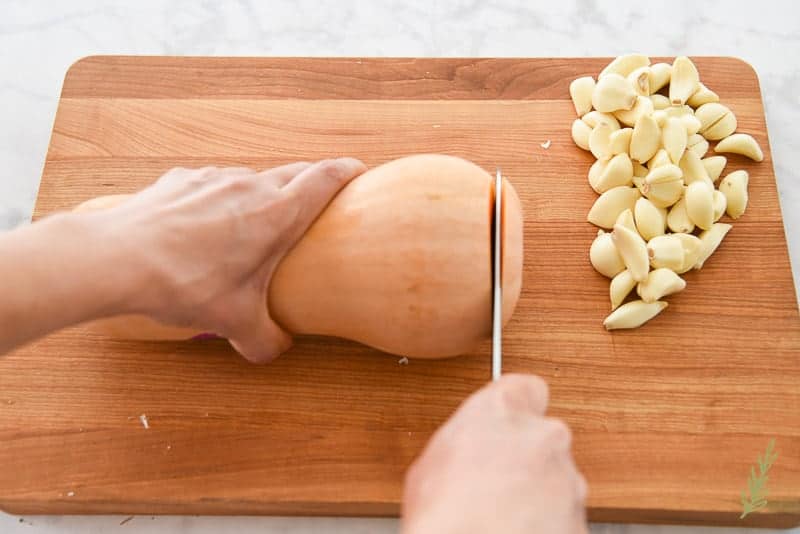
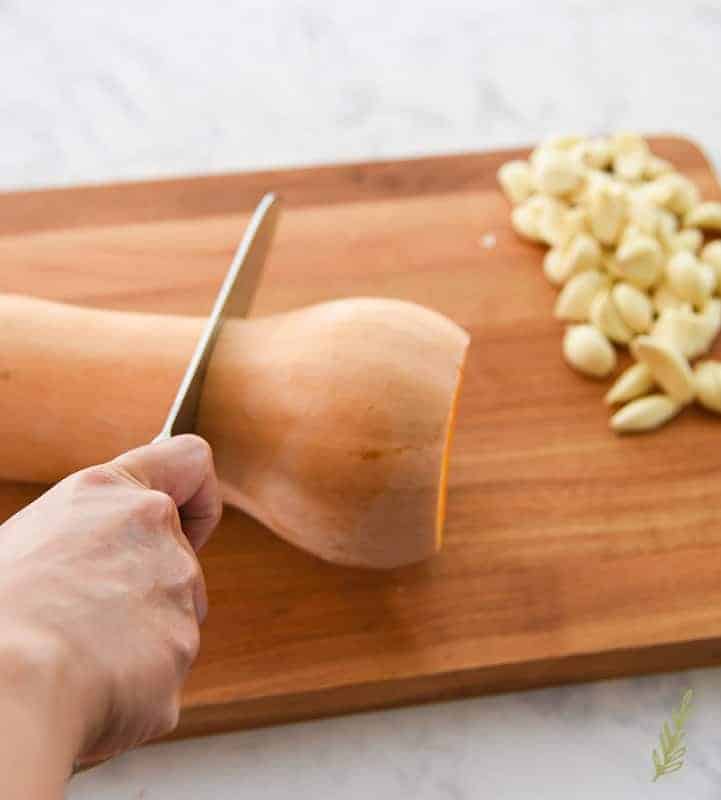
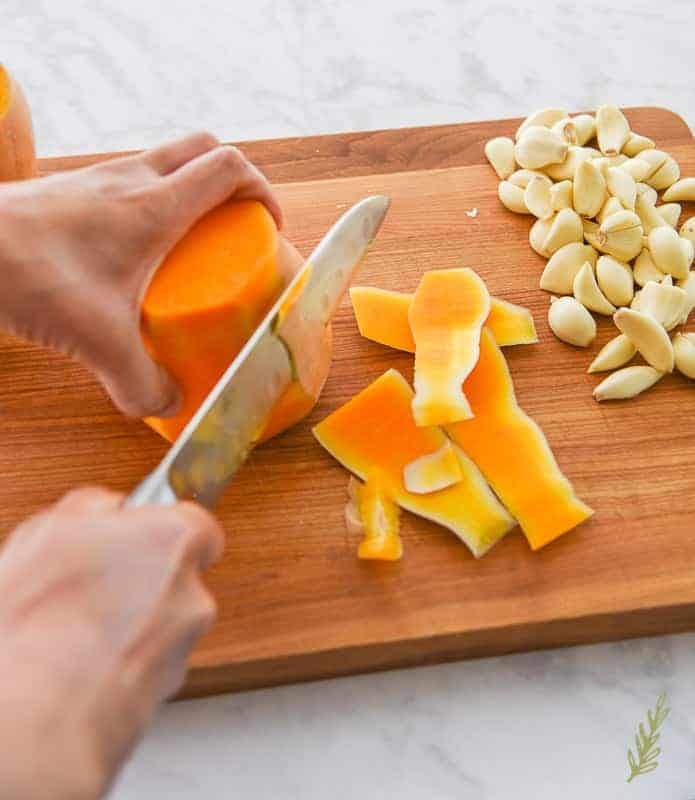
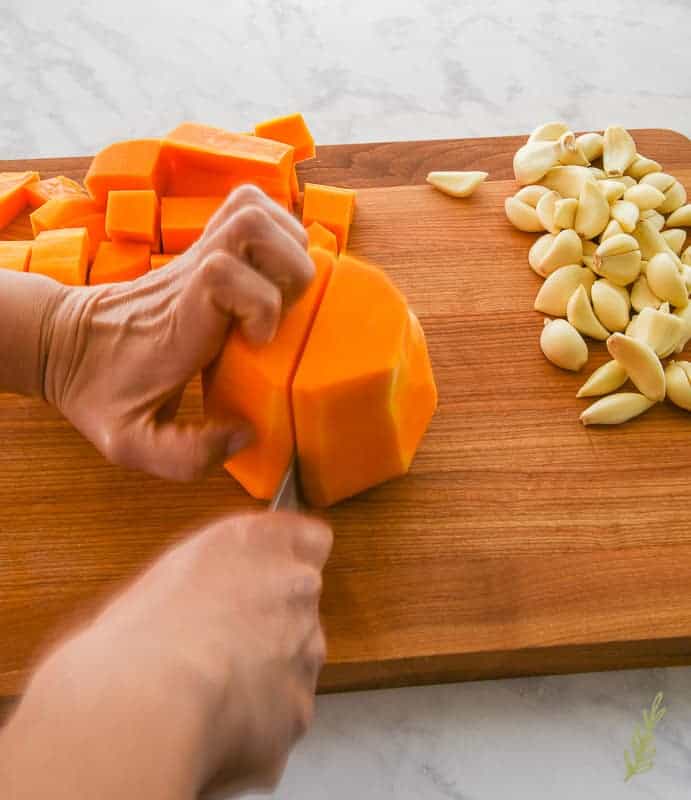
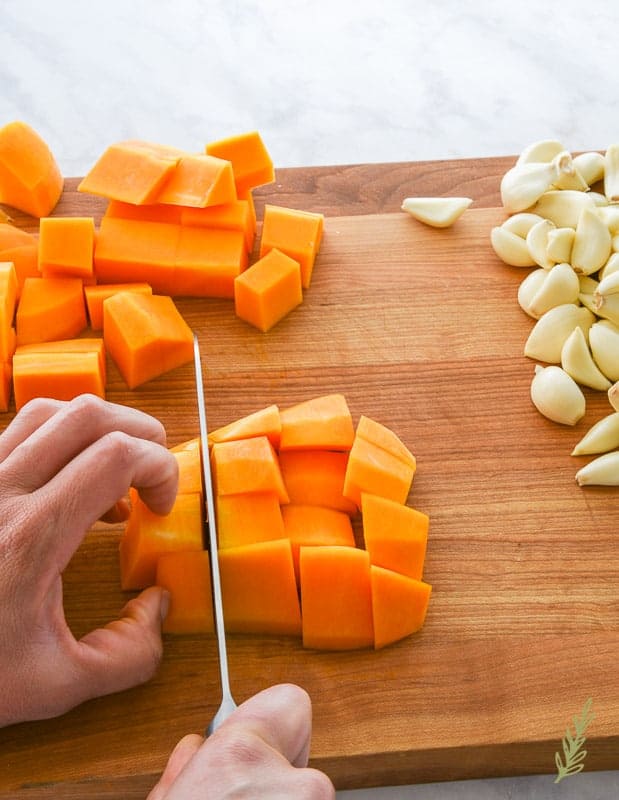
Once you’ve removed the skin from both pieces, cut them in half lengthwise.
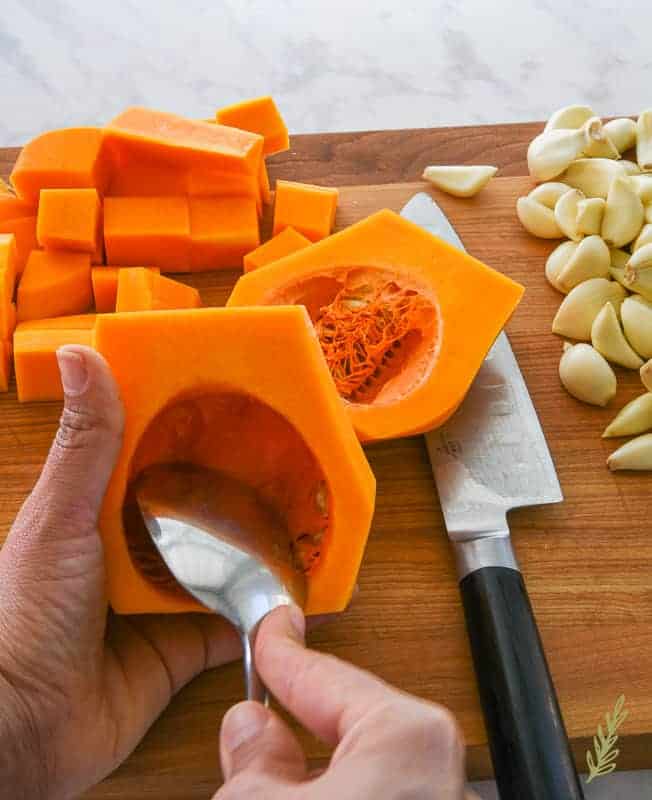
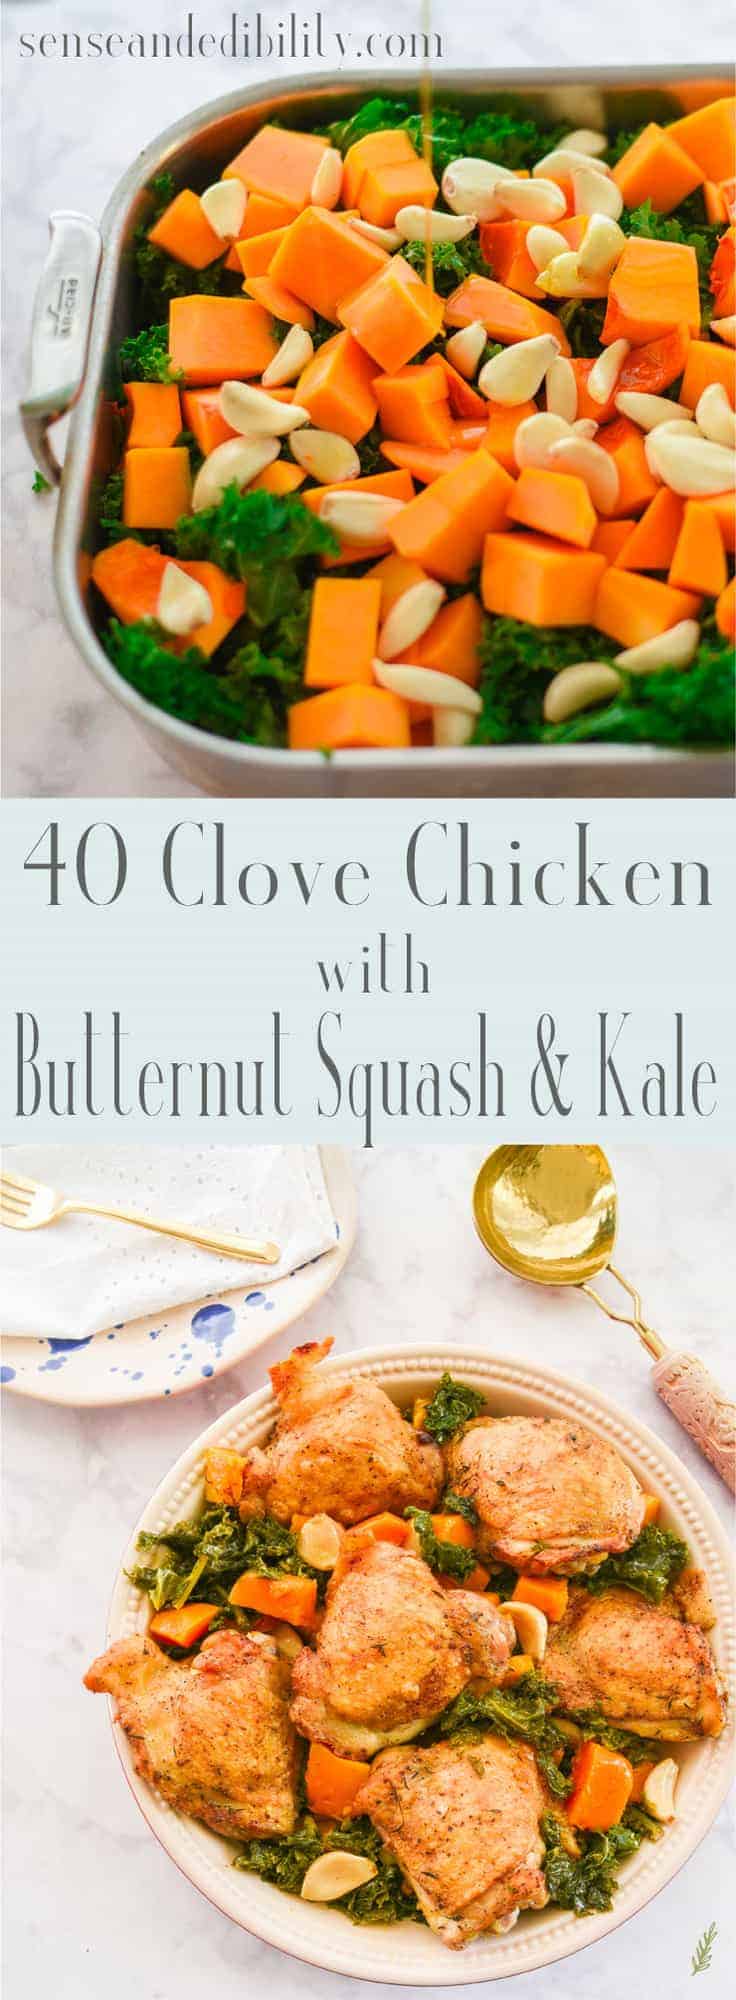
Slice your squash halves into 1 1/2″ thick slices, and then across into 1 1/2″ chunks. Set your squash and garlic to the side while you sear the chicken.
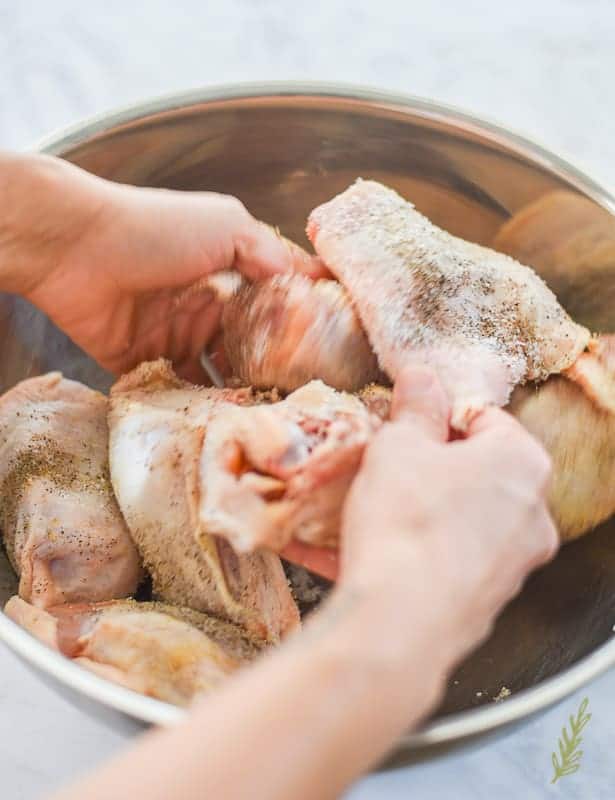
For this recipe, I’m using juicy chicken thighs. They hold up to the searing and roasting process much better than chicken breast would. If you have an aversion to dark meat, than, by all means, use chicken breast. But don’t fuss at me if they’re a little drier than you’d like. Simply season the thighs with a generous portion of kosher salt and freshly ground pepper. Since we are loading this dish down with aromatic garlic and thyme, we don’t need to add much more in terms of seasoning.
Give the chicken a few tosses to make sure it’s completely seasoned and let them marinate while you heat your vegetable oil over medium-high heat in a large skillet.
Sidebar: this meal could’ve totally been a ONE pan meal, and it still can be one if you’re adamant about not having extra dishes. I, however, cannot STAND gummy chicken skin. I avoid it by searing the chicken prior to roasting it. You’re not going to cook it through, you’re just going to create a nice, brown crust on the skin to help aid in that nice crunch on the backend of cooking. That said, if you want this to be a one dish wonder, skip this step.
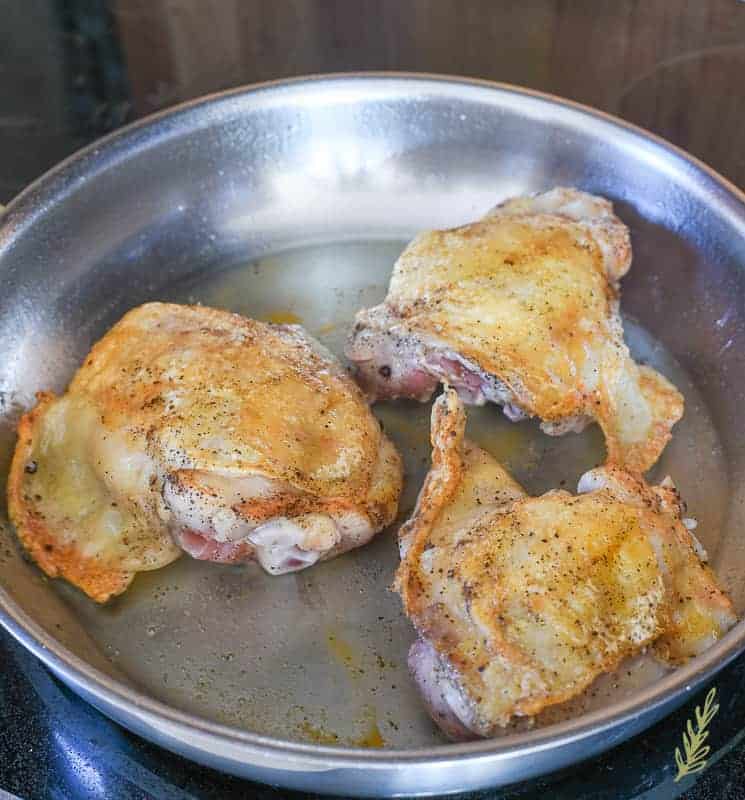
Lay the thigh skin-side down in your screaming hot pan. Let it sear until you can easily move it. What I mean is, if you go to flip it and it sticks, the skin has not yet seared completely. You’ll know your thigh is ready to be flipped when the skin has developed a crust that allows you to pick it up with very little, to no, resistance. Flip them, and sear the other side the same way.
You’ll notice that in a pretty large pan, I’m only searing three thighs at a time. This is because the more food you add to any pan, the more the temperature of the pan drops. In order to sear properly, you need to maintain that medium-high temperature as consistently as possible. To do that, I cook in batches instead of crowding the pan. When in doubt, sear less pieces rather than a lot. Remove the thighs to a plate while you finish searing the rest of the thighs.
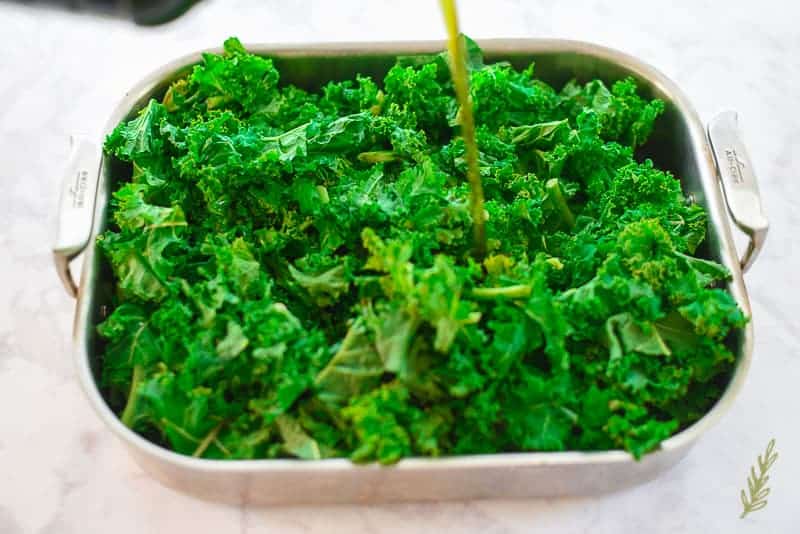
The last bit of prep we need to do is oiling up the kale. I normally do everything on my own, but…sacrum…you know? I’m using a bagged kale that I picked up from the grocery store to help me get off my feet as soon as possible. To be totally transparent, I would use this bagged kale even if my tailbone wasn’t on the fritz. It’s just more convenient, and for me the price doesn’t justify not using it. If you’ve got a thing against bagged greens, just use the whole leaves. Make sure to rinse the greens well, and remove the tough inner rib that runs the length of the leaf. rip the leaves into bite-size pieces. Dry them really well in a salad spinner, or between kitchen towels to remove that excess moisture.
You need the kale to be as dry as possible for two reasons: the primary one is because you don’t want the kale to have too much added moisture while cooking. There will already be a considerable amount of liquid produced during the cooking process, but we don’t want soup, you know? So, make sure it’s a bone dry as you can get it. The second reason for this drying process, is to remove any barrier to the oil. You know what they say about oil and water, right? Well, in this case, the oil is going to help provide a bit of crisping to the kale leaves, so we want to get to the leaf and not have the water create an obstacle for it.
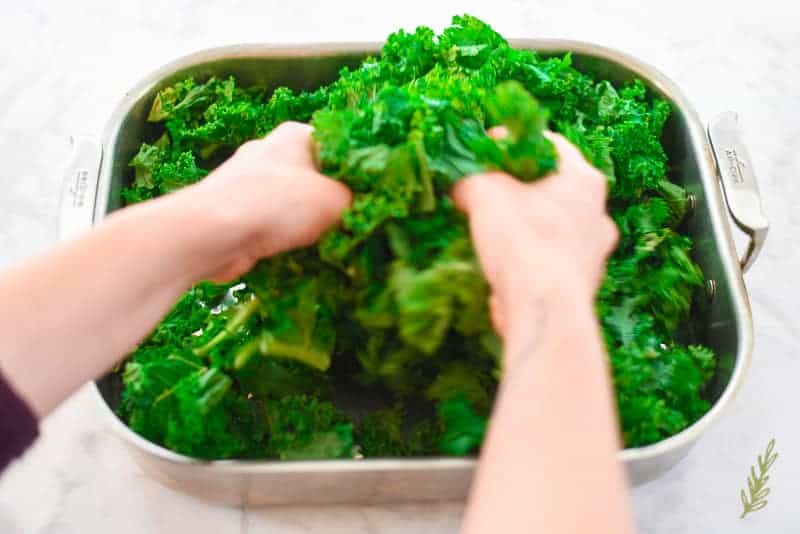
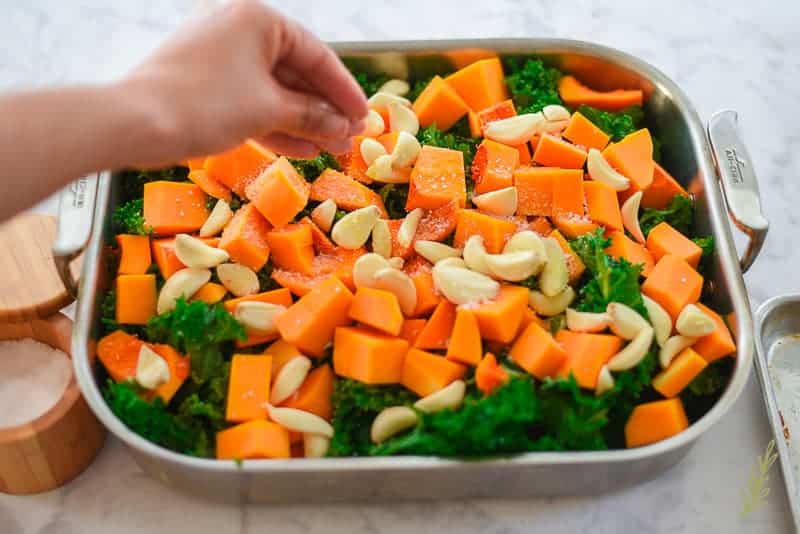
Top the kale with the chunks of squash we cut up earlier, and all of the garlic gloves. Toss them into the oiled kale to coat them with a bit of the oil. Now, all that’s left to do before adding the chicken and thyme is to give it a little sprinkle of salt and pepper. Not a lot, think Salt Bae.
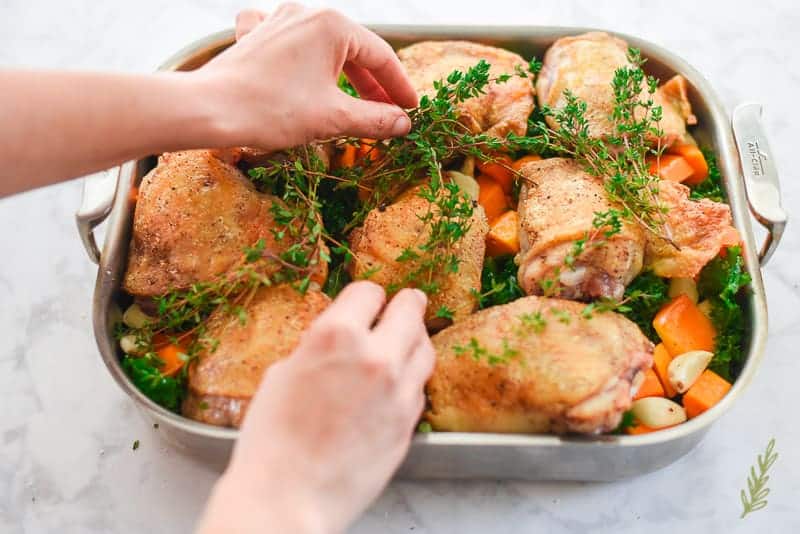
Lay the chicken thighs on top of your veggies leaving a 1/2″-1″ gap between them so the hot air can get under that chicken. Cover the chicken, and veg, with the fresh thyme. I like to squeeze a few stems in between the thighs to make sure the kale and squash are also flavored.
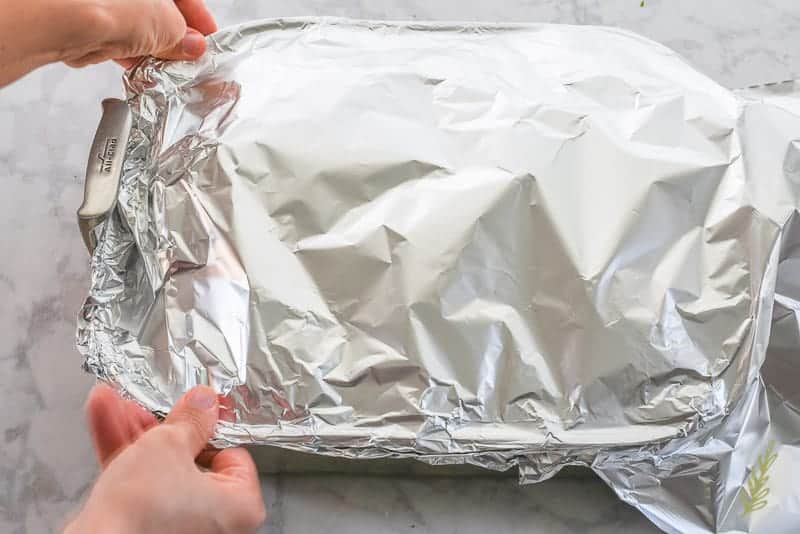
Cover your pan with a piece of aluminum foil and bake for 45 minutes. After 45 minutes, remove the pan from the oven and remove the foil. Set the oven to low broil. Return the pan to the oven and allow the skin to finishing crisping up (about 5-10 minutes). Make sure you keep an eye on the chicken so that it doesn’t burn. Remove the pan from the oven and allow it to cool for 15 minutes before serving.
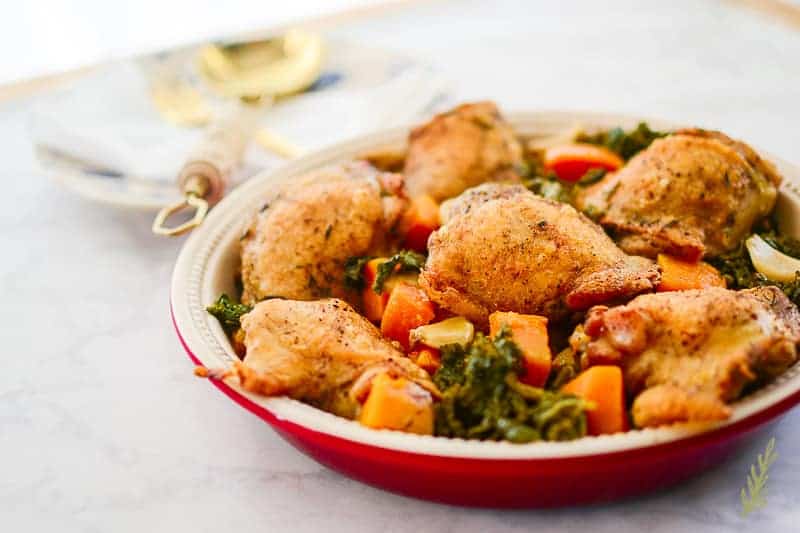
Leftovers will keep wrapped in the fridge for up to two days. You can reheat them in the oven or in the microwave. The Soldier loves taking this to work as his lunch the next day. HIS Soldiers don’t, because he never brings enough to share.
Pin this easy-to-fix-meal to your favorite board, and feel free to share with someone in your life who may have a pain in their backside. Whether it’s their boss, their kids, or their sacrum.
*May I just say how proud I am of myself? When I reported the doctor’s diagnosis to my hubby, I said, “He said I have a bruised scrotum.” Of course Hector looked at me in complete exasperation. “If you have a scrotum, we need to have a conversation about the past 18 years.” Thankfully, he’s a medical professional and was able to help me see the error in my message.*
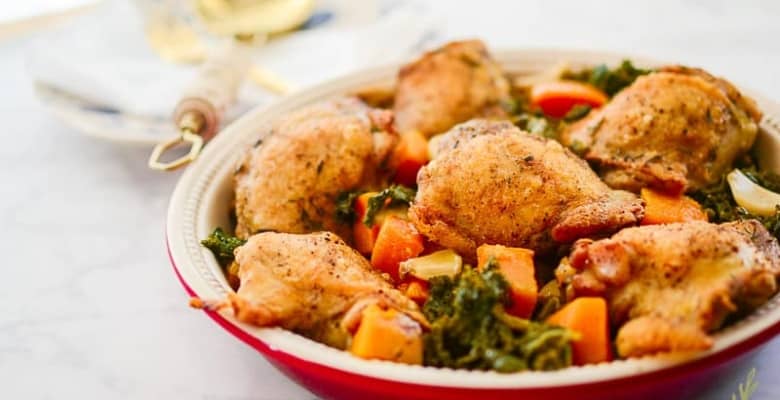
40 Cloves Chicken with Kale and Butternut Squash
at Sense & EdibilityIngredients
- 8 chicken thighs bone-in, skin-on
- 2 tbsp kosher salt
- 1 tbsp freshly ground black pepper
- 2 tbsp vegetable oil
- 1 12 oz bag of kale or 14 oz whole kale leaves, washed, dried, de-stemmed and chopped
- 2 tbsp extra virgin olive oil
- 40 cloves of fresh garlic about 3 heads, peeled
- 1 large butternut squash about 3 cups, cut in 1 1/2" chunks
- kosher salt and freshly ground black pepper to taste
- 1 bunch fresh thyme about 8 stems, or 2 tbsp dried thyme leaves
Instructions
- Preheat your oven to 400°F.
- In a large mixing bowl, season the chicken thighs with the 1st quantities of salt and pepper. Toss the chicken to coat evenly with the seasonings. Allow to sit while you heat the vegetable oil in a large skillet over medium-high heat. **This step is optional, but highly recommended. If you prefer not to sear the chicken skin, skip ahead to step 3.
- Place the chicken thighs into the hot oil, skin side down. Sear the chicken for 4-6 minutes, or until the thigh releases from the pan with little to no resistance when you try to move it. Flip the thigh over and sear for 4 minutes on the other side. Sear the thighs in small batches to ensure a proper sear. Remove to a plate to hold while you sear the remaining thighs.
- In a casserole, or roasting pan, add the chopped kale. Pour the olive oil over the kale, evenly, and use your hands to massage the oil into the leaves. Top with the cut squash and the garlic cloves. Season the vegetables with a tsp of kosher salt and 1/4 tsp of black pepper (and dried thyme if you're not using fresh). Toss again to make sure everything is seasoned evenly.
- Top the veggies with the chicken thighs, leaving a 1/2"-1" gap between each piece. If you're using fresh thyme, add the sprigs, making sure to stick some in between the thighs, as well as on top of. You can separate the stems if need be.
- Cover the pan with aluminum foil and bake for 45 minutes. After 45 minutes, remove the pan from the oven and increase the oven's temp to a low broil. Remove the foil from the top of the pan and place the pan back into the oven to crisp up the skin. Broil for 5-10 minutes or until the skin crisps. Be careful to watch them closely so they don't burn.
- Remove the pan from the oven and allow to rest for 15 minutes before serving. Enjoy!
Notes
These other recipes are good for hurting bones too:
 Grilled Peach
Buttermilk Frozen Custard
 Caribbean Grilled
Chicken Wings


 Grilled Peach





This recipe was amazing. The colors, textures and flavors balanced each other perfectly. I ended up only using about 20 cloves of garlic, but cut them in slivers.
I’m so glad you enjoyed it!
my oh my is this tasty, i definitely need to give your recipes a try!
I hope you do, Karen! I think you’ll love them as much as we do!
This is going on my menu plan for sure! I love Kale! It’s been my favorite since I was a kid!
You and me both, Betsey! I hope you all enjoy it!
I have never cooked with butternut squash. I am going to have to try it!
Oh, Cait! You’re in for a treat, then. I was leery of butternut squash at first; but, now? I actually crave it!
Forty cloves of garlic?! You are my hero! This dish sounds awesome.
YASSSS!!! We’re two peas in a pod!