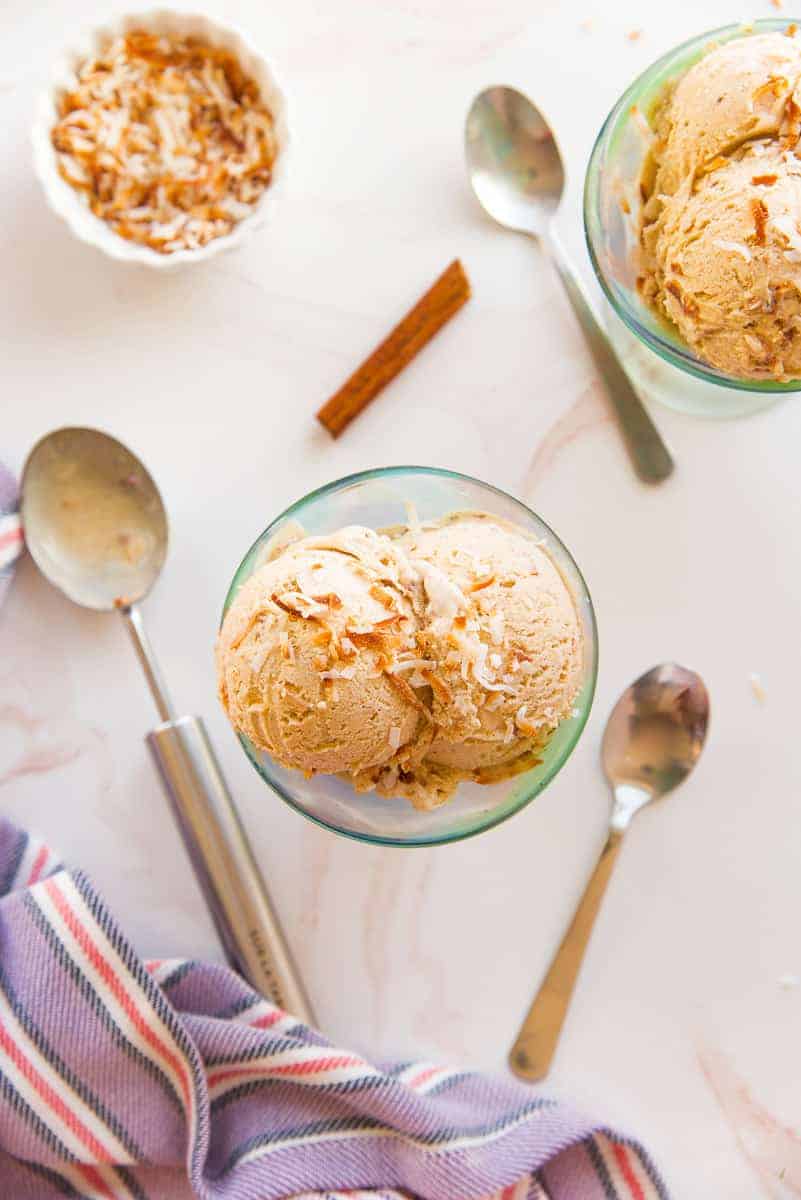
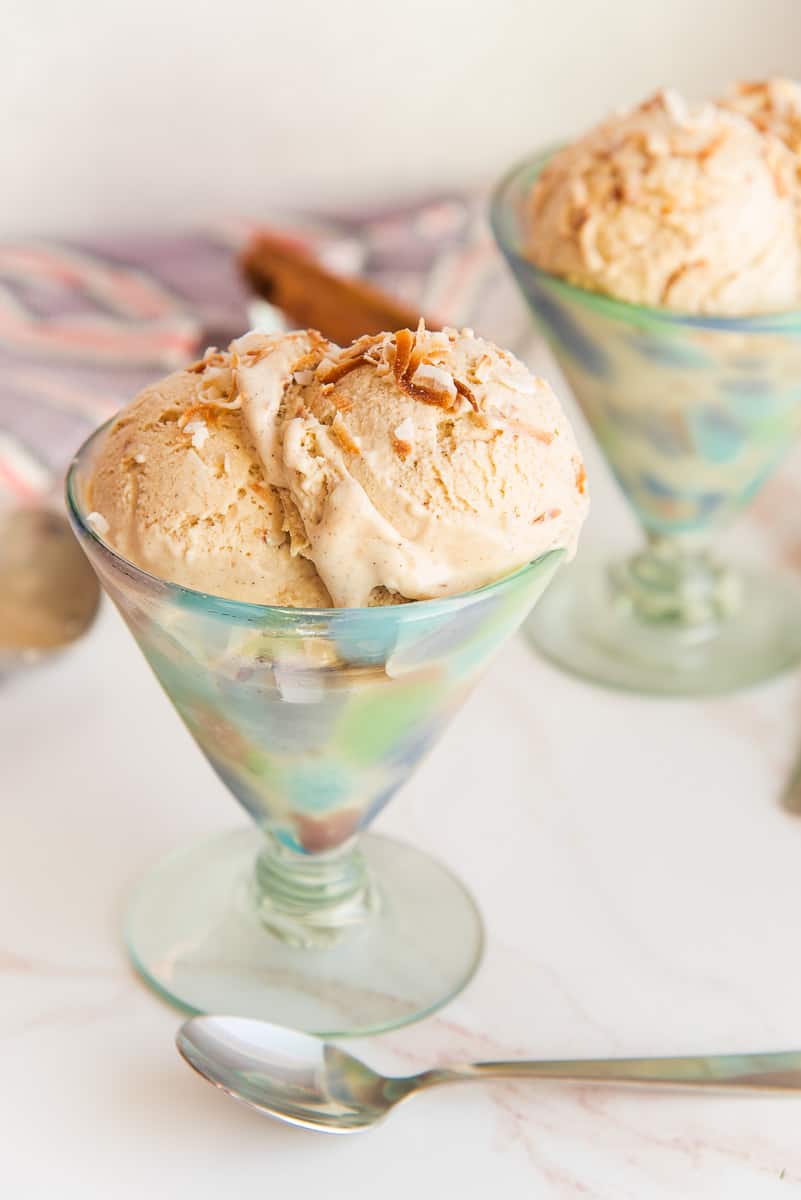
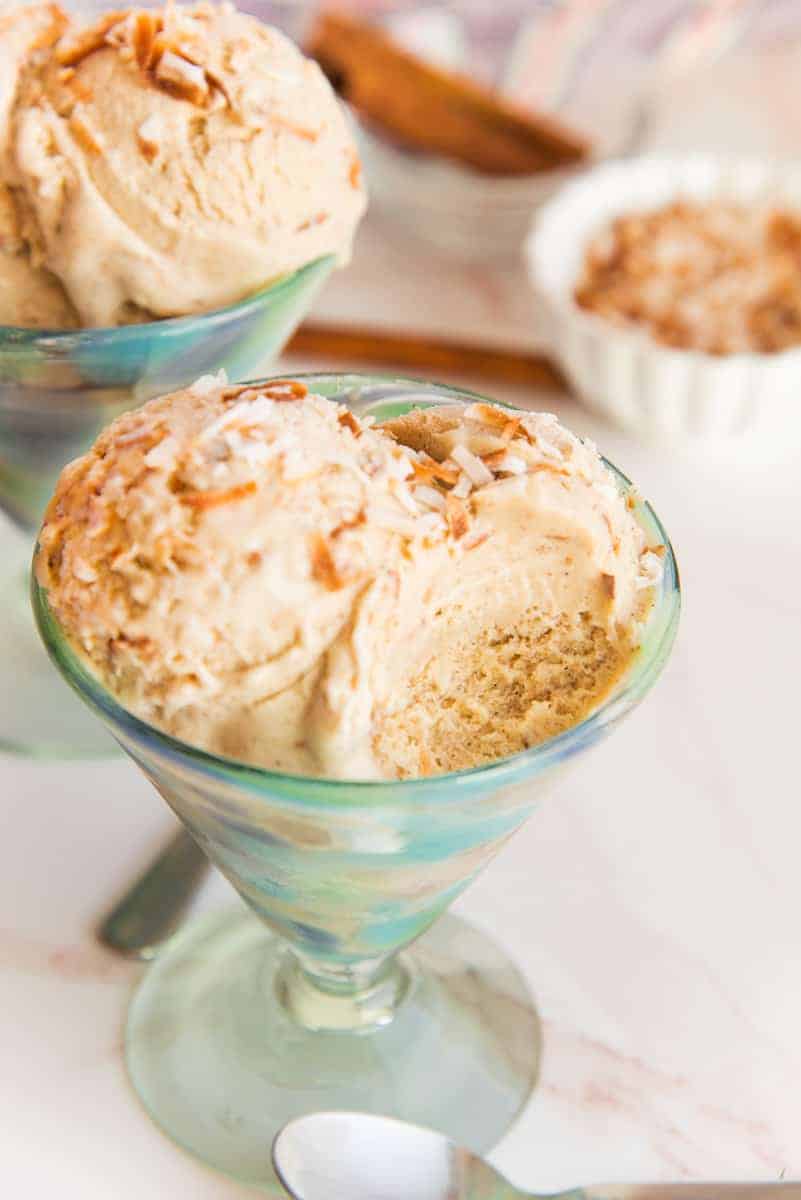
Coquito Frozen Custard is an über-rich coconut and rum ice cream inspired by the popular Puerto Rican holiday drink. With its flecks of ground cinnamon, this frozen dessert truly tastes like a sub-zero version of the boozy, egg-less eggnog. If you’re in the market for a unique way to serve your coquito this holiday season (or any season for that matter), this post is where you need to be.
What is Coquito, where does it come from, and when was it created?
Well, aren’t you full of questions today?
Coquito is a drink from Puerto Rico made with coconut milk, rum, and cinnamon; usually, it’s brewed and bottled by the gallon and enjoyed by all. Coquito means “small coconut,” probably because it’s made with broken-down coconut meat. You feel me?
Coquito was supposedly invented in the mid-50s, but I’m sure that’s only referring to the modern version. Puerto Ricans have been distilling their own pitorro (sugar cane moonshine) and infusing it with coconut since the advent of the sugar cane plantation. Only with the introduction of the USDA to the island were the canned evaporated milk, sweetened condensed milk, canned coconut milk, and cream of coconut in the modern version added. I mean, this is my theory.
Depending on who’s recipe it is, coquito comes virgin, with eggs, light on the alcohol, or super boozy. Some people make theirs with one type of rum. I make mine with three. Others use canned coconut milk, but I prefer freshly squeezed coconut milk, but I try not to be a snob about it. Each family has its own coquito recipe, but I have yet to taste one I didn’t like. *Mine’s the best, tho’*
What do I need to make this recipe?
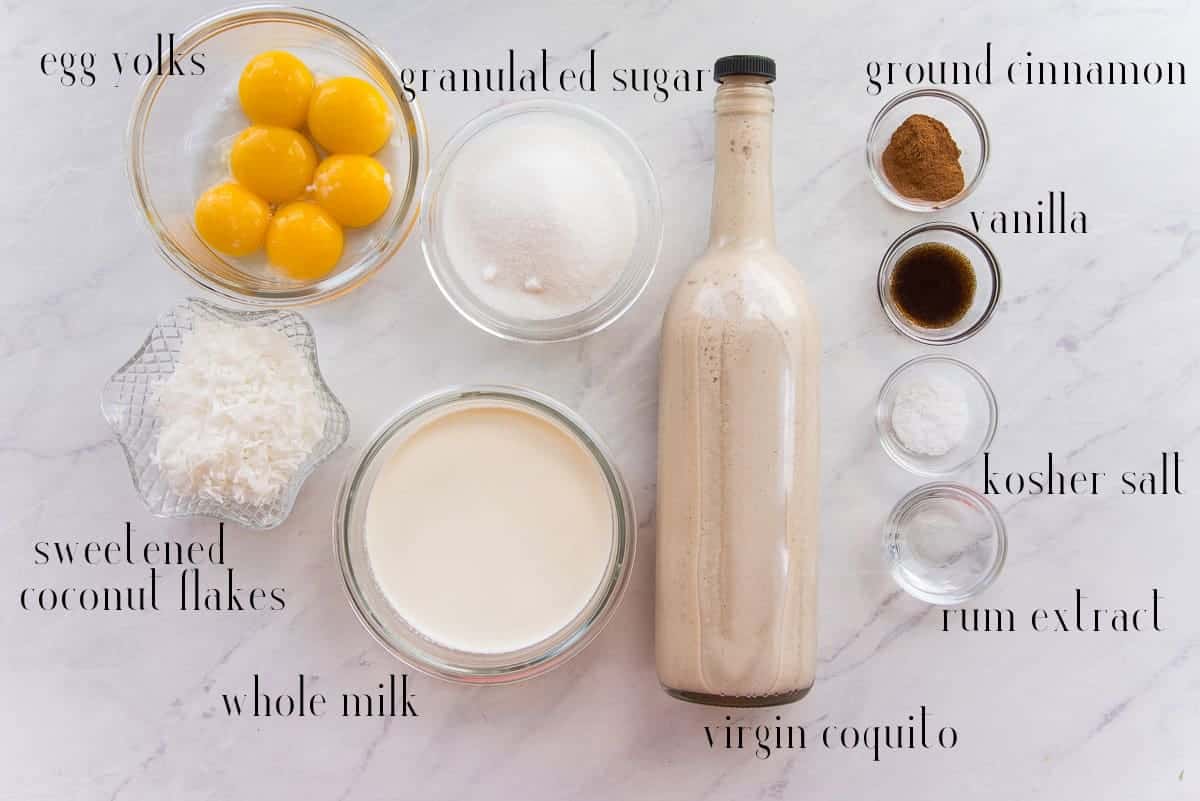
To make coquito frozen custard, you need large egg yolks, granulated sugar, ground cinnamon, vanilla (I use the bean paste), kosher salt, rum extract, whole milk, and sweetened coconut flakes. Decide whether or not you want to use virgin or alcoholic coquito based on who you plan to serve the frozen custard to.
In addition to the ingredients, you need an ice cream machine, a whisk, mixing bowl, saucepot, and containers to store the dessert in.
Why is virgin Coquito better than alcoholic in this recipe?
I prefer to use virgin coquito in this recipe because I know my kiddos will hawk me for half the batch. Because my coquito recipe is boozy, I know the flavor of the rum will be unappealing to them. I also know that the alcohol will not cook off enough, if at all, for it to be safe (responsible) for them to eat. That said, I’m also wary of using alcoholic drinks when making ice cream or frozen custards because alcohol inhibits the mixture from freezing properly.
Because my coquito is over 40 proof, this frozen custard will freeze to a soft-serve consistency if I were to use it. That’s not a bad thing, but I prefer a thicker, scoopable frozen custard. But, if it’s just you and the adult-aged homies partaking, do your thing. Just remember that alcoholic coquito can affect the final consistency of the recipe.
Frozen custard vs. ice cream
The biggest difference between frozen custard and ice cream is the number of egg yolks used in each recipe and how they each are churned.
For brevity’s sake, frozen custard is richer than ice cream because it has more egg yolks in the mix. For example, my ice cream doesn’t include any egg unless I’m making a flavor like French vanilla. My ice cream is just sugar, half and half, and flavorings. On the contrary, my frozen custard base has no less than 6 yolks in it. Quite a difference, no?
The other difference between ice cream and frozen custard is how much air the machine incorporates into the mixture during churning. Allow my former ice cream store manager to step in here. The percentage of air that’s incorporated into the custard is called overrun. It’s how ice cream shops stretch their pre-frozen mix into more of the churned product. We only get 20% overrun because we are churning this at a slower speed (on the “gelato” setting), and as a result, less air is incorporated. Because the “ice cream” setting churns faster and whips air into the base, we’d get somewhere between 90-100% overrun. So, frozen custard is denser than ice cream as well as richer from the egg yolks.
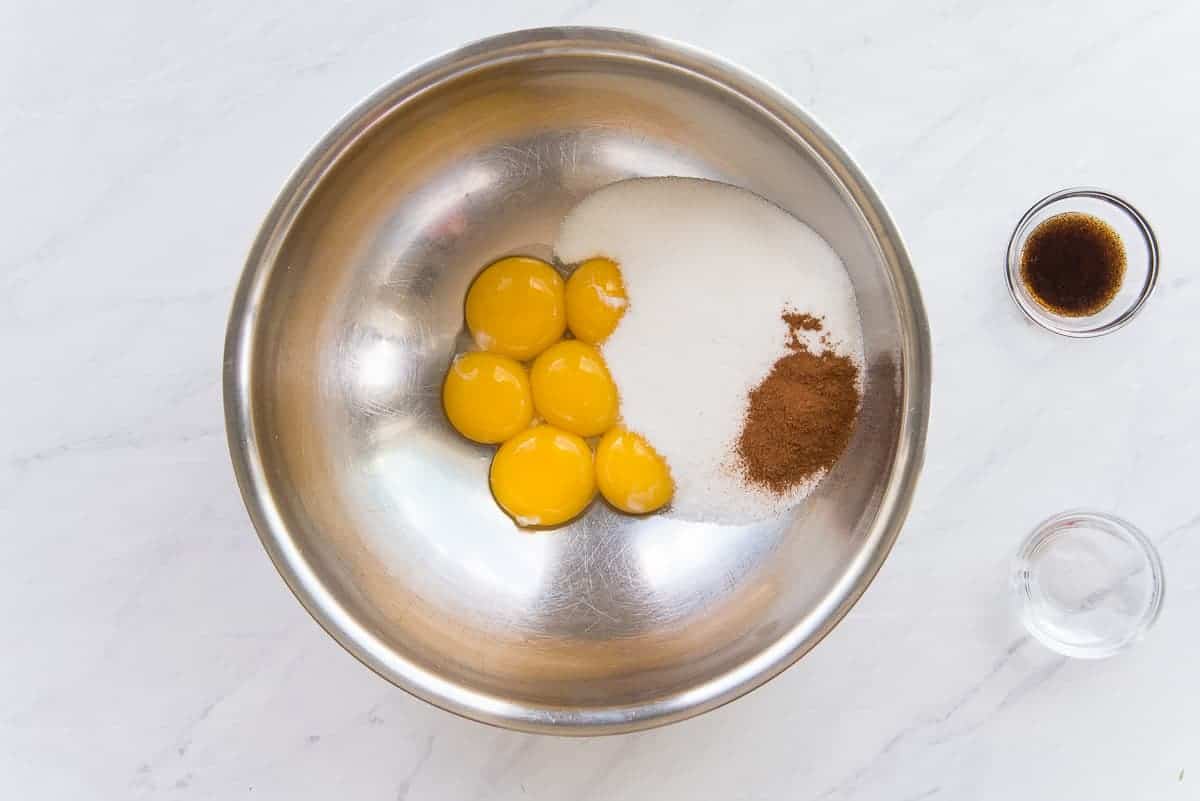
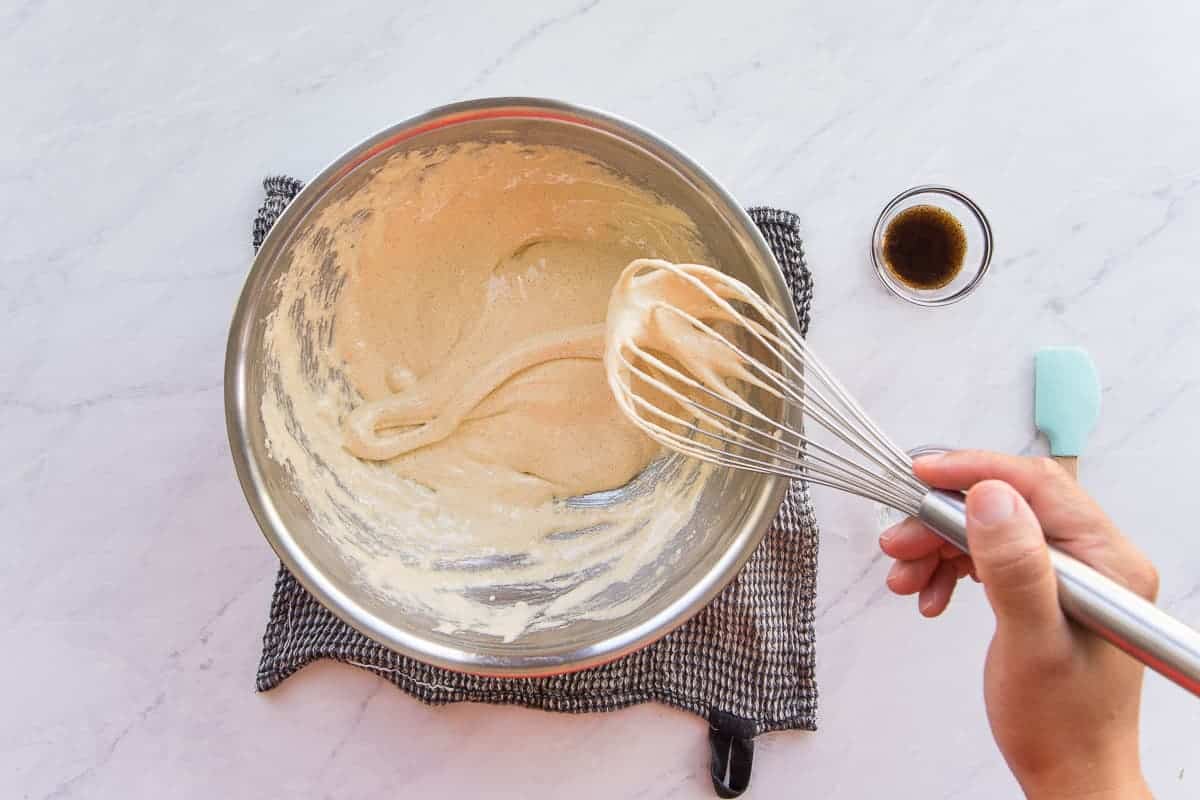
Add the egg yolks, sugar, salt, and cinnamon to a large mixing bowl. A large mixing bowl allows you to begin whipping the egg yolks to a light and fluffy stage because it allows you to incorporate more air.
Can I make Coquito Frozen Custard without eggs?
Before you begin this step, pour the coquito and milk into a 4-quart saucepot with sloped sides. Place this on the stove over medium-low heat to bring it to a steaming point. Give it a stir every minute and a half to keep it from scalding on the bottom while you whip the eggs.
A balloon whisk also helps fluff up the egg yolks because its widely spaced wires incorporate even more air as you whip with it. Whip the ingredients in the bowl for 3-4 minutes, or until light and fluffy. When you lift the whisk from the eggs, it will leave behind a ribbon on the surface.
Now, while you can make coquito without eggs, you can’t make frozen custard without them. Refer to the “Frozen Custard vs. Ice Cream” paragraph above. Instead, you can omit the eggs, replace the whole milk with canned evaporated coconut milk, and make coquito ice cream. Just be sure to use the vegan coquito recipe in this post.
How do you properly temper eggs, and why?
Tempering eggs is the process by which you slowly introduce hot liquids (usually milk, cream, or- here- coquito and milk) to the eggs to bring them up to the same temperature as the liquids. This culinary technique keeps the eggs- used to thicken custards, puddings, and sauces- from curdling. The hot liquid is slowly poured into the eggs while they are whisked to gently warm them. Once warm, the eggs are then added to the pot of hot liquids in the same way. Finally, the mixture heats until thick.
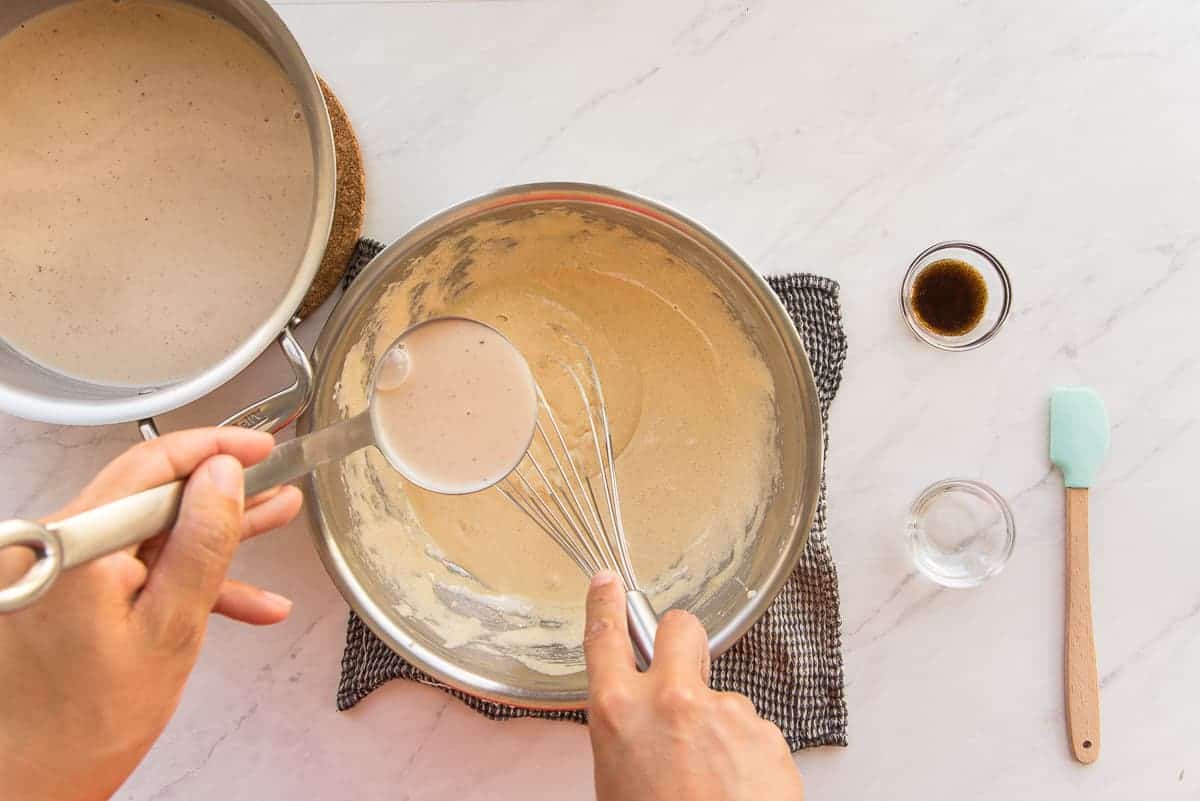
By now, the coquito mixture in the pot is steaming. Scoop up a ladleful of the warm liquids and stream it in a thin trickle into the whipped egg yolks. Whisk the egg yolks constantly while you add the coquito to avoid scrambling them. Repeat this with a second ladleful to equal 2 cups of coquito.
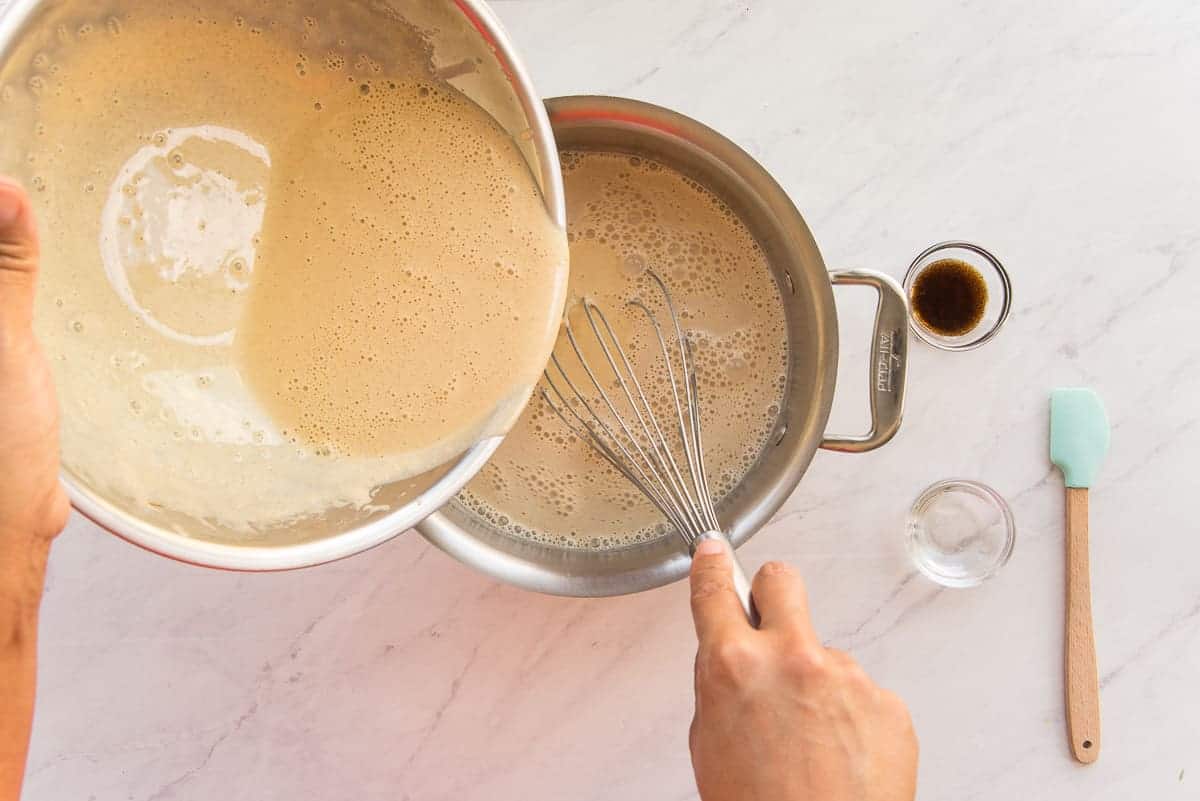
Once the coquito mix is added, pour all of the egg mixture back into the saucepan in the same way. Thinly stream it into the hot coquito, whisking constantly.
How do I know the Coquito custard base is ready?
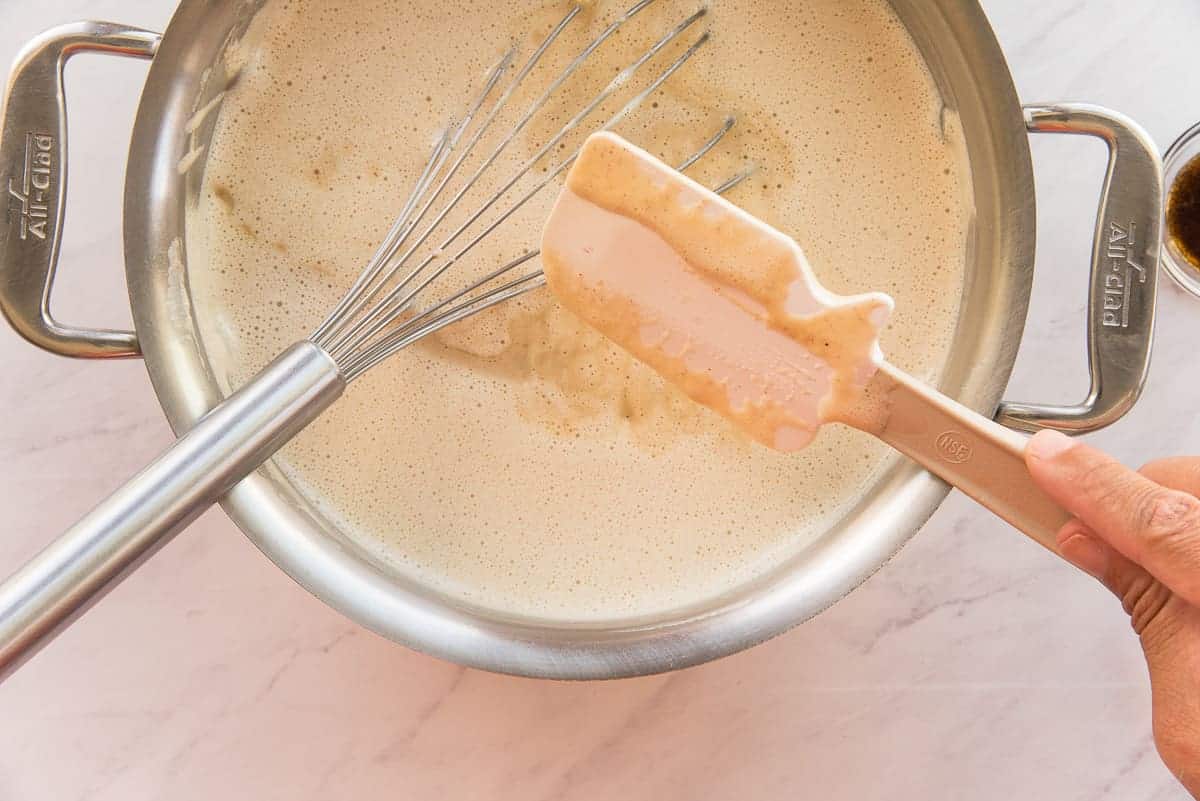
Bring the mixture in the pot up to a steaming point over medium heat. Stir frequently with the whisk, but not too aggressively. You want to give the protein in the yolks time to coagulate and thicken the custard. This will take anywhere from 2-3 minutes.
The custard is ready to come off the stove when a line, made through the mixture by the tip of your finger, holds its edges on the back of a spoon or rubber spatula. In the culinary world, the term used to describe this consistency is nappe.
What is the purpose of aging frozen custard?
Once the coquito custard base is thick, pour it through a fine-mesh sieve to remove any rogue clumps of egg and into a bowl. Stir in the rum and vanilla extracts until combined. Allow the mixture to cool to room temperature.
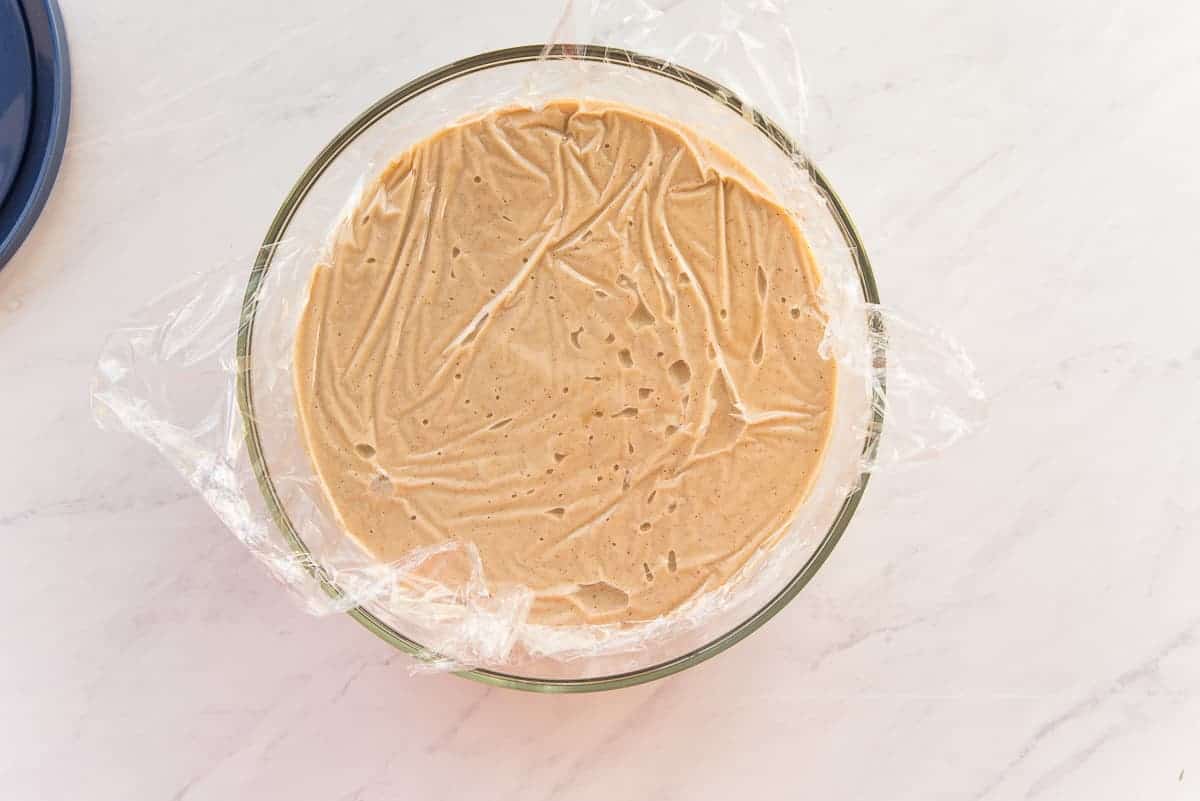
After the mixture is cool, press a piece of plastic wrap onto its surface. This layer of plastic will prevent gross skin from forming on the surface of the custard. Refrigerate the custard anywhere from 12-24 hours. Overnight is the sweet spot. This process of chilling the custard for hours is known as aging.
Aging frozen custard or ice cream bases are essential in creating a fuller mouthfeel when you eat the churned products. This time of letting the mixture just be gives the proteins in the custard a chance to bind with the water molecules and plump up. Without it, the frozen custard feels skimpy and not as luxurious on the tongue.
The great thing about this step is that it requires little effort on your part aside from patience.
Why do you need to toast the coconut flakes?
The texture in this coquito frozen custard comes from the folding in of crunchy, toasted coconut flakes. While you can buy coconut flakes pre-toasted from the baking aisle, I prefer to toast them myself and save the pennies.
Start with 1 cup of unsulphured coconut flakes. Regular coconut flakes emit a noxious odor when you toast them. It burns off and doesn’t transfer to the coquito frozen custard, but it does cause you to choke whenever you open the oven door to toss the coconut flakes. I tend to avoid them for that reason alone. If you can’t find unsulphured coconut flakes, it’s okay to use whatever you can find.
Scatter the coconut flakes onto a quarter-sheetpan in an even layer. Make sure there are no clumps of coconut flakes to ensure they toast evenly. Start toasting the flakes in a 350°F (177°C) oven.
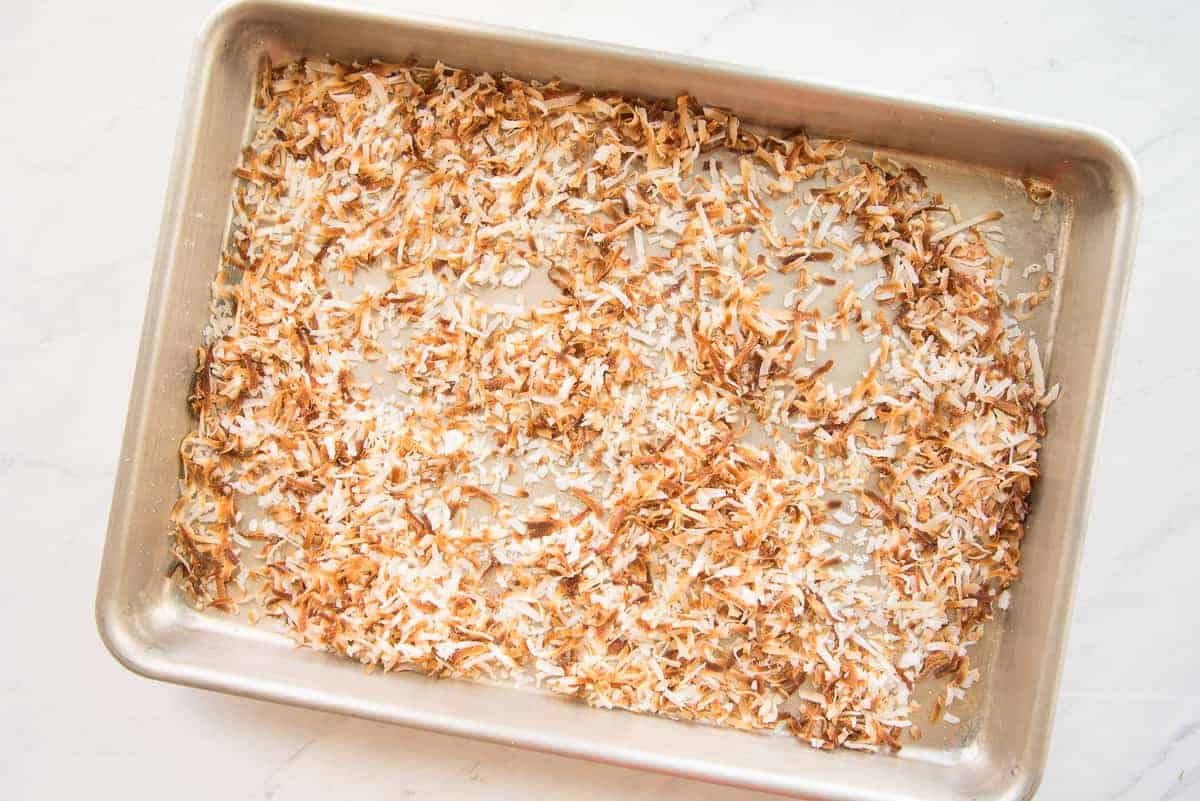
After 5 minutes, remove the pan from the oven and use a wide spatula to toss the flakes around. Return the pan to the oven and toast the flakes for another 5 minutes. After 10 minutes of toasting, you should have an even mix of light to dark brown flakes on the pan. If not, toss, then toast them for another 1-2 minutes. Keep an eye on them, though. This is when they go from golden brown to “G’head and throw me away.”
Remove the pan from the oven and allow the coconut flakes to cool completely. You can do this step up to a week ahead and store the toasted coconut in a container in the pantry.
How long do you churn frozen custard?
Now that the frozen custard base has had time to age, you can pour it into an ice cream maker. Churn the custard base on your machine’s “gelato” or “low” setting if it has one. If it doesn’t, that’s okay. You’ll end up with fluffier coquito frozen custard (and more of it, too). Churning frozen custard usually takes 20-25 minutes. Most ice cream machines have built-in timers, but if yours doesn’t, set a timer for 20 minutes.
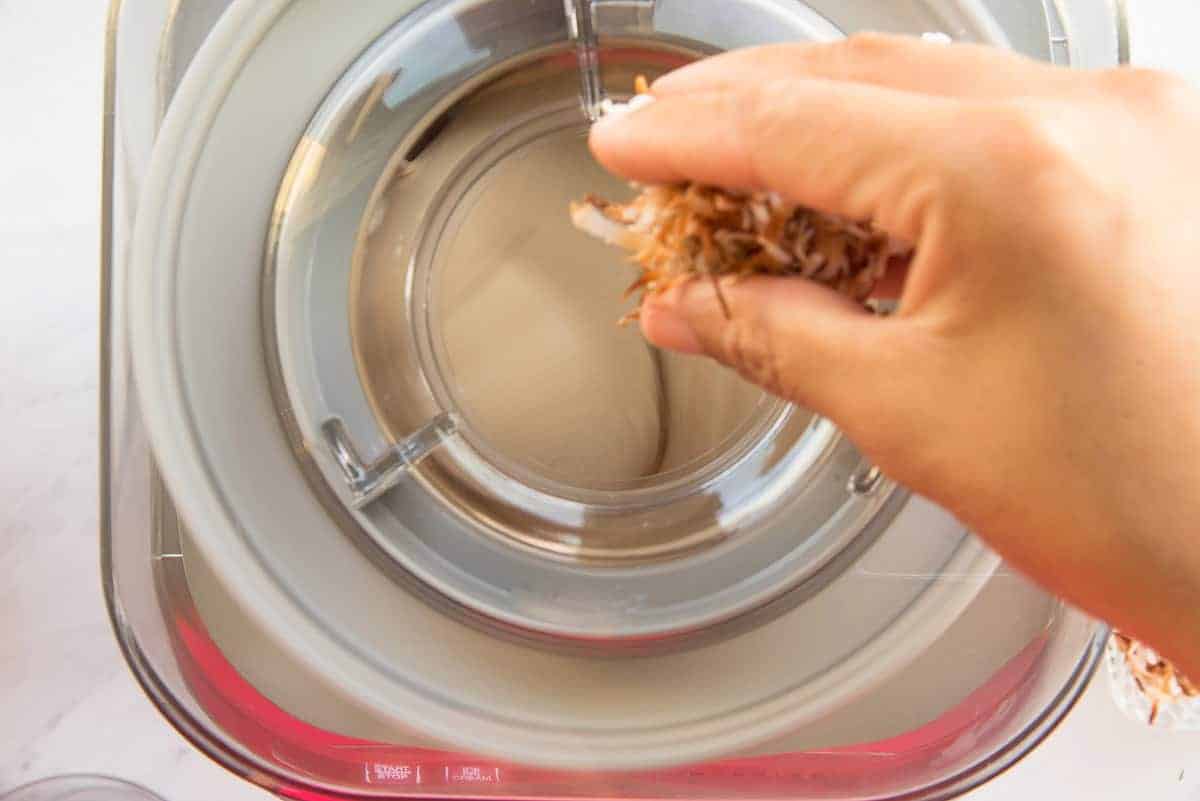
The custard will have the consistency of soft-serve ice cream after 20 minutes. That’s when you add 3/4 cup of the toasted coconut flakes to the ice cream machine. This will mix in the coconut flakes for you. You don’t want to dump them in when you begin mixing the custard because it will take longer for the custard to firm up. That causes the frozen custard to develop ice crystals because the water in the base is not freezing up quickly as it should. Ice crystals make for a gritty frozen custard.
What is the best container to store frozen custard in?
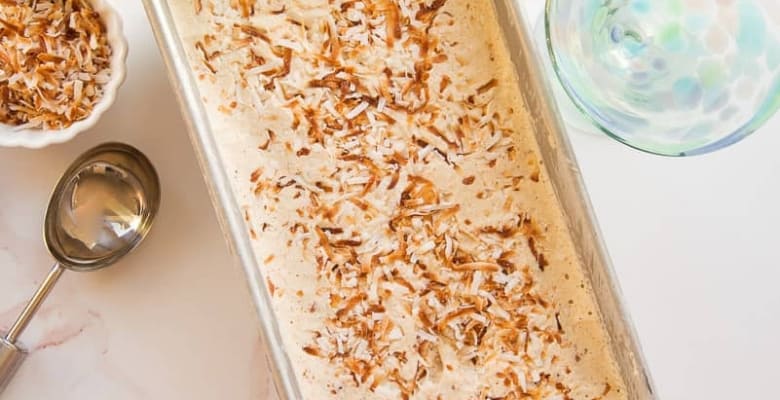
There are plenty of containers to store your freshly-churned coquito frozen custard in. My preferred are plastic containers or paper containers. These allow the custard to set up without being surrounded by an extremely cold surface as it would be in a metal bread loaf pan. If I don’t have any containers available, or if I’m trying to impress you, I scrape my churned custard into a bread loaf pan.
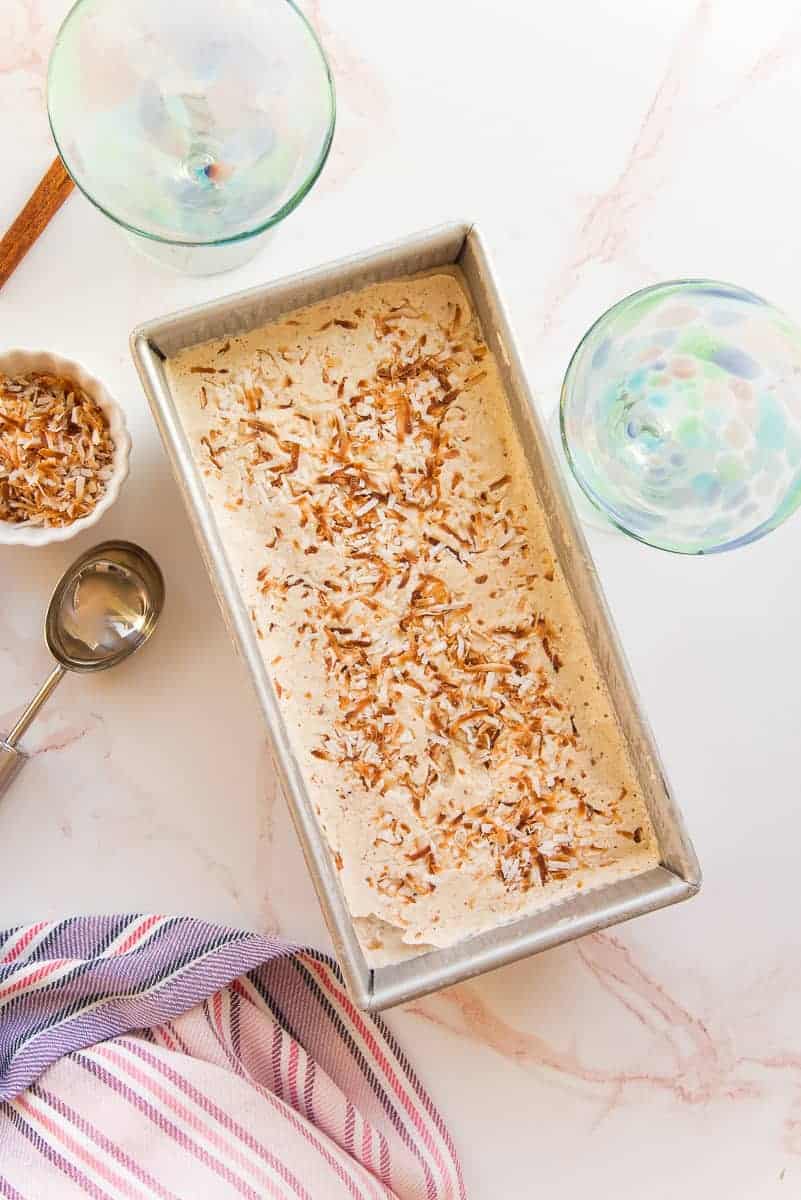
As the coquito custard base needs to age, the churned frozen custard needs time in the freezer to set up. You can totally serve it straight from the ice cream maker, but it will turn to soup faster than you could enjoy it. Instead, transfer the custard to an ice cream container. Sprinkle the remaining toasted coconut over the surface. Give the top a light dusting of ground cinnamon and press a piece of wax or parchment paper on its surface. This paper layer keeps ice crystals from forming in the time it takes for the moisture in the custard to freeze solid.
Freeze the custard for 6-12 hours to allow it to firm up to a scoopable consistency.
How do I serve the Coquito Frozen Custard?
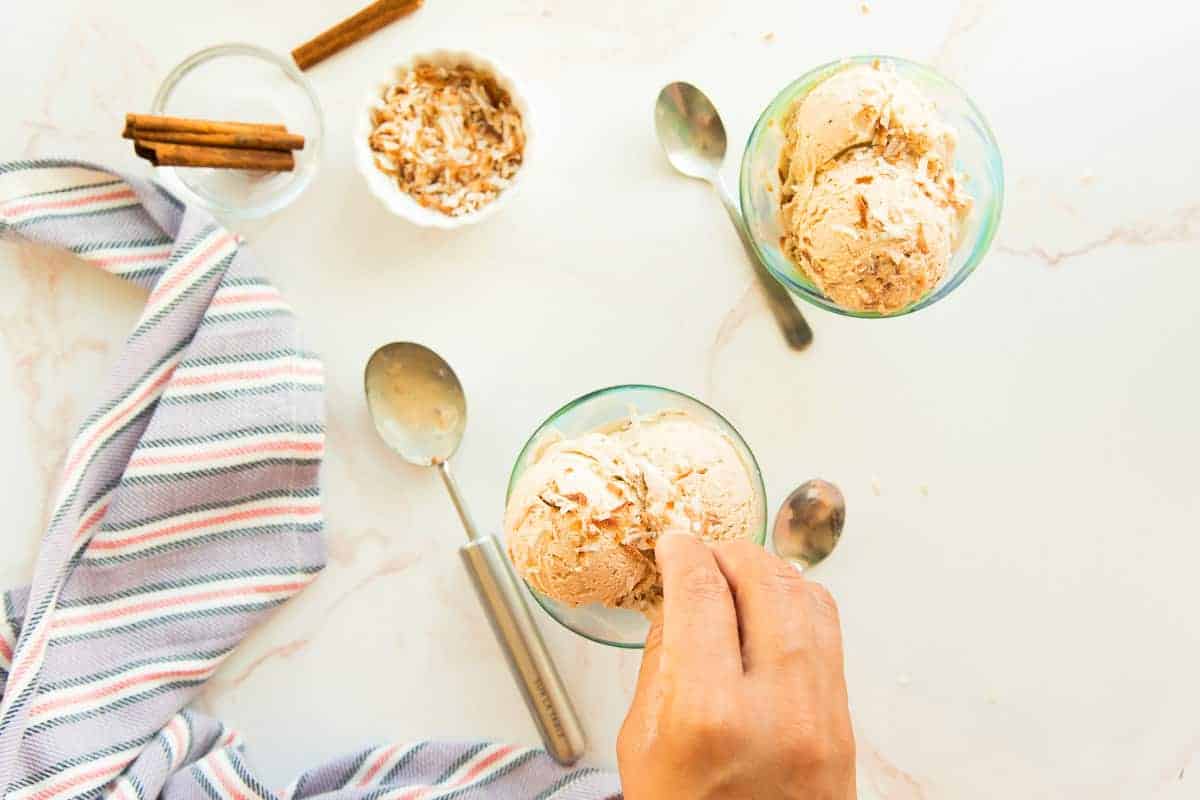
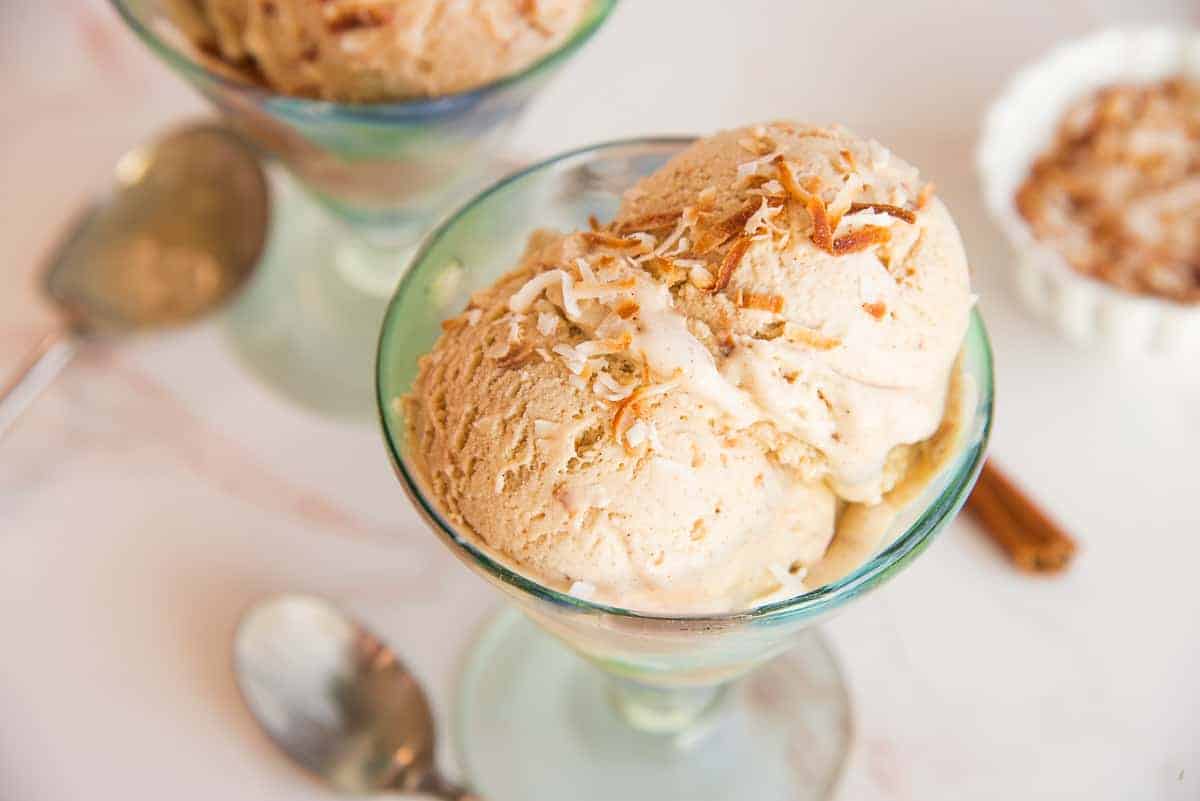
The easiest part of this recipe is serving it. Remove the protective layer of paper from its surface, scoop and garnish with more toasted coconut flakes.
You can also blend this into a coquito milkshake or use it to top your favorite pies or cakes.
Why does my Coquito Frozen Custard melt faster than store-bought ice cream?
Homemade frozen custard usually doesn’t contain stabilizers as store-bought ice creams do. As a result, you might find that your coquito frozen custard melts quicker than the one you bought at the grocery store. It’s a small price to pay to enjoy a dessert with no additives like guar gum, which just sounds gross.
The only way to avoid it is to eat and enjoy the coquito frozen custard fast. I’m sure you’re up to the challenge.
How long can I store the Coquito Frozen Custard?
Because your freezer probably hovers between 0° to -10°F (-17° to -23°C), the frozen custard can be stored for 1 1/2 to 2 weeks. This is the recommended time for optimum flavor. Have I stored mine for up to a month? Yes. It still tastes amazing, too. Not as fresh, no, but I wasn’t mad at it.
When you serve the custard, return it to the freezer after scooping. Flipping the container (if you’re storing it in a plastic or paper one with a lid) allows the ice cream to slide down to the top. This ice cream parlor trick eliminates the air at the top of the container, which basically vacuums seals it. It also keeps the surface of the ice cream from developing those gross ice crystal fuzzies.
What other recipes can I use Coquito in for the holidays?
This Coquito Frozen Custard wants to be at all of your celebrations from now on, so don’t let it down. Make a batch (or three) for the upcoming holiday season. In fact, try out some of my other coquito recipes while you’re here:
- Coquito Cookies with Coquito Buttercream Frosting
- This Coquito Cheesecake has been a hit on my site since day one!
- Coquito Bread Pudding with a Coquito Toffee Sauce.
If you need more, check out my roundup of all the Coquito Recipes on the site.
Be sure to pin this recipe so you don’t lose it. And don’t forget to share it with your friends and family. Tag me @senseandedibility (IG and Facebook) if you make it, too! I’d love to hear what you think of it.
Coquito Frozen Custard (Puerto Rican Coconut and Rum Ice Cream)
at Sense & EdibilityEquipment
- ice cream machine (maker)
- balloon whisk (or electric hand mixer)
- ice cream storage containers
Ingredients
- 3 cups (710 milliliters) virgin coquito
- 1 cup (235 milliliters) whole milk
- 6 large egg yolks
- 3/4 cup (150 grams) granulated sugar
- 1 teaspoon (3 grams) ground cinnamon plus more to garnish
- 1/2 teaspoons kosher salt optional
- 1 tablespoon (15 milliliters) rum extract or dark rum
- 1 teaspoon vanilla extract
- 1 cup (72 grams) sweetened shredded coconut flakes
Instructions
Heat the Coquito and Milk
- Pour the coquito into a 4-quart saucepot with sloped sides. Bring the liquids to steaming point over medium-low heat. Give it a stir every minute and a half to keep it from scalding on the bottom while you whip the eggs.
Whip the Egg Yolks and Sugar
- Add the egg yolks, sugar, ground cinnamon, and salt to a large mixing bowl. Use a balloon whisk to whip the ingredients in the bowl for 3-4 minutes, or until light and fluffy. *You can also do this with an electric hand mixer on medium speed. When you lift the whisk from the eggs, it will leave behind a ribbon on the surface.
Temper the Eggs with the Warm Liquids
- Scoop up a ladleful of the warm coquito mixture and stream it in a thin trickle into the whipped egg yolks. Whisk the egg yolks constantly while you add the coquito to avoid scrambling them. Repeat this with a second ladleful to equal 2 cups of coquito.
Cook to Thicken the Custard Base
- Once the coquito is added, pour all of the egg mixture back into the saucepan in the same way. Thinly stream it into the hot coquito, whisking constantly. Once the eggs are in the pot, bring the mixture in the pot back up to a steaming point over medium heat.
- Stir frequently with the whisk, but not too aggressively to allow the protein in the yolks time to coagulate and thicken the custard. This will take anywhere from 2-3 minutes. The custard is ready to come off the stove when a line, made by the tip of your finger, holds its edges on the back of a spoon or rubber spatula.
Cool and Age the Coquito Custard Base
- Once the coquito custard base is thick, pour it through a fine-mesh sieve to remove any clumps of egg and into a bowl. Stir in the rum and vanilla extracts until combined. Allow the mixture to cool to room temperature.
- After the mixture is cool, press a piece of plastic wrap onto its surface. Refrigerate the custard anywhere from 12-24 hours to age it.
Toast the Coconut Flakes
- Preheat your oven to 350°F (177°C).Scatter the sweetened coconut flakes onto a quarter-sheetpan in an even layer, ensuring there are no clumps of coconut flakes.Toast the coconut flakes for 5 minutes.
- After 5 minutes, remove the pan from the oven and use a wide spatula to toss the flakes around. Return the pan to the oven and toast the flakes for another 5 minutes. After 10 minutes of toasting, you should have an even mix of light to dark brown flakes on the pan. If not, toss, then toast them for another 1-2 minutes. Remove the pan from the oven and allow the coconut flakes to cool completely.
Churn, then Freeze the Coquito Frozen Custard
- Pour the aged coquito custard base into an chilled ice cream maker. Churn the custard base on your machine's "gelato" or "low" setting for 20 minutes.
- After 20 minutes, sprinkle 3/4 cup of the toasted coconut flakes to the ice cream machine. Allow the blades to mix in the coconut flakes for you.
- Transfer the churned custard to an ice cream container. Sprinkle the remaining toasted coconut and a light dusting of ground cinnamon over the surface and press a piece of wax or parchment paper directly onto the top of the frozen custard.
- Freeze the custard for 6-12 hours to allow it to firm up to a scoopable consistency. Serve in bowls or on your favorite cones.
Notes
Swaps and Subs:
- Use full fat coconut milk in place of the whole cow's milk for non-dairy Coquito Frozen Custard.
- Omit the toasted coconut flakes for a smooth coquito frozen custard.
- Use pre-toasted coconut flakes found in the baking aisle instead of toasting your own at home.
- Use alcoholic coquito for a softer, more boozy frozen custard.
Tips and Techniques:
- Place a damp kitchen towel under your mixing bowl to keep it from twirling while you temper the eggs.
- You can toast the coconut flakes up to a week ahead and store the toasted coconut in an airtight container in the pantry.
- Don't add the toasted coconut flakes right when you begin churning the custard because it will take longer for the custard to firm up. It will also cause it to develop ice crystals which will make the frozen custard gritty.
- The layer of paper on the coquito frozen custard surface keeps ice crystals from forming in the time it takes for the moisture in the custard to freeze solid.
- Because this coquito frozen custard doesn't contain stabilizers it melts quicker than grocery store ice creams.
- Blend this into a coquito milkshake or use it to top your favorite pies or cakes.
To Make Coquito Ice Cream:
- Omit the egg yolks.
- Heat the coquito, milk, and the remaining ingredients to steaming, whisking to dissolve the sugar.
- Allow the mixture to cool, then age as recommended.
- Churn the aged coquito ice cream base on the "ice cream" setting and follow the instructions as listed.
Vegan Coquito Ice Cream:
- Omit the eggs and replace the whole milk with canned evaporated coconut milk. Use the vegan coquito recipe in this post.
- Follow steps 2-4 above.
Storage Instructions:
Coquito frozen custard can be stored for 1 1/2 to 2 weeks.- After serving the custard, return it to the freezer quickly.
- Flip the container upside down to allow the ice cream to slide down to the top and eliminate the air at the top of the container, which basically vacuums seals it.





This custard looks so creamy and perfect for this time of year. The addition of the coconut flakes is a great touch as well.
Thanks so much! I’m glad you liked it.
I love your Coquito Recipes and this is another winner! Frozen custard is always a great idea and this custard came out perfect! So good!
So glad you liked it, Chenée! Thank you!
This is sooooo delicious! Love the flavor and texture. Perfect on its own or with your favorite cake.
I’m so glad you enjoyed it, Chandice!