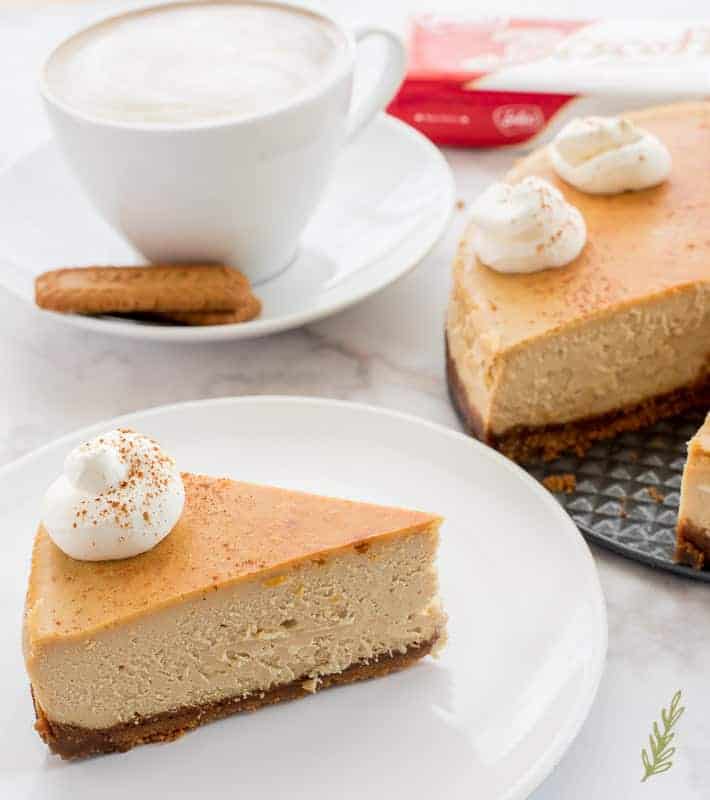
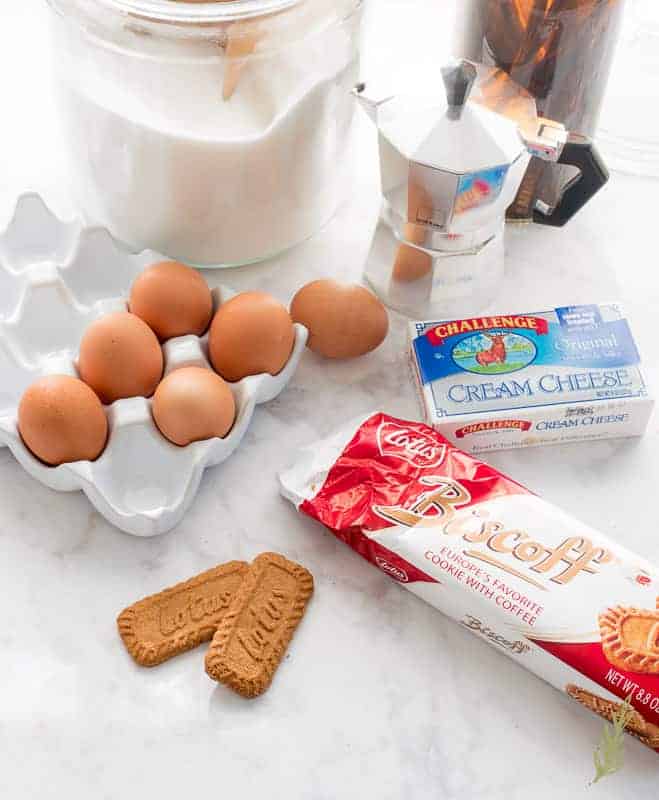
On transatlantic flights you’re, more often than not, going to be handed a packet of the cookies. Recently, to my very great delight, I’ve been the recipient of a pack on my flights in, and out of, New York! Pathetic though it may be, the year was made when I found out my local grocery store started selling Biscoff. Now my afternoon espressos will be complete.
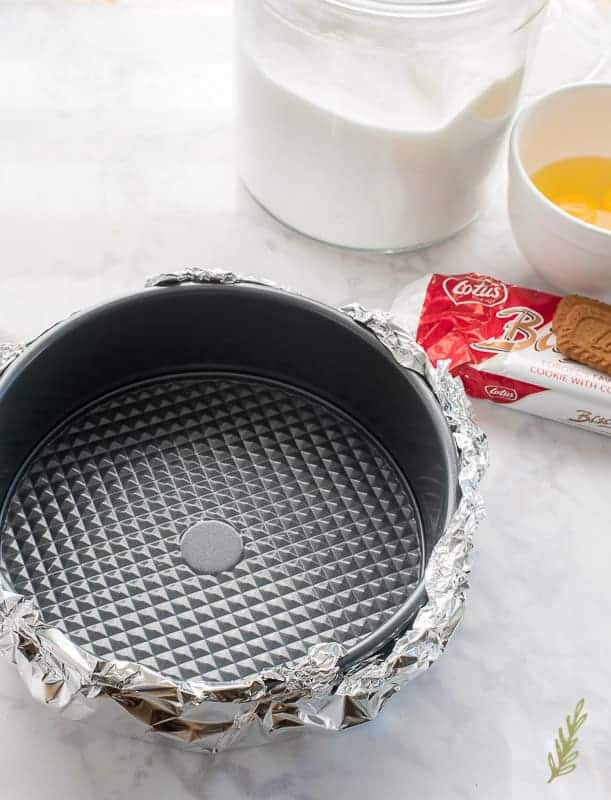
Typically, the springform pan is meant to be used sans water. Using water with this pan will result in a soggy cheesecake, as the seams of the pan will allow the water to leak in. That’s if you don’t wrap it in heavy duty foil. Do you have to use a springform? No. You can use a standard cake pan and the bain-marie. Do you have to use water? No, again. You can use your springform pan, sans foil and bain-marie, and bake as you would a regular cake. The results of both? Well, with the cake pan you’ll have a bear of time trying to dislodge it from the pan. Not a deal-breaker, but something to be mindful of. And with the springform pan alone (no water bath), your cheesecake won’t be as creamy as it would be with one.
All this is why I choose to use a bain-marie. Set a pot of water on the stove to boil. In order to pull off an effective bain-marie, you’ll need your water to be boiling. Boiling water will always be 212°F. Always. Well, always at sea level. Obviously, the higher in altitude you go the lower the temperature required to reaching boiling point. Regardless, boiling water will remain a constant temperature. This is what you want when baking cheesecakes or custards. Fluctuating temperatures create splits, uneven interiors, or scorched tops. Once the water is boiling, pour it into a cake pan, or casserole dish, that has a circumference at least two times as wide as the springform pan. You need to be able to put the cheesecake pan into this larger, water-filled pan without burning the crap out of yourself.
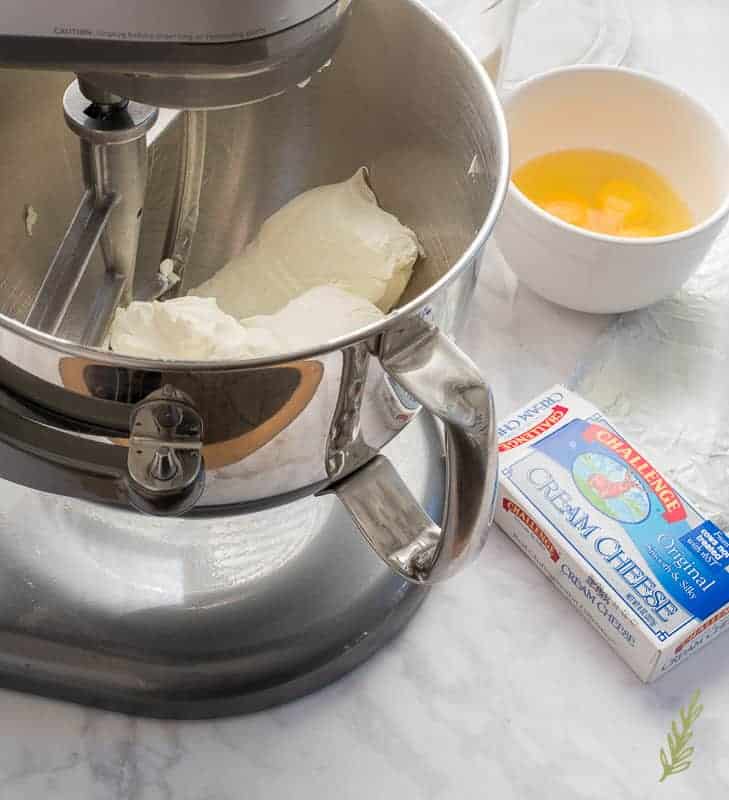
Whatever cream cheese you do end up using, make sure it is room temperature and soft. If you make your cheesecake with cold, or even slightly colder than room temp, cream cheese; you’ll end up with lumps of solid cream cheese in your cheesecake. It not only looks unappetizing, it also tastes quite odd. Imagine fawning over a bite of creamy espresso goodness and then getting walloped in the tastebuds by a hunk of tart cream cheese. Eso no funciona, Socia. That’s good Nuyorican Spanish for, “That don’t work.” Let your cream cheese sit out for no less than eight hours. Or, better yet, leave it out for twenty-four. When it’s nice and soft, use your stand mixer, or with a hand mixer, to beat it until it’s smooth.
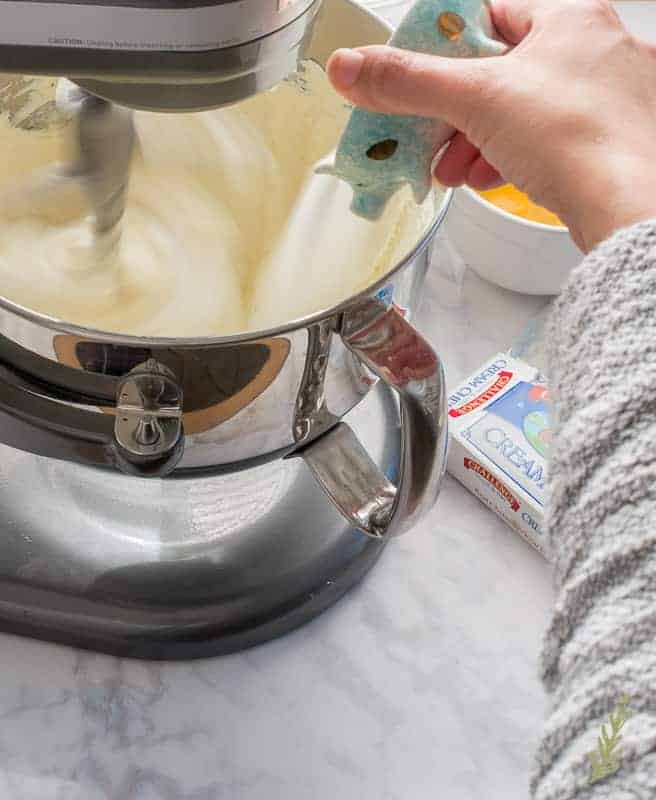
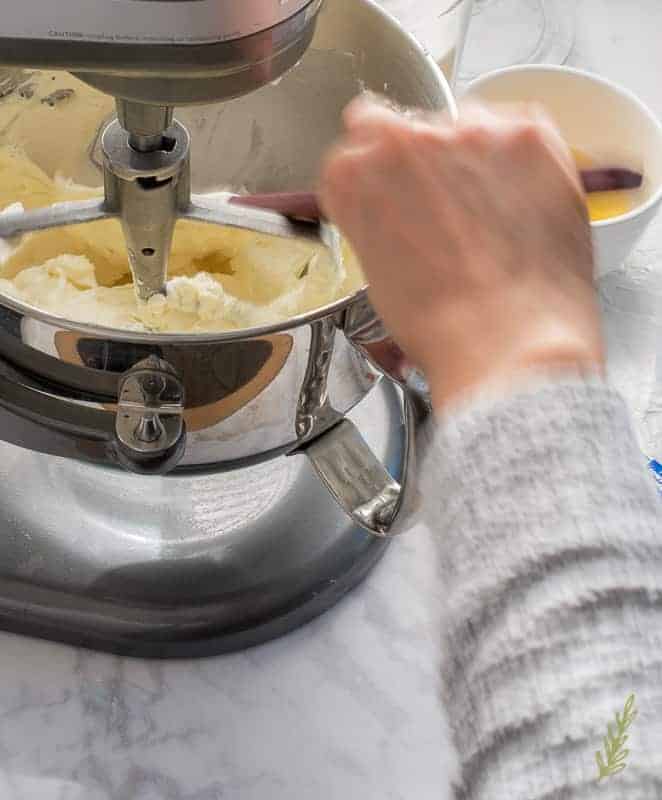
Well, think of the ingredients that are being added to your mixer in terms of people being sacrificed in fire to Huitzilopochtli, the Aztec sun god. These people, most likely, weren’t cool with being burned alive and having their beating heart ripped out just before they burned to death. I’m pretty sure they tried to stay away from the fire. This, on a much smaller and less disturbing scale, is what the ingredients in your mixer wrestle with when you add them to the bowl. They want to hang out on the fringes of that mixing bowl to avoid being enveloped in the sacrificial batter. It’s your job to appease the stomach god by scraping them to the bottom of the bowl, and thus, to their demise.
It’s a good deed, really.
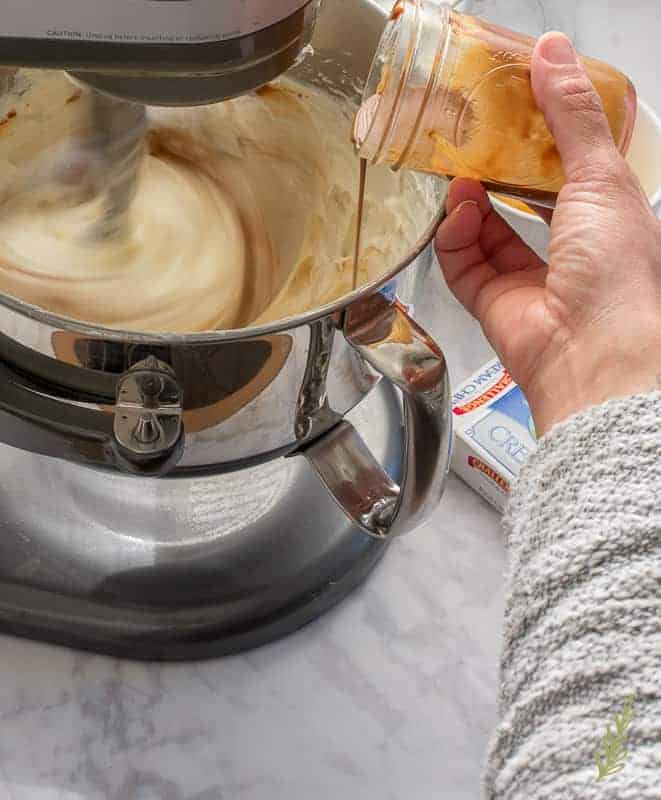
Mix for a few seconds and scrape down your bowl.
While it’s chillin’, make your whipped cream. To do that, just whip a cup of heavy whipping cream mixed with a tablespoon of granulated sugar. Use a whisk or an electric hand mixer to do this. Whip until the cream holds stiff peaks, or until the cream stands to a point when the whisk (beaters) are pulled out of it.
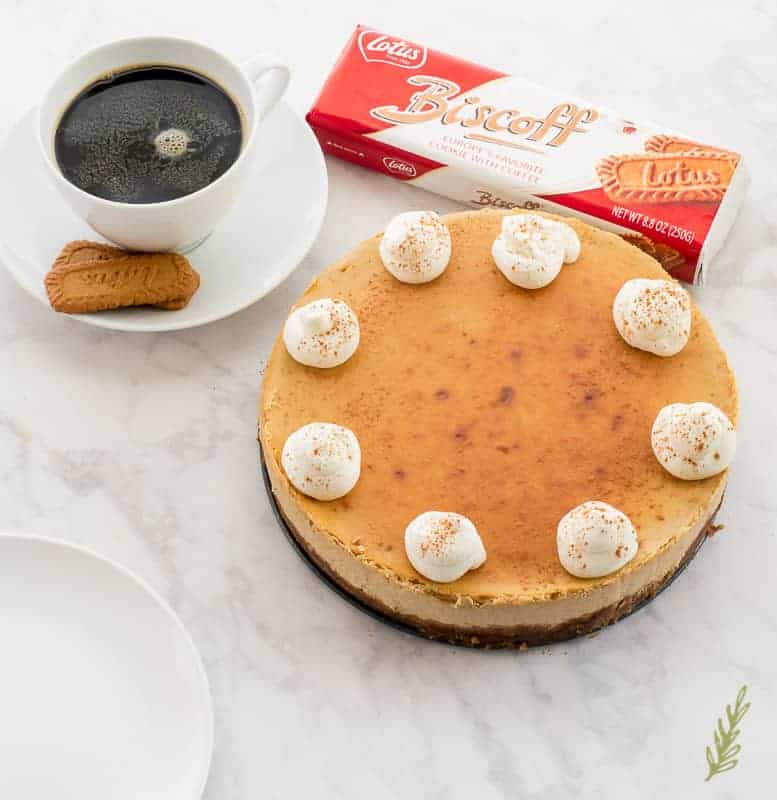
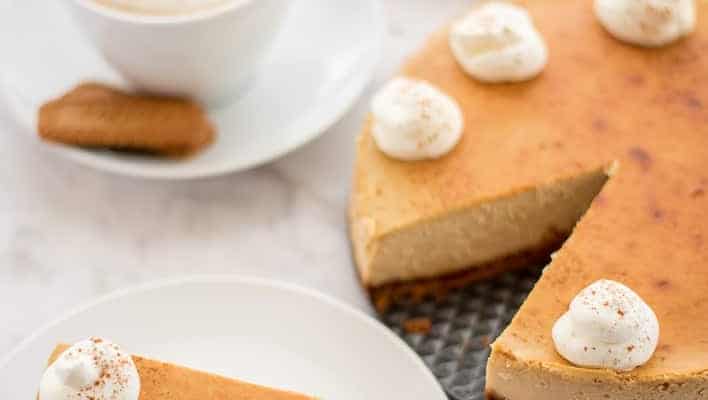
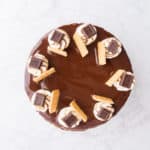
Espresso Cheesecake with Biscoff Crust
at Sense & EdibilityIngredients
- 2 tbsp instant espresso powder
- 2 tsp hot water
- 1/2 tsp vanilla extract
- 13 oz Lotus Biscoff cookies about 1 1/2 pkgs
- 1/3 cup unsalted butter melted
- 4- 8 oz packages cream cheese softened
- 1 1/4 cup granulated sugar
- pinch of kosher salt
- 4 large eggs
- 1/3 cup cornstarch
To garnish:
- 1 cup heavy whipping cream
- 1 tbsp granulated sugar
- ground cinnamon if desired
Instructions
- Preheat your oven to 350°F. Bring a large pot of water to a boil. Once the water is boiling, pour it into a cake pan that has a larger circumference than the 9" springform pan you will bake the cheesecake in. Wrap the bottom of the springform pan in TWO layers of heavy duty aluminum foil. Alternatively, use a regular cake pan and omit the foil wrapping.
- Combine the espresso powder, hot water, and vanilla extract in a small bowl. Stir to dissolve the powder and set aside to cool.
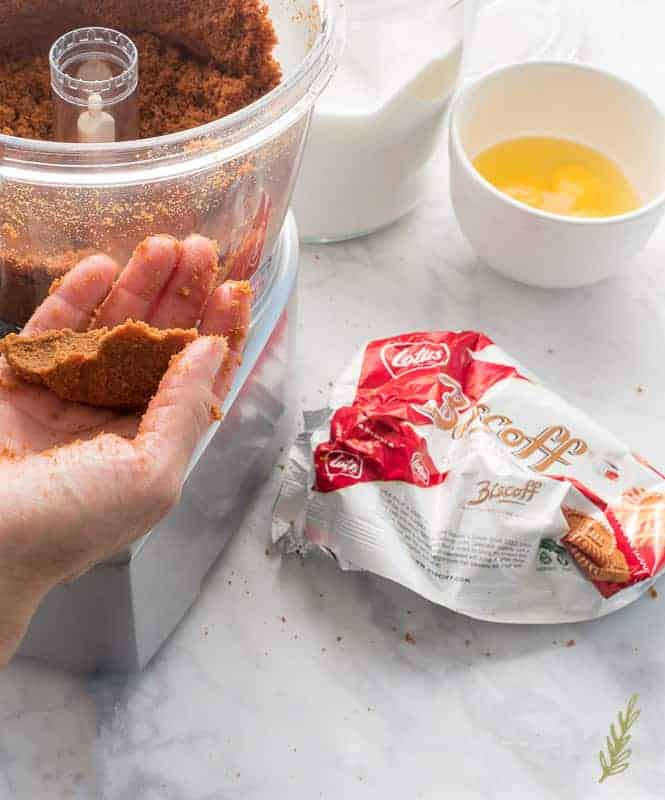
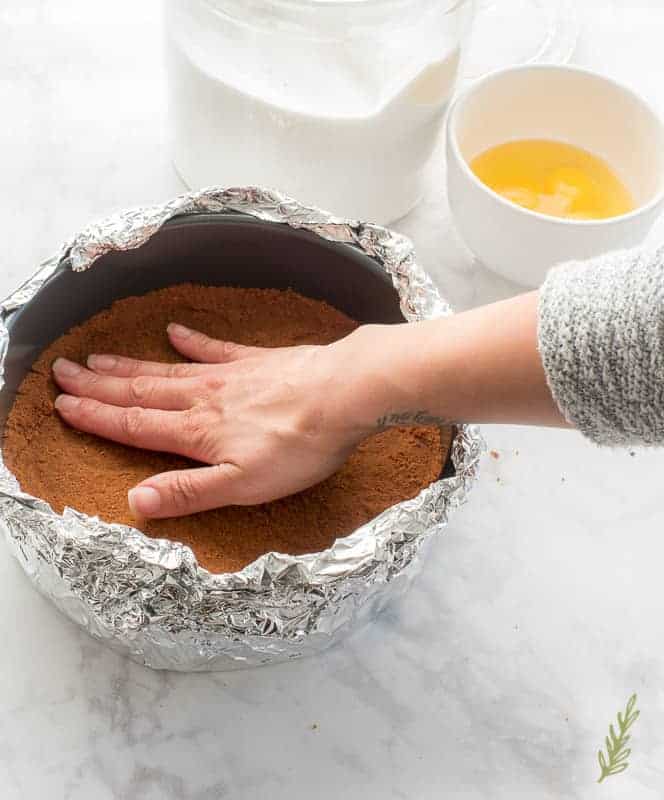
- Use a food processor to pulse the Biscoff cookies to a fine crumb. With the processor running, slowly add the melted unsalted butter to bind it together. You should be able to squeeze a handful of the crumbs and have it hold together. If it doesn't hold together add a little more butter. Press this into an even layer in your foil-wrapped pan and bake for ten minutes. Once finished, remove from the oven and let it cool. Don't turn off the oven. Carefully place the larger, water-filled pan into the oven.
- In the bowl of a stand mixer, beat the cream cheese it until it's smooth. Add the sugar and salt and mix on medium speed for three minutes, scraping down after a minute and a half.
- Turn your mixer's speed to low and add the espresso syrup to the bowl. Increase the speed to medium and mix for a few seconds; then scrape down the bowl once more.
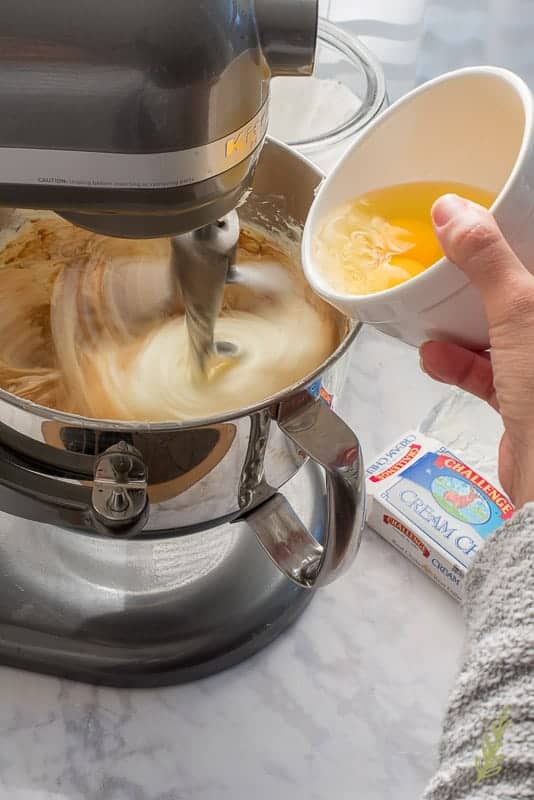
- Lower the mixing speed again, and add your eggs to the bowl, one at a time. Mix the batter for one minute after the addition of each egg, then scrape down the bowl. Add the cornstarch once all of your eggs have been added. Mix for one minute, scrape down, then mix again for thirty seconds.
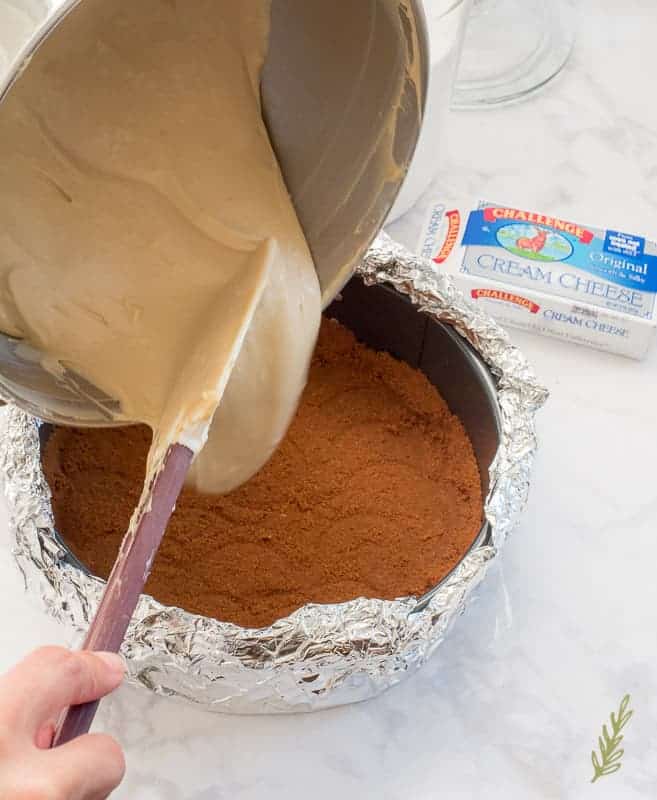
- Pour the batter into the prepared pan, and carefully place this pan into your bain-marie. Bake for one hour.
- Turn off your oven and crack the oven door open (prop it open with a wooden spoon, if necessary). After an hour, remove the cheesecake from the oven, then from the bain-marie, and remove the foil wrapping. Place it in the fridge and allow it to cool completely- about three to four hours. Once the cheesecake has cooled completely, remove the springform collar.
Prepare the whipped cream:
- Combine the whipping cream and sugar in a mixing bowl. Using a whisk or an electric hand mixer, whip until the cream holds stiff peaks.
- Use a piping bag, or the corner of a plastic bag with the end snipped off, to pipe dollops of whipped cream.
- Sprinkle with a small amount of ground cinnamon if desired and enjoy!
Notes
***THIS POST CONTAINS AFFILIATE LINKS. TO FIND OUT WHY THAT’S A THING, READ MY DISCLOSURE PAGE HERE.
Need a great meal to enjoy with this cheesecake?
Check out these recipes:
40 Clove Chicken with Kale and Butternut Squash
Brie with Caramelized Onion



Hello,
I live in Switzerland and we don’t have espresso powder. Can I use an espresso made in a coffee shop instead of the powder and water?
I never had an issue finding Nesscafe instant coffee when I went to Switzerland (Gold or Green), so if you can I’d use that.
If not, brew a very strong espresso and add a quarter cup of it to the cheesecake batter. The final cake may be a little creamier, but should work fine.
What size springform pan did you use? I have four different sizes. Thanks
You can use your 9″ pan, Gwen.
Stop it. Biscotti AND espresso in a CHEESECAKE? This is seriously a dream come true, and I need someone to make it for me ASAP. We lived in Italy for a little while and my go-to gelato flavors were biscotti and coffee, because together it just tasted wonderful. I need this in my life more than you know. (and now i’m drooling and hungry at 6:15 am! lol)
Well, look at that, Jessica! And you know what? This makes a great breakfast at 6AM!
Oh wow, Marta! This is absolutely gorgeous and decadent on so many levels. I need it in my life.
I think we all need it in our lives, Leigh! I do believe this is a cure to all of society’s ills.
I’ve made a cheesecake in a water bath once and it really does turn out best!
Right, Tabbie?!? Nice and creamy!
My young neighbor loves to bake cheesecakes and she is very good at it. I will have to show her this cheesecake recipe sure she will want to try it out.
For sure, Candy! I’m sure she’ll enjoy it.