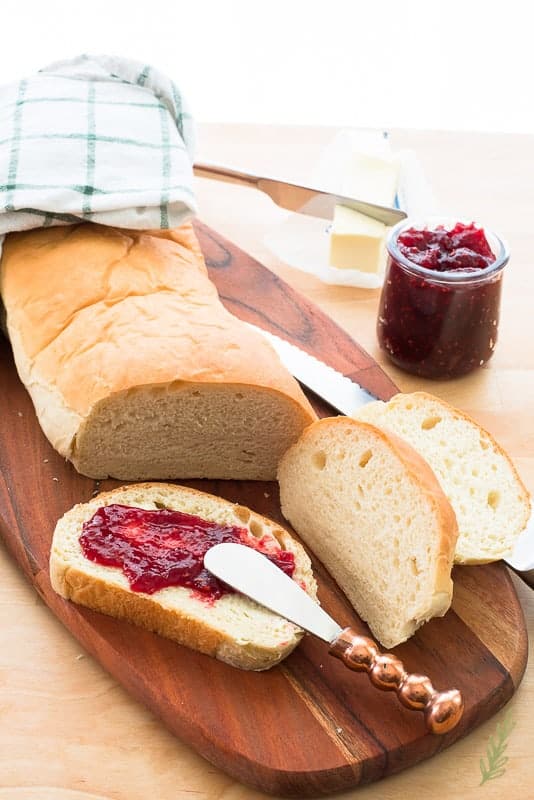
 Never have I had so hard a time naming a recipe as I had with this one. Pan Sobao has no English translation that makes sense. For starters, sobao is good Puerto Rican Spanish for sobar (or knead). So, directly translated, it means “Kneaded Bread”. I didn’t want to name it “Kneaded Bread” because that’s a given. Nearly all breads are kneaded. So, what do you call it? Some people refer to Pan Sobao as Pan de Manteca. However, that translates to “Lard Bread” which is, again, not too clever or appealing. Do you understand my struggle, Friend?
A quick note about Pan Sobao: I’ve received comments about the sweetness of my pan sobao. Pan Sobao shouldn’t be sugary-sweet. It should have some sweetness, but not so much so that it’s detectible. That said, you if grew up on super-sweet pan sobao you may want to increase the amount of sugar to 1/4 cup.
What is Pan Sobao?
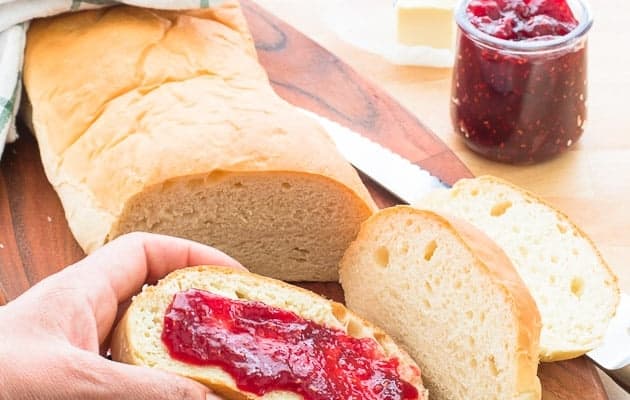
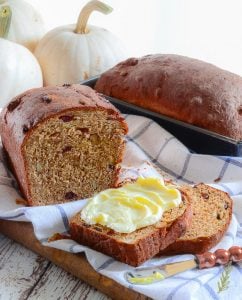
Pan Sobao is a sweetened lean dough that has a pre-fermented mix added to it. When I say sweet, don’t think “danish-sweet”, but just a slight hint of sweeteness, instead. The bread is baked in a steam-filled oven which helps keep the crust slightly crunchy, but not baguette-crunchy. I eat my pan sobao toasted and buttered with a cup of café con leche. Although I also love to use Pan Sobao in french toast recipes, as a sandwich bread, or in bread pudding.
Make the Starter a Day in Advance
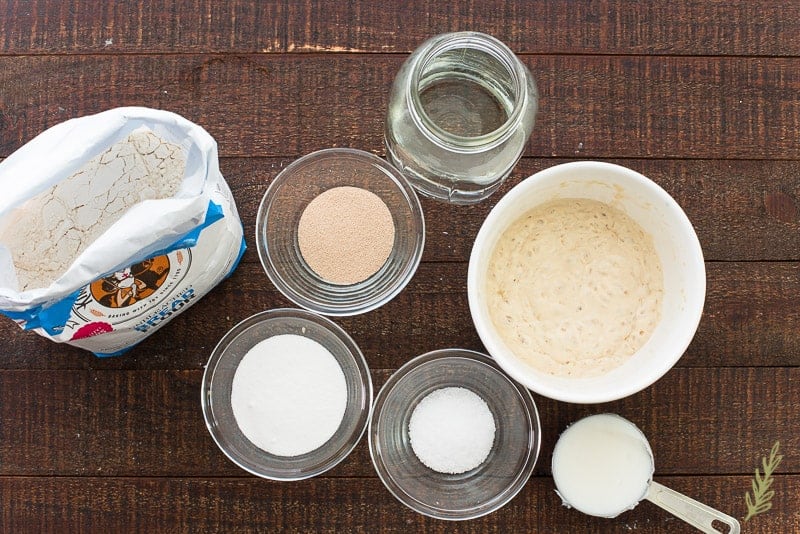
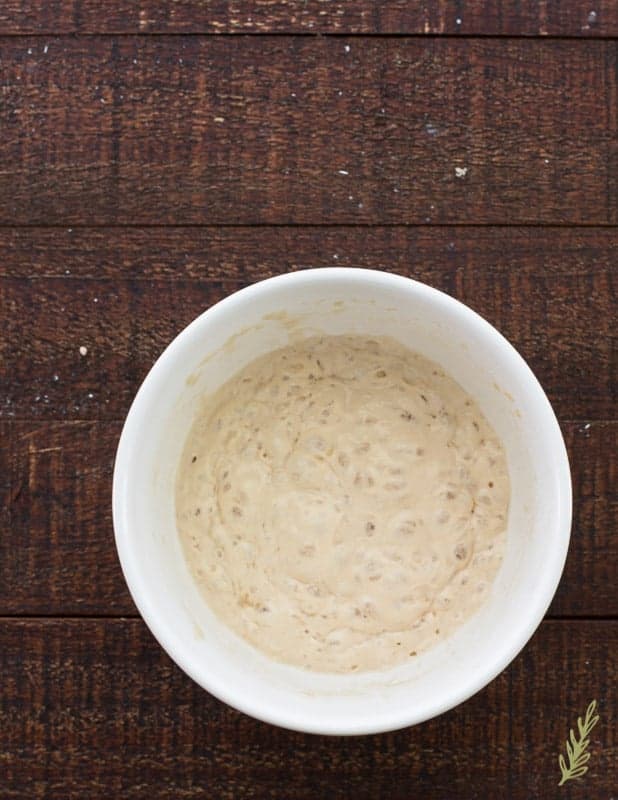
The first step in this Pan Sobao recipe is creating the poolish that will be added to the dough the following day. A poolish is a starter that isn’t allowed to ferment as long as a sourdough would. The result is a flavorful dough with less wait-time than the standard sourdough starter. The poolish is also referred to as a “sponge”, because of how it behaves once mature. It bubbles and becomes, well, spongy when it’s at its peak maturity stage.
Creating a poolish is quite simple: mix equal parts bread flour and water, then add yeast. Mix the concoction together and cover with plastic wrap. We allow this to sit at room temperature for eight hours, then transfer it to the fridge for an additional twenty-four hours. Any longer than twenty-four hours and the poolish begins to deteriorate in quality. The perfect poolish is thin and elastic when stirred- it should also have a sweet, tangy smell.
The Bread Making Process
There are twelve official steps in producing one loaf of bread. The poolish above isn’t counted in this twelve-step program. Measuring, or scaling, out the ingredients is, in fact, step one. This step, here, is step two: mixing the dough. A loaf of bread seems like a pretty simple thing to create; after all, it’s only flour, water and yeast-right? Well, yes and no. It is just a mixture of those three things (give or take a couple more ingredients), but it’s the chemistry of the bread that can make or break the loaf. As there are multiple steps in developing your loaf, there are different methods with which you can achieve success. To add to the fray, I’ve gone and created a new one that I call- Marta’s Modified Straight Dough Method, or MMSDM. (Sounds like an alternative lifestyle now that I read it back to myself)
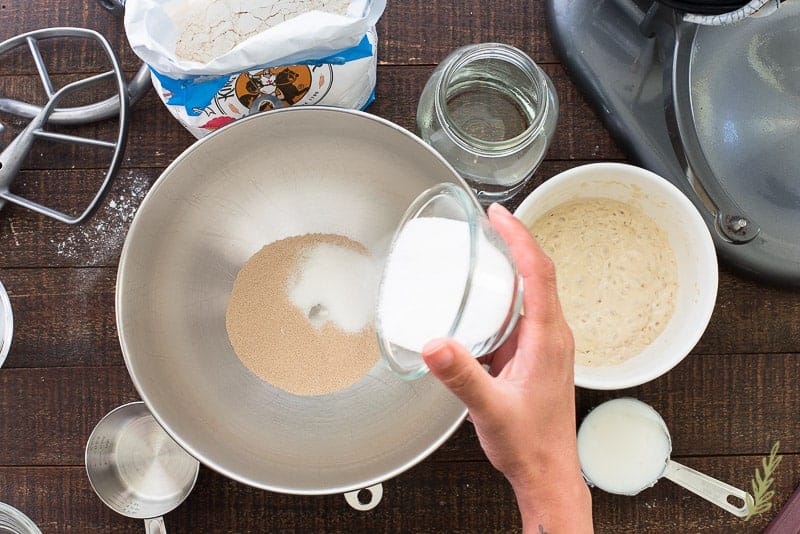
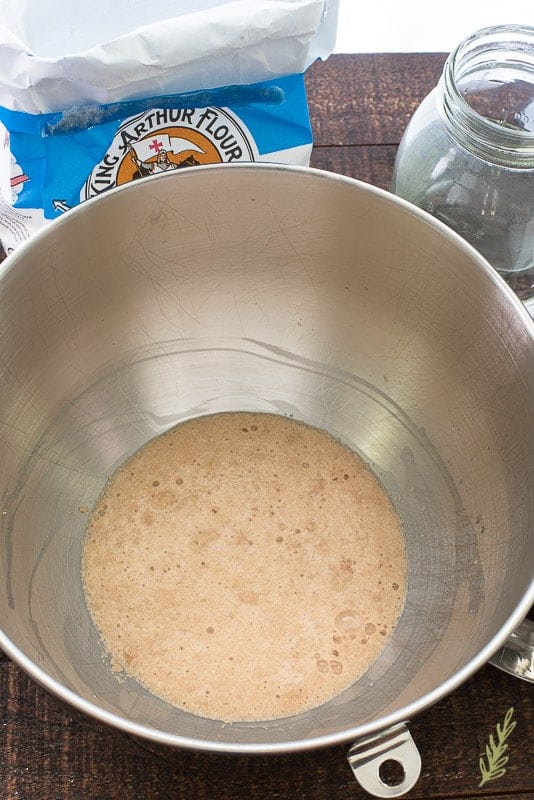
The MMSDM is somewhere between the Straight Dough Method (combine yeast and water, add flour and remaining ingredients and mix); and the Modified Straight Dough Method (yeast + water, mix in fat and sugar, then add flour and mix). The MMSDM goes like this: combine part of the water, all of the sugar and the yeast into the bowl of your stand mixer. Allow the yeast to bloom (or be brought back to life) by feeding on the sugar and being warmed up by the water. Healthy, live yeast will begin to foam and bubble within minutes. Maximum bloom time is five minutes. If you don’t have a foaming mixture in your bowl after five minutes, your yeast is probably dead and needs to be dumped.
Add the Pan Sobao Poolish
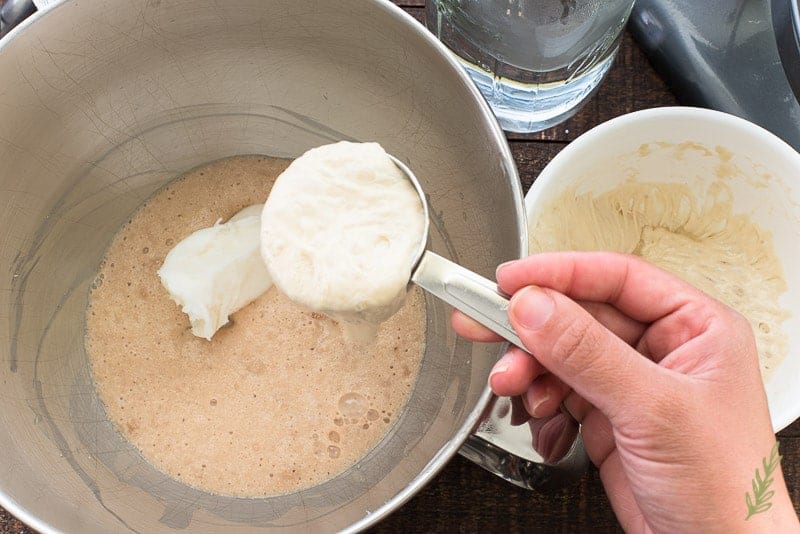
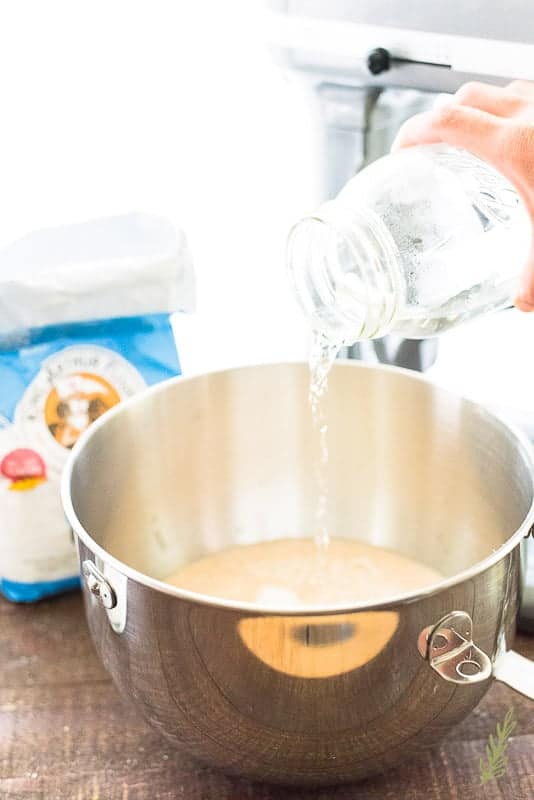
The “Pick-up Stage”
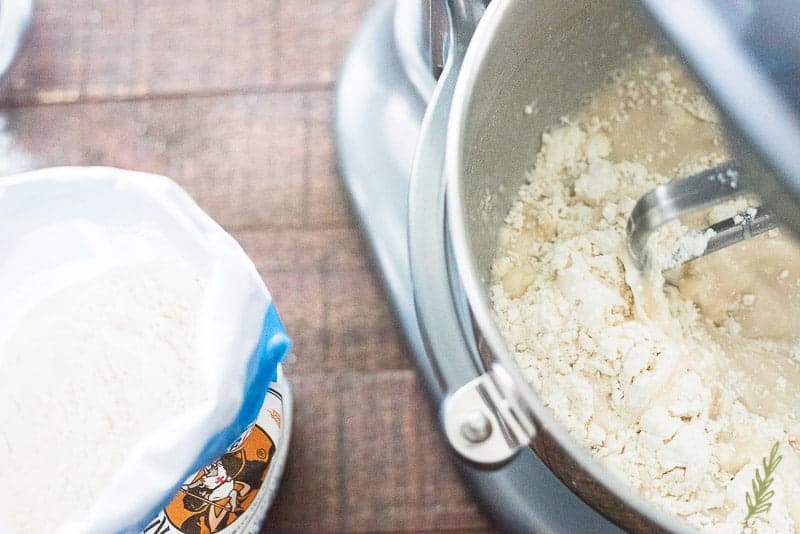
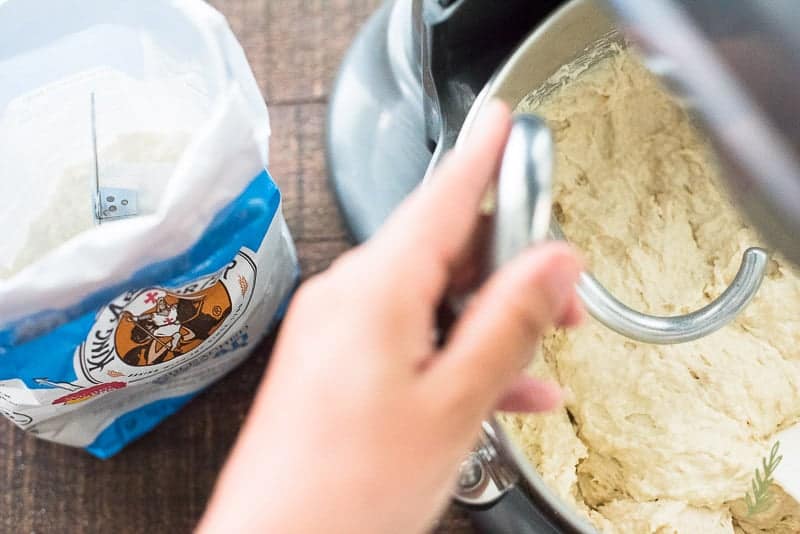
No, we’re not at a singles’ mixer. The “pick-up stage” of bread making is, literally, where the dough picks up the flour (and the salt) gradually. We start out out by creating a buffer between the yeast and the salt. That buffer is the bread flour. Bread flour is necessary because yeast and salt are like me and my ex- they don’t get along.
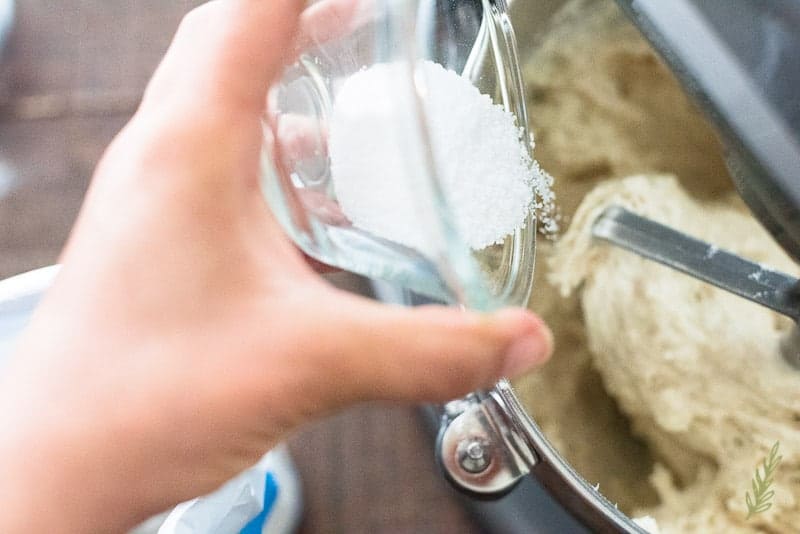
Once we’ve added three cups of flour, we can then add the kosher salt. Salt kills yeast if it’s directly exposed to it and that’s the reason we don’t add salt without other ingredients to dilute it, so to speak.
Continue to mix while gradually adding the remaining flour to the bowl. You’ll begin to see why it’s been labeled the pick-up stage as the flour is slowly incorporated into the mix. When using your stand mixer to mix bread doughs, you want to keep it on a low speed. Bread doughs, even softer ones like this, are notoriously rough on a mixer’s gears. I’ve burned out a few in my time. Keep your batches of bread dough small, and keep the speed on low. If you start smelling your mixer or it sounds sluggish, turn it off and let it cool down for little bit before continuing.
The Cleanup Stage
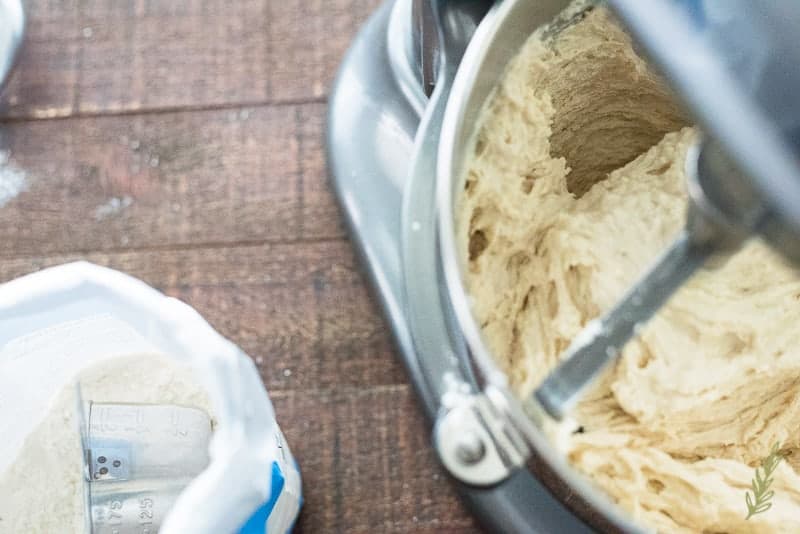
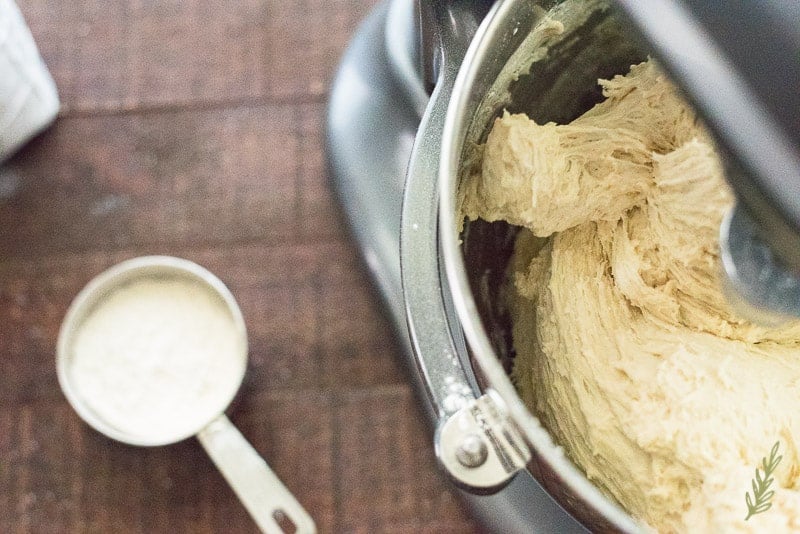
Once you’ve passed the pickup stage, you will enter the cleanup stage of bread mixing. The clean up stage means that all of the flour has been added to the dough, and we need to get that mixture to a point where it’s no longer shaggy and all over the place. To achieve that, switch from the paddle attachment to your dough hook.
Again, keep the speed of your mixer on the lowest setting possible to avoid burning out the motor. And, well, mix. The more the gluten in the dough develops, the more it will “reach” out to get more. In other words, the bowl is “cleaned up”.
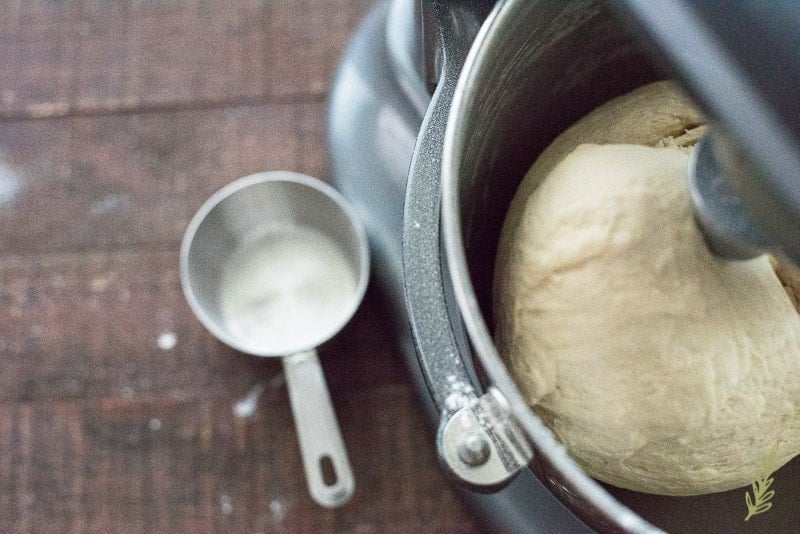
Step Three: Bulk Fermentation of the Pan Sobao Dough
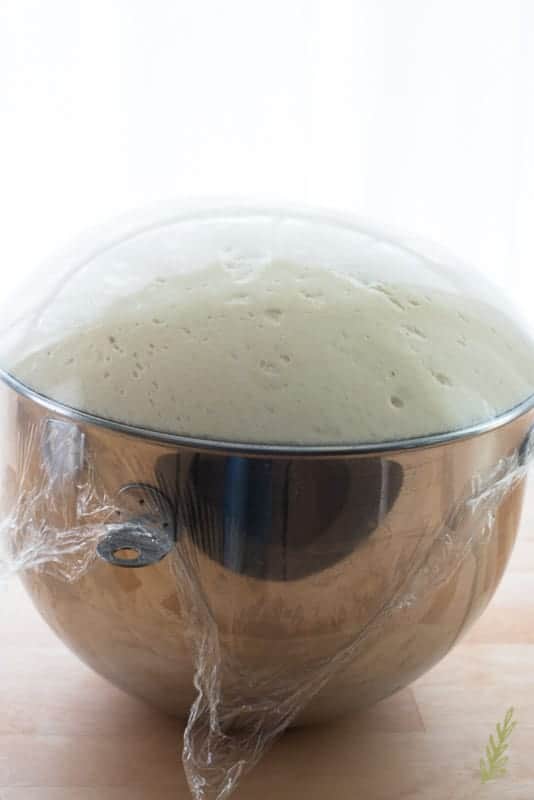
Bulk fermentation, or the third step in the bread-making process, is exactly what it sounds like- fermenting the entire batch of dough at once. This means we haven’t sectioned or formed the dough into loaves yet. The fermentation process is important because this allows the gluten that we spent so much time developing in the mixing stage to become more elastic. It also gives the yeast a chance to feed on the sugars and starches in the dough, and begin to leaven the bread (or make it rise). This process is so important because it’s what gives us a chewy bread that has volume.
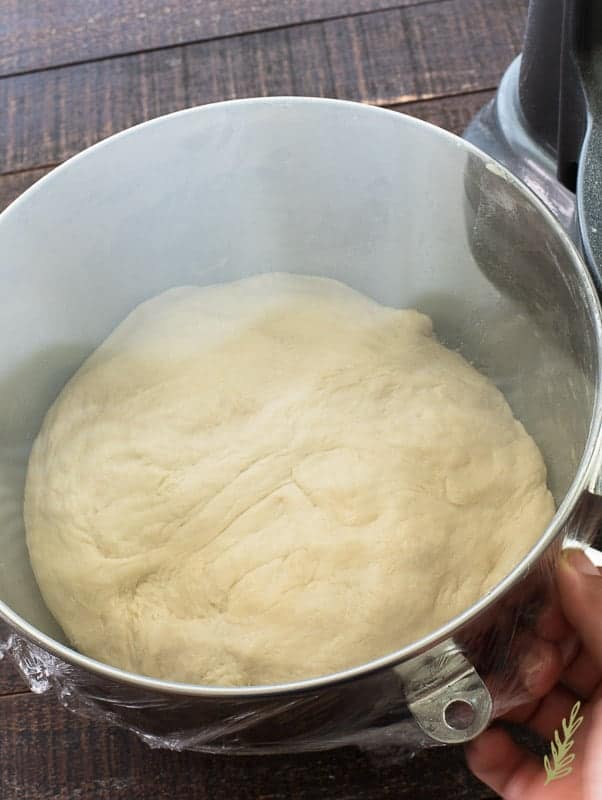
I like to remove the Pan Sobao dough from the mixing bowl, lightly oil the bowl, then put the dough right back into the bowl. Turn the dough once so the oiled surface is on top, then cover the bowl with plastic film. This keeps the carbon dioxide gas in the bowl and helps contribute to that volume I spoke of earlier. The best environment for fermentation? An unheated oven. I’ve found this environment to be perfect for getting a great rise on any bread dough I make. If you don’t have an oven…well, you probably shouldn’t be making this recipe…use your microwave.
Allow the bread to ferment for one hour, or until it’s doubled in size. Extending this step will not give you more bread dough. The process can muck up a dough if allowed to go on indefinitely. “Old” doughs are those that have been left to ferment too long and, as a result, will be super sticky and pain in the butt to handle.
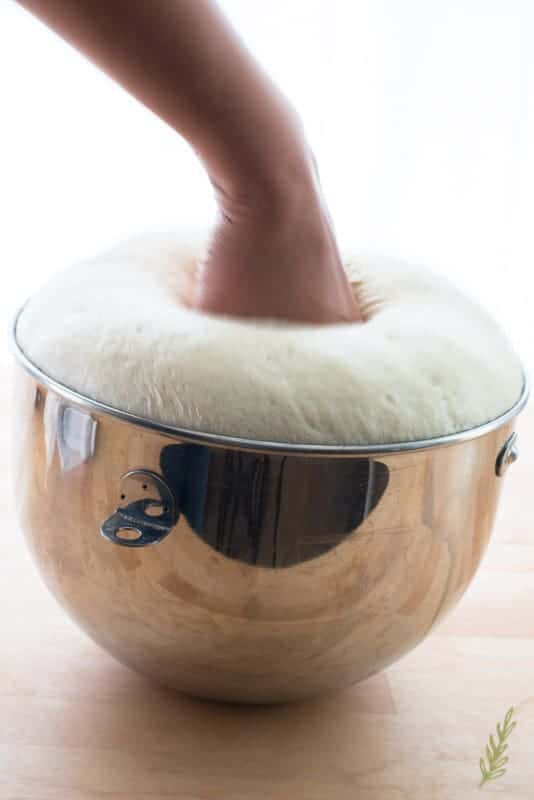
Punch Down the Risen Pan Sobao Dough
On the flip side, in this recipe, we’re pulling this dough while it’s “young” because we need to shape it and give it an additional rise. But first we need to knock it down.
Punching down the dough after fermentation squishes it to dispel the carbon dioxide that has formed during step three. In this step we’re allowing the dough to reach a uniform temperature, as well. The dough at the top of the bowl has taken on a different temperature than the dough center-mass. Folding the dough allows the dough to be more balanced in temp. It also gives the gluten a chance to relax from all that stretching it was doing. You’re not pummeling the dough in this step, you are folding it over itself to accomplish the goals mentioned above. So, fold the dough over itself three or four times.
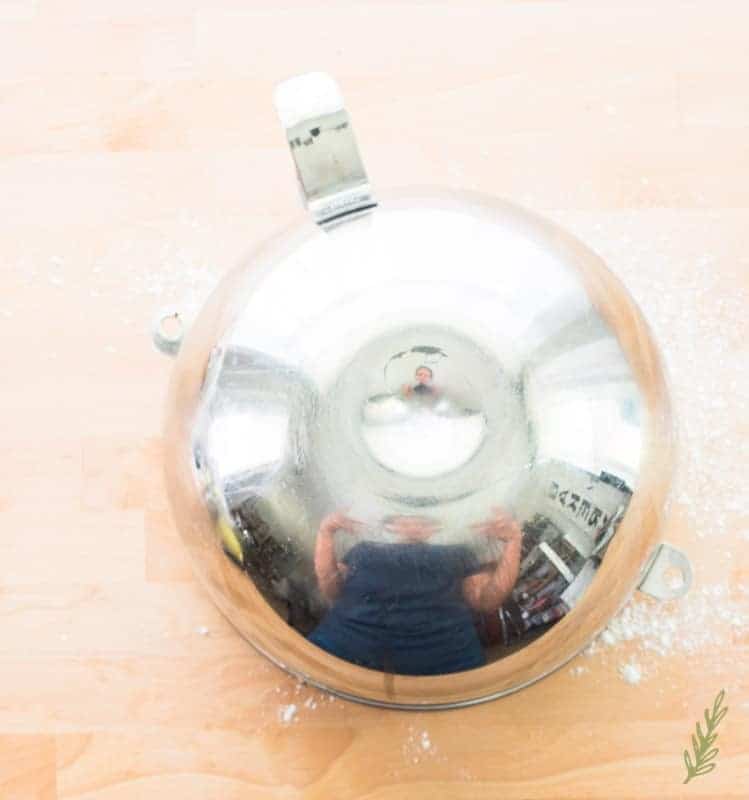
One you’ve done that, invert the mixing bowl over the dough and allow it to relax for five minutes. While you wait, make dumb faces in the bowl and take pictures to post on your Instagram.
Scaling the Dough
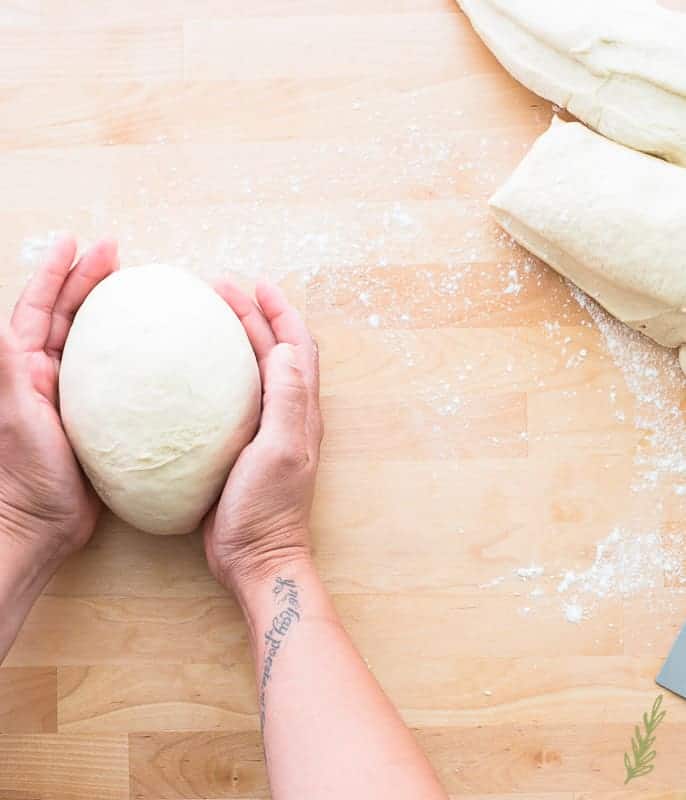
On to step four: scaling the dough. Typically, in a bakery, we would measure out the dough and be super accurate and what not, but…I don’t do that. I like to, what we call in the biz, “wing it”. Honestly, you can weigh it out- what you’re looking to get is equal amounts of dough per loaf. I just eyeball it and shape it into a ball.
Rounding the Dough
Rounding the dough is another step in the twelve-step process of making bread, but I don’t always hold too hard to it. It makes shaping the dough into its final form easier- or so my instructors said- but, to be honest, I feel like it’s just an added step. Because it was drilled into me that it is something we must do, I’m passing that pressure onto you. If you opt to give in, just use the sides of your cupped hands to rotate the dough into a smooth ball. Done!
Bench Proof
This is a difficult step. Cover the Pan Sobao dough with a kitchen or tea towel and let the dough sit on the countertop for ten minutes. PHEW! That was tough, no? After rounding, you need to let the gluten in the dough relax before attempting to shape the dough.
Makeup
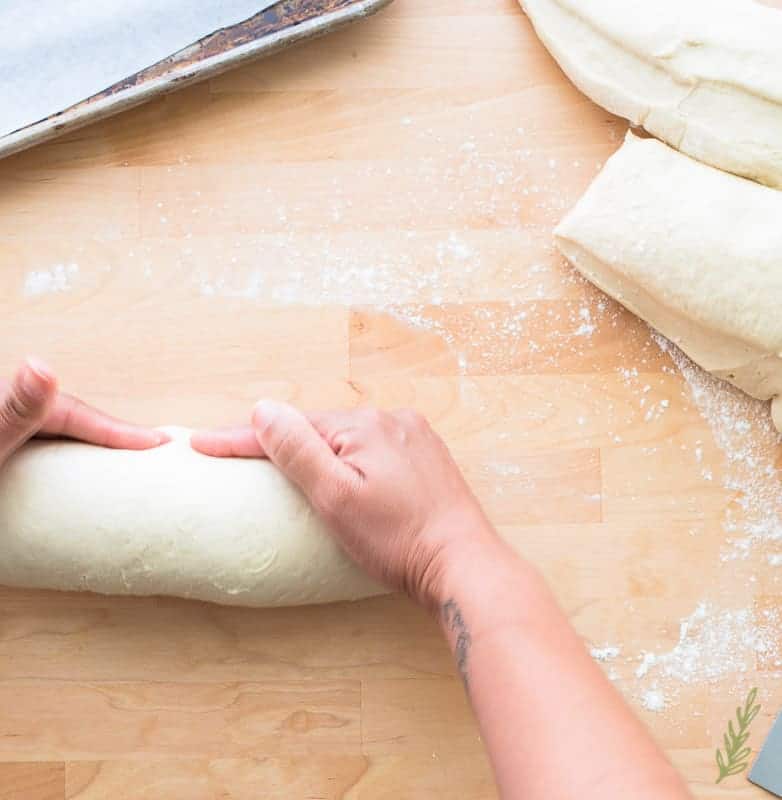
Push the ball of dough back and forth between the meaty part of the side of your hand and the countertop. This process of shaping the dough creates the final form for your bread. You’re going to form the ball into a log that has a smooth bottom and top. Once you have begun this shape, rolling it under your open palms will accomplish the final shape.
Panning
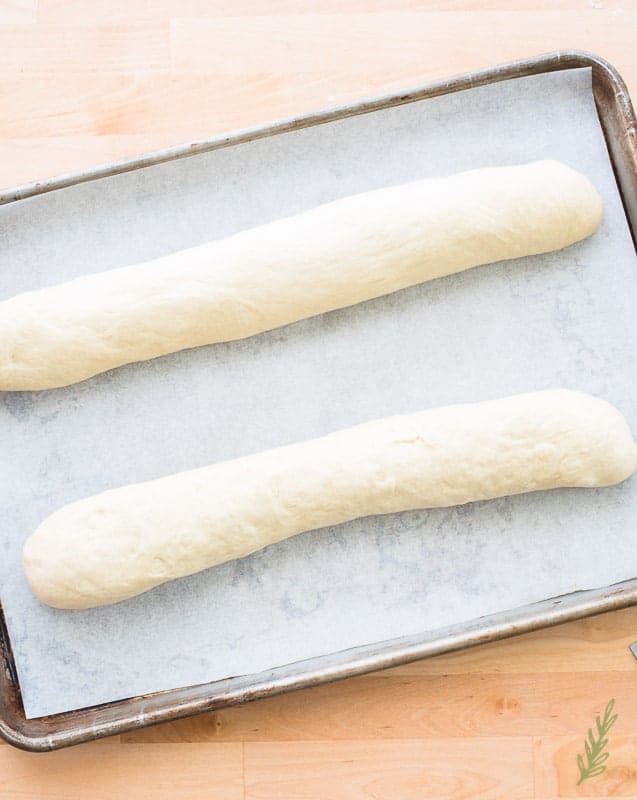
Panning is actually part of the previous step, but I gotta picture, so I’m using it. Plus, it’s such a short step it only qualifies as a half-step. After you’ve shaped the dough, put it onto a parchment-lined half sheet pan.
Proofing
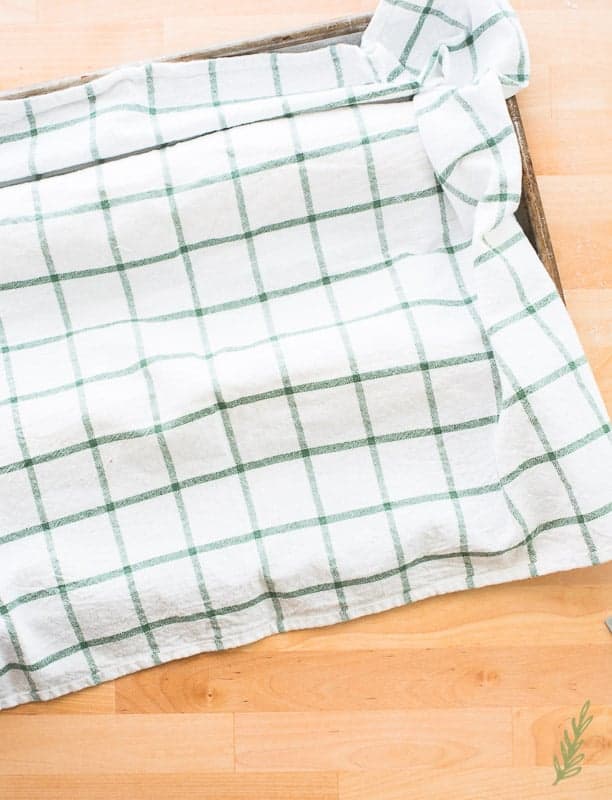
Proofing is the same thing as the bulk fermentation that you did earlier. The bread is no longer in its bulk form, so it’s no longer called “bulk fermentation”. This stage will take anywhere from thirty minutes to an hour. The best place for this, once again, is your unheated oven, but this time turn the oven light on. This, coupled with the dough being covered, will create a humid environment that is perfect for proofing. If your oven has a proof button, use that. I found out mine has one two days ago when the Soldier asked what it does. Had no clue it was even there.
Again you’re looking for loaves to double in size. The dough should also spring back slowly when you lightly touch the surface. If it bounces right back, it needs to proof longer. On the flip side, no spring back means it’s over proofed. You can still bake it, but it may not rise as well and may be dense.
One issue you may have is only having one oven. If that’s your situation, just proof the dough in the microwave again. If you happen to have a metal rack insert for your microwave, place the pan on that, and put a cup of hot water beneath it to create that humidity you need.
Creating a Steam-Injected Oven Gives Pan Sobao its Soft Crust
While your dough is proofing, begin heating your oven. Since you want a softer, not crunchy, crust, you’re not going to bake at as a high temp as you would with most breads. Instead, preheat the oven to four hundred degrees. As soon as you turn the oven on place a cast iron skillet into the oven as well. Put this skillet on a higher or lower rack, leaving an empty rack in the middle of the oven.
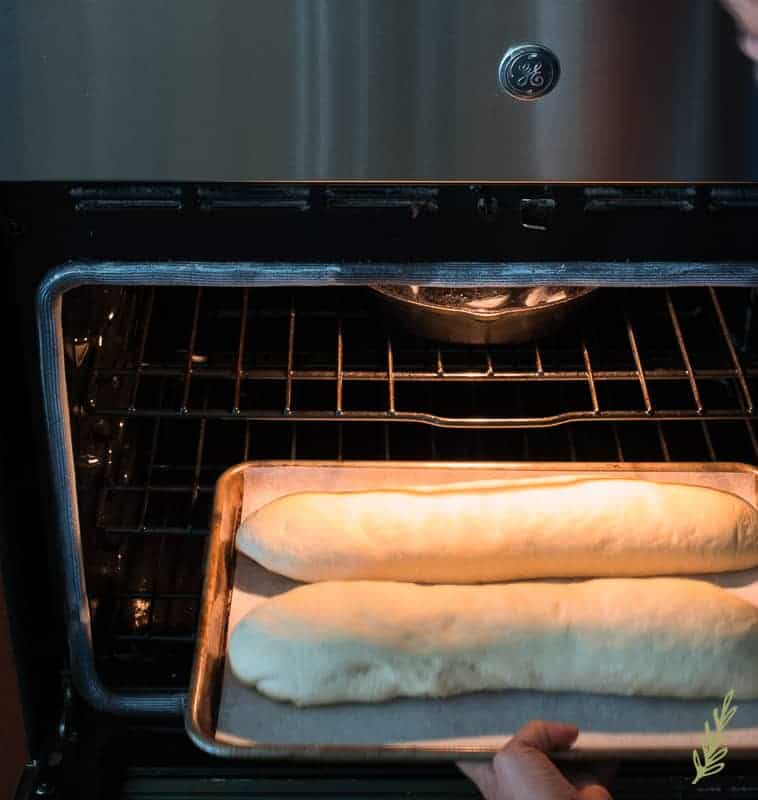
By the time your bread has finished proofing, your oven should be hot, and the skillet should be screaming hot as well. As soon as the bread is done proofing, carefully, add two cups of ice to the cast iron skillet. Shut the door quickly to prevent too much steam from escaping and allow the steam in the oven to build up for five minutes. Quickly put the pan of proofed dough on to the empty oven rack and bake for twenty to twenty-five minutes, or until the bread is golden brown and sounds hollow when tapped.
SNIFF
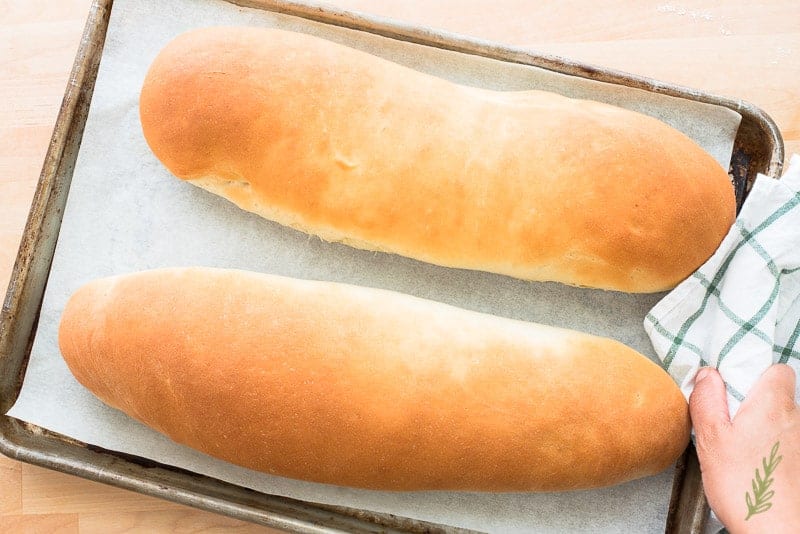
Once the Pan Sobao has finished baking remove it from the oven and allow it to cool for five minutes. Remove it from the pan and set the loaves on a cooling rack. This allows the Pan Sobao to cool without steaming. If you leave it to cool on the pan, the bottom will get soggy and depressing. Once cool, you can either wrap it in plastic wrap and place it into a bread bag to freeze, or…
Slice and Enjoy Your Pan Sobao!
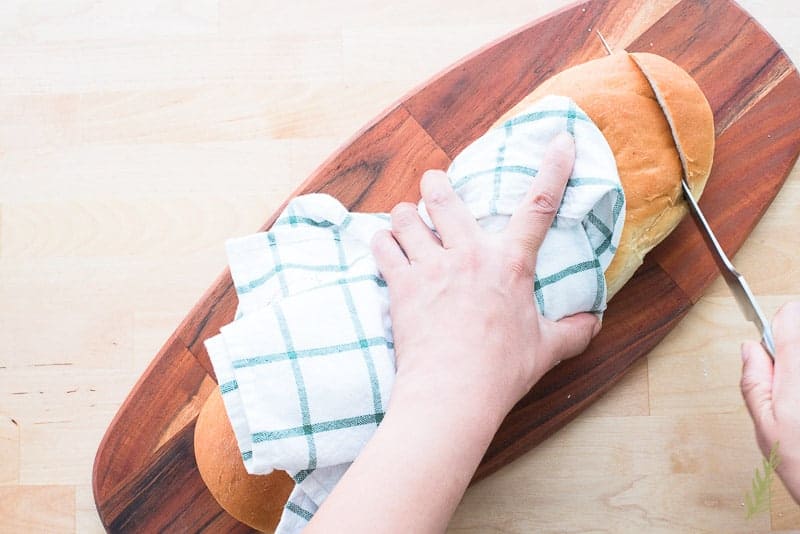
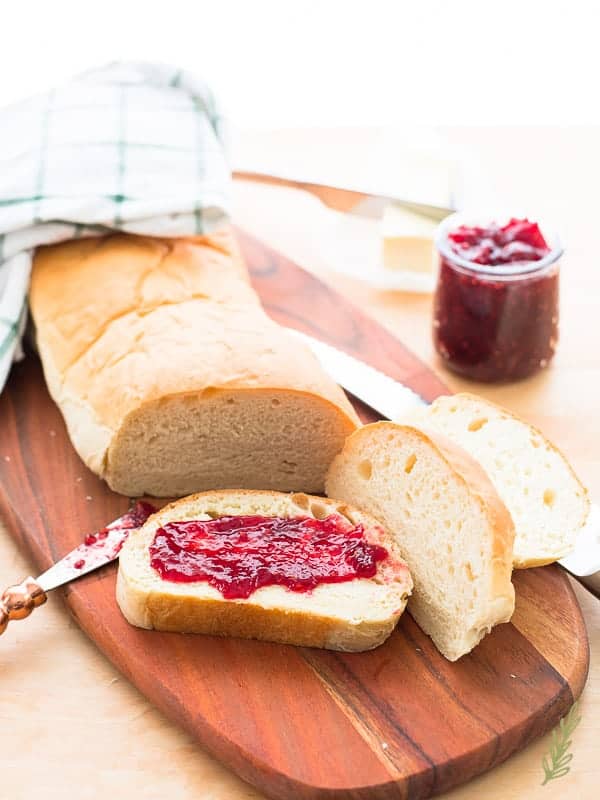
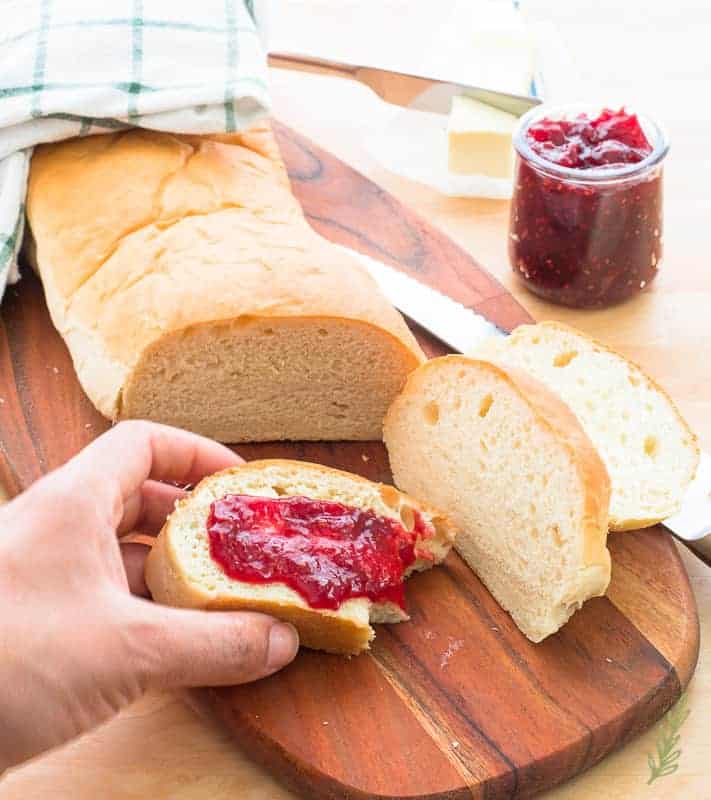
…using a serrated bread knife, cut the bread into slices. I enjoy pan sobao with a cup of coffee, toasted with butter. You may enjoy your bread however your precious heart desires.
Since apple season is nigh upon us, this Apple-Pear Butter would be a perfect slathering partner. A spot of jam and butter would work well, too. Whatever you decide to do with this Pan Sobao, make sure you do it in two or three days. Even stored in a plastic bread bag or bread box, this will begin to stale after a day or two. You can easily transform stale Pan Sobao into french toast or croutons if it does come to that.
Pin this Pan Sobao recipe for baking later and share with your friends.
Pan Sobao
at Sense & EdibilityIngredients
Poolish (Sponge)
- 2 tablespoons warm water
- 2 tablespoons (16g) bread flour
- 1/8 teaspoons (1g) active dry yeast
Bread Dough
- 1 1/2 cups (350ml) warm water divided
- 3 tablespoons (37g) granulated sugar* see note
- 4 1/2 teaspoons (15g) active dry yeast (2 pkgs)
- 1/4 cup (51g) lard (or shortening)
- poolish
- 4 1/2-5 cups (615-680g) bread flour
- 1 1/2 teaspoons (8g) kosher salt
Instructions
Make the Poolish
- Make the poolish in a small mixing bowl by stirring together the bread flour, water, and yeast. Cover the bowl with plastic wrap, and allow this to sit at room temperature for eight hours. After eight hours, transfer it to the fridge for an additional twenty-four hours (or until ready to make your bread). Do not allow to ferment longer than 24 hours.
Make the Bread Dough
- An hour prior to mixing the bread dough, remove the poolish from the refrigerator and allow it to come to room temperature.
- In the bowl of a stand mixer, stir together 3 tbsp of the warm water, the sugar, and the yeast. Allow the yeast to bloom for five minutes.
- Add the fat and the room temperature poolish to the mix, followed by the rest of the warm water. Mix on medium speed for 2 minutes, or until combined, using the paddle attachment.
- With the mixer running on its lowest speed, gradually add 3 cups of flour to the mixture, followed by the salt. Once the mixture looks like a thick batter, change from the paddle attachment to the dough hook.
- With the mixer on low, gradually add the remaining flour to the bowl. Depending on your elevation and how humid the day is, you may use more or less flour than this recipe calls for. Allow the mixer to knead the dough for ten minutes. The dough will pull away from the sides of the bowl and begin climbing up the hook. The dough should be elastic and soft, but not sticky.
Ferment the Dough
- Remove the dough from the mixing bowl, lightly oil the bowl with a small amount of vegetable oil, and put the dough back into the bowl. Turn the dough over so the oiled surface is on top, then cover bowl with plastic film.
Place the bowl into an in an unheated oven, or in a microwave. Allow the bread to ferment for one hour or until it's doubled in size with the door closed.
Shape the Dough
- Punch down the dough after the fermentation time has elapsed to dispel the carbon dioxide that has developed in the dough. Fold the dough over itself, 3 or 4 times, to distribute the yeast and regulate the temperature of the dough. Invert the mixing bowl over the dough and allow it to relax for five minutes.
- Divide the ball of dough into two equal pieces. Use the sides of your cupped handsto rotate the dough into a smooth ball. Cover the dough with a kitchen or tea towel and allow the dough sit on the countertop for 10 minutes.
- Shape the dough into 12" logs by pushing the ball of dough back and forth between the fleshy parts of your hand and the countertop. After you've shaped the dough, put it onto a parchment-lined half sheet pan.Place the pan into your unheated oven, but this time turn the oven light on. Proof for 30 min- 1 hour, or until doubled in size. The dough should spring back slowly when you lightly touch its surface.
Bake
- While your dough is proofing, preheat your oven to 400°F. Place a cast iron skillet into the oven at the same time, placing it above, or beneath, an empty rack.
- Once the bread is done proofing, carefully, add two cups of ice to the cast iron skillet that's in the oven. Shut the door quickly to prevent too much steam from escaping and allow the steam in the oven to build up for five minutes. Quickly put the pan of proofed dough onto the empty oven rack and bake for 15-20 minutes, or until the bread is golden brown and sounds hollow when tapped.
- Once the bread has finished baking remove it from the oven and allow it to cool for five minutes. Remove it from the pan and set the loaves on a cooling rack to cool completely. Enjoy immediately or store* for later.
Notes
- Wrap individual loaves in plastic wrap and place into bread bags to freeze.
- Pan Sobao freezes well for two months.




Good morning, I had followed the “pan sobao recipe” and everything went so perfect, the bread is tasty and spongy. Lobe your receipt, is the best one that I had found and recommend it to my bread makers friends, from PR here in Maryland, now we don’tsuffer anymore for the pan sobao. Thank you a lot for sharing this amazing recipe.
Good morning, I just did your “pan sobao recipe” and fallen in love with it. I also doesn’t like too much the sweetened pan sobao. I believed that your recipe is the best. I had been trying to find a really nice pan sobao recipe, failing most of the time. I almost give up, until I tried yours. The poolish, is the essential ingredient in this bread, that I didn’t saw it in the previous ones. I’m glad I found you and your receipt, thank you, it’s delicious.
I’m so glad you liked it Lydenisse (your name is beautiful, BTW). I worked so hard on that Pan Sobao recipe to get it to taste just like the bread we’d get from the local panaderia so it make me feel so good to know others enjoy it. Have a great holiday season!