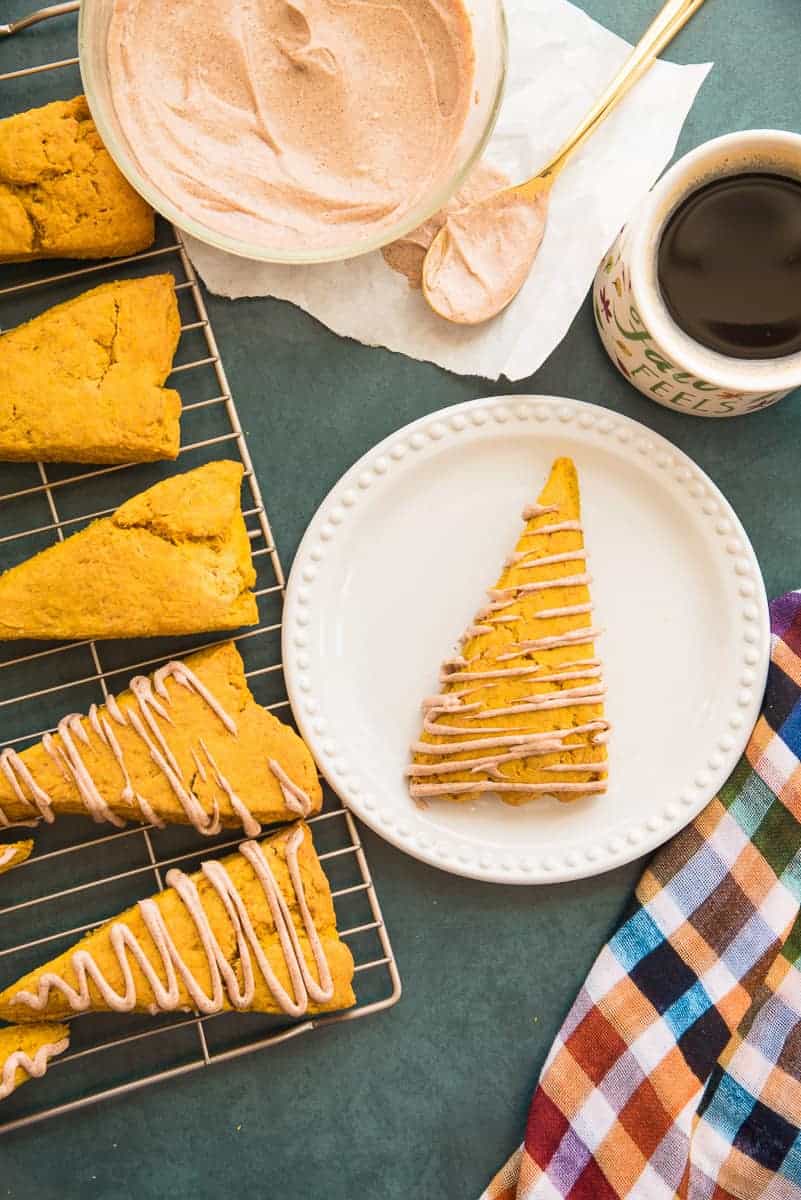
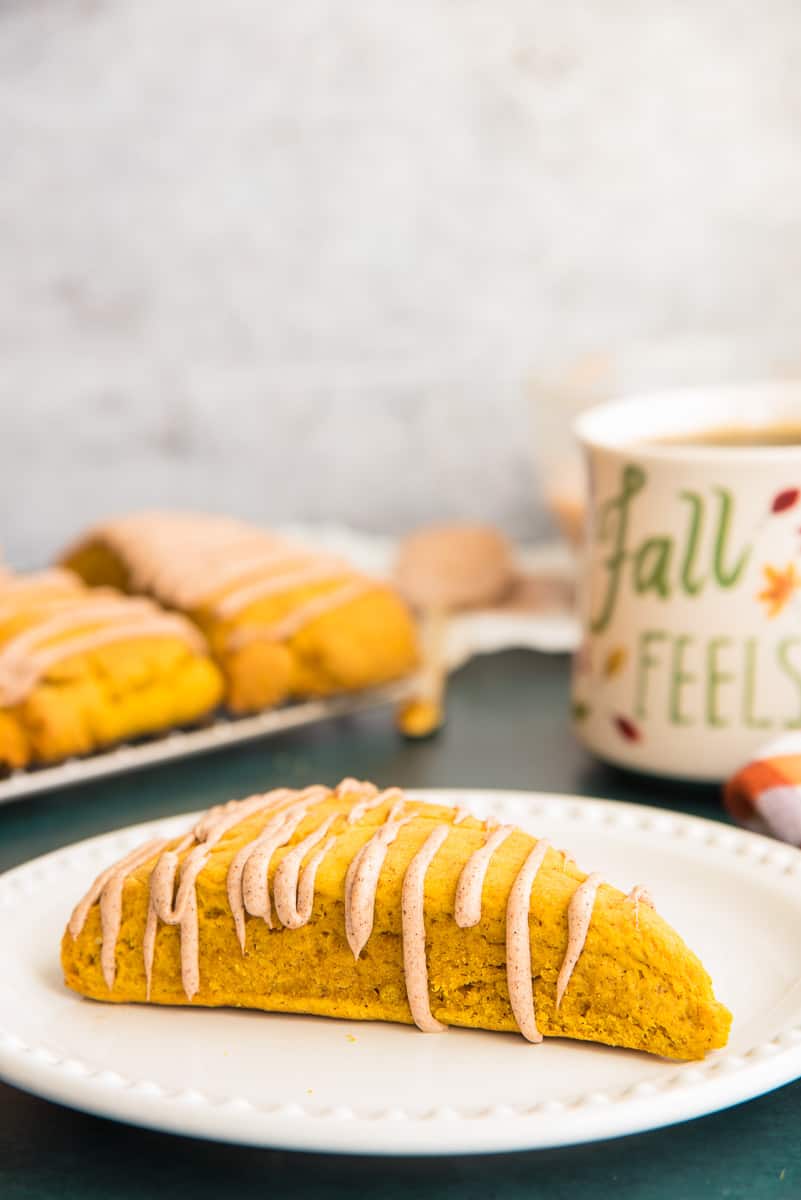
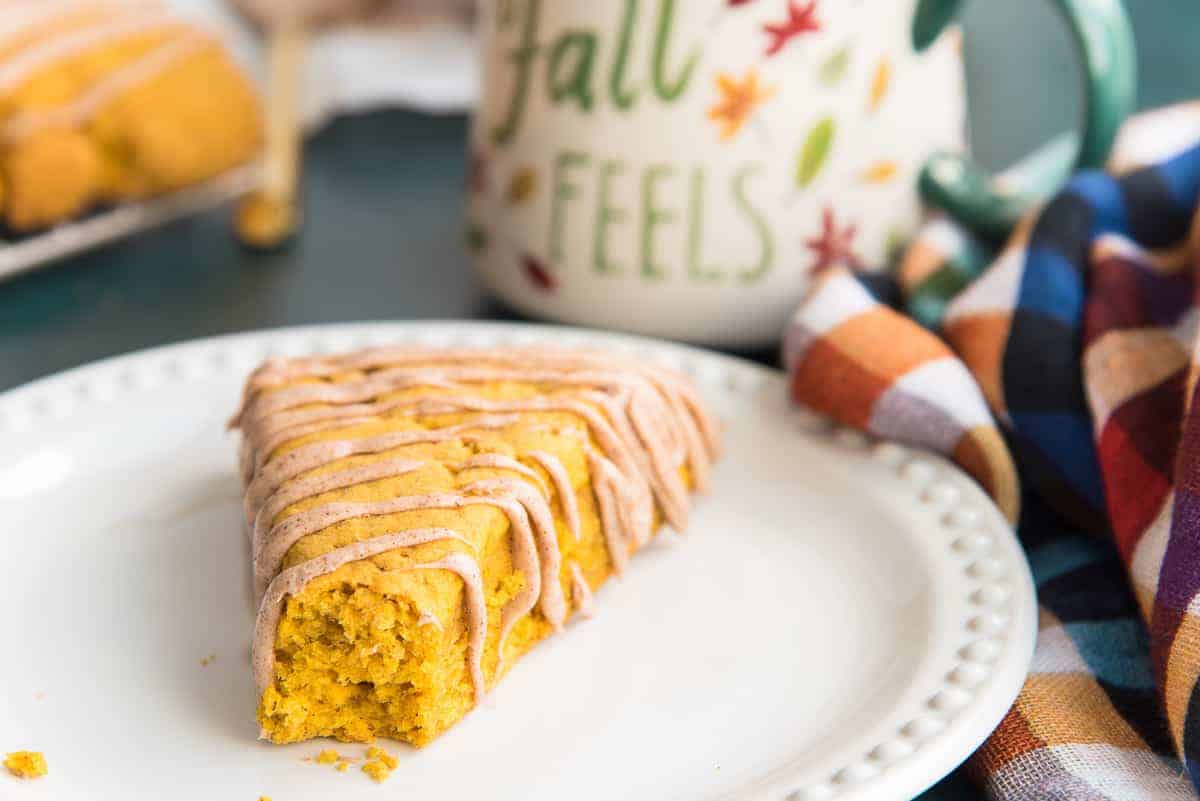
‘Tis the season for all things Pumpkin! Scones are one of my favorite breakfast breads. These Pumpkin Scones with Maple Cinnamon Cream Cheese Glaze are high on my “Must Eat in Autumn Recipes” list. Because they are packed with pure pumpkin puree and tons of warm spices, it just feels right. Not only that, but the sweet and tart balance of the Maple Cinnamon Cream Cheese Glaze adds an element of sweetness to the scones that is addictive. If you’re not into sweets, skip the glaze altogether. These scones are perfect on their own.
This post was originally published in November 2017. I’ve updated it to eliminate a bunch of chit-chat and added new, improved images and instructions. I’ve also removed the white chocolate chips that were included in the original recipe. As a result, I’ve had to change the URL and title.
What are Scones?
Scones fall somewhere between bread and a pastry. They’re more crumbly and lighter than bread but are more sturdy and bready than most pastries.
More specifically, scones are a quickbread. Chemical leaveners, like baking powder or soda, instead of yeast, give scones their rise. Scones also contain more liquid than bread doughs, which helps them develop the gluten we want in the dough.
What’s the difference between a biscuit and a scone?
Though there’s a very fine line between a biscuit and a scone, there are some differences.
Muffins, biscuits, and soda bread are all types of quickbreads. In fact, the method used to mix these pumpkin scones is called the biscuit method, but they’re not a biscuit. Usually, biscuits only contain flour, a chemical leavener, salt, fat, and a small quantity of milk (or cream). On the other hand, scones have more liquid and eggs added to their dough.
As a result of their respective makeups, biscuits tend to be lighter and fluffier than scones. That doesn’t mean that your scone should be brick-like, however. This post will help you achieve a batch of flaky, butter, pumpkin-y (not a word) scones.
What do I need to make Pumpkin Scones?
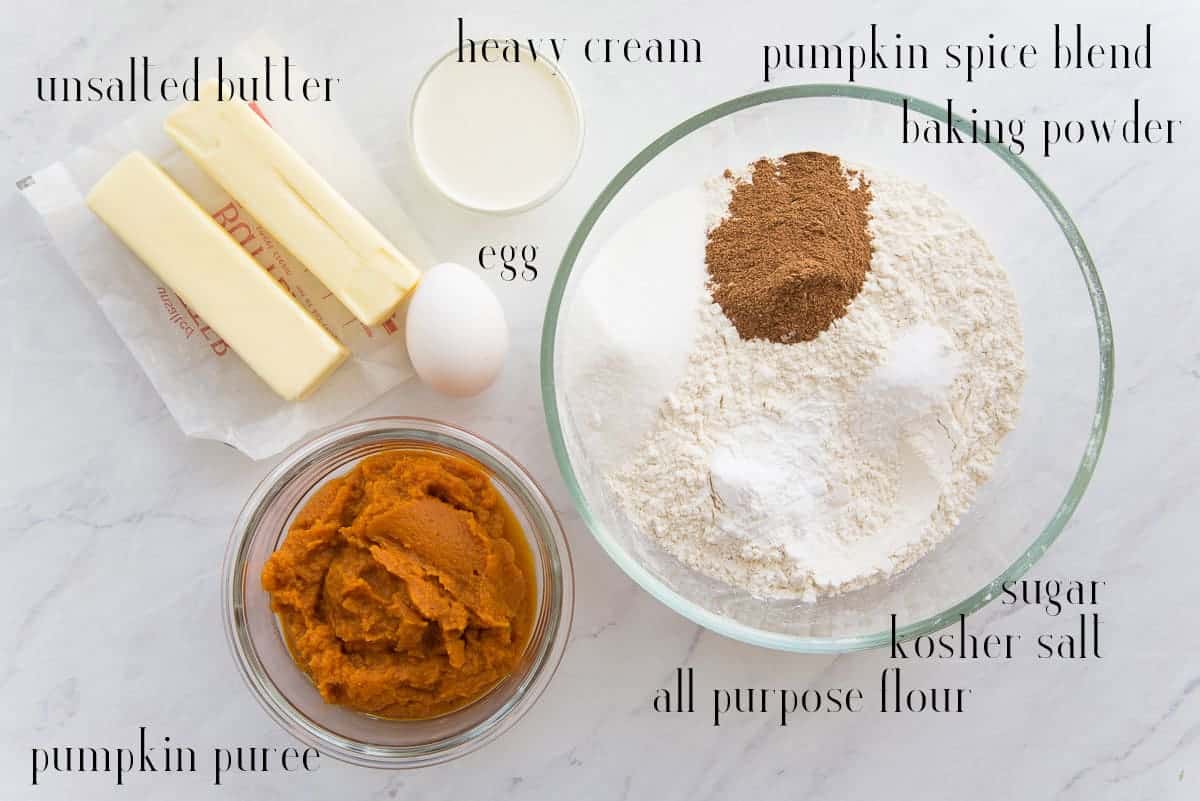
You need pumpkin puree, unsalted butter, heavy cream, a large egg, Pumpkin Spice Blend, baking powder, sugar, kosher salt, and all-purpose flour for this recipe.
Now, if you want a sweeter scone, you can increase the amount of sugar by 2 tablespoons. I prefer a scone that is only a tad sweeter than a biscuit. You can also increase the pumpkin spice blend if you really want a warm, spicy scone.
Mixing bowls, sheet pans, a silicone baking mat (or parchment paper) is what you need to finish this. And your hands. And an oven. Oh, and a cooling rack. Coffee. But not really. I just threw that one in there. Later we’ll get to the Maple Cinnamon Cream Cheese Glaze.
Can I use canned pumpkin for these scones?
I prefer to use Pureed Pumpkin made at home from a Pie Pumpkin. But I’m also pragmatic. I know that canned pumpkin is more accessible and user-friendly.
If you opt to use canned pumpkin puree, you’ll have some leftover because this doesn’t use a full can. You can mix the remaining pumpkin into your morning smoothie, a bowl of oats, or freeze it for a different recipe, like this Pumpkin Cheesecake.
How far ahead can I make the dough for scones?
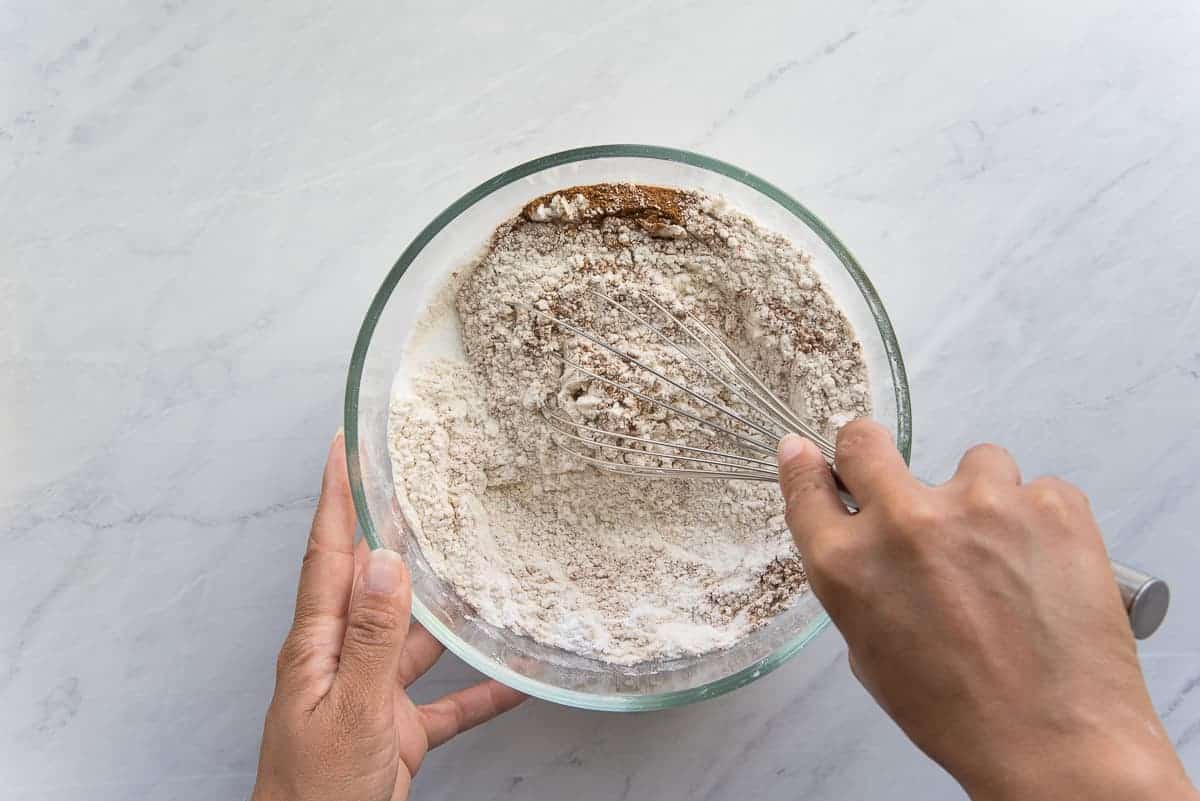
Begin by combining the all-purpose flour, sugar, salt, baking powder, and pumpkin spice with a whisk. Use a large mixing bowl to do this since you will finish the recipe in this same bowl. Set this bowl to the side for now.
If you’re into making ahead and freezing, you can start this dough 3 months ahead. If you plan to bake it right away, begin mixing the dough 40 minutes before you plan to bake it. The dough needs to chill in the fridge and set up for at least 30 minutes.
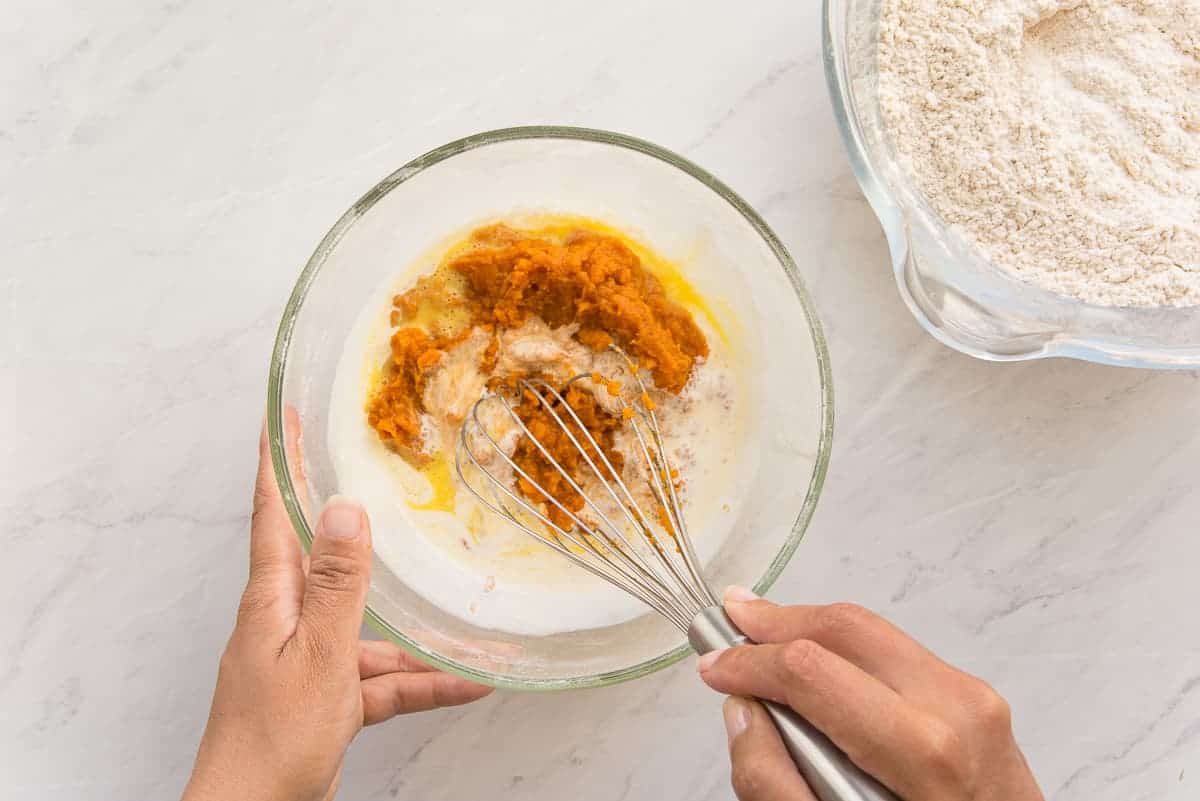
In a separate mixing bowl, combine the pumpkin puree, heavy cream, and the lightly beaten egg until the mixture has a smooth, thick batter-like consistency.
How do I keep my pumpkin scones from being tough?
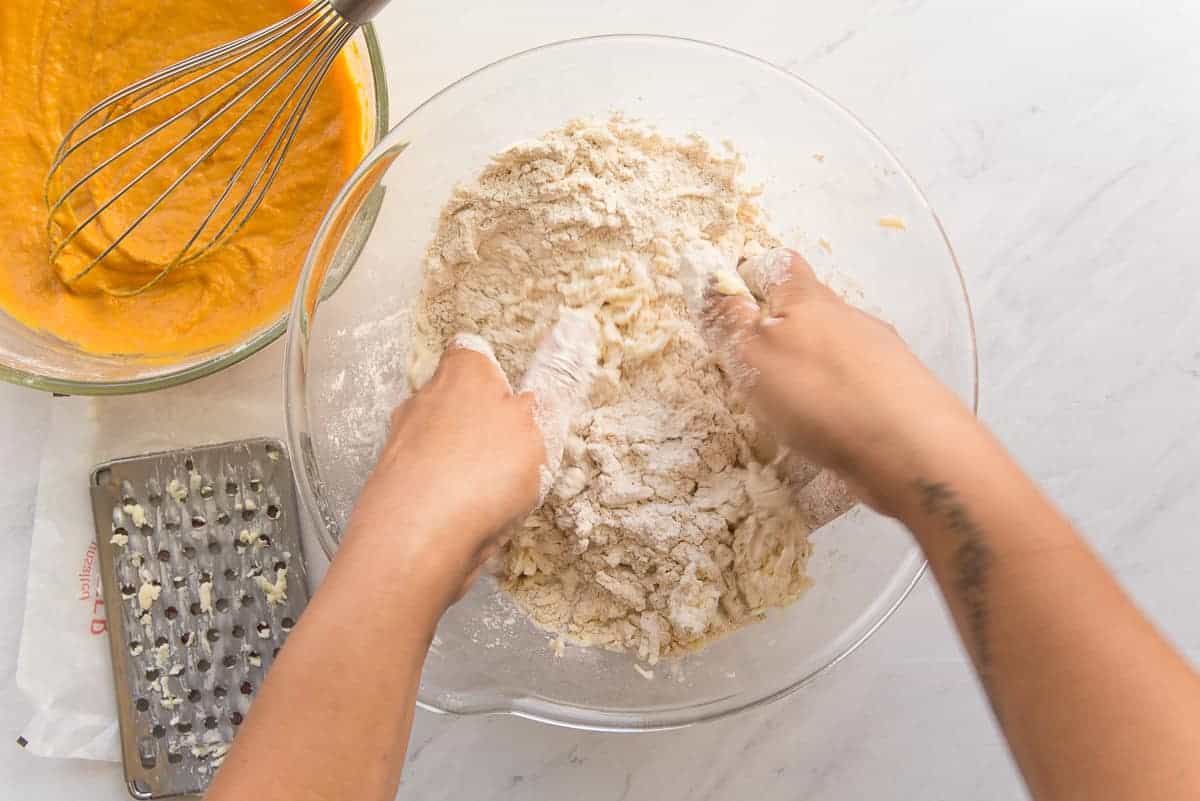
Shred the very cold unsalted butter into the bowl with the dry ingredients. Use your hands or a pastry cutter to cut the fat into the flour until the mixture resembles a coarse meal.
The important thing to remember when using this Biscuit Method of mixing is to work with very cold ingredients (the butter, egg, and cream). It’s also important to minimize the over-handling of the dough. This avoids developing too much gluten in the dough. Gluten development is what makes things like muffins, biscuits, and cakes tough. Overmixing also causes elongated holes to form in the dough, called tunneling, which is another reason why your scones could be too tough. As such, you want to minimize handling of the dough to only what’s necessary.
Add the pumpkin mixture to the flour and butter mixture in the larger bowl.
Why is the dough so sticky?
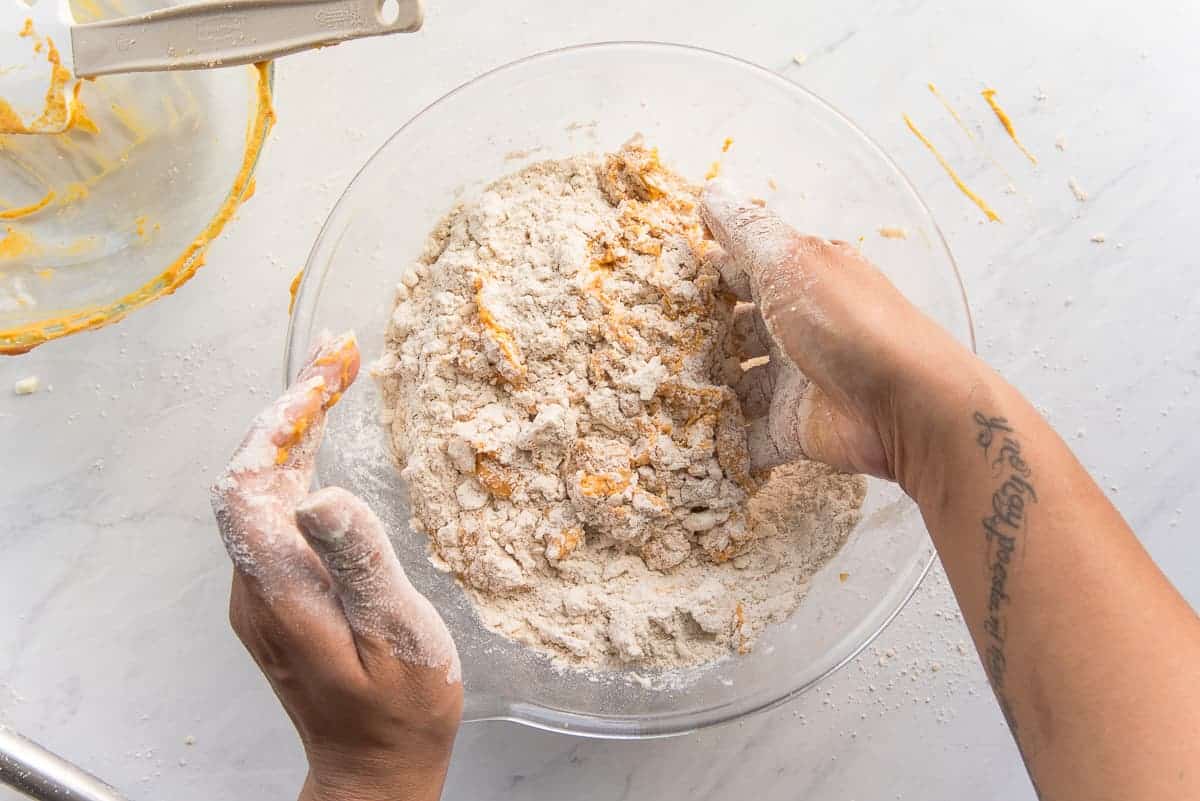
Use your hands to gently knead these two mixtures together until a soft, sticky dough forms. At this point, your scone dough will be very tacky and will stick to your hands. This is because of the ratio of liquid to flour.
Once there is no more loose flour at the bottom of the mixing bowl, turn the dough over itself 6 to 7 times. This kneading develops the gluten slightly and will firm up the dough.
How long do I chill the dough before rolling it out?
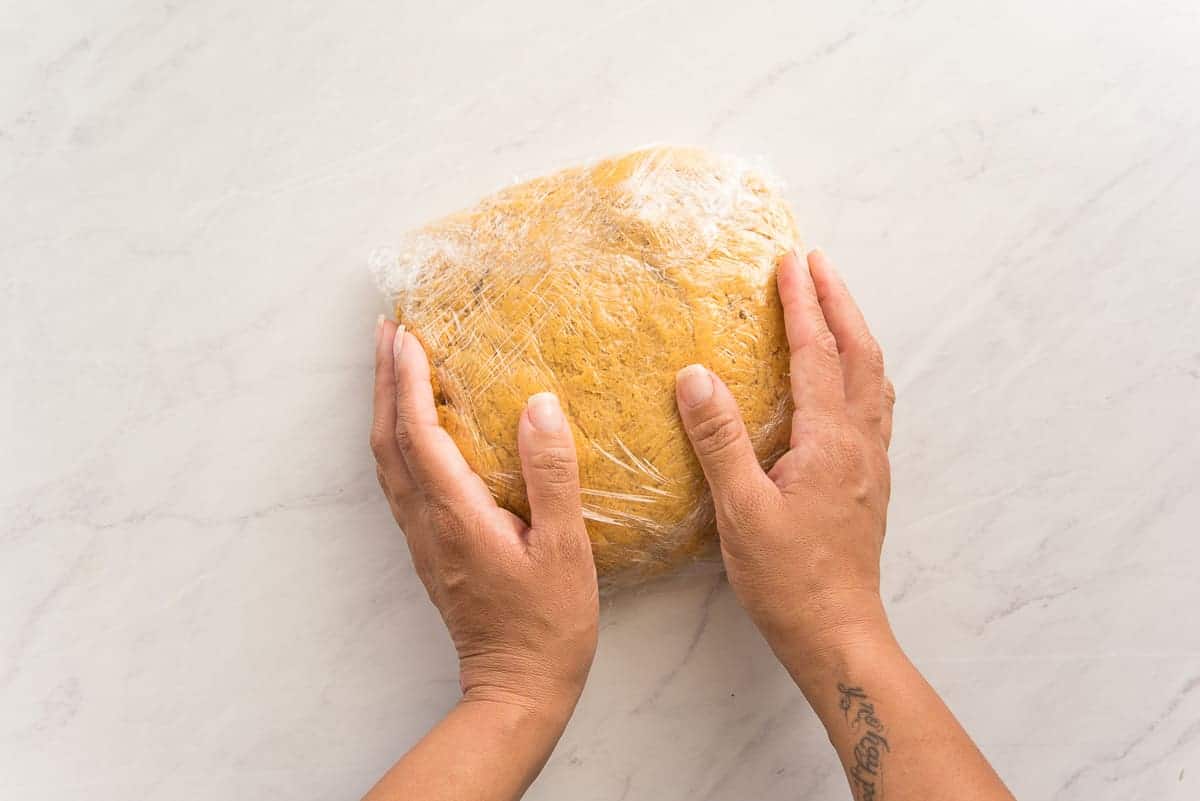
Use your hands to form the dough into a 6-inch disc. Wrap the dough in a double layer of plastic film and chill the dough for at least 30 minutes before proceeding with the recipe. You can chill it for up to 2 days, but it has to chill for a minimum of 30 minutes.
It is important to chill the dough for this length of time to give the gluten a chance to relax. It also helps firm up the butter in the dough, which makes it less frustrating to handle. At this point, you can freeze the wrapped dough for 3 months or proceed after the 30-minute chill session.
What is the proper shape of a scone?
I’ve actually gotten into debates about the proper shape of a scone with my Aussie and UK friends. They insist a “proper” scone is round. The proper shape of a scone is the shape that requires the least amount of re-rolling. Circles, ain’t it, homie.
Circles leave you with scraps of dough. If you have a good head on your shoulders, you won’t want to waste the scraps, so you push them together and re-roll them. In the process of doing that, you’ve just ruined your work in not developing gluten and making tough scones. But you’ve got round scones! Whoop-de-doo!
Cutting your scones into triangles or squares is more rational than circles.
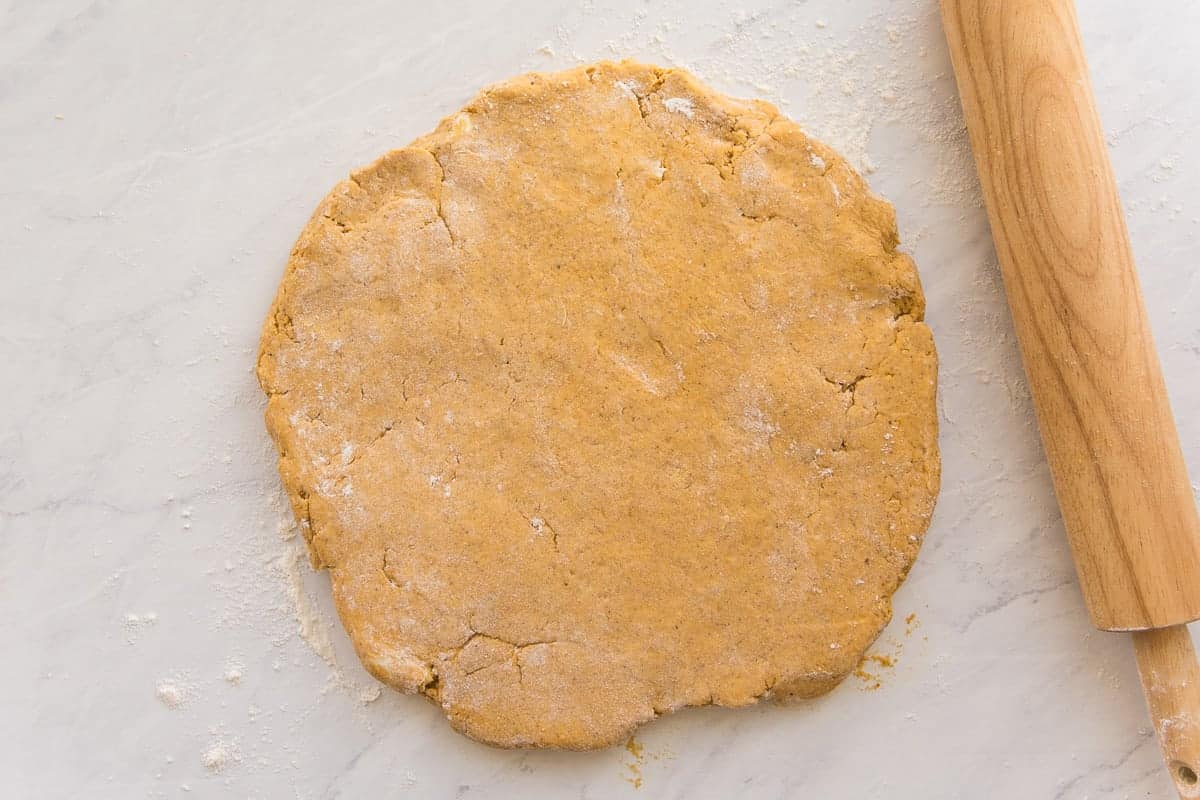
Roll the chilled disc of dough into a 10-inch circle. The dough will be roughly 1/2-3/4-inch thick.
Can I freeze unbaked scone dough?
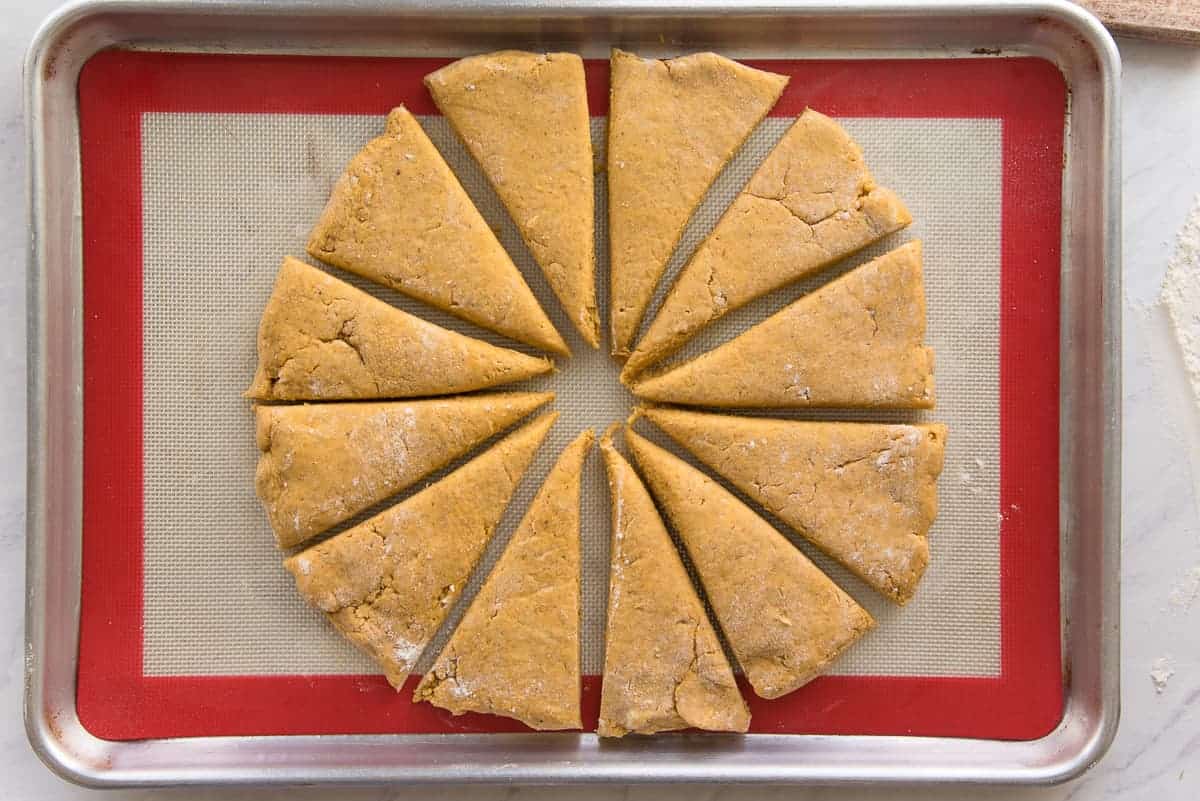
Use a bench scraper or a very sharp knife to cut the disc into 12 wedges. Cut straight down and up to avoid sealing the layers of fat and dough you made when you kneaded the dough initially. That’s how you ensure your pumpkin scones rise to their highest potential.
Now that the dough is cut into the shapes you will bake, you can lay them on a sheet pan. At this point, you can cover the unbaked dough lightly in plastic wrap and freeze them. I prefer to do this when I know busy weeks are ahead. When you freeze them individually like this, you can bake them off in onesies and twosies instead of in a full batch.
Transfer the individual scones to a freezer-storage bag once they’re frozen solid. The scones can be frozen for up to 3 months. When you’re ready to bake them, you can do so while they’re frozen. Just arrange them on a lined baking sheet and bake at 350°F (177°C) for 25-30 minutes. That bake time is only for frozen scones, remember.
How long do I bake the pumpkin scones?
If you’re not freezing the unbaked dough, carefully arrange the cut dough on a silicone baking mat set in a half-sheet pan. I place the scones 1/4-inch apart so that when they bake, they can climb up one another. This is another trick to achieving height on your scones.
Bake them in an oven preheated to 400°F (204°C) for 20-25 minutes, or until puffed up and golden brown.
Once the scones are done baking, remove them from the oven and allow them to cool on the pan for 5 minutes.
What do I need to make the Maple Cinnamon Cream Cheese Glaze?
While the scones are in the oven, mix together the Maple Cinnamon Cream Cheese Glaze.
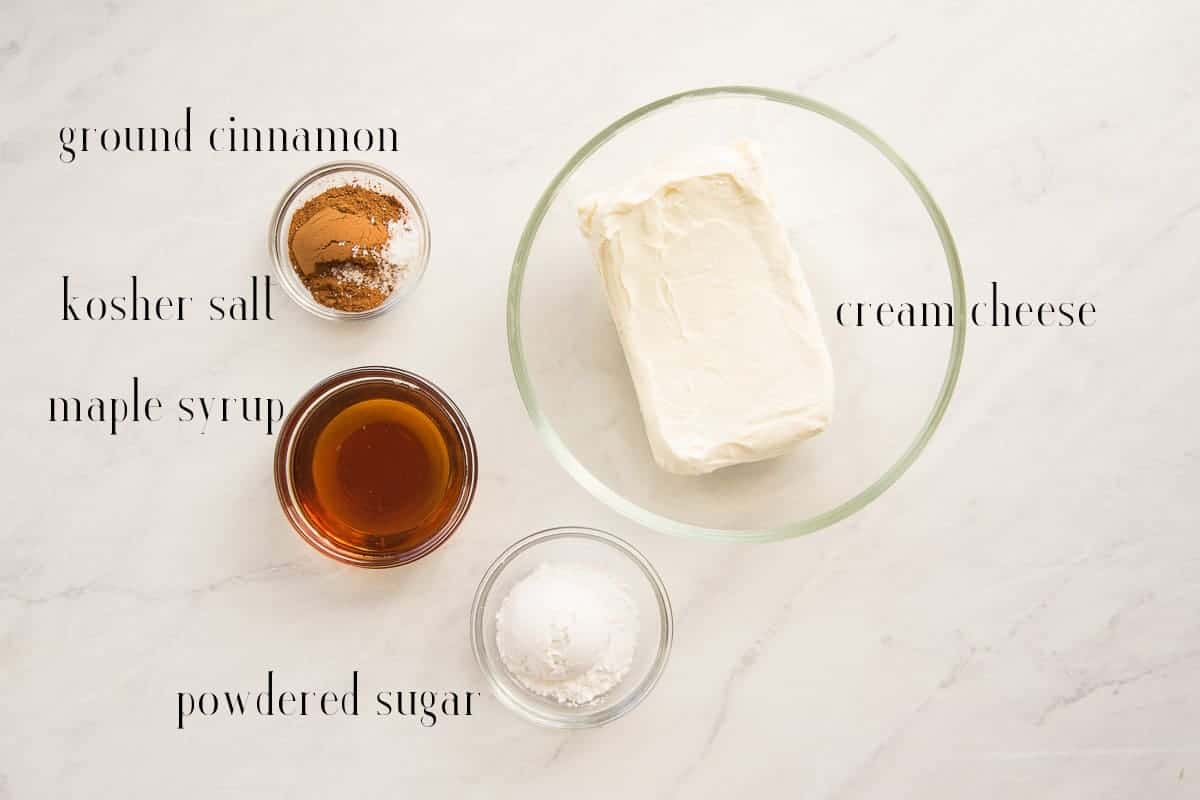
You will need a softened brick of cream cheese, maple syrup, ground cinnamon, a pinch of salt, and powdered sugar.
While you can make this glaze by hand, I highly recommend using a mixer.
Can I use imitation maple syrup?
As always, I’m not going to tell you what you have to do. But, you know how I feel about imitation anything. Imitation maple syrup is nothing but high fructose corn syrup and caramel coloring. Instead, splurge and buy a small bottle of pure maple syrup to make this. Because the flavor is so prominent, you want to have quality syrup coming through.
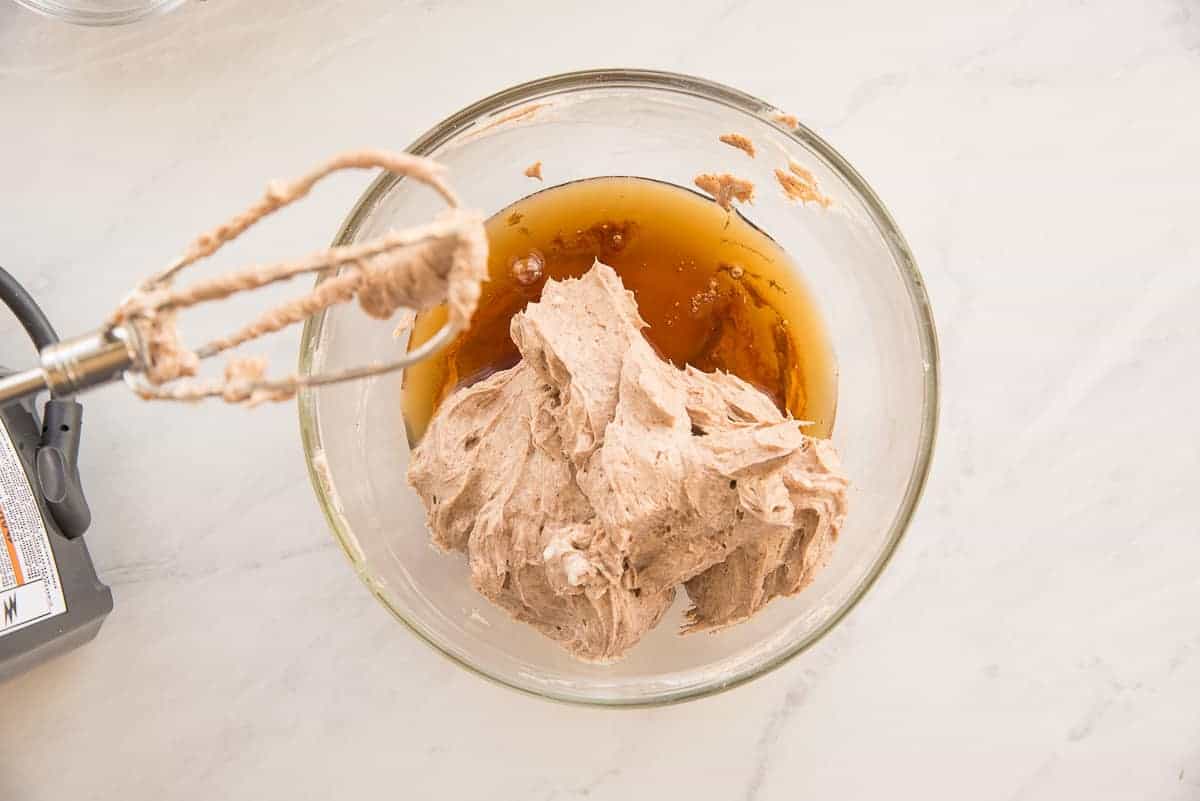
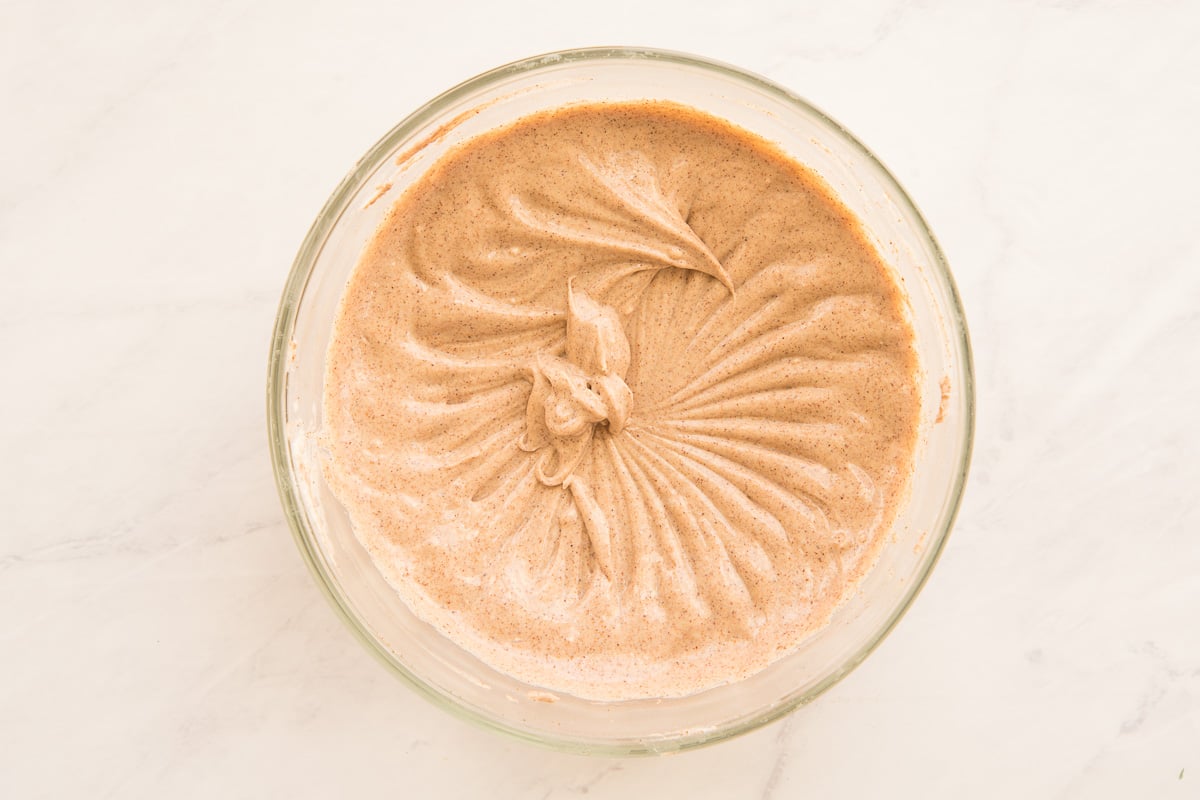
Use a hand mixer to whip the cream cheese, cinnamon, and powdered sugar until smooth and fluffy. Start with the mixer on low, so the powdered ingredients don’t baptize you, then increase the mixing speed to high. Once the cream cheese is smooth, add the maple syrup to the bowl. Blend at low speed until all of the ingredients are incorporated.
How far in advance can I make this glaze?
The maple cinnamon cream cheese glaze, when properly mixed, will hold the ribbons left by the beaters. This is how thick you want it, especially if you plan to glaze your pumpkin scones while they’re still warm. The residual heat from the scones will melt the glaze slightly, making it robe the scones perfectly.
If you want to make this glaze ahead, you can do so and store it in a food container for 1 week. You can also freeze the prepared glaze for 2 months. Just transfer it to a freezer bag and freeze.
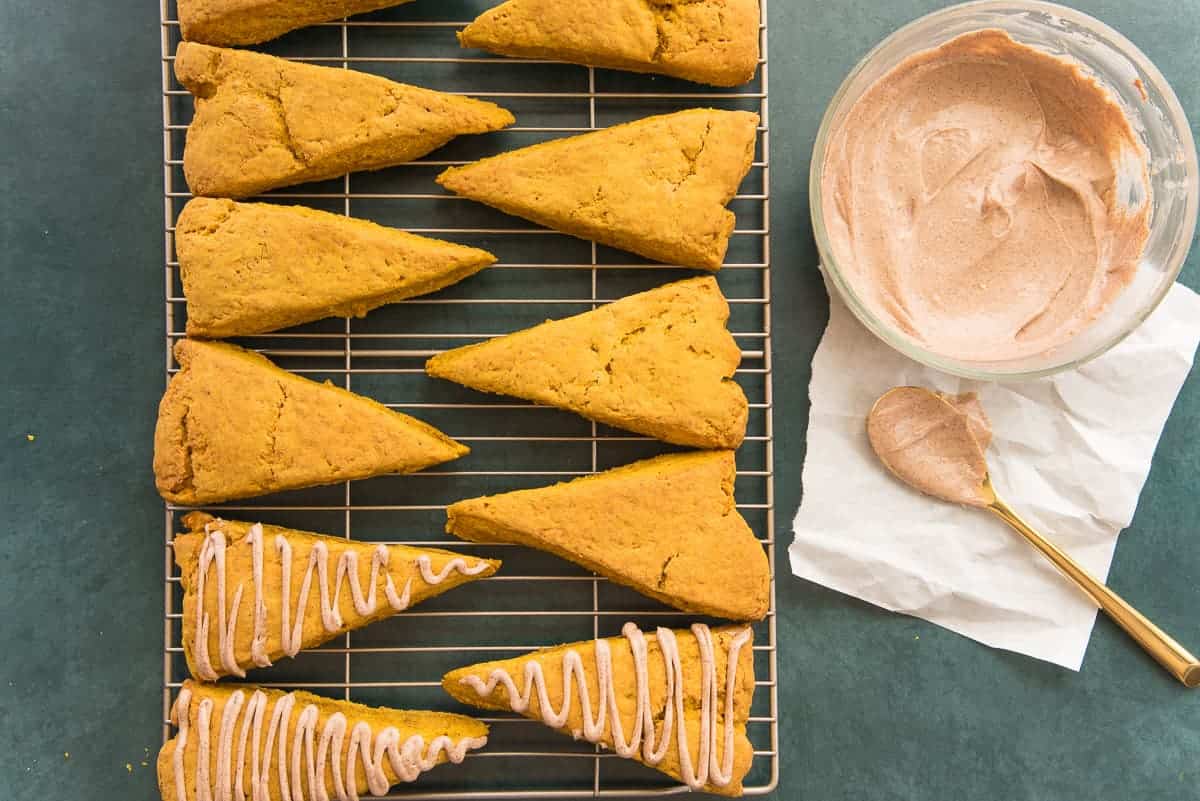
Once your pumpkin scones are done baking and have cooled on the pan for 5 minutes, transfer them to a cooling rack. You don’t allow the scones to cool on the pan because the heat has nowhere to go as the scones cool. This will cause moisture to build up under the scones and make their bottoms soggy. Which, ew.
Once slightly cooled, you can glaze the scones with as much of the maple cinnamon glaze as you want. The sooner you glaze them, the runnier the glaze will be on top. If you wait until they’re completely cool, as I did, your glaze will be more like a frosting.
Do I have to glaze the pumpkin scones?
Or don’t glaze them at all. If you skip out on glazing the scones, you’ll have more of a savory-ish scone. It won’t have the same sweetness as one that is glazed but will still taste divine.
Add as much glaze as you want. I do a light drizzle on mine, but the twins douse theirs in the glaze. It’s your scone, so you do you.
How do I serve them?
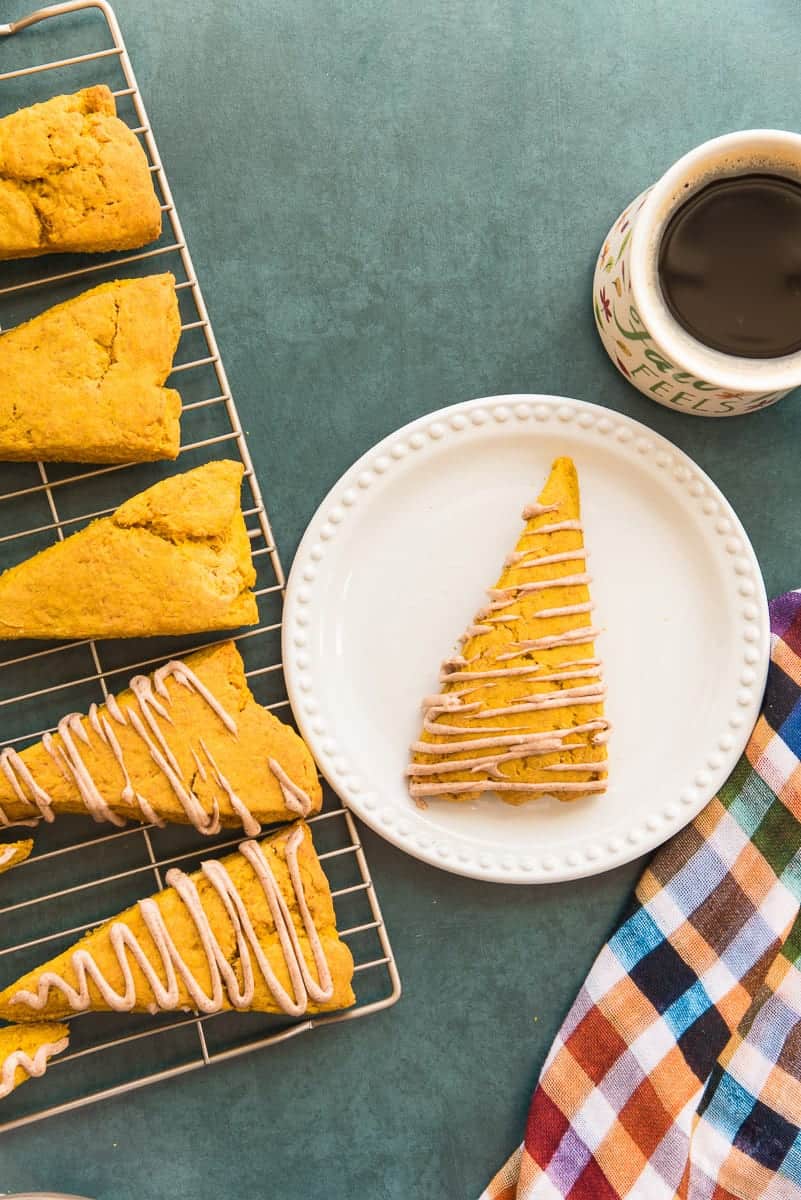
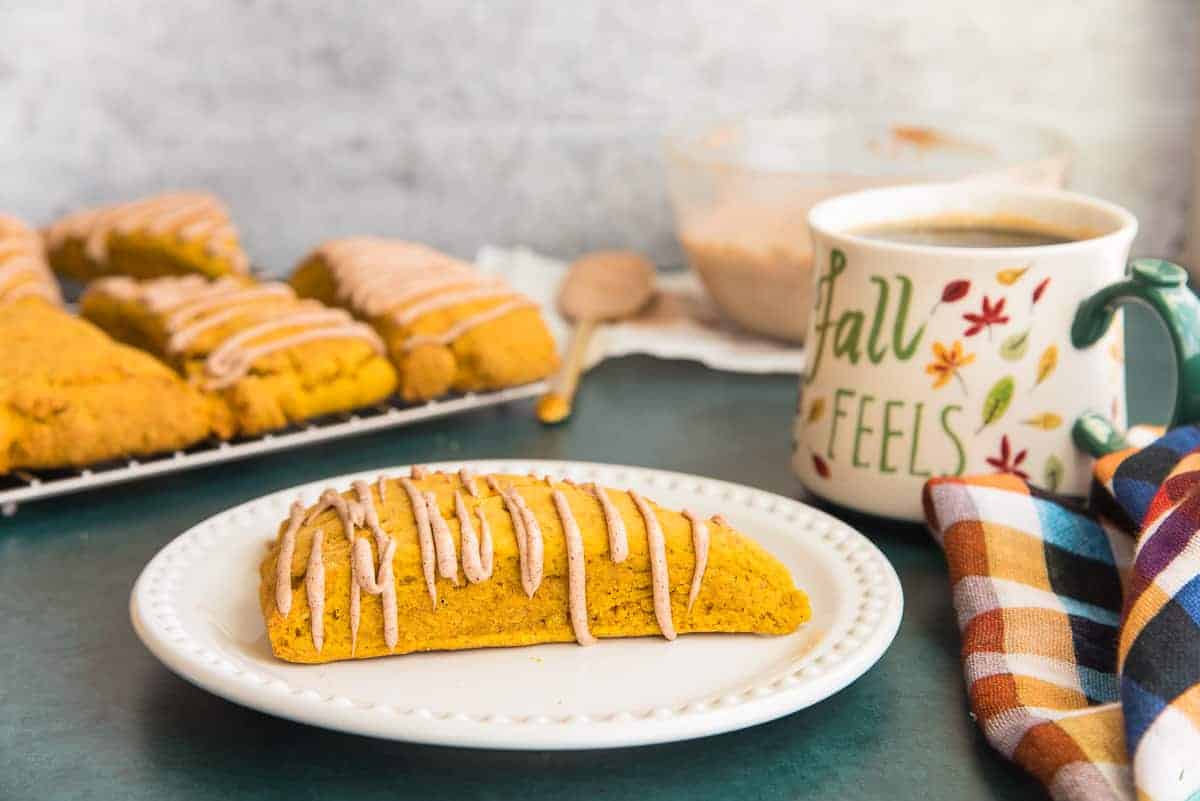
These pumpkin scones are great on their own with a mug of coffee or glass of milk. You can also serve them with crisp bacon and fresh fruit for a more complete meal.
If you cut them into 2-bite triangles, you can serve them with a larger breakfast. Just reduce their baking time to 15 minutes.
Yogurt is another good accompaniment, as are smoothies. It’s really up to you how much more you want to add to serve with your scones, but I tend to keep it really simple.
Are pumpkin scones only for breakfast?
Scones are great for brunches, and I’ve even eaten them for dessert, so no, they’re not just for breakfast. Many people who take high tea in the afternoon eat scones with it. I don’t see why we can’t do the same here.
Enjoy them whenever you want to. You’ve earned the right after baking them, after all.
How do I store leftover pumpkin scones?
Store leftover scones at room temperature for 2 days. Even with the glaze, they’ll be fine stored in a cool area of the kitchen. But, if you get skeeved out by storing the glaze at room temp, only glaze what you know you’ll eat in one sitting. Store the glaze in the fridge and keep the unglazed scones at room temp. Avoid storing them in the fridge because that cold air will make them stale faster.
If you want to freeze the scones after baking them, just pack them into a freezer storage bag and freeze for 2 months. To thaw them, just leave them out at room temp. A quick reheat in the microwave or toaster oven will give them that freshly-baked flavor.
Be sure to make a batch of these Pumpkin Scones with Maple Cinnamon Cream Cheese Glaze at least once this fall. Use those make-ahead and freezer tips to make them even easier than they already are. And don’t forget to share and pin this recipe, too.
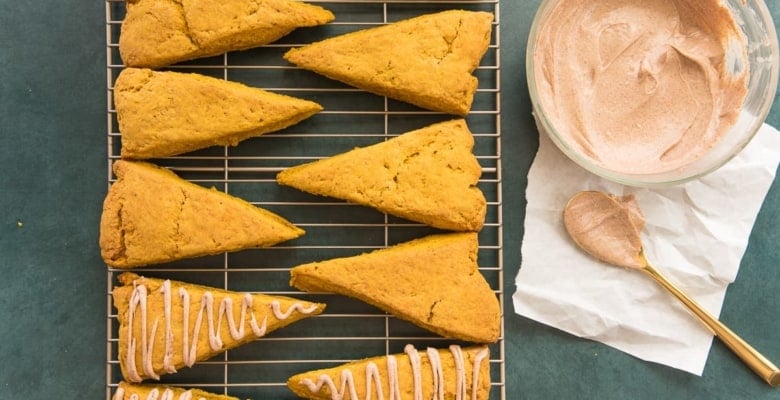
Pumpkin Scones with Maple Cinnamon Cream Cheese Glaze
at Sense & EdibilityEquipment
- electric hand mixer
- rolling pin
Ingredients
For the Pumpkin Scones
- 4 cups (500 grams) all-purpose flour
- 1/3 cup (67 grams) granulated sugar
- 1 tablespoon (15 grams) baking powder
- 1 tablespoon (10 grams) Pumpkin Spice Blend
- 1 1/2 teaspoons (9 grams) kosher salt
- 1 cup, packed (250 grams) canned pumpkin puree or homemade Pumpkin Puree
- 1/4 cup (60 milliliters) heavy whipping cream very cold
- 1 large egg lightly beaten
- 1 cup (2 sticks or 226 grams) unsalted butter very cold
For the Maple Cinnamon Cream Cheese Glaze
- 8 ounce package (226 grams) cream cheese softened
- 2 tablespoons (14 grams) powdered sugar sifted
- 1 1/2 teaspoons (3 grams) ground cinnamon
- pinch kosher salt optional
- 1/4 cup (60 milliliters) pure maple syrup
Instructions
Prepare the Pumpkin Scones Dough
- Begin by using a whisk to combine the all-purpose flour, sugar, baking powder, pumpkin spice blend and salt in a large mixing bowl. Set this bowl to the side.
- In a separate mixing bowl, combine the pumpkin puree, heavy cream, and the lightly beaten egg until the mixture has a smooth, thick batter-like consistency.
- Shred the butter into the bowl with the dry ingredients. Use your hands or a pastry cutter to cut the fat into the flour until the mixture resembles a coarse meal.
- Add the pumpkin mixture to the flour and butter mixture in the larger bowl. Use your hands to gently knead these two mixtures together until a soft, sticky dough forms. The scone dough will be very tacky and will stick to your hands.
- Once there is no more loose flour at the bottom of the mixing bowl, turn the dough over itself 6 to 7 times. Use your hands to form the dough into a 6-inch disc. Wrap the dough in a double layer of plastic film and chill the dough for at least 30 minutes before proceeding with the recipe.
Roll Out and Bake the Pumpkin Scones
- Preheat your oven to 400°F (204°C). Line a half sheetpan with a silicone baking mat or parchment paper.
- Roll the chilled disc of dough into a 10-inch circle. The dough will be roughly 1/2-3/4-inch thick. Use a bench scraper or a very sharp knife to cut the disc into 12 wedges.
- Lay the triangles of scone dough on the prepared sheet pan, placing the scones 1/4-inch apart so that when they bake, they can climb up one another.
- Bake the scones for 20-25 minutes, or until puffed up and golden brown. Once the scones are done baking, remove them from the oven and allow them to cool on the pan for 5 minutes.
Prepare the Maple Cinnamon Cream Cheese Glaze
- Using a hand mixer set to low speed, blend together the cream cheese, powdered sugar, cinnamon, and salt until smooth.Increase the mixer's speed to high and whip for 2-3 minutes, or until the glaze is light and fluffy.
- When properly mixed, the glaze will hold the ribbons left by the beaters. Set the glaze to the side until you're ready to glaze the scones.
Glaze the Pumpkin Scones
- Once your pumpkin scones are done baking and have cooled on the pan for 5 minutes, transfer them to a cooling rack. Once slightly cooled, you can glaze the scones with as much of the maple cinnamon glaze as you want. The sooner you glaze them, the runnier the glaze will be on top. If you wait until they're completely cool, the glaze will be more like a frosting.
Notes
Swaps and Substitutions:
- If you want a sweeter scone, increase the amount of sugar to 1/2 cup (100 grams).
- You can increase the pumpkin spice blend to 1 tablespoon + 1 teaspoon for a spicier scone.
- For mini pumpkin scones, cut the dough into 2-inch triangles. Bake at 400°F (204°C) for 15 minutes.
- Optional stir-ins:
- 1 cup chocolate chips (white, dark, semi-sweet, or milk)
- 1 cup dried cranberries
- 1/2-1 cup chopped nuts
Tips and Tricks:
- Work with very cold ingredients (the butter, egg, and cream) and minimize the over-handling of the dough. This will allow you to bake up light and flaky scones.
- You can chill the scone dough for up to 2 days after mixing it, or you can freeze the wrapped dough for 3 months.
- Cut the scone dough straight down and up to avoid sealing the layers of fat and dough you made when you kneaded the dough initially. This ensures the pumpkin scones rise to their highest potential.
Air Fryer Instructions:
- Preheat your air fryer or toaster oven to 375°F (190°C0.
- Lightly spray the rack or tray with a neutral-tasting oil. Arrange the scones on the rack leaving 1/4-inch space between them. Lightly spray the surface with a butter spray safe for air fryers.
- Air fry the scones for 3-4 minutes on each side, or until baked through.
Storage Instructions:
- To make the Maple Cinnamon Cream Cheese Glaze ahead, prepare it as instructed and store it in a food container for 1 week.
- Avoid storing the scones in the fridge because the cold air will make them stale faster.
- Store leftover scones at room temperature for 2 days.
- If you don't glaze them all, store the glaze in the fridge and keep the unglazed scones at room temp.
Freezer Instructions:
- These scones freeze for up to two months.
- To freeze the unbaked scones:
- Place the pan with the cut scone triangles into your freezer for 4-8 hours.
- Once the scones are frozen solid, transfer them to a freezer storage bag for up to 3 months.
- When ready to bake, remove your desired amount and bake at 350°F (177°C) for 25-30 minutes.
- To freeze the Maple Cinnamon Cream Cheese Glaze:
- Prepare the glaze as instructed for 2 months.
- Transfer the glaze to a freezer bag and freeze for up to two months.
- Thaw the glaze in the refrigerator and use as desired.
- To freeze baked Pumpkin Scones:
- Pack the baked and cooled scones into a freezer storage bag.
- Freeze the scones for up to 2 months.
- To thaw them, just leave them out at room temp. A quick reheat in the microwave or toaster oven will give them that freshly-baked flavor.




“The proper shape of a scone is the shape that requires the least amount of re-rolling. Circles, ain’t it, homie.”
Hilarious! Can’t wait to make these. Thank you Marta for the time and care you put in! Love the thoroughness and helpful pointers in this and your other recipes, freezing tips, etc. Most times I read recipes I wonder about all that is left unsaid. You cover all the bases!
Thank you for your encouraging words, Natalie.
I’ve never made scones before but this recipe has my name all over it! Looks like a perfect activity for a rainy fall day.
I agree! Let me know what you think!
Holy moly these sound amazing!!! Love that you can freeze them too, thanks for including those instructions it’s so helpful!
I’m so glad you found them helpful, Heather!
Hello, new delicious way to enjoy pumpkins this fall. I haven’t made scones in ages!
I’m so glad you were able to make them again!